

Alexander Grabovetskiy, woodcarver, School of Woodcarving · Published 2018
What gouge do you use for the tiny spots in a carving?
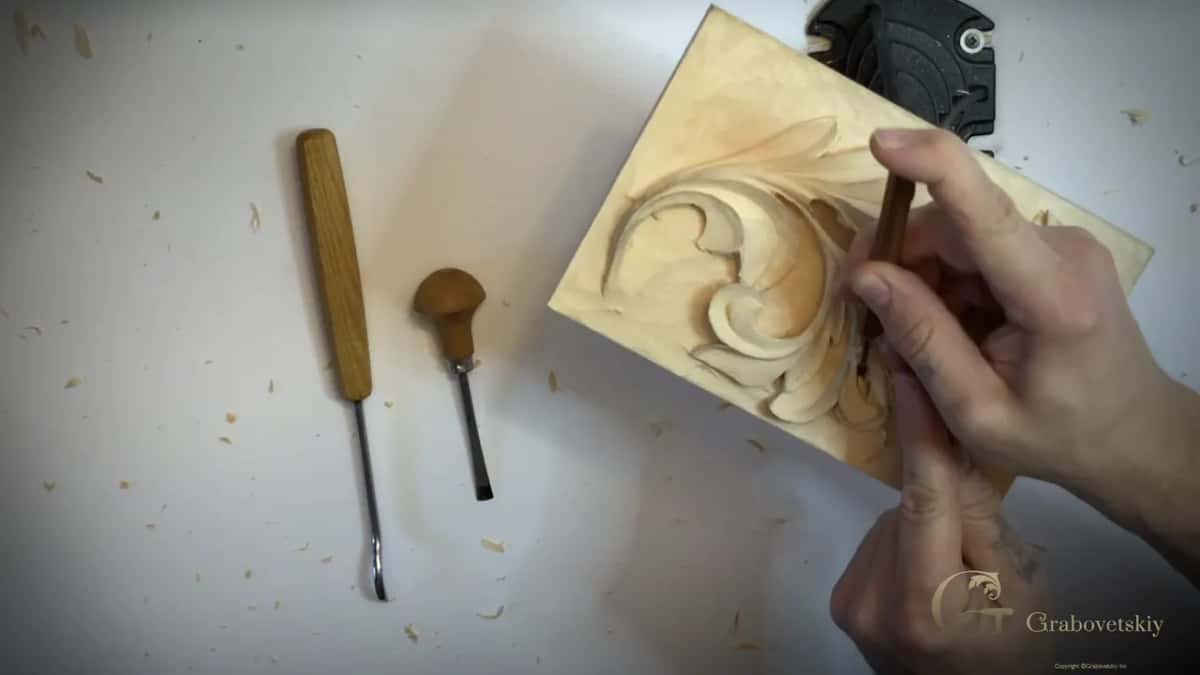
Quick answer: A gouge for the tiny spots is a small one, and on this Greek acanthus leaf mine is by Dockyard, roughly 3/32 inch wide, just under 2.5 mm. It carries no marking. By its sweep it looks like a number 8, maybe a 9, and with it I go under a pipe and even undercut it.
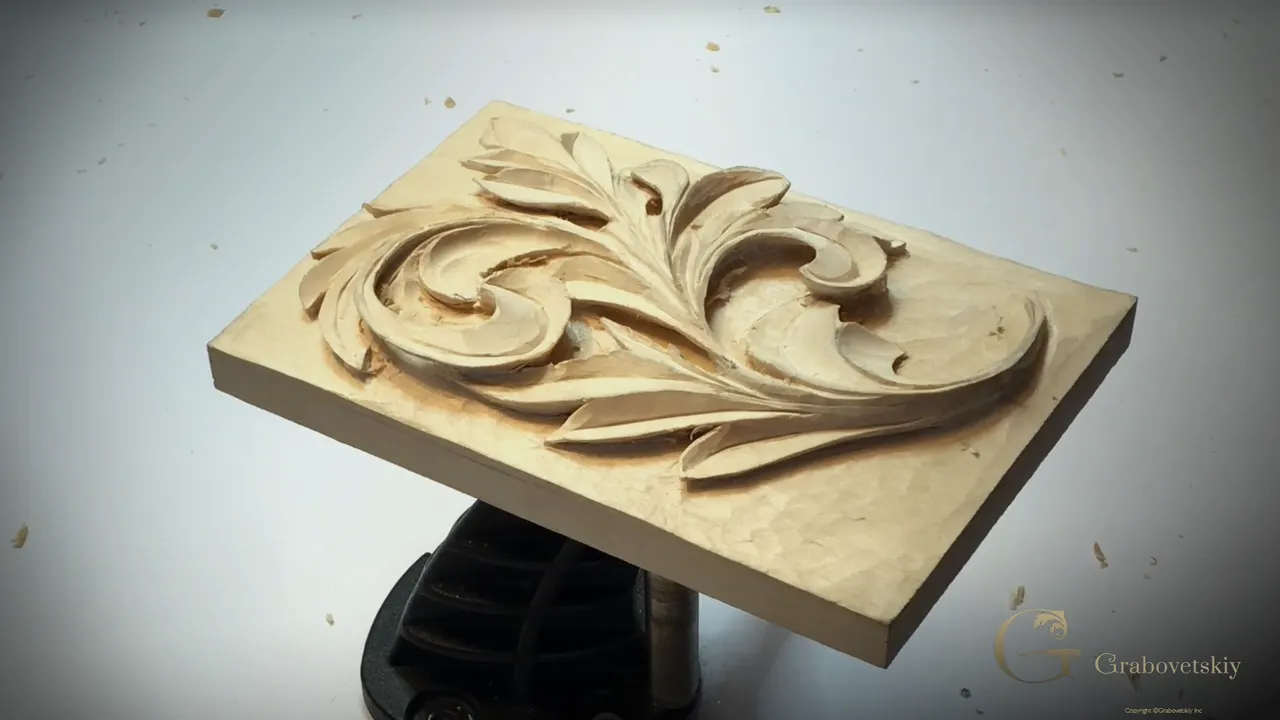
The gouge I use for the tiny spots on this Greek acanthus leaf is a small one by Dockyard, about 3/32 of an inch (2.4 mm) across. Nothing on it is marked. I can just guess, approximately, but with a small gouge like that I can get into the tiny spots just like that, go underneath a pipe and even undercut underneath the pipe.
Is there a spot on your carving where your smallest gouge won't fit? Is there a pipe you'd like to get under? Then reach for a small gouge. Any brand will do.
Below is where that small carving gouge went in lesson 14, which tools worked beside it, and what I have said about these little Dockyards in my other courses.
The small gouge in lesson 14, in a few lines
- Mine is an unmarked Dockyard.
- By the look of its sweep it's a number 8. It could be a number 9.
- For one tiny section a knife alone was not enough, so the small gouge went in under the pipe.
- Near the bottom the knife hooks out instead of going on, so it leaves no mark.
- A 1 mm number 16 V tool cleans underneath afterwards.
- Dockyard is just a brand, and a sharp small tool of another make works too, as I showed on the Hashemi flowers.
What size gouge fits the tiny spots?
Roughly 3/32 in on this leaf. Four minutes into lesson 14 there's a pipe that is not defined yet, and a tiny section beside it that has to be gone. I could use just a knife for now, I said, but a knife alone would not be enough, so I took a small gouge.
It's by Dockyard. It's not marked, but I can just guess by approximately, and I would say 3/32, a little under 2.5 mm. And I've got smaller than that, of course, too, and even smaller would work, but for that spot this one looked good.

Want a tool smaller still? My Roman acanthus course brings one out in its lesson 14, a micro veiner of about half a millimeter.
The same size works for me on other leaves, too. For lesson 10 of the Roman acanthus I took again just a 3/32 of an inch small Dockyard gouge, number 8, and dug out the waste I had just made. The deeper I go, the more shadow it's going to create, I said there.
Earlier in this Greek course, in lesson 7, the small Dockyard in my hands was approximately 3 mm. Maybe just less.

Is the Dockyard a number 8 or a number 9?
It looks like a number 8 to me. It could be number 9. It's hard to tell because it's so tiny, and like I said, there's no marking, so I would say it's eight or maybe nine.
That's normal with these tools. Back on the Corinthian acanthus leaf I said the small Dockyard gouges don't have numbers. Some of them look like number 9 to me, some like number 8, but they're still gouges, and they did what I needed. One of them had a slight fingernail, and it helped me there.
An eighth of an inch (3 mm) Dockyard on the Hashemi flowers was not marked either, and I called it most likely a number 8.

How do you read an unmarked one? I looked at a small gouge from Dockyard on the flower rosette and called it a number 9, because I can easily rotate it. If it's half round, it's most likely a number 9. Where a gouge stops and a veiner begins is in lesson 4 of this course.
Where did the small gouge go on this Greek leaf?
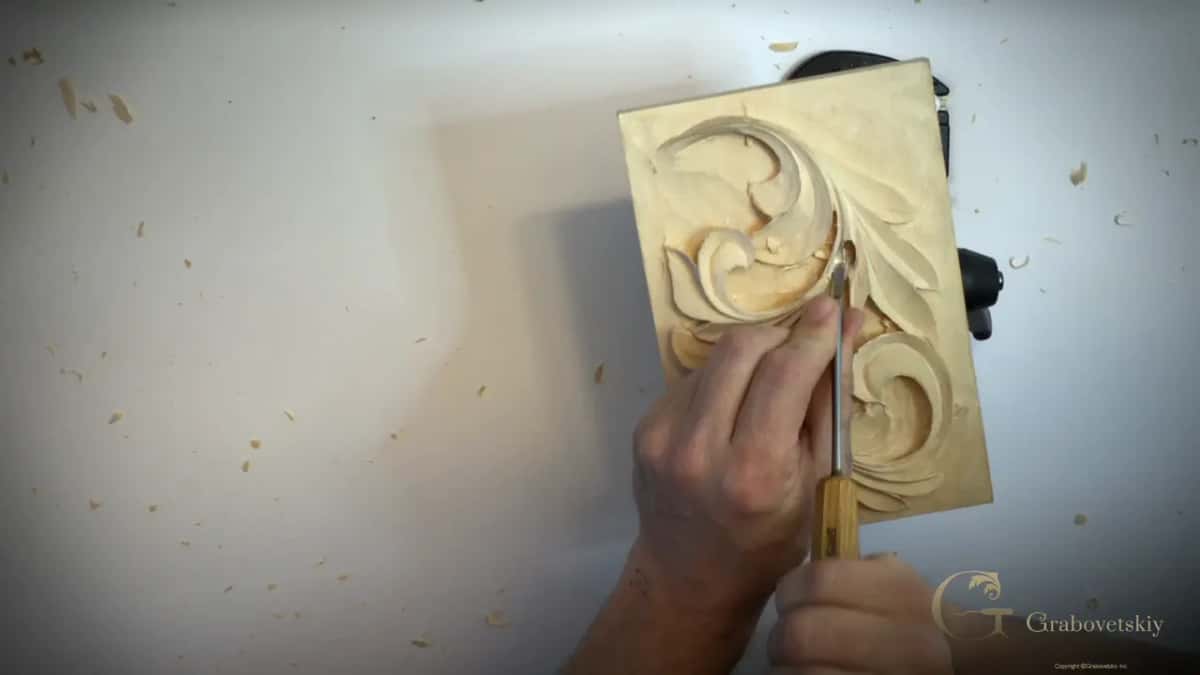
Under a pipe, and into the tiny section beside it. I started removing the material I didn't need, and I could go underneath of the pipe really easily, even undercut underneath of it. That's what a little tiny tool like this is for.
The second video starts with the same tool defining that pipe. I went in first on the right-hand side, carving toward myself, and on the other side the tool went in the opposite direction. You usually can feel the grain as you carve, how the grain goes.
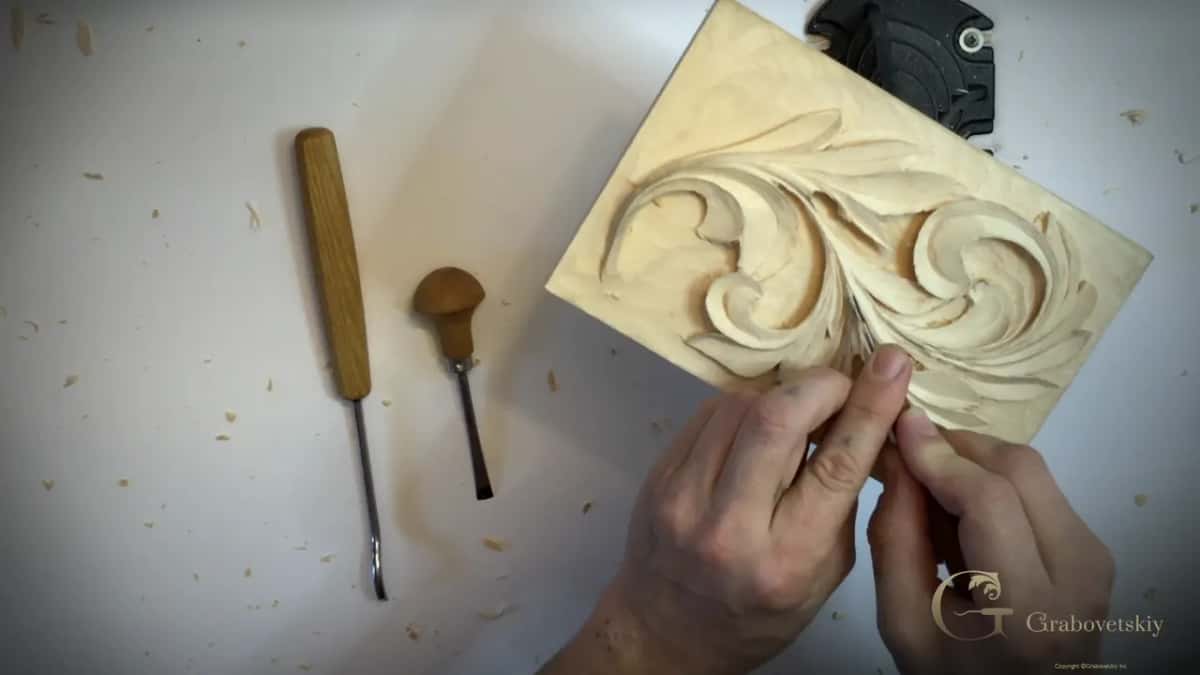
Then the number 1 shaped the pipe. Not the final shape yet, just a preliminary one, and I blended that section.
Now it needed undercutting in this direction and that direction. The number 1 in my hand could still do it, but probably the best in this case was the number 12 knife. Be really careful with that knife. After the knife on both sides, the small gouge came back, the one I think is 3/32, and it went in little by little.
I'm happy for now, I said, and I'm not going to go too extreme with it.

Why carve so deep where nobody can see it?
Light makes the difference. I know most of you probably wonder why I do that so deep if nobody will see it. But believe me, when you're going to put it in light, it makes a big difference how it looks.
There's a lot of junk underneath. I'm okay with it, I said. It's all the way underneath, a true 3D, I said, and in the second video you can see how nice the shadow falls from one piece down.
How to make a carving look deep is the question of lesson 12 of this course.
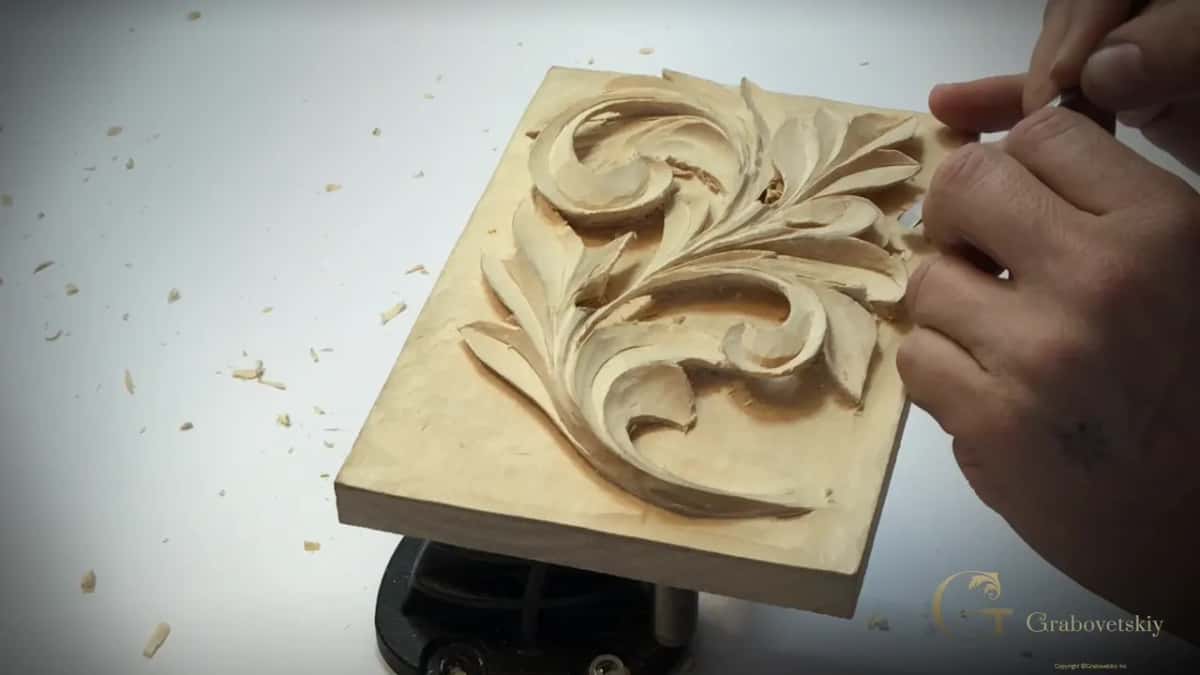
Which other tools worked in lesson 14?
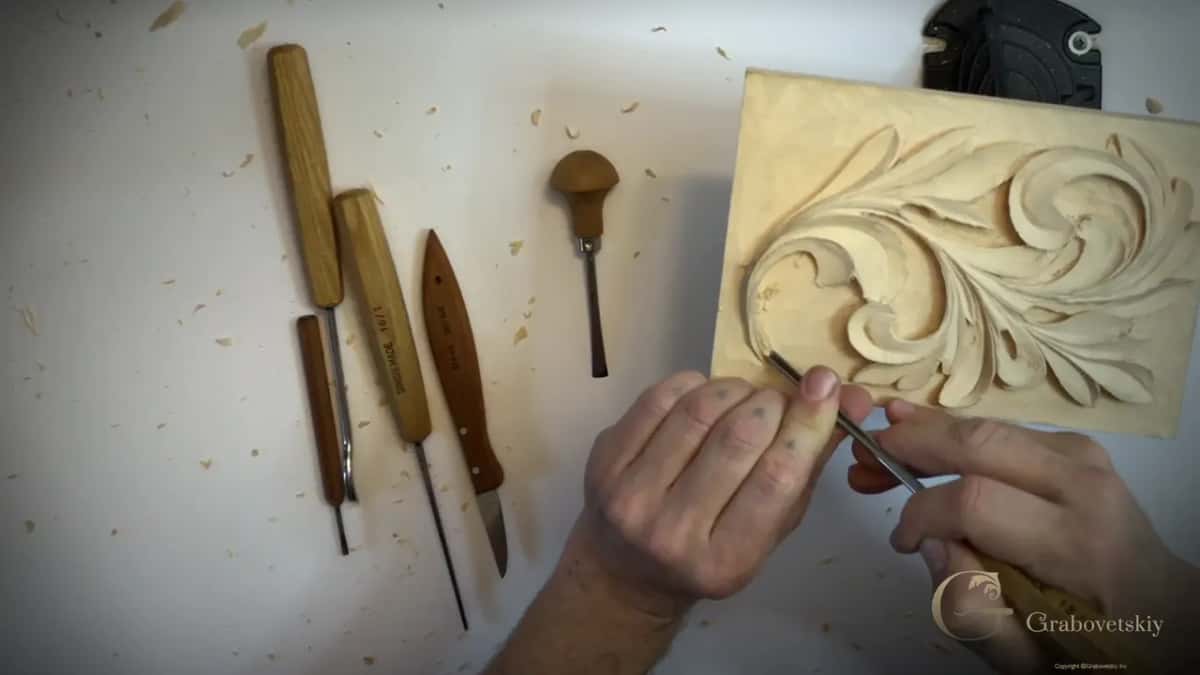
A knife, my small number 1, three V tools and a back bent. Here they are in the order I named them, with the size I said out loud.
| Tool | What it did in lesson 14 | Size |
|---|---|---|
| The same 5 mm tool | undercut a section the break let me reach | 5 mm (3/16 in) |
| My small number 1 | shaped and blended the pipe, then cleaned an undercut | not given |
| Small Dockyard gouge | went under the pipe and undercut it from below | 3/32 in, about 2.4 mm |
| Number 12 knife | undercut the pipe from both sides | no width named |
| Number 15 V tool, the small one | worked its way around the outside of one part | 1/8 in, 3 mm |
| One millimeter V tool, number 16 | cleaned underneath and carved a division line between two pieces | 1 mm (0.04 in) |
| Bigger number 15 V tool | worked a section where I was going against the grain | marked 6 mm (1/4 in) |
| Back bent number 25 | started jigging where I meant to pierce through | half an inch, 13 mm |
The number 16, the 1 mm V tool, went in later in the third video to remove from underneath what we didn't need. Now the shadow is visible, I said. The fourth video opens with that tool cleaning underneath again, and later it made my division line, a V cut between this piece and that piece.
Then came a section where I was working against the grain, more or less. I already made two mistakes in one day, I said, and I didn't really want to do another one. Let me think, I said, and took a different V tool, the bigger number 15.

How do you keep the knife from marking the background?
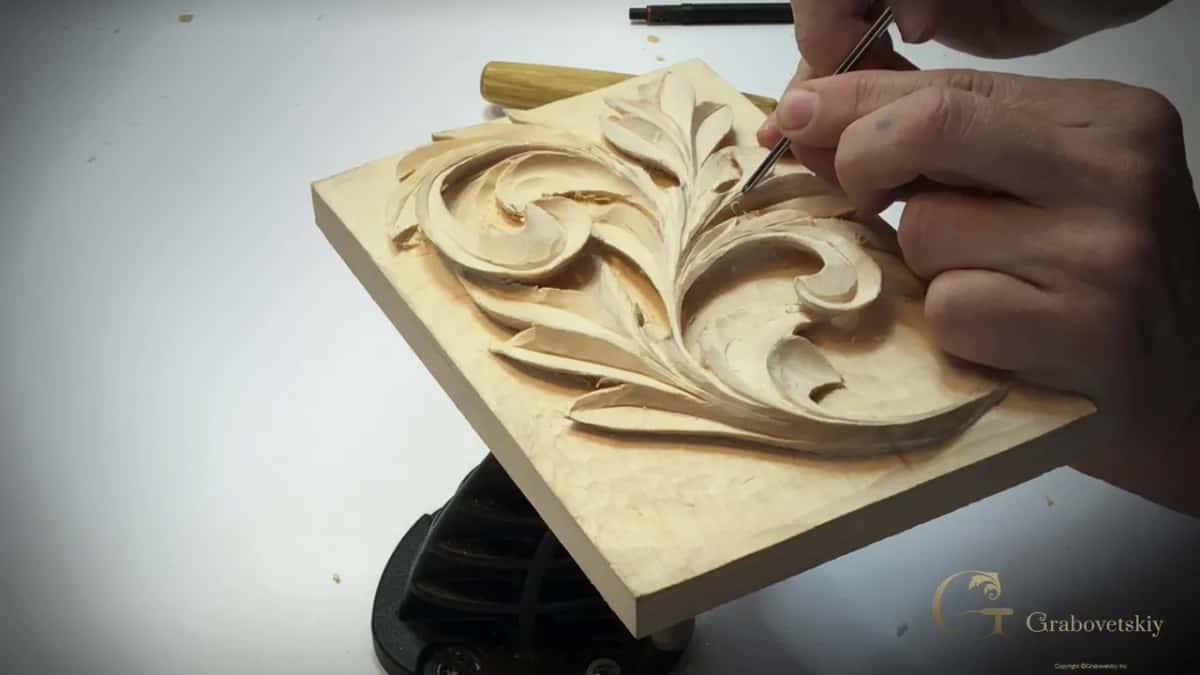
Watch how deep you go. Under one piece in the second video I used a knife again, and you can hit the bottom piece and make a knife mark. That's not going to look nice. It's going to look messy. So right before you hit that, do what I'm doing, and hook out.
Hooking has its own lesson in this course, lesson 10.
Then I used my number 1 to clean that, although a small V tool would clean underneath too, actually.
Apologies for that squeak, too. I probably should untighten my vise and tighten it again, but I found it's much quicker when I just rotate the panel like that.

What happens when a tiny piece breaks?
In lesson 14 I used both breaks to my advantage. The lesson opens on a piece I had already broken, and because I broke it, I could use it as an advantage and undercut a section I probably could not even reach otherwise. Now I can. I used the same 5 mm (3/16 in) again for it.
Then, in the third video, it happened again. That piece did look solid, but it was more fragile than it looks, and I just broke it. But it's okay. We can make that piece go down to the bottom of it, and use it in our own advantage.

I told you undercutting is not that easy, so sometimes it changes your design. It's okay in this case. But if I worked on furniture and had to make exactly the same pattern, I could not allow those mistakes, those errors.
So I got two errors in one day, two mistakes. That's kind of not good. The overall design won't change, though, and I said before in one of the workshops that if something broke, that means it was meant to be. What broke on camera in lesson 13 is its own story, and lesson 11 is about mistakes too.
Then I lowered a downhill flow line, and I don't think it looked that bad at all. A V tool went downhill, and the number 1 blended it in. Nobody else is going to know that I made a mistake right there, beside you who's watching me.

Why do I like the small Dockyard tools?
Control, mostly. I said on the Hashemi flowers that I really like the small, tiny handles of those Dockyard tools. It feels like I can get more control, but it's just me.
Later in that same lesson I said why. You are really close to your blade, right by its edge, and you control every move much better. Well, at least I do.
On a furniture panel it was the same story with a smaller Dockyard, about a number 8. It gives me really good control, and I can get really close to the edge of the blade and work little by little.
The steel matters too. In my class in Maine on the work of Grinling Gibbons I said Dockyard is not necessarily the best brand, but I like the micro tools by those guys. They look cheap, by the way. But the steel is really good, and it holds the edge.
One of their micro tools is a V tool, a small one, I said in that class, and because it's so tiny you can work your details with it.

The lily box is where I said I never broke any of those Dockyard tools. That's tough metal, and I really like that. And if mine look different from yours, on the hazelnuts I explained that I just changed the handles.
Does it have to be a Dockyard?
No. Dockyard is just a brand. Lesson 3 of the Roman acanthus is where I said it doesn't have to be Dockyard. Any other brand will do.
A number 9 by Ashley Iles, also an eighth of an inch, came out on the Hashemi flowers right after my Dockyard. As long as you have sharp tools. Tools are tools, I said there, and these are just different brands, that's it.

And if you don't have a small gouge at all? For the true round on the flower rosette, the easiest way was my Dockyard, a small gouge, and it was really quick. But even with the knife, I said, you can make semi round the small, tiny details, too.
One more thing. I would not recommend using any mallet on really tiny, small tools, I said on lesson 3 of the Roman acanthus. If you're careful, you could probably. But still, it's better not to.

What did the knife and the number 1 fix?
The outline first. Early in the lesson the outer line was kind of choppy in one section, and I didn't really like it, so I needed to make sure it just flows to a single line nicely. Either a knife would do it or my number 1, small one, and I carefully fixed that.
A little later I didn't like my edge on one piece. While I saw it, I used my knife and fixed the flaw. I got kind of tired of one side by then, too, so I jumped to the other side.

In the third video I didn't like the overall shape of one part. So I made a subdivision using a knife, carving from both sides, and I think it looks better.
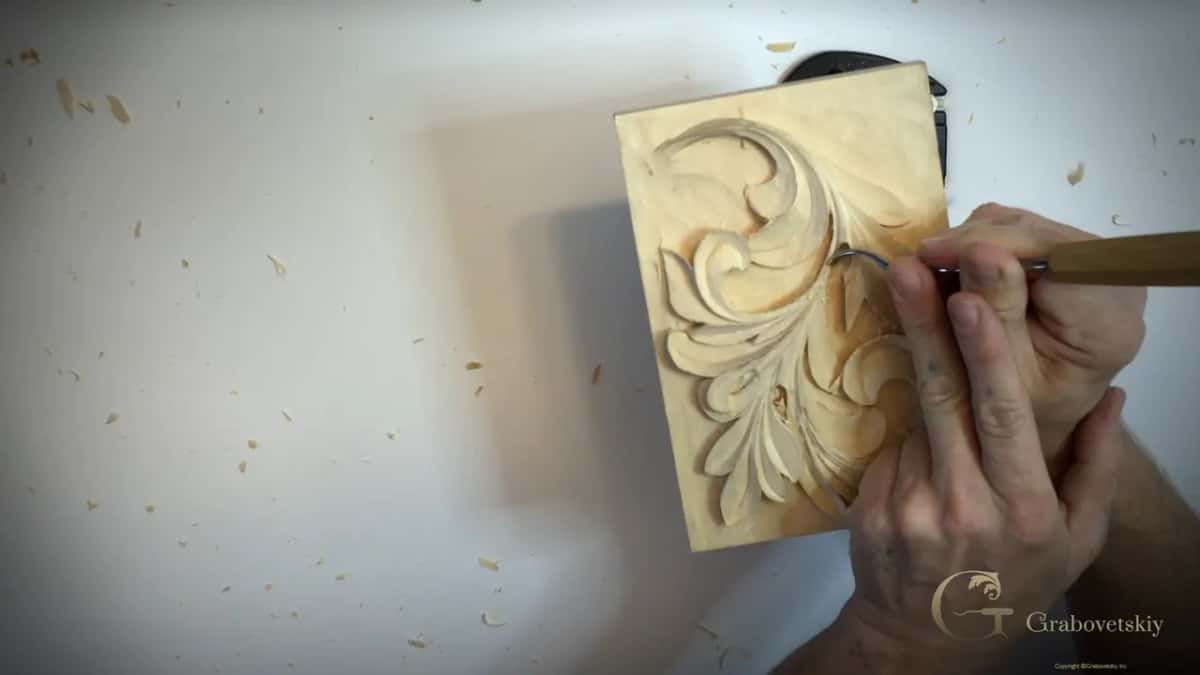
Near the end of the lesson I said I would pierce one place right through, which will look really nice, in my opinion. A back bent, number 25 at 13 mm (1/2 in), started the jigging. At this stage it's not really necessary to go all the way extreme like I'm doing, but I really like it, because the shadow and light make a big difference in wood carving.

Do you have a small gouge, or even just a knife? Would you like to see where it goes on a real leaf? Then come carve the rest of it with me.
Every lesson of the Greek acanthus course is open with tuition, and lesson 15 goes on with the same leaf.
How it's done
- Take a small gouge. When a knife alone is not enough for a tiny section, take a small gouge, and mine on this leaf was a Dockyard.
- Define the pipe. Right-hand side first, toward yourself. The other side goes the opposite way, and you feel the grain as you go.
- Shape it with a number 1. A preliminary shape only, then blend the section.
- Undercut with the knife. My knife, a number 12, goes under both sides of the pipe, one and then the other. Be really careful with that knife.
- Hook out before the bottom. Right before the blade hits the bottom piece, hook out, or you make a knife mark that looks messy.
- Clean underneath. A number 1 cleans it, or a small V tool like the 1 mm one, and you can see how the shadow falls from the piece down.
Frequently asked questions
What size is a Dockyard micro gouge?
Mine in lesson 14 is close to three thirty-seconds of an inch, a little over 2 mm, and I guessed that, because it has no stamp. Others of mine are smaller, a sixteenth of an inch or a millimeter and a half, and bigger, 5 mm, which I called 3/16 of an inch in the Venice Room course.
Which way do you carve around a pipe?
Each side its own way. On this Greek leaf the right-hand side came first, toward myself, while on the other side the tool traveled the opposite way. You can usually feel how the grain goes while you carve, and the pipe got its rough shape from a number 1 afterwards.
Why use a V tool on the outside of a leaf?
Speed. Whenever I can use a V tool, especially for my outside like this, it's just much quicker. Today's society, everything is just time, I said, just go, go, go. In lesson 14 that was a 3 mm number 15 working around the outside of one part, and later the 1 mm V tool, a number 16, cleaned underneath.
What to carve next