

Alexander Grabovetskiy, woodcarver, School of Woodcarving · Published 2018
How do you stop a thin carved edge from breaking?
Quick answer: A fragile carved edge is made more stable with carpenter's glue diluted in water, more water than glue, so it soaks into the weak parts. Resin from the glue gets inside the fibers and holds them together. That lets you work toward paper thin more safely, though overdoing it can still break it.
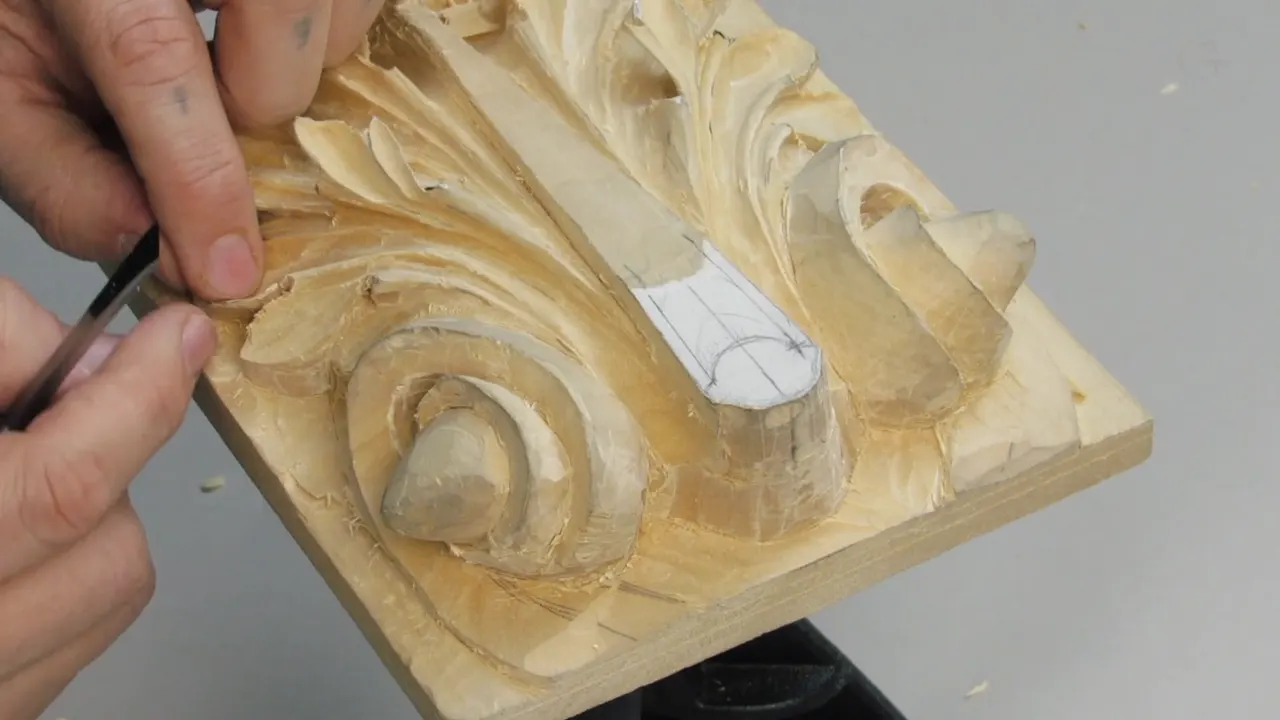
A carved edge that has gone thin is kept from breaking by making it more stable, and the way I explain in this lesson is glue. Carpenter's glue, diluted with water, soaks into the fragile parts. Its resin works into the wood and holds it, so you can work more safely, close to paper thin.
Have you ever held a dry leaf from the yard and felt how thin its edge is? Ever pressed a little too hard on something that thin and felt it give? A carved leaf can get that thin too, and in lesson 11 of my Roman acanthus course one of my edges got really fragile, right on camera, because I went too close to it.

What lesson 11 says about a thin edge
- Work too near an edge and it goes fragile.
- Glue thinned with water soaks in, and its resin binds the wood.
- I usually don't use that technique, but you could.
- A thin strip of wood stays above the eye undercut, just under the pipe top.
- Keep the number 9 off the edge and let a number 5 blend the rest.
- Tiny tools are not designed for heavy duty.
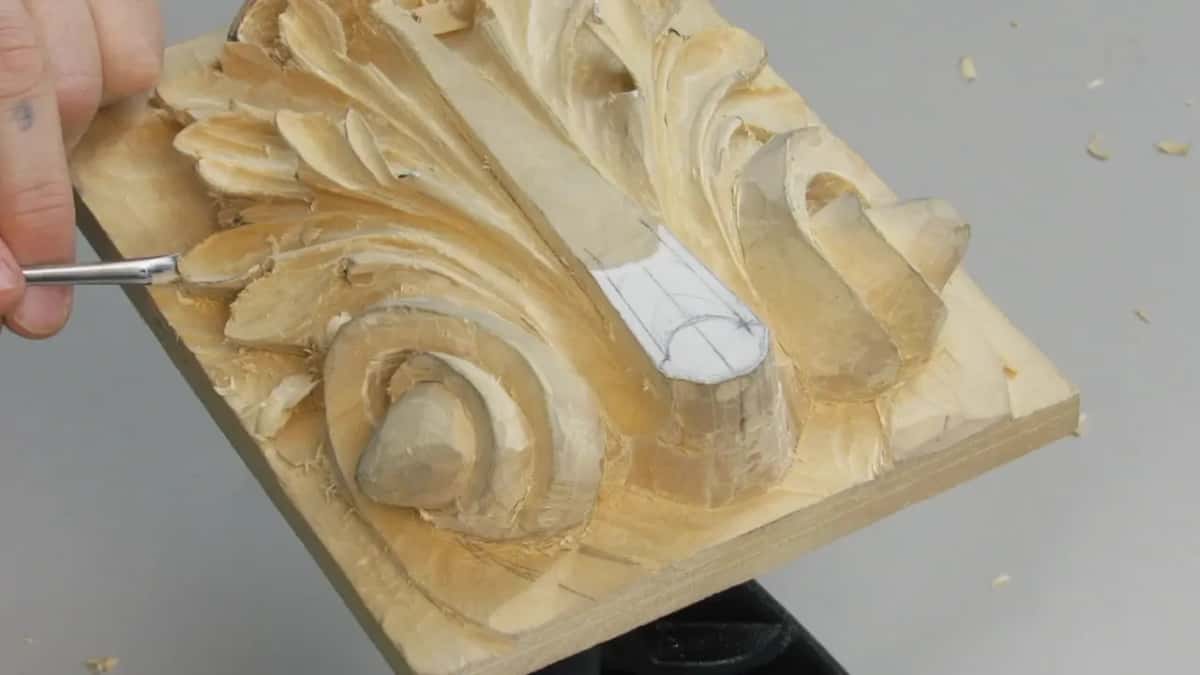
How do you stop a thin carved edge from breaking?
Make the edge more stable. You can dilute some glue, even yellow glue, just a carpenter's glue like a Titebond, with the water. More water than glue. Dilute it really good, and penetrate the fragile parts with it.
The whole thing can take the glue, actually. Yellow glue has some resins in it, and some of that resin gets into the fibers. With those fibers held together by the glue, the work goes more safely, without it breaking.

How thin? A really unique thinness, like paper thin, and still safe. You'll still be able to break it if you overdo it, but it gives you some ability to do nicer stuff.
Wikipedia's wood glue article files yellow carpenter's glue under aliphatic resin, a light yellow, creamy glue used mostly to bond wood, and its polyvinyl acetate page lists carpenter's glue among the common names for PVA.
I'm going to be honest with you. I usually don't use that technique. But you could, if you wish to go to the extreme like I do.

How did the edge on this leaf get so fragile?
I got too near it. During the last video of this lesson I was undercutting the eye with a small gouge, 3/32 of an inch (2.4 mm), and the card on screen calls it a number 8 straight gouge. What I do there is a full rotation on the inside, just like that. Just don't overdo it.

Then I said it. That's what happened, what I'd warned about. Doing those, you go too close to the edge, and the edge becomes really fragile. But it's okay.
Earlier in that video I had warned about it. Be careful with that thing, because you're still going to be able to break it if you're not careful. Believe me. Especially tiny tools like this one. They are not designed for heavy duty.

If you're careful, and if you're patient, you shouldn't have any problem with it.
In lesson 10 I said it this way. I have to be careful not to overdo it, because I still have to keep some meat. Otherwise I'll make it too fragile. And when the piece becomes really fragile, most of the time you can't fix those mistakes.

What happened when I went too deep at the eye?
I destroyed the original eye in the pipe. Partway through the second video I was making cleaning passes, number 5 in hand, a quarter inch (6 mm), and I'd said I had to be really careful now, because I was working underneath. My goal was a really smooth flow, just going underneath and nicely flowing.

At five and a half minutes in, I said it. Okay, I made a mistake. I took too much, but that's okay, that's what happens when you're trying to overdo it.
Let me get the V tool, I said, to fix what I'd just done. Then: let me get a small gouge. Then: okay, I'll leave it for now, and think about what I can do to fix it.

Early in the third video I explained it, for anyone who missed the moment. I went too deep in that direction, and I destroyed the original eye in the pipe. This intersection, right in this section, is not as easy as it looks.
For the other side I cleaned with the same number 5, and I said I didn't want to make the same mistake there.

Why leave wood between the undercut and the top of the pipe?
A detail goes there later. When I undercut the eye, I'm doing a rotation with my tool, sweeping, right to left, counterclockwise.
I leave about 3/32 of an inch (2.4 mm). That's from the top of my pipe down to my undercut. Later on I'll show a really nice, unique movement they used back then, to make it look beautiful, not as plain.

So leave some material. Don't go all the way to the edge. Keep some between your undercut and the pipe top, because we're still going to need it later on. It's really important, actually.
In lesson 7 I said that maybe later we'd do something unique at those eyes and pipes, which was introduced to the acanthus in the Roman era. The return that goes on those eyes comes in lesson 12.
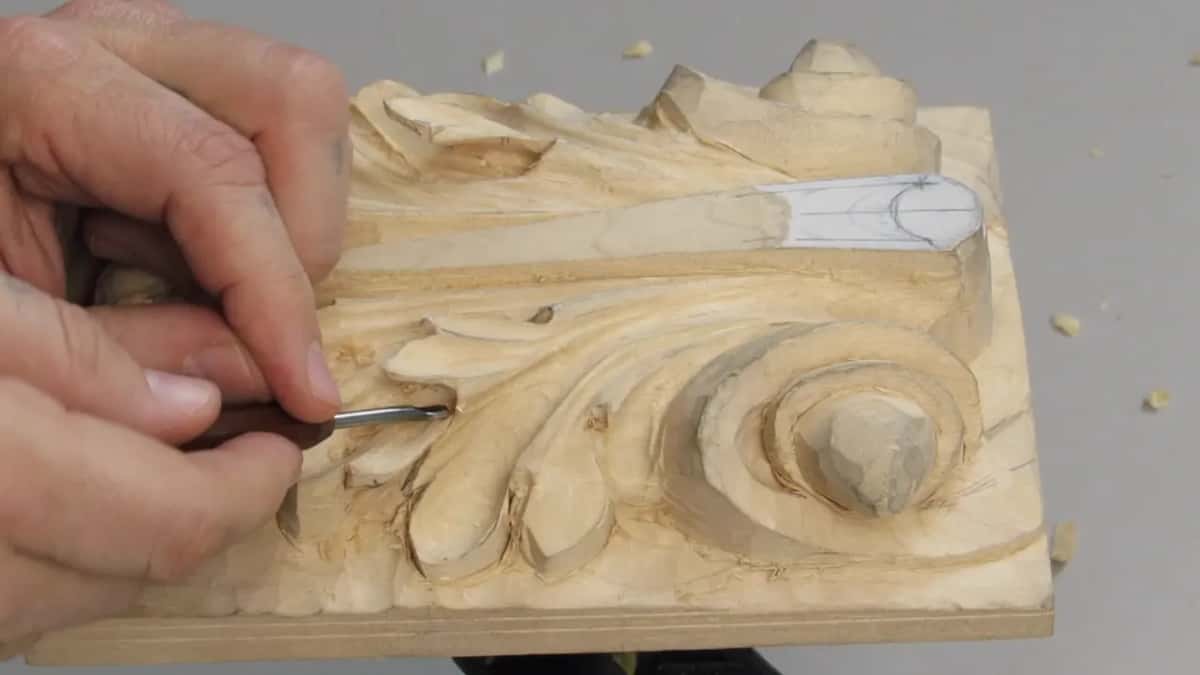
The same idea comes back at the end of the third video. There I'll leave some material, I said, and not hit right to the top yet, because I need to check that the height is the same and the movements are the same. Some meat, that's what I need for the reference, and then I'll make my final undercut. Why the big undercut waits is the subject of lesson 9.

Why stop the number 9 short of the edge?
The final undercut will be extreme. Back in the third video I took a number 9, a quarter inch, and made concaves right in that section, carefully, without overdoing it.
Between the edge and the concave I left about an eighth of an inch (3 mm). Then a number 5 makes a kind of transition between those two, just to blend them.

Why not run the 9 right out to the edge? My undercut will be extreme, the edge will be really sharp, and in this case the number 9 can't go there.
If a small ridge stays, I don't really worry about that. It'll still look nice. The opposite side got the same 9, the same gap, and the same number 5 for a smooth transition.

Why take the concave little by little?
For accuracy. The lesson opens with a number 9 gouge, probably 10 millimeters (3/8 in), and concaves on both sides. I don't want to take the material in one single pass, because I want to be really accurate. Taking it little by little, I can control much better what comes out.

My clean side here is on the right, and the left side is rougher. I can always attack from the opposite direction. That gets it really clean.
A bigger number 9 would help tremendously, or a number 8 will work also, because it takes multiple ridges at once. You don't have to have one. I tried about 5/8 of an inch (16 mm), and it works just perfectly. That's number nine, I said, then caught it. No, it's number eight. I'm sorry.

One spot went a little too deep, which is fine. Once your grain starts doing what it does there, you can make your rotation even harder and take that part out.
For some reason one side came out a little wider than the other, so I had to repeat about the same on that side, with the same 5/8 tool, and clean it. Then the 10 mm again, for a smoother transition where my grain meets.
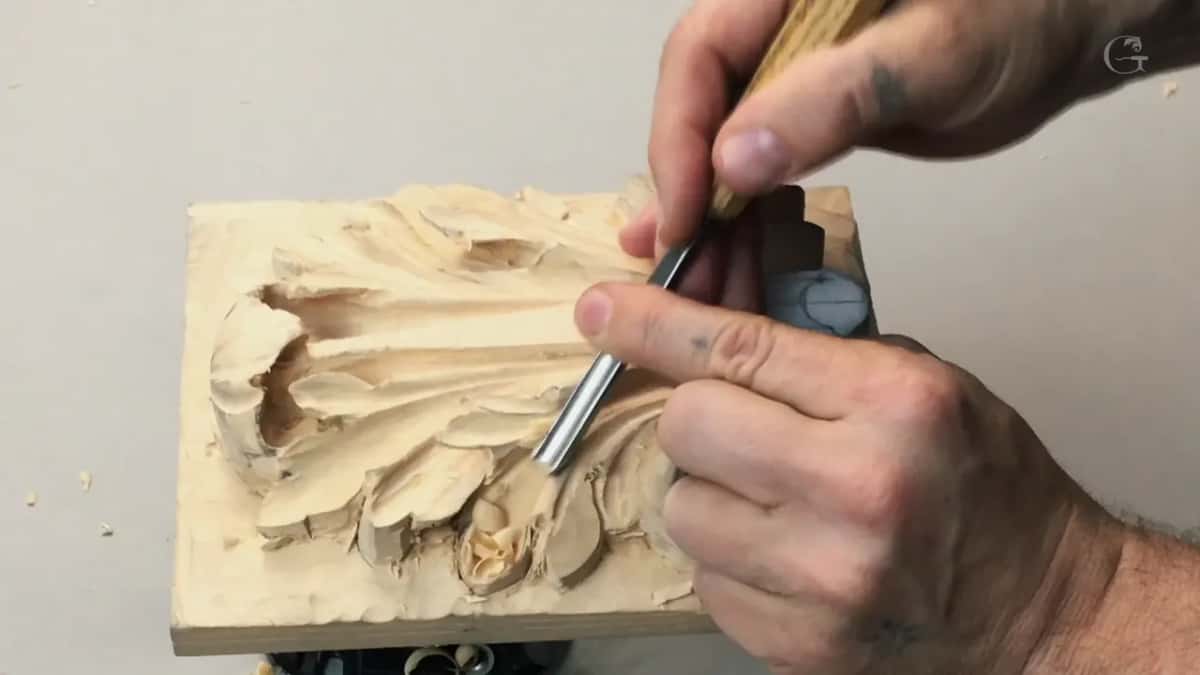
Last came the eye and the pipe. These are supposed to be pipes too, although they're visible only from the sides. A quarter inch number 5 gives a smooth transition right there.
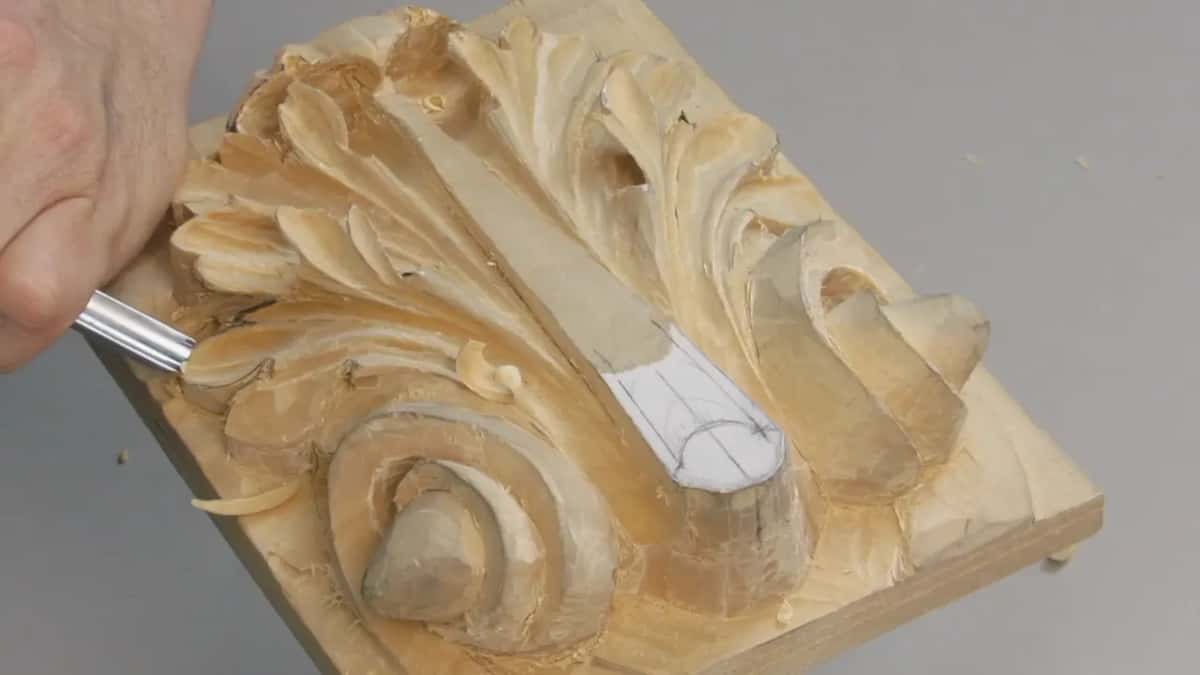
Why make every pass as long as possible?
Several stay as they are. Early in the second video I took a really small gouge, 1/8 in (3 mm), the same one I used before, and made one more concave right on the side of the pipe.
Then the same on the opposite side. At this stage I'm trying to make my passes as long as possible, because some of them will already be final.
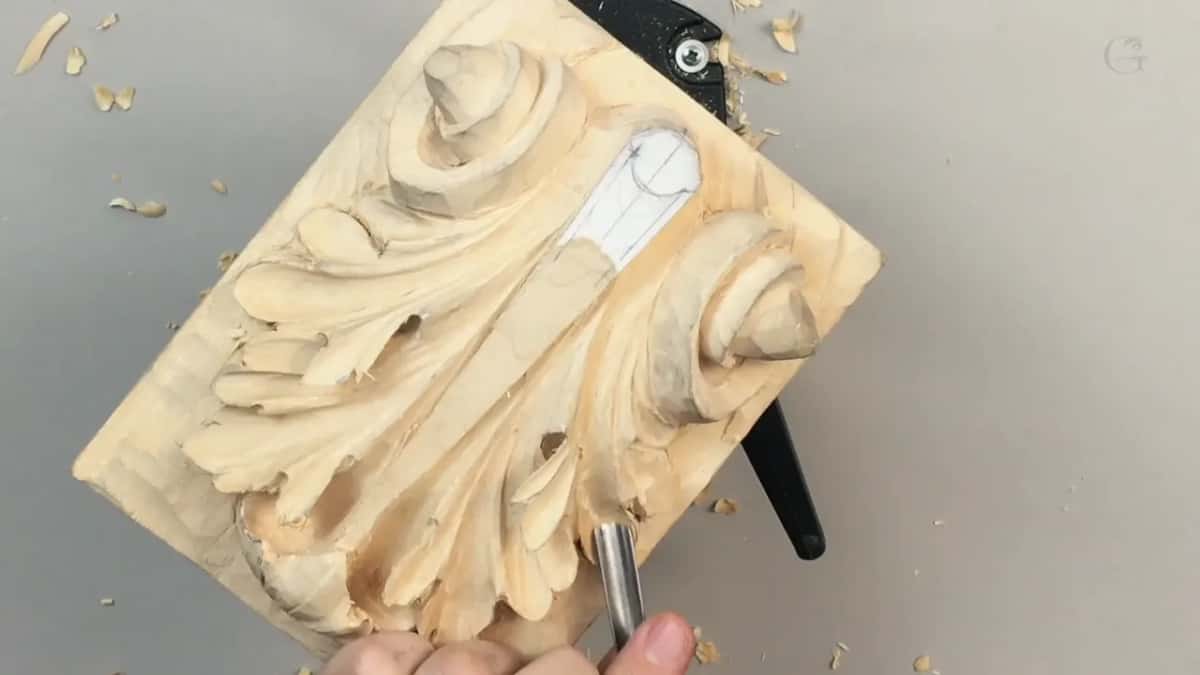
Which tools do the preliminary undercut?
A double bevel number 1, again and again. A knife refined the edges in the third video, and then I took some material out already, like a preliminary undercut, with the number 1. Just be careful what you're doing.

Next a V tool, number 16, 6 millimeters (1/4 in), to start my way in. I lay the tool on its side and clean that undercut.
The fourth video opens on the same number 1. I said I could use a number 5, what I'd used before, but the number 1 works just fine. Then a small V tool, number 15, 3 millimeters, an eighth of an inch, 45 degrees, cleans the junk out.

A number 3 or a number 5 would work for that cleaning too. Just be careful. Don't angle it too much. We do have some material, but still, you don't want to overdo it at this stage.
There are multiple tools for the same task. I really like to change my tools to do the same task, and the number 1 works just perfectly for me today. Mine is about a quarter inch too.
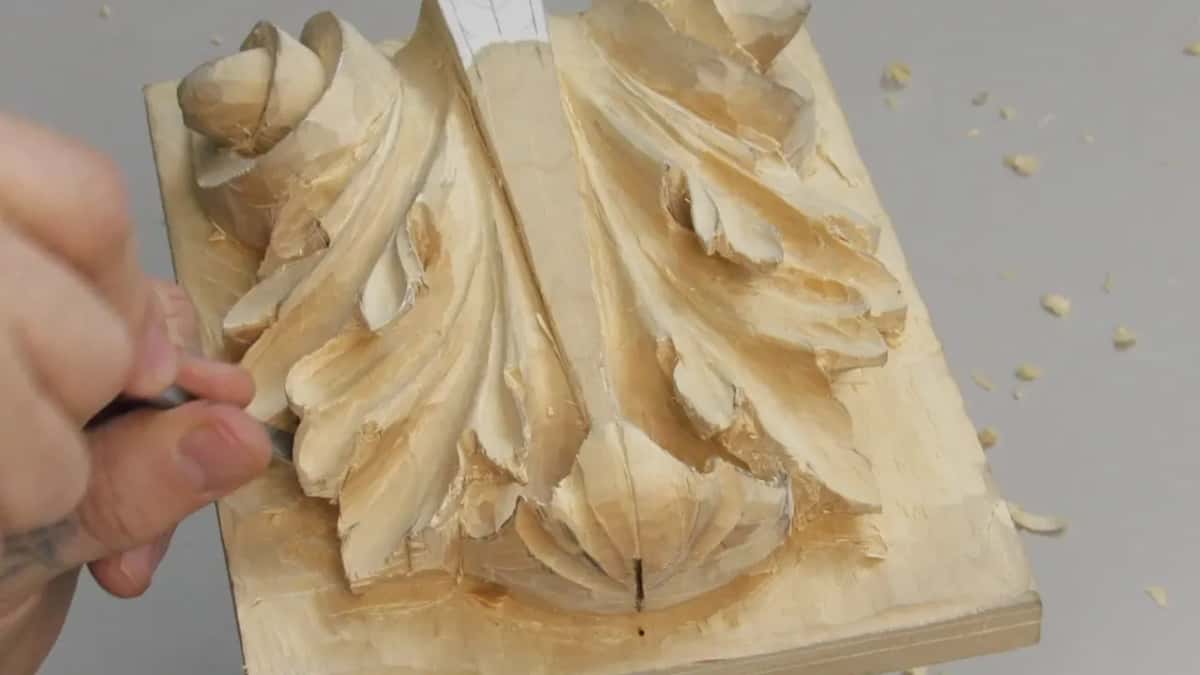
| Tool | Its job | Note |
|---|---|---|
| Number 9 at 10 mm | first concaves on both sides, taken a bit at a time | a bigger one helps |
| A 5/8 in (16 mm) number 8 | several ridges in one pass, so the concave comes out clean | my 5/8 try |
| Quarter inch number 5 (6 mm) | transitions at the eye, cleaning underneath, blending each concave | in four of five videos |
| Same width number 9 | concaves ending about 3 mm from the edge | not to the edge here |
| Double bevel number 1 | preliminary undercut and digging out material I don't need | about a quarter inch |
| V tool 16 (6 mm) | laid on its side to clean the undercut | starting my way in |
| Small V tool, 15 | 45 degrees and 3 mm, cleaning the junk out of undercuts | same as 1/8 in |
| Half inch number 3 (12 mm) | cleaning only, so it could be bigger or smaller | a little under half |
| The tiny eye gouge | the eye undercut, a full rotation on the inside | card says number 8 |
For the junk I also took a number 3, about half an inch, or 12 millimeters to be exact. It could be bigger or smaller, since it's just for cleaning, so exact doesn't matter.
This is not the final undercutting yet. It's just preliminary. But even preliminary, try not to make too many mistakes, because it's still undercutting.

Is there anything to see inside an undercut?
No. I know it's impossible to see what is going on inside when I'm undercutting, but believe me, there's nothing exciting. Just a straight pass. It goes to the point, and there's no beauty in it.
Although I still like to see all my undercuts really clean, without any fuss left inside.

Hopefully you can catch the shadows. That's the whole idea, so it looks really deep. Later on, because we do have a second line, most of it will sit above the background and make an even more beautiful shadow. Painters call strong light against dark chiaroscuro, Wikipedia says.
It depends how you're going to use it. Place it in a frame, on a wall, with the right lighting hitting it, and it'll make a beautiful effect. Even without a finish on it, the bare wood of this relief still looks really nice.
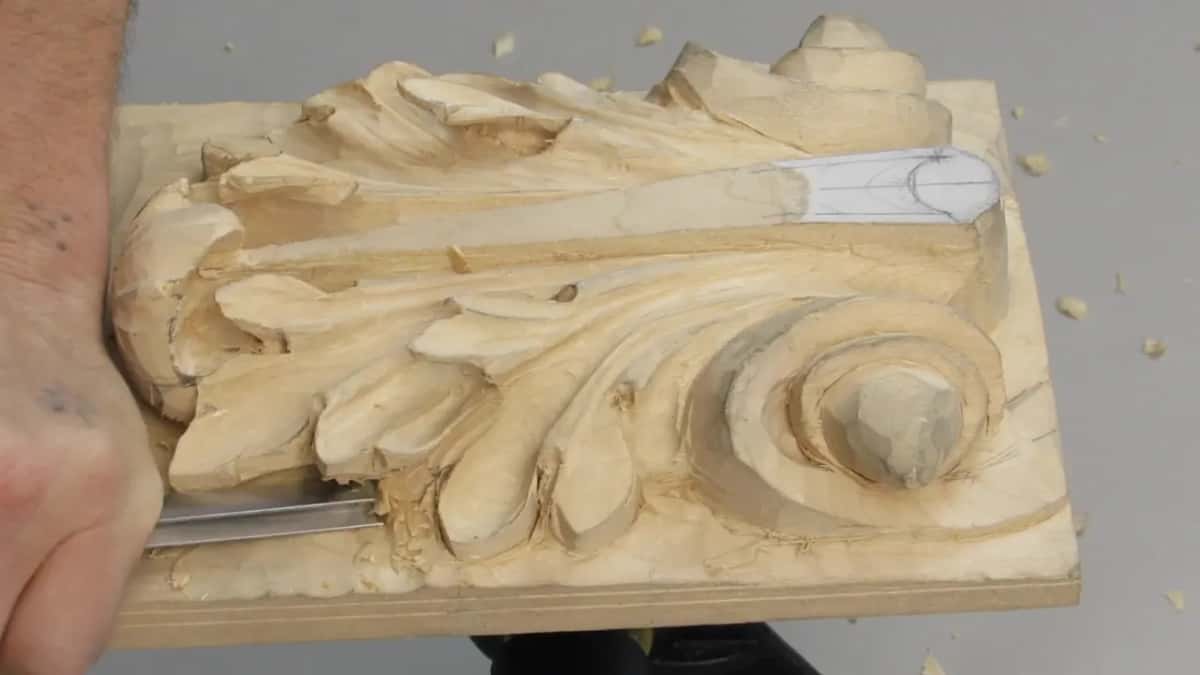
How much water goes into the glue?
It changes with each video, and I'll give you each one. In this lesson I said dilute it really good, with the water winning.
In my back cutting video I said to dilute it 50/50, half water, and brush it on. It sucks in. The resins go in among the fibers, and it becomes more resin-like. Not resin-resin, but still more stable. Titebond is just the brand I like, and any wood glue will work.
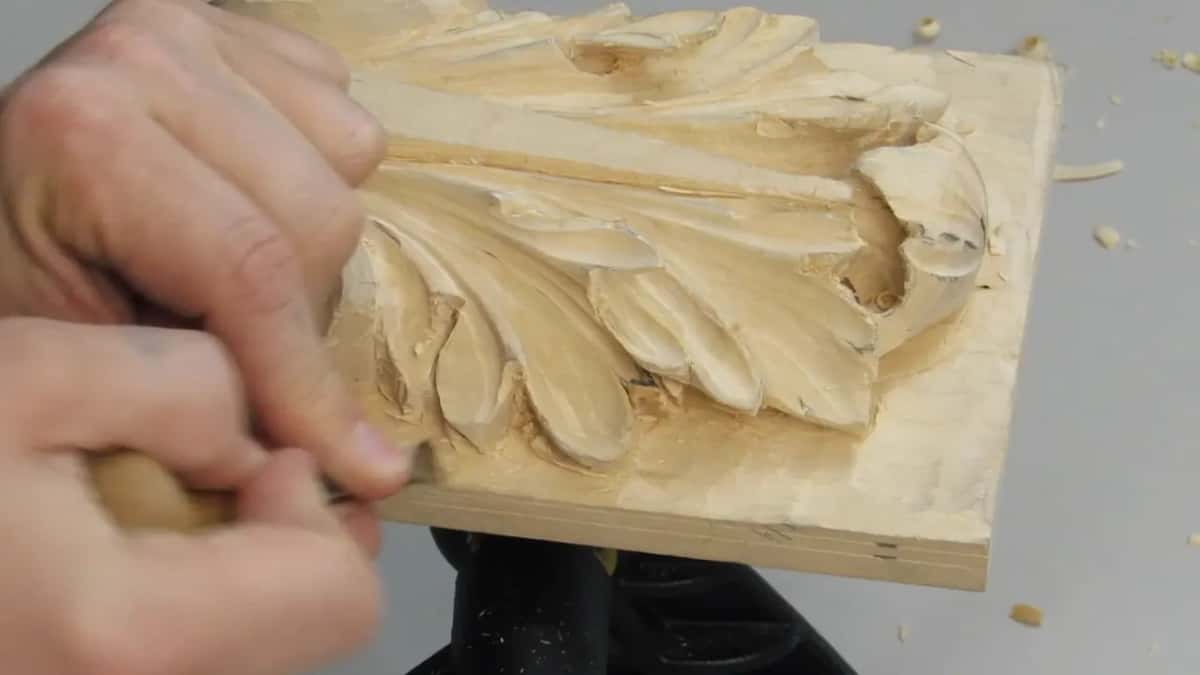
On the lily box I said to dilute it as much as possible with water and soak that area. Of course, don't be too crazy.
I said one more thing there. It's one of the tricks when you're working with really fragile wood and you need a really small, tiny detail. Before you carve it, before you touch it with the knife, get the glue, dilute it with water, and carve after it's dry.

Does watered glue change how the wood takes stain?
It can. In my back cutting video I said the diluted wood glue method is good only if you're not planning to stain. With a stain or a dye, you won't stain it nicely. For that case I pointed to a wood hardener, made for rotten wood outside. It penetrates really deep, dries quickly, and you're still able to stain after it.
My Greek acroterion lesson is where I explained why I don't dilute the glue when I glue my paper design on top. Thinned glue tends to soak deep into the wood. Under a stain, even after sanding, I found you can see some spots. Blotchiness, or something like that.

A Venice Room panel was different. I planned to penetrate a weak detail there with diluted yellow glue, since that panel would get paint. So no problem of blotchiness there.
And in lesson 10 I said I can stain this Roman panel with all the shades and make it look antique.
A finish gives you one more route. With shellac, I said on the lily box, you can dilute the shellac as much as possible with spirit and penetrate multiple times, so it binds the fibers inside and holds really long.

Is super glue better than wood glue here?
For paint grade work, it's one of my favorite methods. I use a really thin super glue by Starbond, so liquid you can probably catch it on the camera, and it penetrates and makes the part really stable.
It's not for staining either. And I said wood glue will last you a lot longer than super glue, so even though I love it, it's not the best way to stabilize wood.
My stabilizing video shows it on a piece that would be painted and sit at about shoulder level, where somebody might hit it. If I left it raw, without any finish, I wouldn't use that glue. I would just keep it like it is.
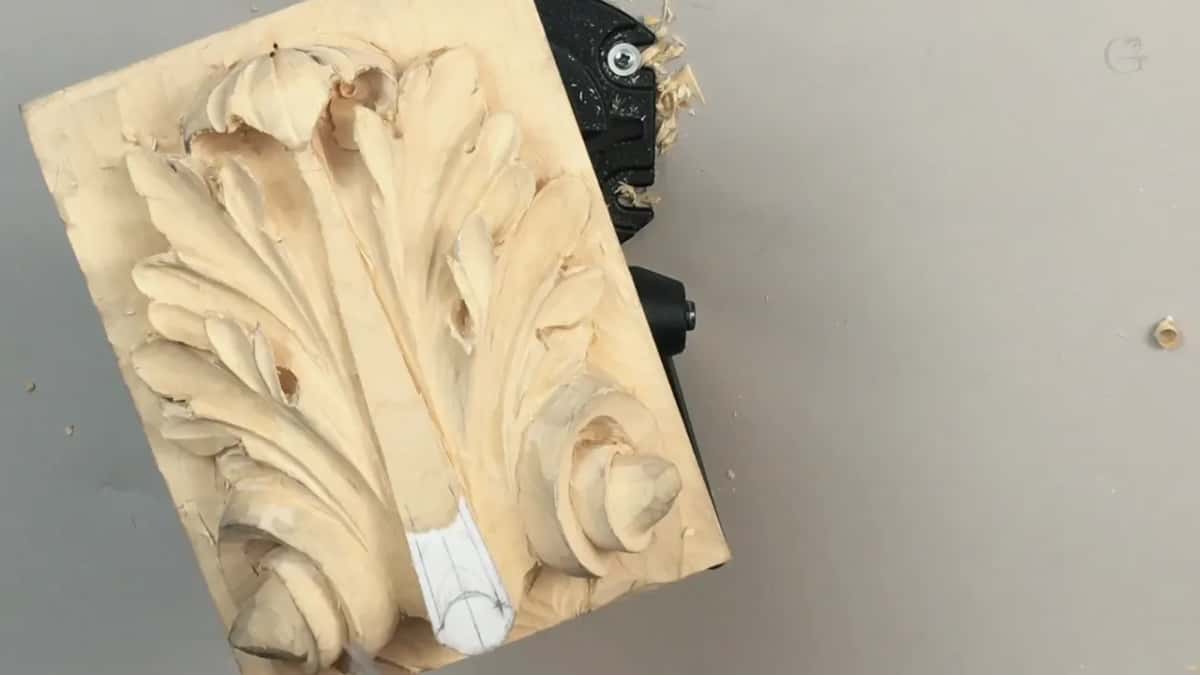
To carve the back of a fragile piece, I set it face down on soft foam made for an audio studio, acoustic foam, and I use small tools. Big tools create a lot of force, and you can still break it.
Want to watch the whole leaf get carved, over my shoulder, grid first and deep shadow last? Every lesson of this Roman acanthus course is open with tuition, and if you're new, you can start here. The leaf goes on in Carving Roman Acanthus 12.
How it's done
- Take each concave a bit at a time. Start with a 3/8 in (10 mm) number 9 on both sides. Attack the rough side from the opposite direction.
- Smooth the eye and pipe. Use the number 5, a quarter inch wide, for the transition.
- Leave wood below the pipe top. Rotate counterclockwise around the eye and leave a thin strip below the pipe top, since it is needed later on.
- Blend instead of reaching the edge. Halt the 9 about 3 mm from the edge, then blend in a number 5. A small ridge is fine.
- Undercut in a preliminary way. The number 1, double beveled, goes first, then a V tool to clean the junk out. Keep some meat for reference until you have checked that the height and the movements are the same.
- Stabilize what went thin. Dilute carpenter's glue with plenty of water, let it soak into the fragile parts, and carve after it's dry.
Frequently asked questions
Can you carve wood after soaking it in diluted glue?
Yes, once it has dried. One of the tricks for really fragile wood, I said while carving a lily box, is to soak the spot before any knife touches it, wait, then carve. Resin from the glue binds the fibers, so a very thin part is safer to work.
Does glue mixed with water take stain evenly?
Not always. On a Greek acroterion I saw spots, a blotchy look, where watered glue had soaked deep into the fibers before staining. Painted work has no problem with it, and for stained work I use a wood hardener sold for rotten outdoor wood.
Why did the original eye get ruined in lesson 11?
Too much came off in one direction. Where the eye meets the pipe is not as easy as it looks. I set it aside to think about a fix, and when I got to the second side I said I did not want to make that same mistake again.
What to carve next