
Alexander Grabovetskiy, woodcarver, School of Woodcarving · Published 2022
How do you start carving a molding by hand?
Quick answer: Starting a molding by hand is mostly about one scored line. A marking gauge scores the molding's highest point on its face and its side. A number 9 gouge brings the wood down to within about 1.5 mm (1/16 in) of it, and a router plane takes the floor right to the line.
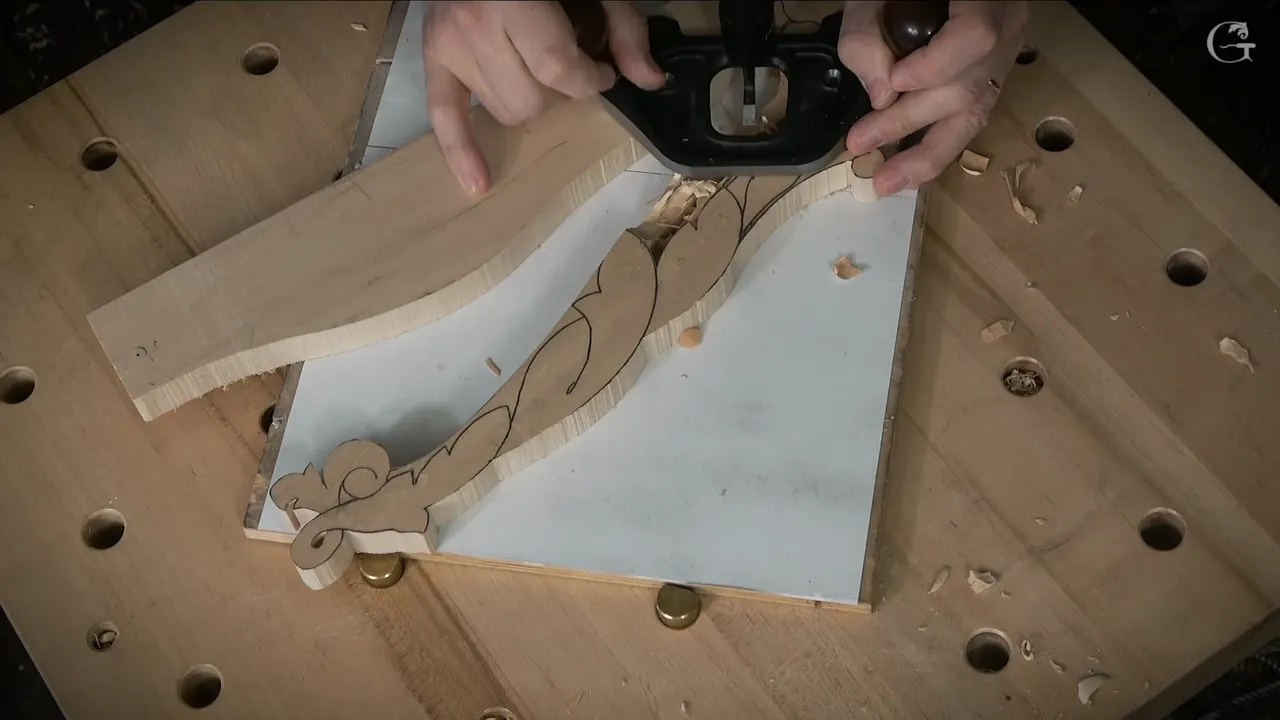
Starting a hand carved molding is a matter of lowering wood to one scored line. On this acanthus piece I marked the highest spot of my two moldings with a marking gauge, on the face and on the side. A number 9 gouge then took the wood down close to that line, and a router plane finished it right on the line. That's lesson 1 of Acanthus over Moldings.
The detail is an acanthus leaf going right on top of a couple of moldings. I think it looks really good, and you can probably use it on your own projects, on paneling or on mirrors. In this lesson the leaf waits. What I do first is lower the molding parts, and I don't rush it.
Below you'll see which tool did each job, how near the line I stayed, and the one spot where a corner that digs too deep leaves a line.
Lesson 1 in five lines
- Marking gauge lines show where each molding stands highest, front and side.
- The number 9 comes close to the line, but not exactly to it.
- Then the router plane, riding on the strip that came off this same board, takes the floor to the line and to the height of the last piece.
- Each wall here takes two moves, one straight down and one level into it.
- Keep the tool's corner out from under the high edge of a molding.
What wood and thickness suit a carved molding?
Basswood, the same wood I usually use. In Europe it's limewood, the same wood under another name. Other furniture grade woods work too. Mine gets white paint, so basswood is fine here, and on a piece of furniture you can use walnut, cherry or any other wood.
I have to tell you something, though. Some people think that if it's going to be painted, great, poplar is okay. I highly suggest you don't use poplar. It's okay, but it's a little harder to carve, and maybe it's just my own opinion, but it doesn't feel good when you carve it. Much better to use cherry, or even oak. Even oak beats poplar, in my opinion.
My board is 7/8 inch thick, 22.23 millimeters to be exact. Seven-eighths isn't a must. A 3/4 inch board (19 mm) works, and so does one inch, which is 25.4 millimeters.
Where does this piece go on the panel?
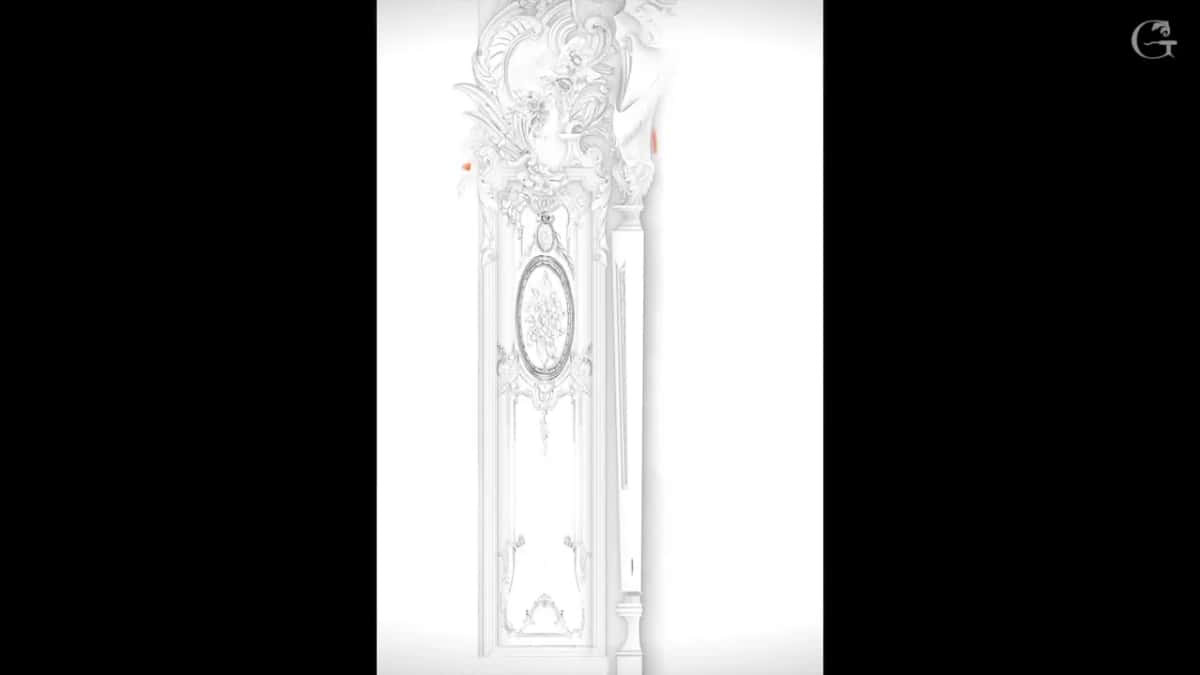
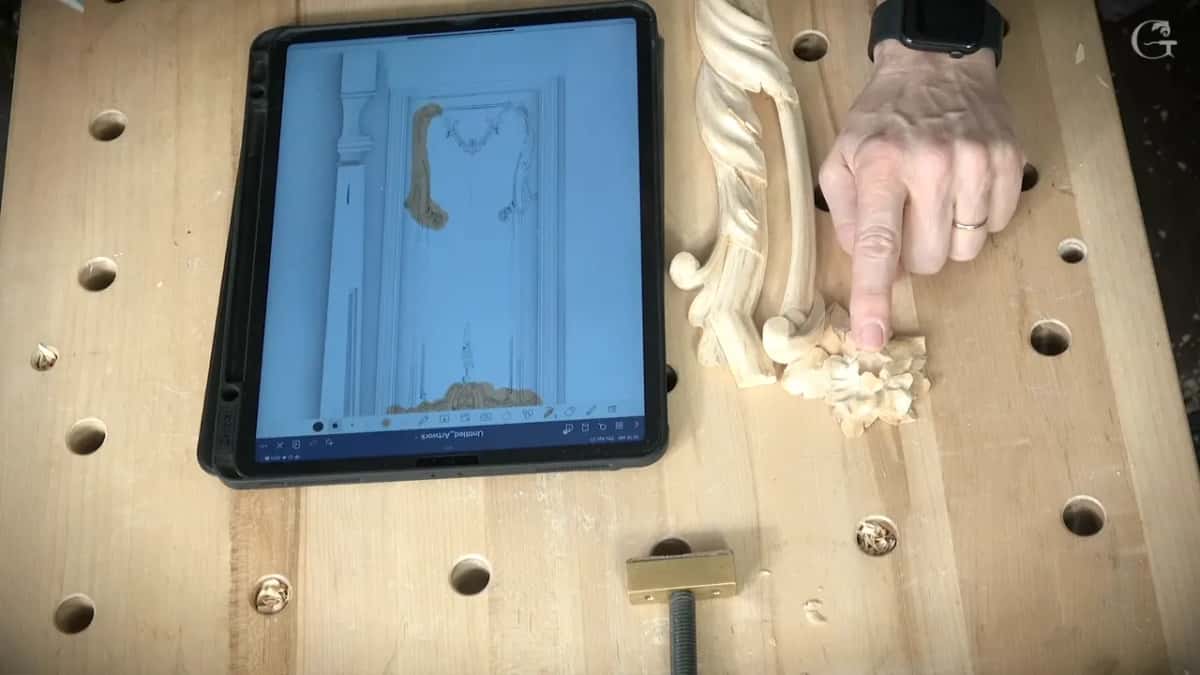
On my iPad I showed the whole panel. Its upper part is done, rosette and all, though I didn't film everything, because those details are pretty much the same. This piece goes in the bottom section. I made some changes there and didn't stick exactly to the original design, and I think it actually looks better. Its flowers will match the ones up top.
There are four pieces like this one for the same panel, plus another carved piece at the very bottom. Where the sections meet, they connect like a mitered molding. We're carvers, not technical people. Well, we are technical people, but we work with hands, pretty much. On my iPad I also work with hands.
This acanthus is one of many styles. It happens to be Venetian, with a raised part right in the middle of the leaf.
How do you mark a molding before carving it?
With a marking gauge, a common tool in woodworking. I highly recommend one, and you don't have to buy a really expensive one. A furniture maker probably wants to invest a little more money. For carving, any marking gauge with a sharp knife for the cutting part is going to work. Mine has a knife and a guide, and that's the marking.
Those lines are pretty much the highest spot of my moldings. There are marks on the side for the second molding too, though you would have to look really closely to catch them on camera. Later, on the opposite side, I had a line marked on the outside and from inside. That way I can look and see how close I am, and that line is the stopping point.
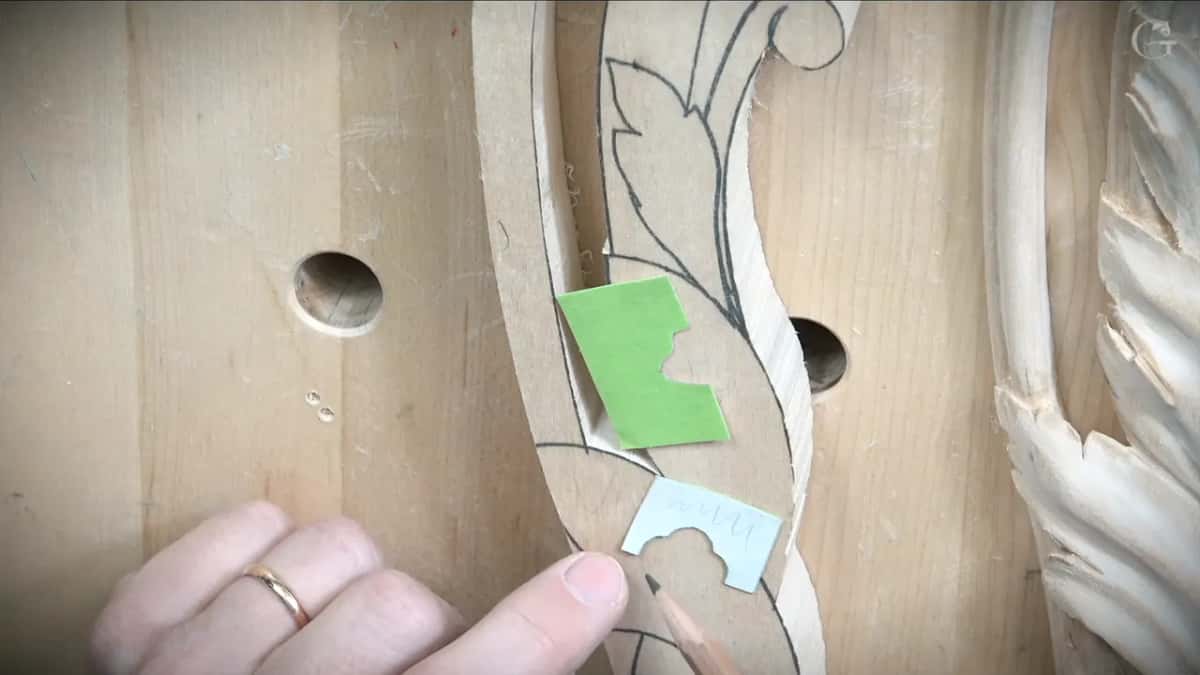
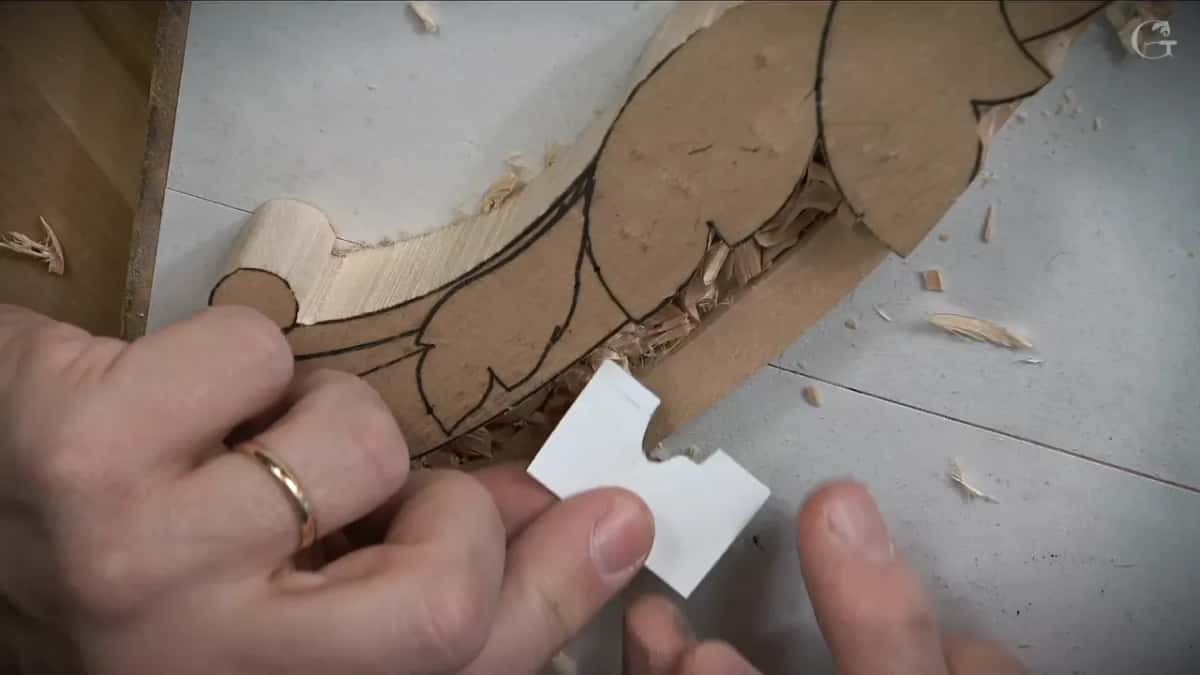
The profiles are two simple moldings. Nothing complicated. I drew each one on normal printer paper, then stuck green tape on it to make it more solid. Blue tape works, even Scotch tape. These are my gauges, and with them it's a lot easier to trace and check if a shape fits. Mine fits really good. Almost good, right? They stay close by on my workbench, so I can reference them any moment.
What holds the blank down while you carve?
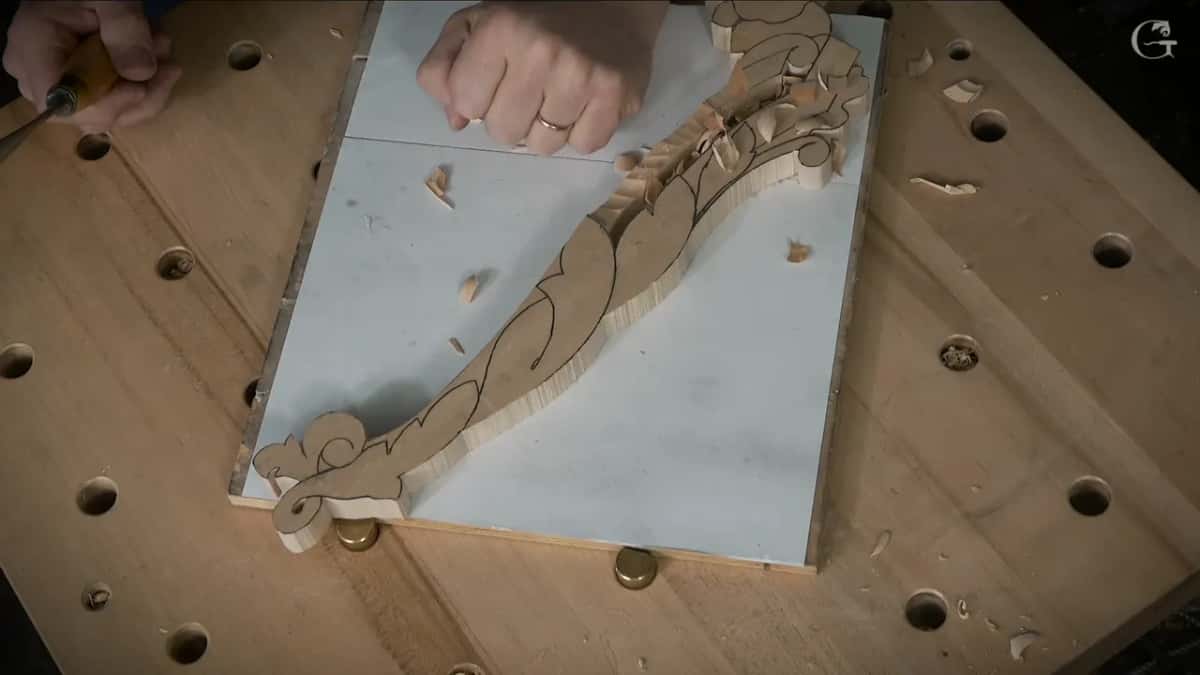
My workbench has hardware, and to a certain degree it could hold the piece. That isn't really practical, I think, because it gets in the way. A sandwich method works better, I believe, with a piece of plywood, printer paper and glue.
Any glue works, even Titebond, and I use Titebond a lot. It's kind of hard to clean, though, so lately I use more spray adhesive. Mine is Loctite, a high performance one that I kind of like, but it can be any brand. My board is only an old half inch (13 mm) piece of plywood, finished on one side and not the other. It was just laying around my shop. Two sheets of printer's paper go on, and I take the old one out first, because it's already messy looking.
Byzantine acanthus lesson 1 spells out the order I spray in, so I'll skip it here. The blank goes on diagonally, so I'm using the whole surface, and a part sticking out is no big deal. The one downside of spray adhesive is dust, because it collects it. That doesn't bother me. These details are quick, maybe one or two days each. Taking the piece off the board comes at the end of the course, in lesson 10.
Which gouge takes the first wood off?
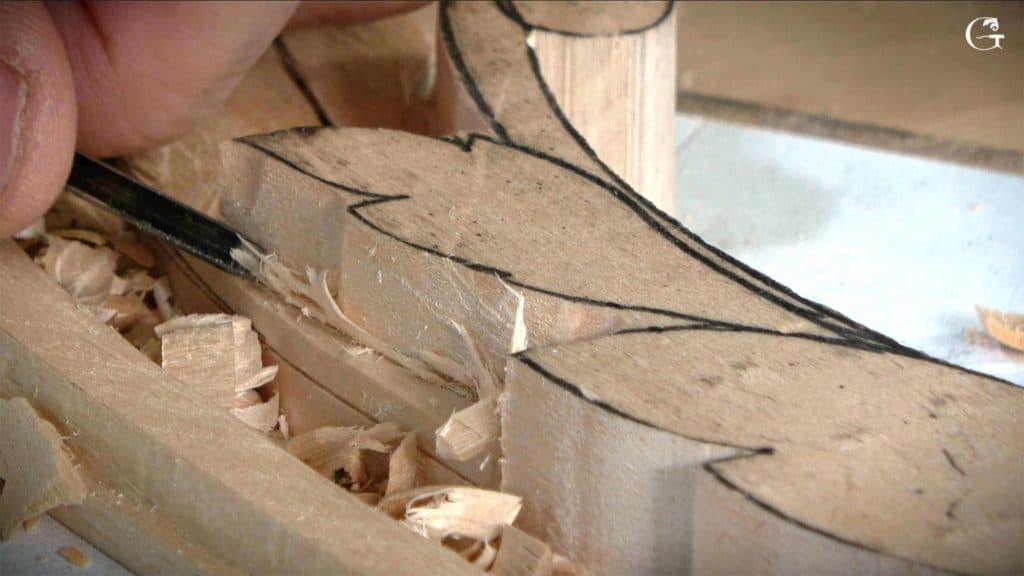
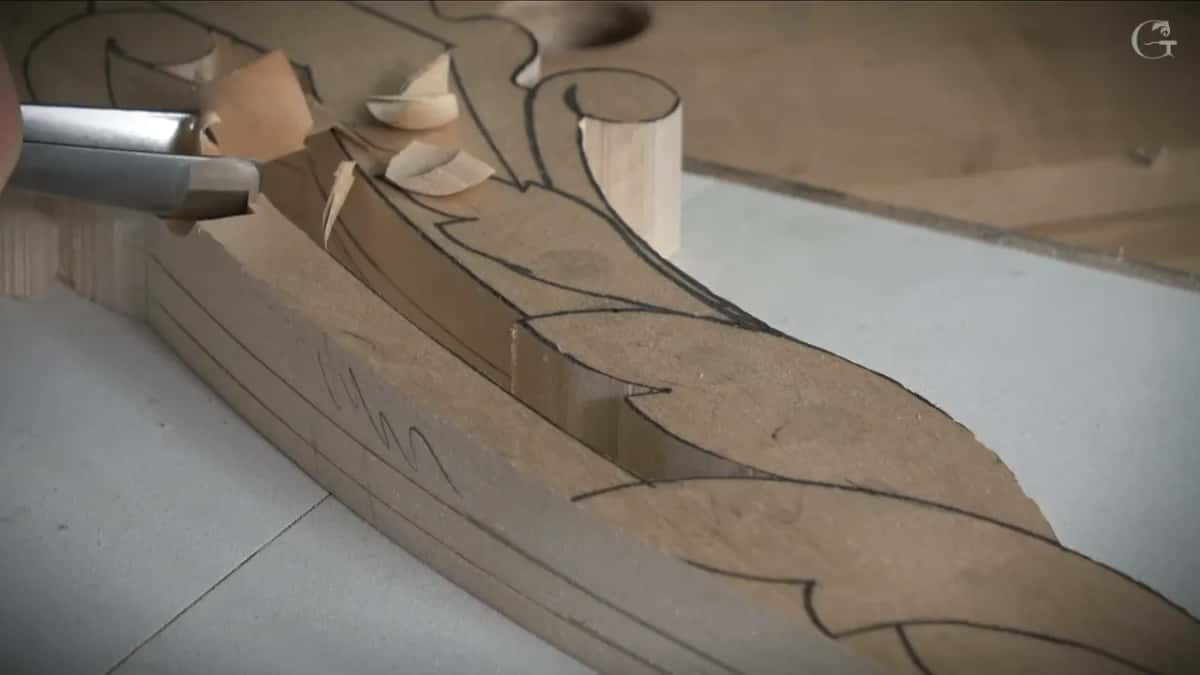
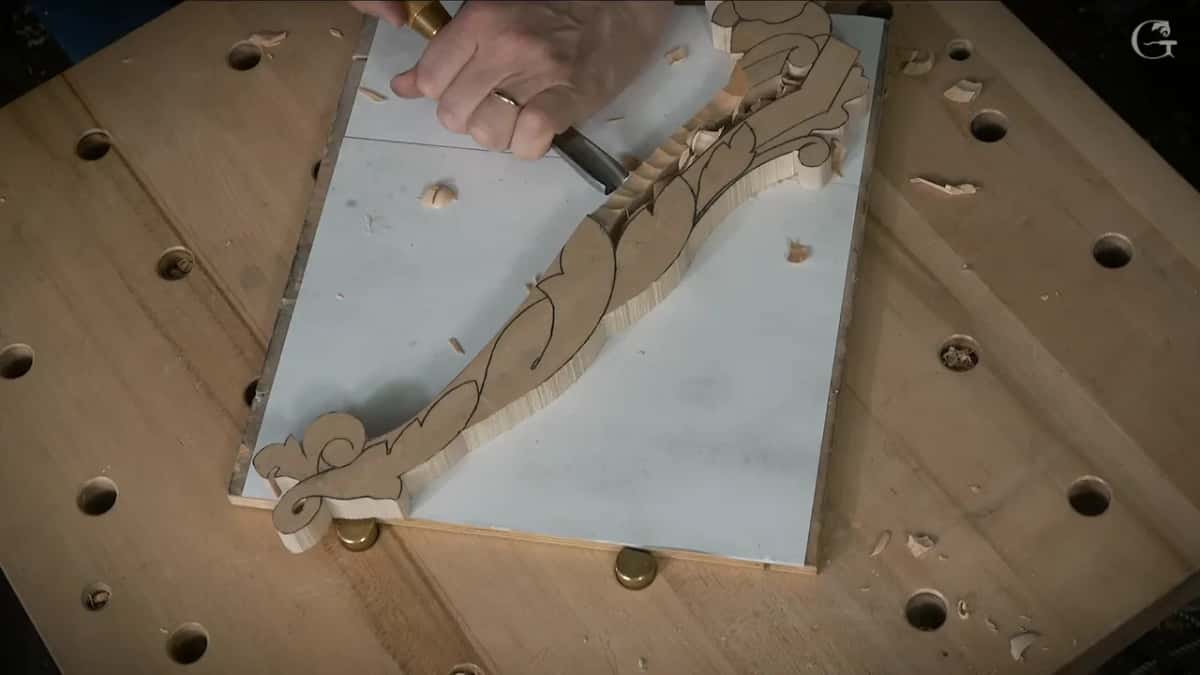
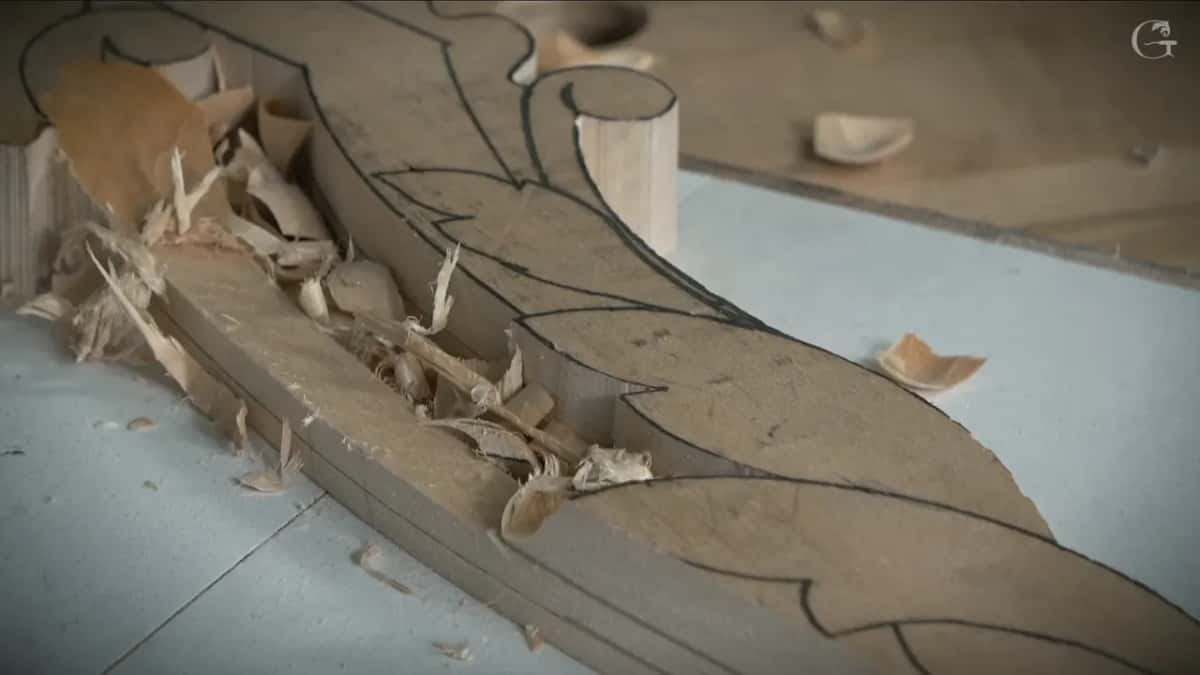
My first tool was a number 9 of about 20 millimeters, roughly 3/4 inch. Any gouge will do. A 9 works, or a number 11 veiner. I lower to the line, but not in one pass, and I keep an eye on what I'm doing.
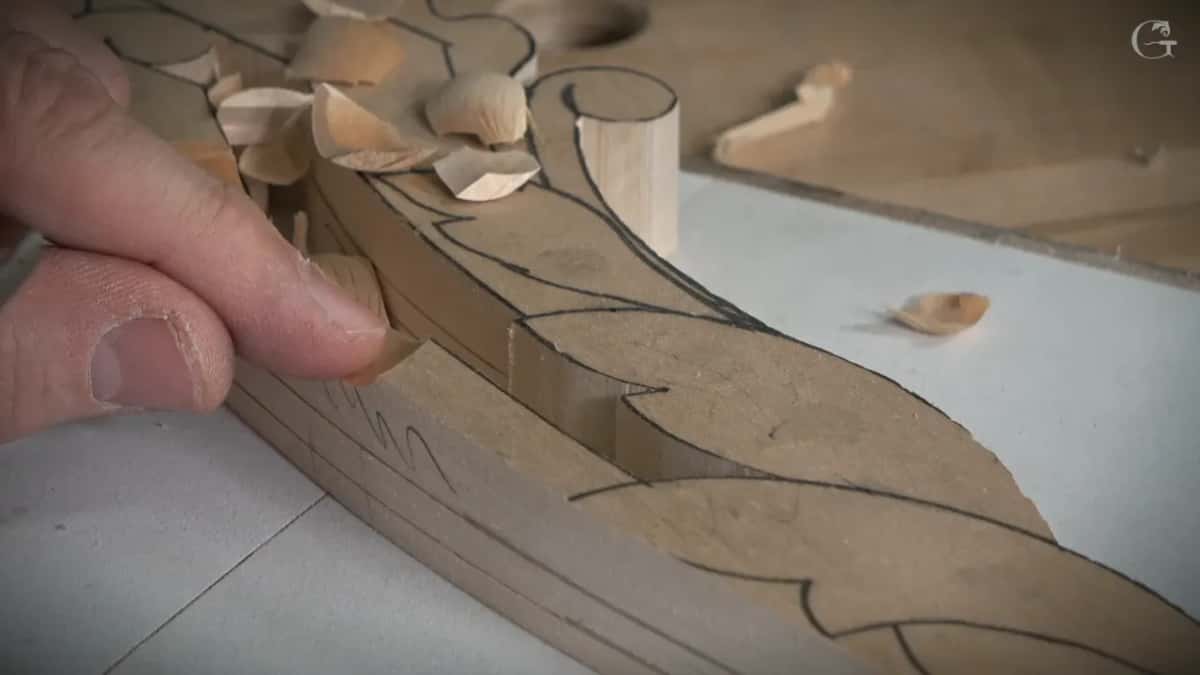
Watch how I rotate the tool on every pass. Really important. Done slowly, with the full rotation, it gives me a slicing cut. My hand sits really solidly on the surface, and that gives me a lot of control.
Now look at the other side. The gouge catches the grain over there and it breaks off, so I keep an eye on it, because I don't want a mistake. Sometimes it's a good idea to attack from the right position, and in my case that was from this side. When I came from that side, the opposite side stayed clean.
Closer to the line I get, more careful I get. No rushing. I use pretty much just the edge of the tool, and then I stop almost on the line, because I want a different tool to make my final surface. Furniture Panel 36 has a page on why an outlining cut stays above the floor.
Why finish the height with a router plane?
Every furniture maker should have a router plane. I think every wood carver should have one too, because it's such a nice tool. Well, I shouldn't say every carver. For small figurines you really don't need it, but for furniture or architectural carving it's probably one of the tools you should have in your arsenal.
Two brands I really like, and don't get me wrong, I'm not selling anything. Lie-Nielsen is one of my favorites, really good quality, beautiful tools. It lacks one thing, though, the range of blade widths. The other brand is Veritas, and in my opinion, for this work, it's the much better tool. I'm not comparing quality, because no doubt Lie-Nielsen is among the best. With Veritas I can change blades and go from one millimeter all the way to one inch, and sometimes you really have to get into the tiniest spots.
Veritas is a brand of Lee Valley Tools. Furniture Panel 38 asks what a router plane is used for in wood carving.
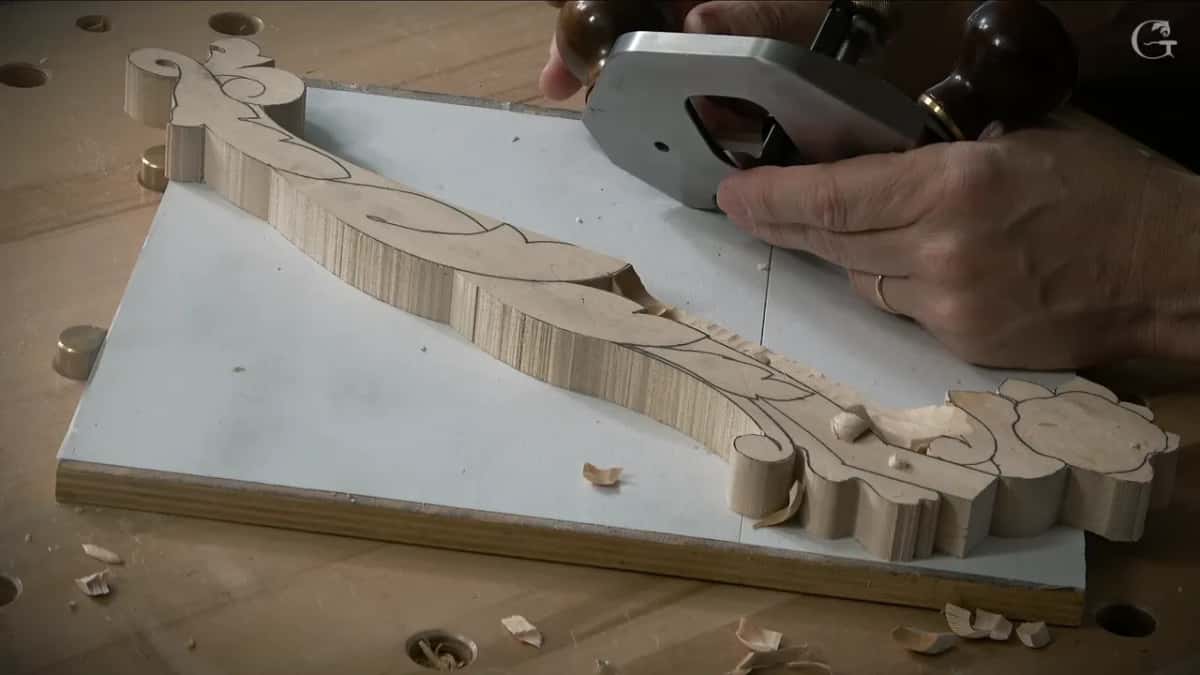
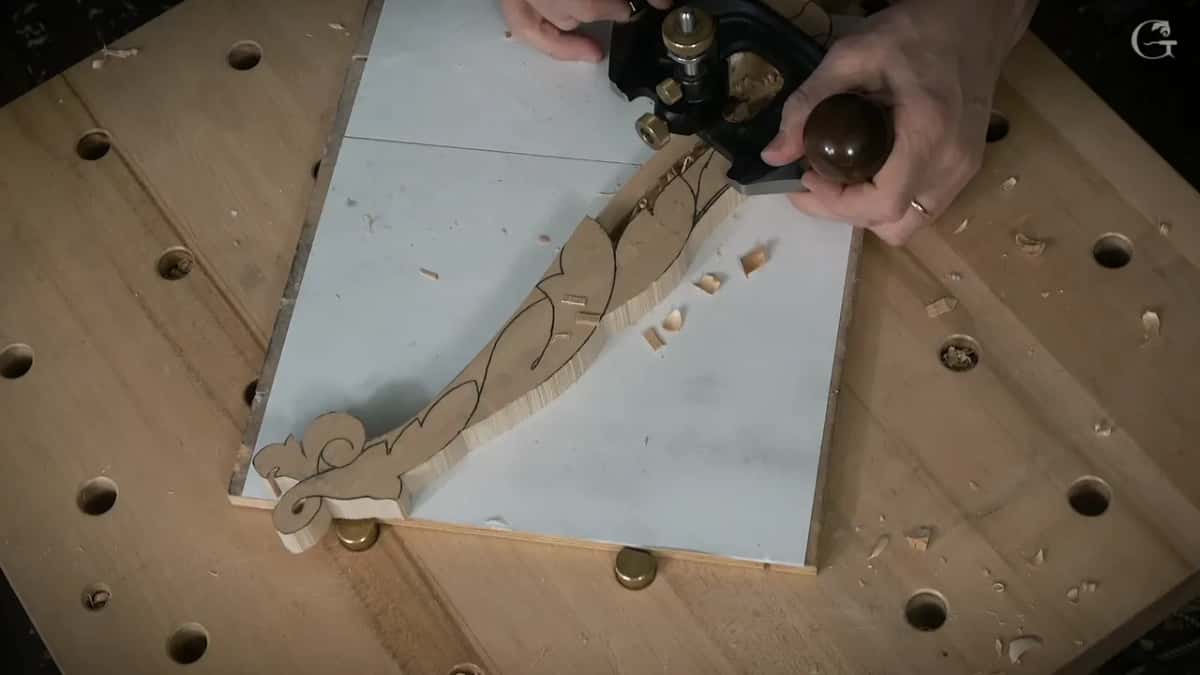
Swapping the blade is a quick process, just a couple of seconds. I put in a quarter inch blade, 6 millimeters, and thought it would be enough.
For support I use a second board. That board is the same one, just the piece that came out of it, which I didn't throw away, and it holds up the opposite side of the tool. No forcing the plane. Mostly I use one corner of the blade and make rotation movements, little by little. With that second board I won't slip, and it helps a lot.
Once the second board comes away, the floor is right on the line, and I know for sure it's the same height as on the previous piece. Wonderful. I keep that board, obviously, since I'll need it again. Tuition opens this course and the rest of the school.
The order I took my tools in
| Tool and size I named | What it did on this piece of molding | My words |
|---|---|---|
| Number 9, about 20 millimeters wide | Took the first wood down toward the line I scored | Rotating, really important |
| Veritas router plane, quarter inch blade | Brought the floor to my line, riding a second board | I don't force |
| Flatter number 3, about three-quarters inch | Went straight down with the tool placed on the line | That 90 degrees |
| Small number 12, about 3 mm | Dropped straight down into the corner I call a triangle | Maybe my mallet |
| Double bevel number 1, 16 mm | Followed the curved line after a number 2 looked small | I have curvature |
| A tiny number 11, 2 mm | Got rid of some of that mess at the end | That's really clean |
If those numbers mean little to you yet, All about tools for Wood Carving is the course on tools.
How is a straight wall carved down to the line?
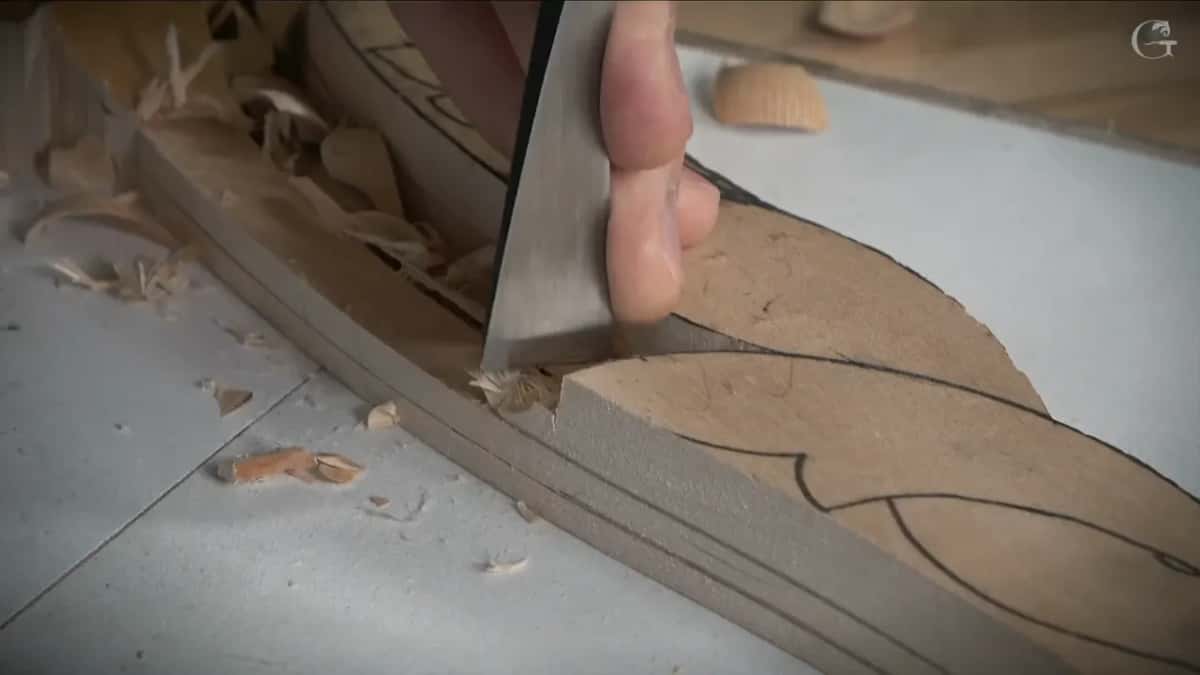
With a flatter tool. I used a number 3, about three-quarters of an inch, and maybe a mallet. The tool goes on the line and straight down, 90 degrees. Then I clean it a little bit.
Essentially it's a two-step operation. One cut goes straight down at 90 degrees, and then a horizontal cut meets that first cut.
On the next section I wanted a number 9 without a big heel. Beside it I laid a brand new number 10 from another brand, close to a number 9, and from the side that one showed a really, really high bevel. I had to regrind mine and got rid of that high heel, and it really helps for straight down work. Later in the lesson I put it this way. My number 9 is a really low bevel, so it gets inside the fibers with a lot less fight.
A small mallet does the chopping, 12 ounces (340 g). Please pay attention here. Each step, my tool falls right in the middle of the last one, and then the next, and the next. A lot less stress on the tool, a lot less work for you.
I get almost to the line and stop. At first I leave about a 16th of an inch (1.5 mm), maybe a little more. A little later it's about one millimeter or so. When I need to get closer, a push cut without the mallet does it. Going to the line itself at this point would be a big mistake, because I need some space.
I laid my pattern down too. It looked half a millimeter off, but it will come out exactly the same as it's supposed to. Venice Room 140 has its own page on carving on the line or next to it.
That's only one of the methods. Shaving some waste first and then going straight down also works, and both ways are fine for me. Where another part of the carving lies in the way, as it did on my piece, that's almost impossible to do nicely. So here I prefer to go straight down first, then clean it.
The same method works for pretty much any type of molding. Sky's your limit.
Which small tools reach the corners and the curve?
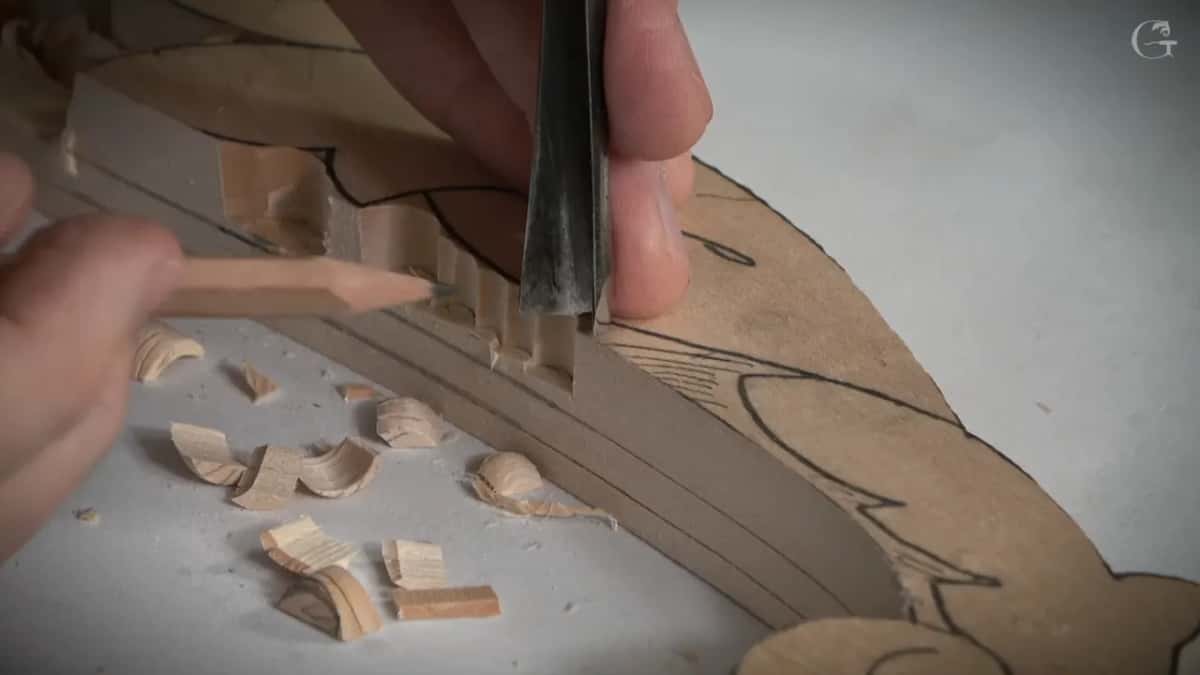
First a spoon gouge, laid right on its side, cleaned the area. Next came a number 12, a small one of about 3 millimeters (1/8 in), for the corner I like to call the triangle. The tool went right into that triangle, straight down, maybe with my mallet.
The other molding had its own triangle, and there I really needed a relief cut, with a number 11 of about 7 millimeters (9/32 in).
The curved line was a hunt. My number 3 looked like too big a sweep, so I picked a Swiss made number 2, and that still wasn't going to work. A bigger number 2, 50 millimeters (2 in), looked okay but still a little too small. Next would be 60 millimeters, or else a number 1. Because there's a curvature, I grabbed the number 1 with a double bevel, about 5/8 inch, 16 millimeters, and it needed a little stropping. Carving Tool Sharpening is the course on that. Undercutting there would be a huge mistake, and I didn't want to rush it either.
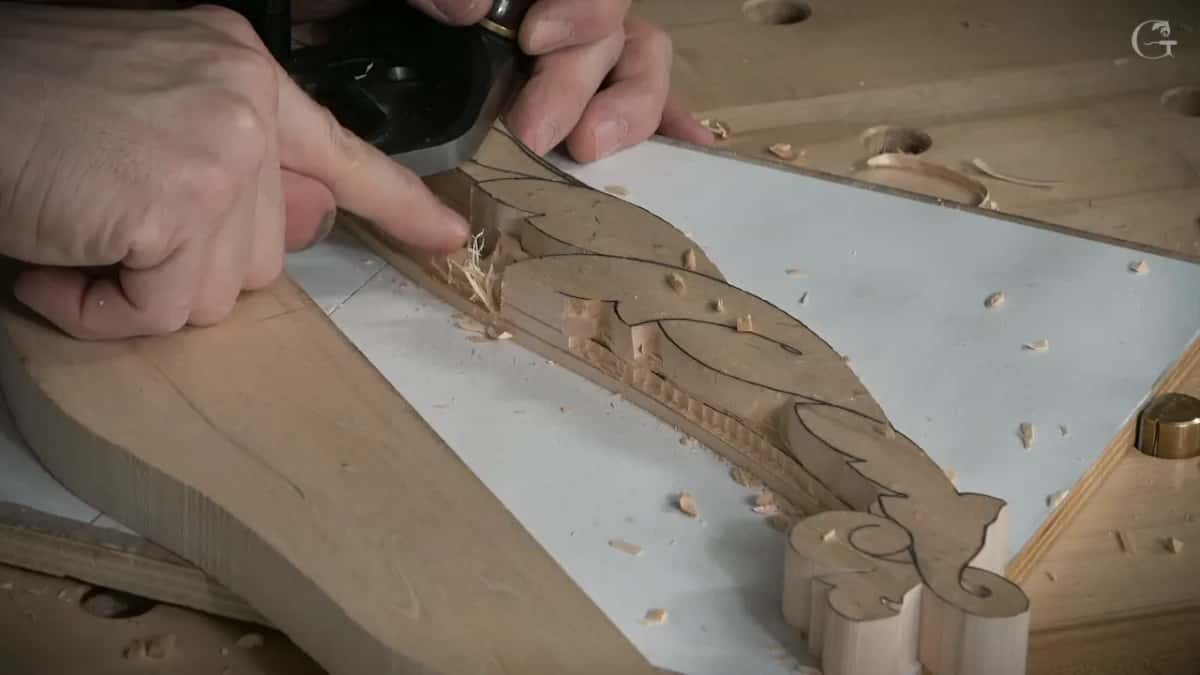
What mistake do I watch for under a molding?
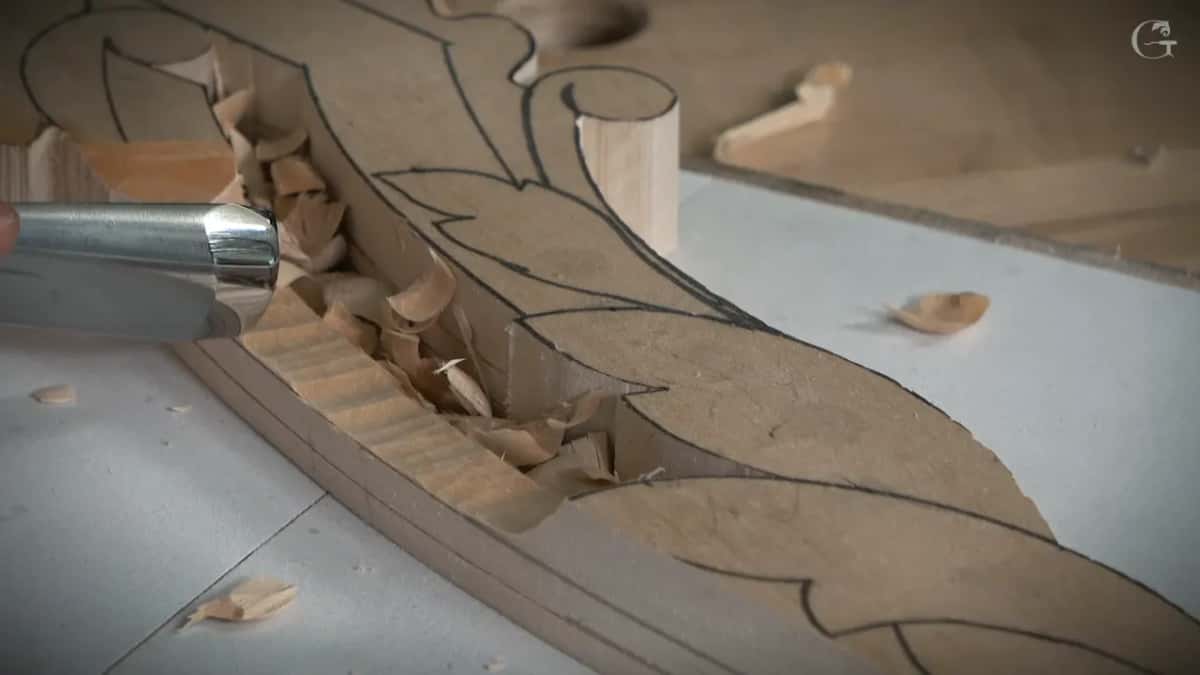
Don't dig with the corner underneath the higher part of the molding. Go too deep and it's possible, and you'll create a line. For paint grade that's okay, but not for stain grade, and there it's a big mistake.
The reason is what comes later. The molding goes on underneath, the acanthus movement gets undercut, and the molding continues that way. Dig too deep on that line and you damage the future molding, and it won't look natural. I don't want to see a line going straight down.
Near the volute I stay away too, maybe the 16th of an inch, one mil and a half. That volute will be the highest spot. Even if it goes downhill, I still want to be safe. Better to be safe than sorry.
What comes after the levels are down?
I take my pattern and reestablish my drawing, all the way to the edge, where there's going to be a miter look, and connect the lines. To clean up the mess I used two millimeters or two and a half, without forcing and without pushing too hard. At the very end it was a number 11 of two millimeters.
For me it's really important not to mess up, and it's probably the same goal for you. That would be silly. Near the end of the lesson I lost the position, and I guess that was a long day.
Then it's really clean, and I'm happy with the result. The course goes on in lesson 2, lesson 3, lesson 4 and lesson 5.
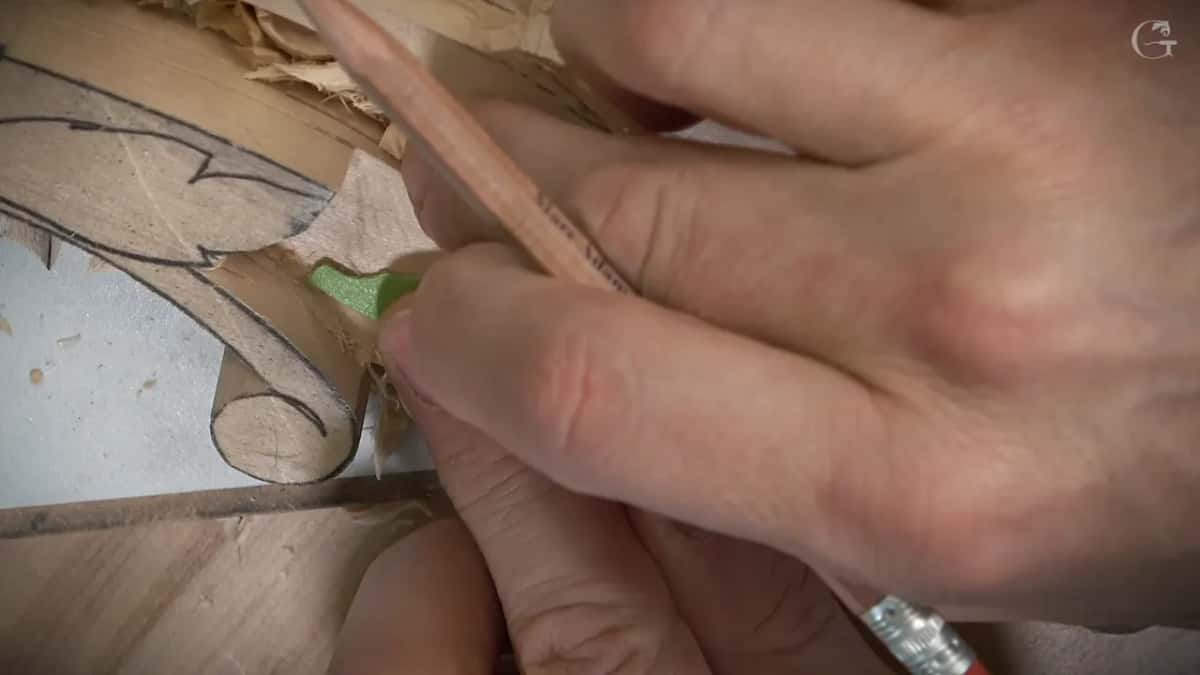
Can you hold a pencil on a line? Can you push a gouge and stop before you get there? Then you can start a molding the way I did in this lesson.
How it's done
- Pick the wood and the thickness. I used basswood, seven-eighths of an inch, 22.23 mm. Three-quarters of an inch or one inch is fine too.
- Score the molding heights with a gauge. A marking gauge marks it on the face, and I mark the side as well, so I can check my depth against the line.
- Make paper gauges of the profiles. Draw each molding on printer paper, put tape on it to make it more solid, and keep it close by on the bench.
- Glue the blank to a board. Plywood, printer paper and spray adhesive, with the blank laid diagonally to use the whole surface.
- Lower toward the line using a number 9. Rotate the tool on every pass and stop short of the line.
- Take the floor down with a router plane. Let the cut-out piece of the same board support the other side, use one corner of the blade, and don't force it.
- Set each wall with a straight down cut. A flatter tool goes on the line at 90 degrees, then a horizontal cut comes in to meet it.
- Put the drawing back on. Lay the pattern down and reestablish the lines out to the edge.
Frequently asked questions
What size router plane blade do you use for carving?
I like router planes where I can change blades, because sometimes I have to get in the tiniest spots, like a millimeter or a millimeter and a half. On this molding I went to the 6 mm one, a quarter inch, and I thought it would be sufficient. The change took just a couple of seconds.
Is basswood good for a painted carving?
In my case the panel gets white paint, so basswood works fine, and in Europe the same wood is called limewood. My strong advice is not to switch to poplar just because it will be painted. Poplar is okay, but a little harder to carve, and to me it doesn't feel good.
How much wood do you leave before the final pass?
Maybe about a sixteenth of an inch, maybe a little more, or about one millimeter between the line and my gouge. I need that space so a different tool can make my final surface. Going to the line itself with the gouge is a big mistake, so I stop short and let the router plane finish.
What to carve next