
Alexander Grabovetskiy, woodcarver, School of Woodcarving · Published 2022
What is the boasting stage in wood carving?
Quick answer: The boasting stage is the first pass of a carving, where I set the main 3D form, every shape, movement and curve, before any detail goes in. My floral and molding course shows it in lesson 10, where I worked the left side of the panel this way and the flowers had to wait until after that.
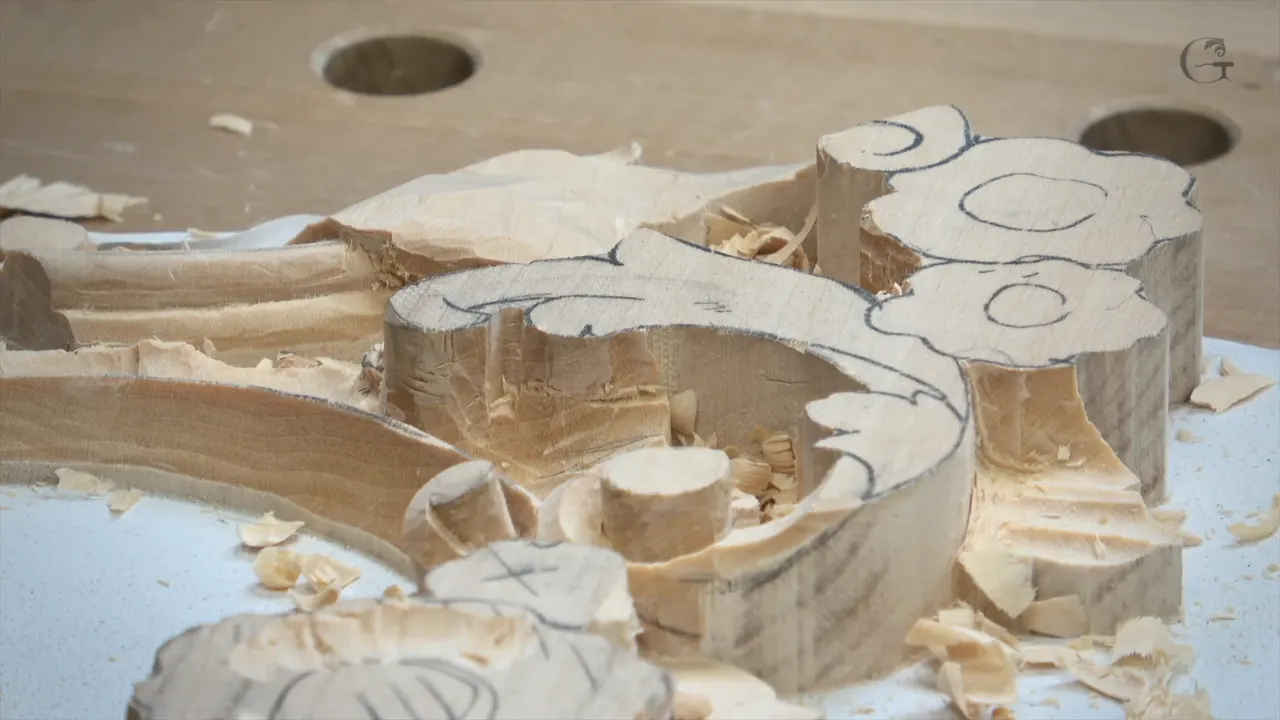
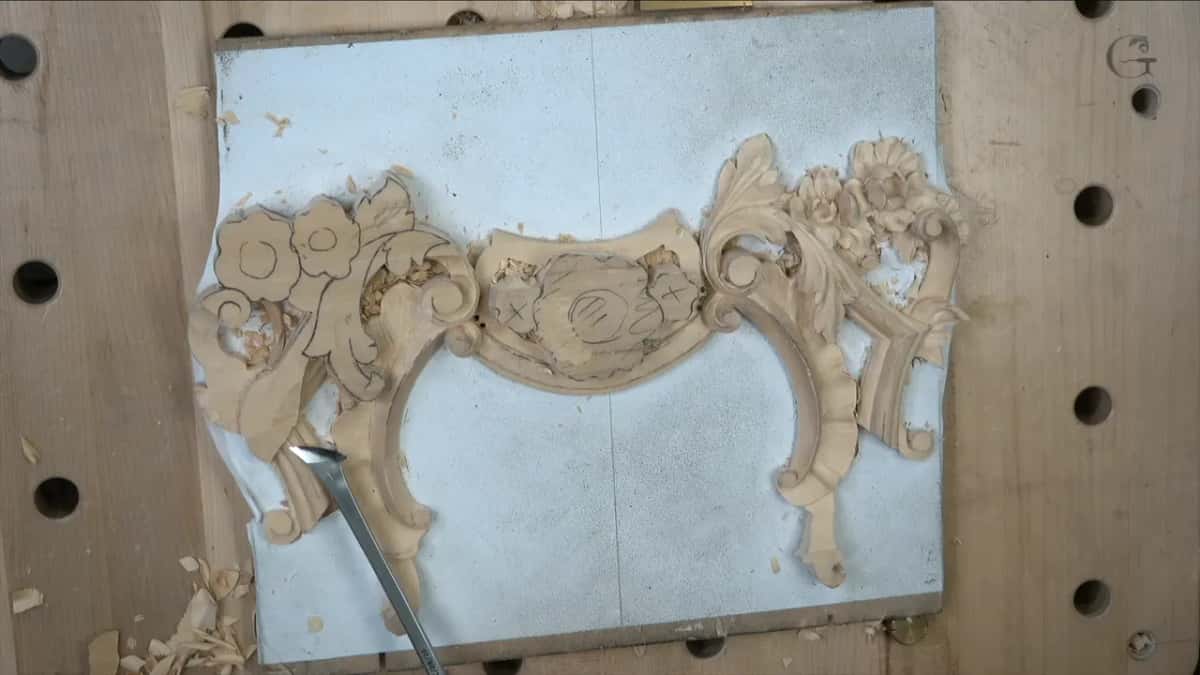
The boasting stage is when you set the main 3D form of a carving, the main movement, and leave every detail for later. "We call it the boasting stage," I said at the start of lesson 10 of this floral and molding course. Without the details, I worked my shapes, movements and curves in three dimensions, and the flowers waited.
Have you looked at a carved panel and gone straight to the flowers? Did your eye skip the plain curves under them? Those plain curves come first on the bench.
This page follows lesson 10 in the order I carved it. Every tool size is the one I said on camera, and lines from my other courses are named and linked where they show up.
Six lines on the boasting stage from lesson 10
- Form first, flowers after.
- Any flatter tool works here, and I said even a knife would do.
- One flower goes on top here, where it went under on the first piece.
- I work from the outside in, and when the slope runs the wrong way, I walk around the bench.
- Triangles get a relief cut first.
- A wall of spare wood stays until the shape is set.
What does boasting mean on a carving?
Boasting means setting the main movement of a piece while the details wait. This side started the same way as always, with the big 3D shape before anything else. Back in lesson 1 I called it stage number one in carving.
I used the same idea on a grape onlay, where I split the work into three stages and said the first is roughing out, just to get an idea of the 3D movement, like blocking in. My piece looked really rough there. That is absolutely fine, I said, because it is a roughing stage.
Then I compared it with building a house. Stage one puts in the basement, which is the foundation, and the second stage starts the framing, which is still rough but already about how the piece should be shaped. In that same lesson I named the biggest problem I see in my in-person classes, time after time, which is people working on details at the beginning. That is no good.
Boasting is the quick part, too. Over a set of Hashemi flowers I told the camera, "I know it doesn't look appealing yet, but that is just the boasting stage, the quickest stage." The details come after, and those take the longest.
Boasting also has a limit. On a Greek acanthus leaf I drew a depth line on the block, then a second line about 3 mm, an eighth of an inch, away from the first. I said I would not pass it in my first stage, which is the boasting stage. The final clean line waited until almost the end of the carving.
Which tool should you use for boasting?
Use whatever flatter tool is more comfortable for you. A skew would work, I said, or a normal chisel, or even a gouge such as a number 7, 5 or 3, because for the boasting stage it is not a big deal. A little later I added that you can use even just a knife.
My own pick was one flat tool, and I kept going back to it through all three videos. "I do love that tool, by the way," I said. "Really love it." Later on I explained that it is just my preference nowadays, and even my preferences change, because I carve every day and get tired of using the same tools over and over. That's why I still collect old antique tools. This one was new, my new toy, and I like to play with my new toys.
A bigger tool saved me time on the waste. Near a curl in the second video I took a number 7, the bigger one, about an inch or bigger (25 mm or more), just to remove some extra material I didn't need.
How close does the leaf come to the molding?
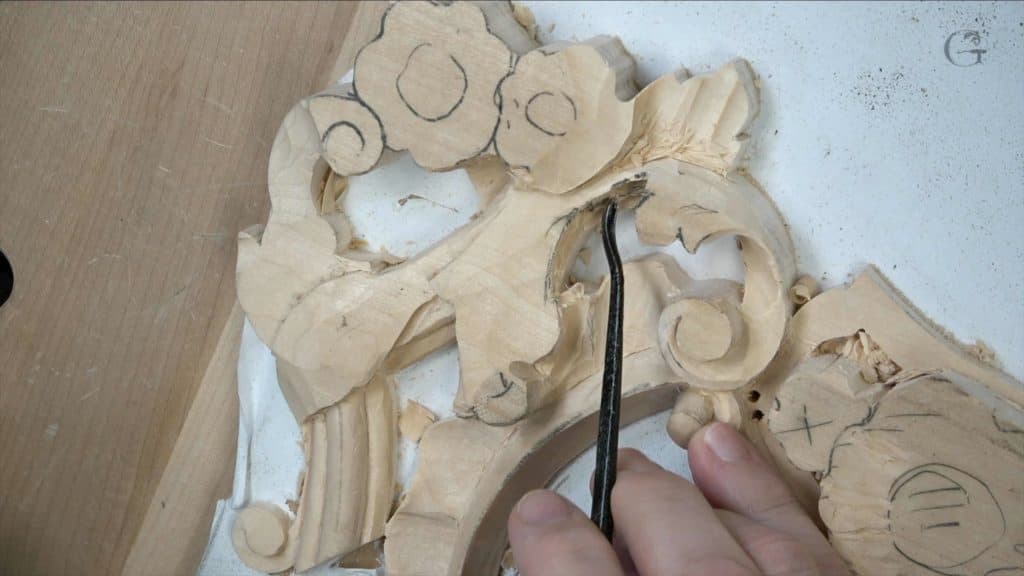
Two millimeters, near enough. My words were less than one eighth of an inch, like 3/32 or so, between the molding and the lowest spot beside it. The acanthus wraps the clover molding and falls away below it, following the profile rather than rising over it. I checked the first panel before committing, because the leaf there lies on top and wraps almost underneath without ever climbing high. Wrapping it fully underneath was possible, but I didn't think it was necessary, since it doesn't create a more beautiful look.
There was no room for a mistake, so I went carefully. Twice more along the molding I checked the space, and both times it was still about two millimeters. The clover molding itself was carved in lesson 8.
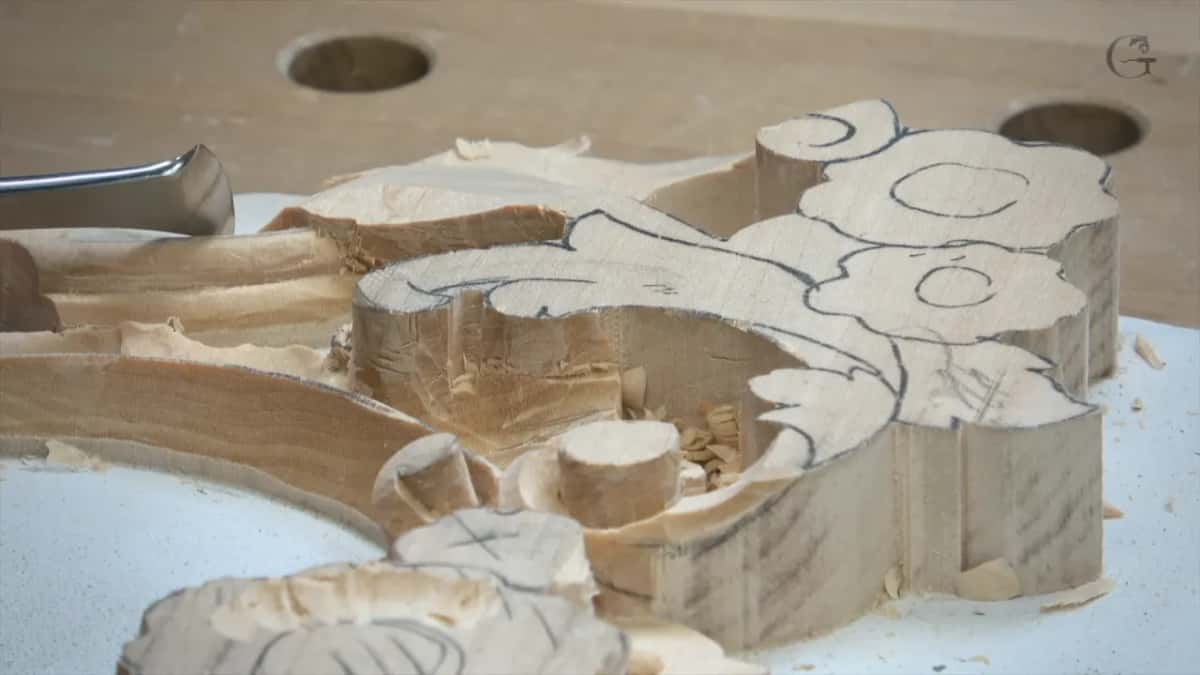
Other parts went much lower. Next to the flowers I was safe to excavate much deeper. One spot there will become just a leaf from those flowers, and when I checked how low I could go, it was really low, nearly all of it, with only about 3 mm (1/8 in) left at that end.
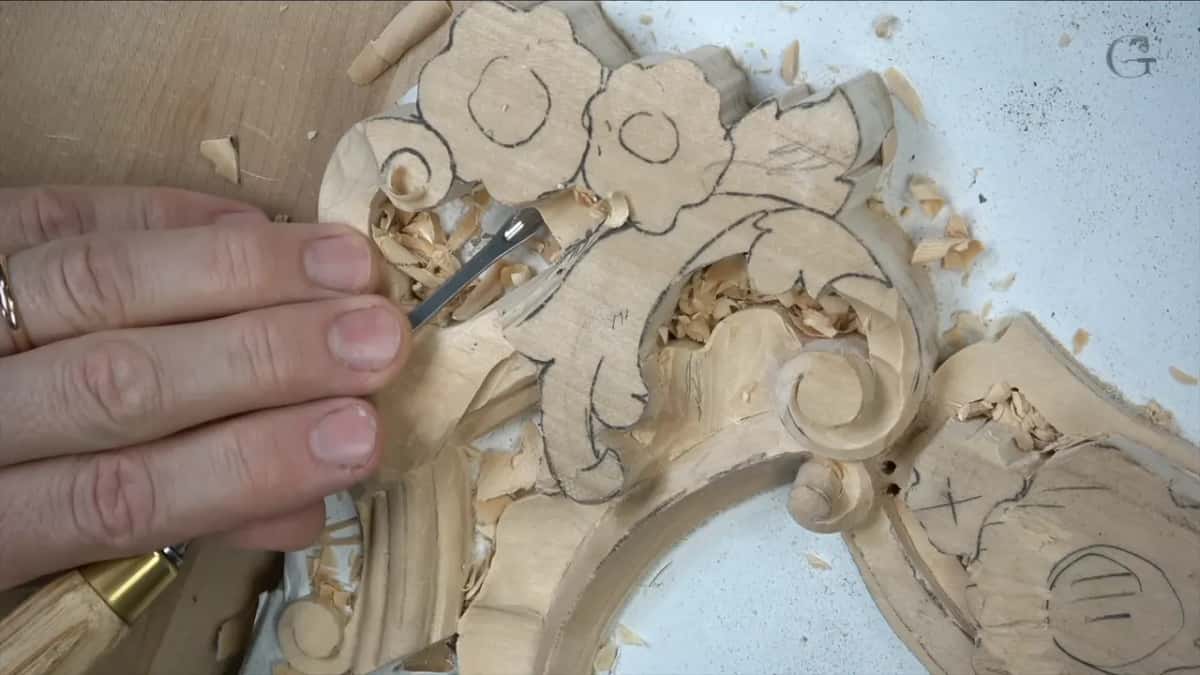
Why keep checking the first panel?
I carved the first piece already, and it shows me how I developed the overall movement. Several times I went back to it, and once I said it plainly, it's really, really important not to mess up. Halfway through the lesson I put the pointing machine on the first piece to see how low I had gone there, and I was really close. Going too low was the worry, because then I would have to fix my first piece. Those numbers are on the lesson 4 page, which is all about depth.
In the last video I measured once more. It was not always convenient, but I was right there even without the measuring, and I was glad I didn't excavate deeper, because that would have been a big mistake.
Should a mirrored pair match exactly?
Close, but not exactly, and that is on purpose. On the first piece one flower goes right underneath, and on this one I drew it on top. I thought it was a good idea to make some variation, which is something I like to do sometimes.
I did it on lion corbels too, with the tongue. On one lion head the tongue goes above the lower teeth and runs downhill, on the other it goes uphill, and they look almost the same, but they are not. "That way, people will know it is not machine done," I said. "Why not?" The pointing machine page covers how I copy a first panel onto a second.
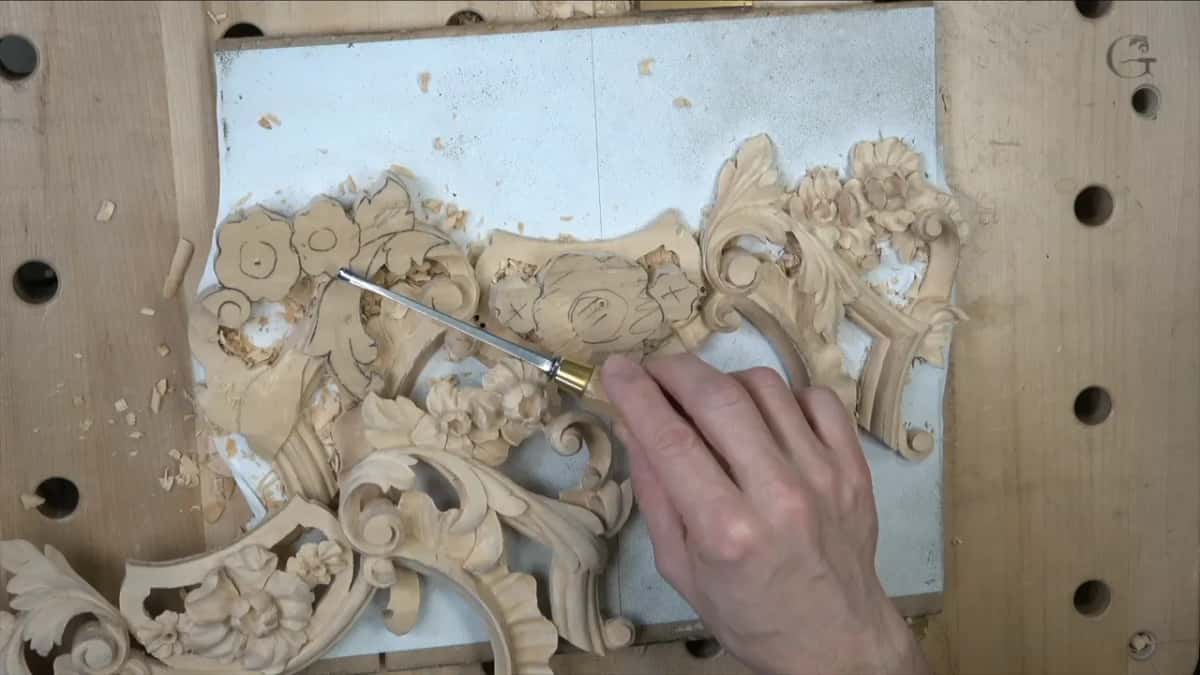
Which way should the gouge travel?
From outside inward, toward the line. It is always better to work that way, I said, because going the other way, the way I just had, you catch the grain sometimes and create a break. That was a kind of mistake, and I was okay with it. My tool was really sharp, so there was no problem, but it is not the safest way.
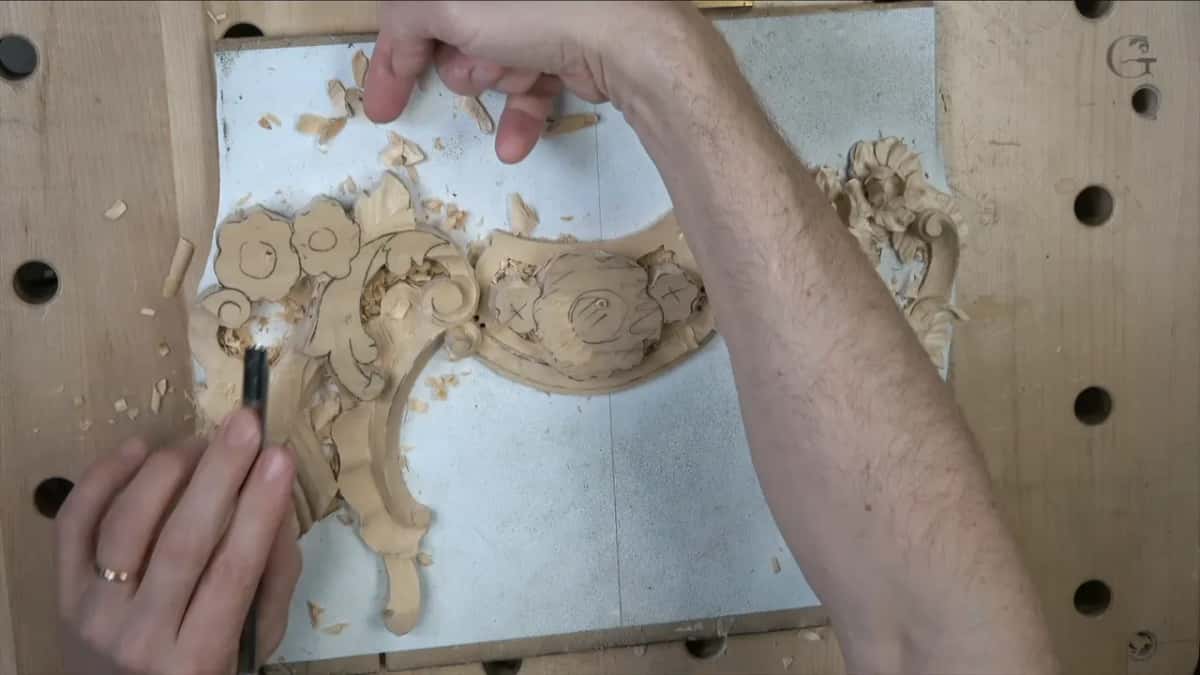
The slope gave me a second problem. It ran downhill from the line, with no good way to dig at it from where I stood, and I could either rotate my workbench or walk around. I walked around and came at it from the opposite side, which is always safer.
Later I broke a rule on purpose. I was carving against the grain and you could see the catches, but my tool was really sharp and I could still slice it and make the shape. Turning the table to the right position would have meant redoing my cameras, and that takes time. "If the tool is sharp, sometimes you can break the rule," I said. A few minutes on I said the answer to grain trouble is just sharp tools, one of the musts.
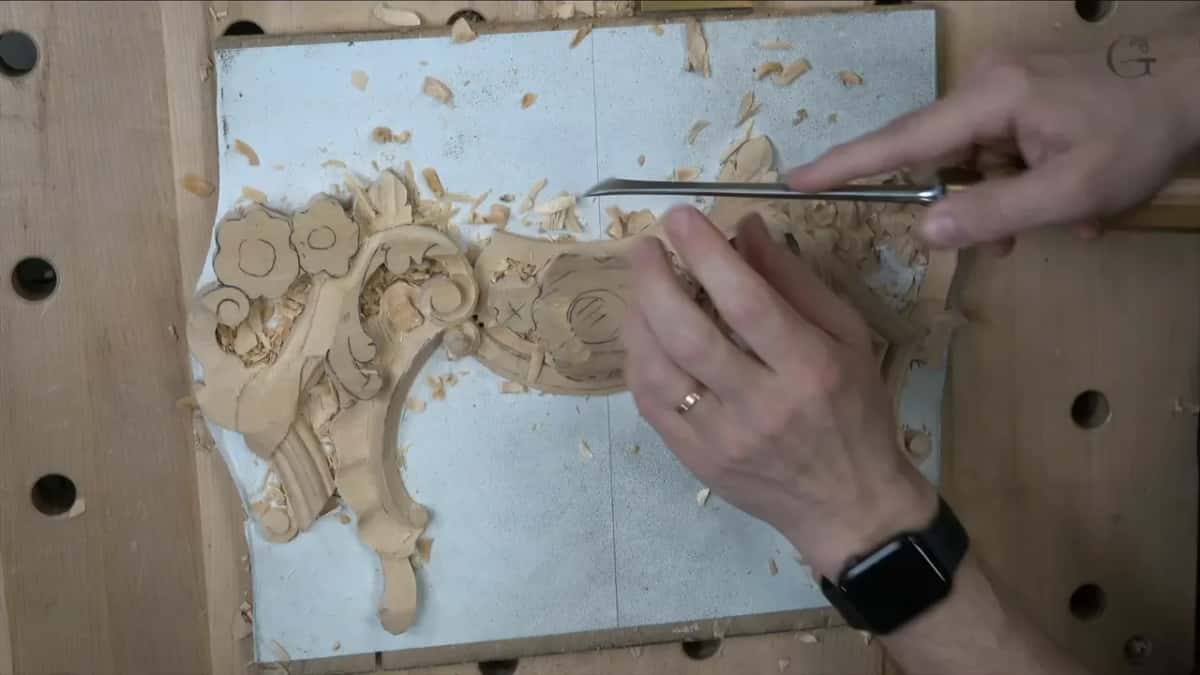
Where does the gouge stop short of the line?
About 5 mm (3/16 in) away, at first. I left that material between my line and the end of my pass, because it makes the cleanup a lot easier, and once it is clean I can chop straight down. For the line itself I took a straighter gouge, a number 2 at 12 mm, about half an inch. Not exactly, I said, but pretty close.
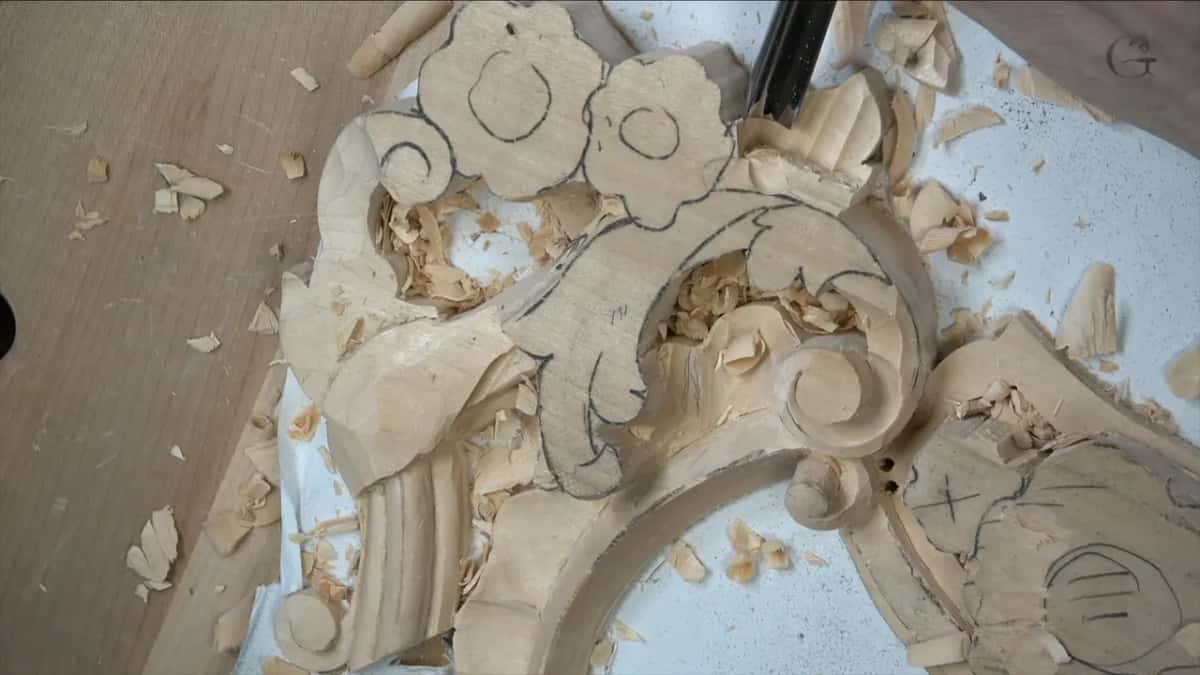
Then the angle matters. That last pare needs the blade at ninety degrees to the surface and nothing else. Placing your tool in the wrong position is the thing to avoid, I said, and then I just pared it down.
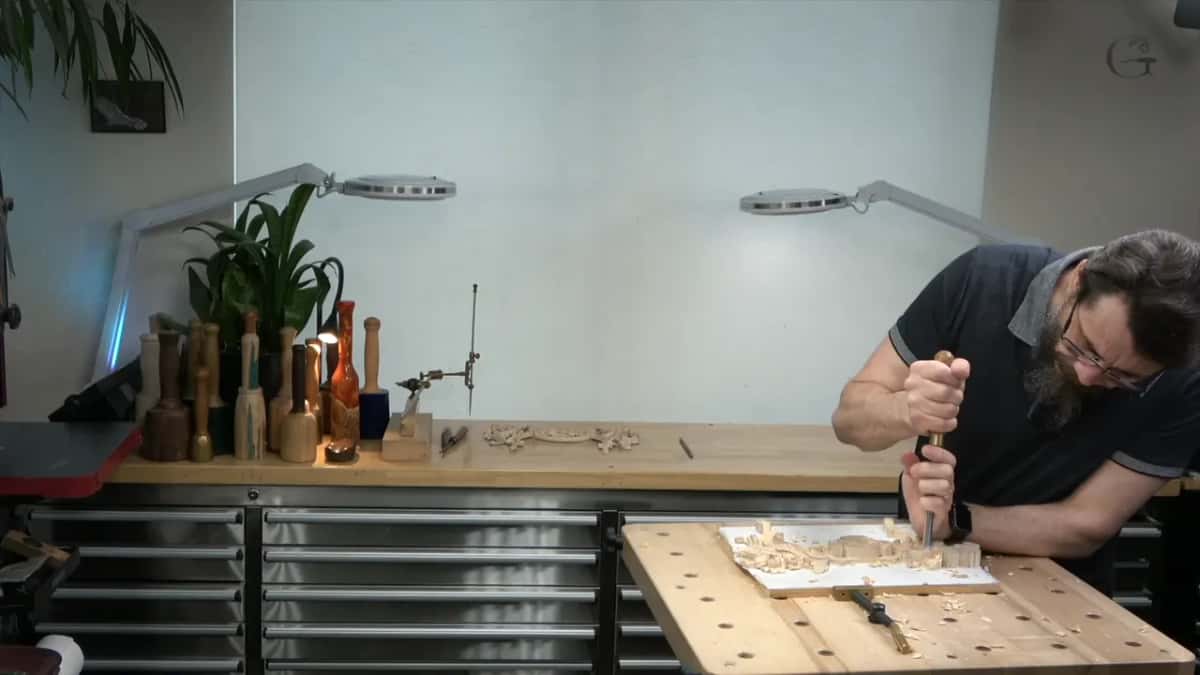
Why relieve a triangle before carving into it?
Keep pushing a tool toward that intersection and the wood splits, and you get a crack. So I relieve it first with a relief cut, which is what I call it, and you can call it whatever you like. I know I mention that a lot, maybe too many times, but it's important in case you didn't hear it or didn't catch it.
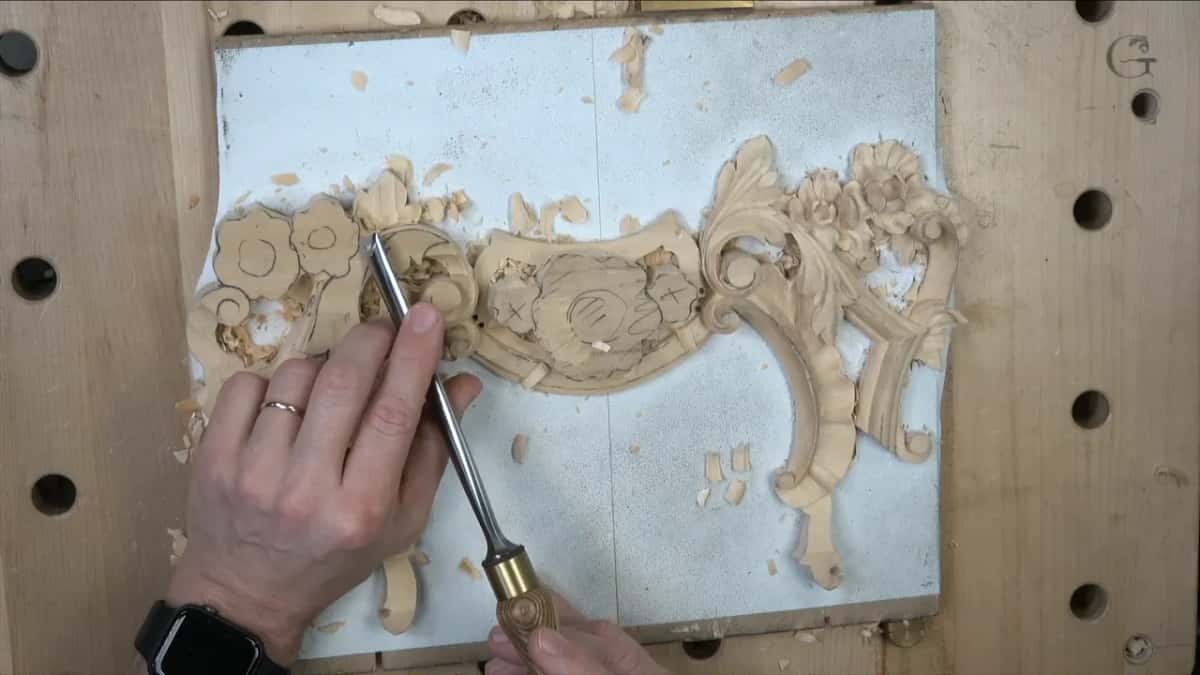
For the relief cut I really like number 11s on this project. You could do it with a V tool too, and it's not a big deal. I try to be more authentic to the original carvers who worked on projects like this back then, I said, and they didn't have that V tool. Nobody would even know if I used it or not, and then I picked up a number 16 V tool to show you.
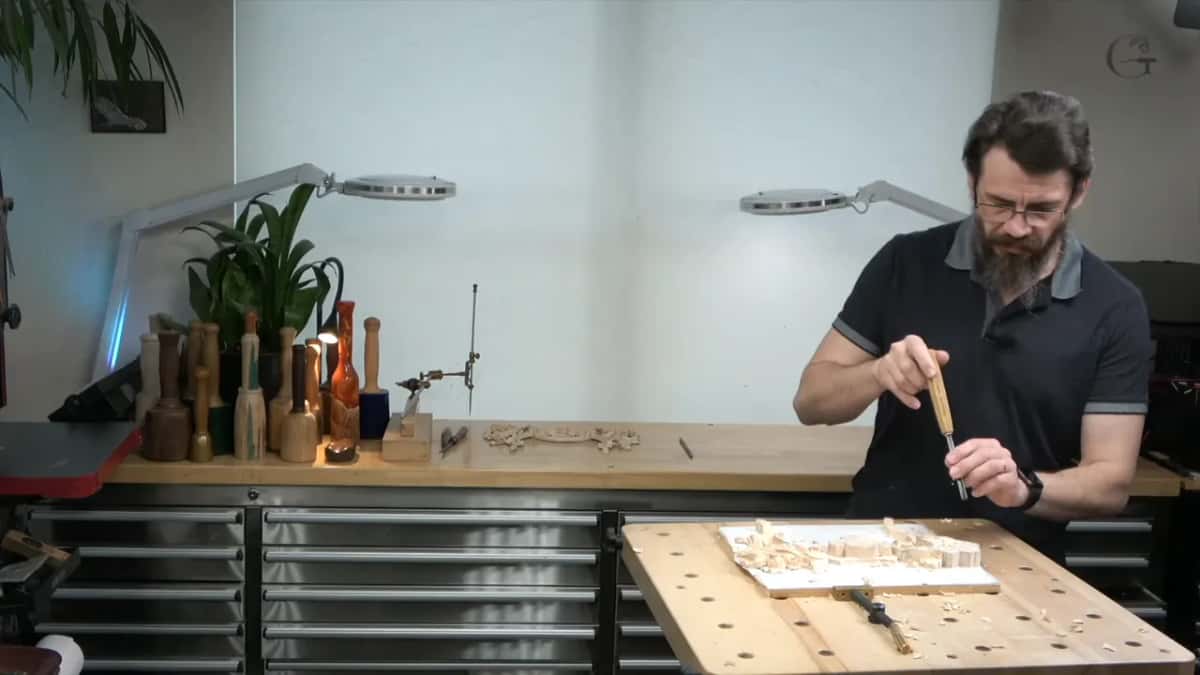
It went right inside. Afterwards I said I had a good form and a good shape, and I was happy.
How do you lift a chunk without breaking the part above?
Wiggle it out, slowly. If you move the tool up and down, you crank against the upper part, and that part is already getting weaker and weaker. Control your tool, make a slow pass without rushing, and take small chunks.
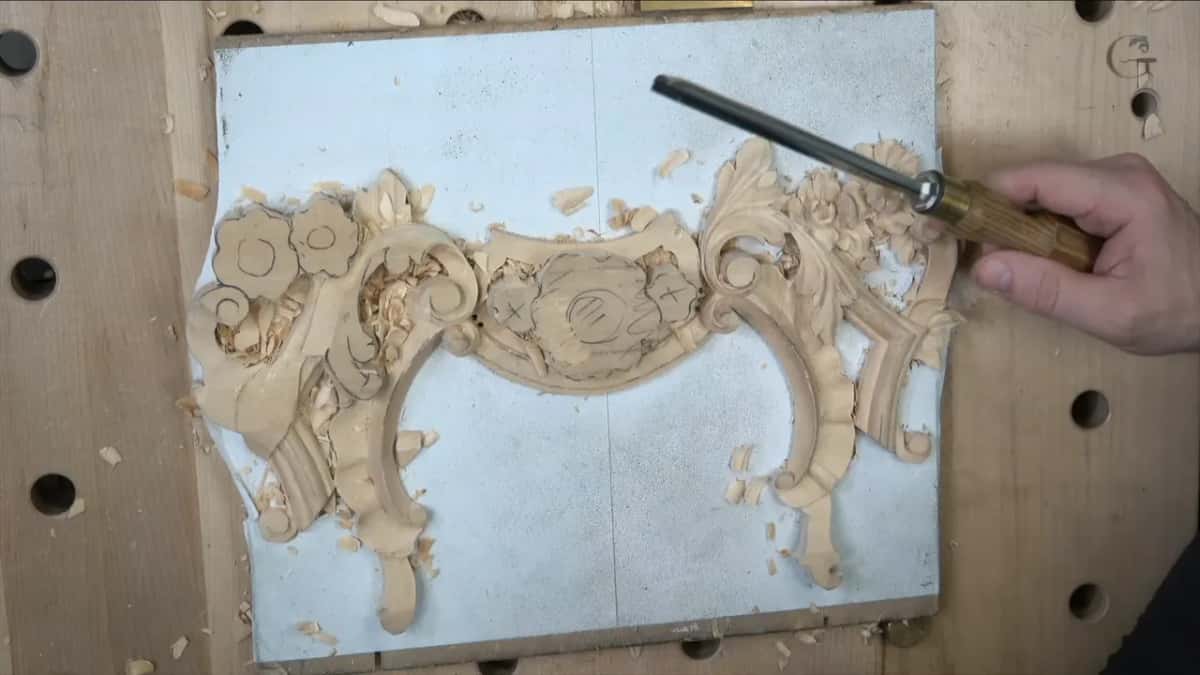
Right before that I asked you to watch how I started the stroke with the left side of my number 9 and ended with a full rotation. Rotating the gouge gets its own page in lesson 12.
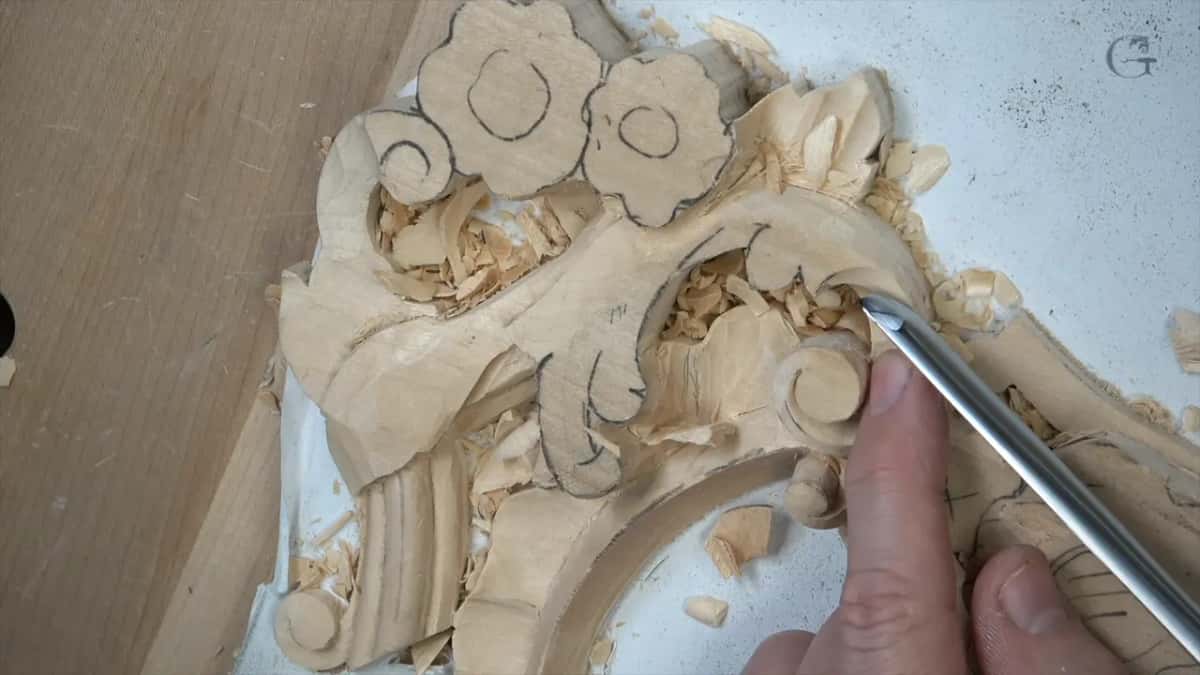
Spoons need the same care. When a part is weak and already excavated underneath, and the grain runs that way, cranking a spoon too much will break it really easily. Near the end of the lesson I almost made a mistake with a 5 mm spoon, about three sixteenths of an inch, a number 11 veiner. It put too much pressure there, so I switched to a 2 mm one, a little under 3/32 in. I could go only so deep there, because the other side was already hollowed out like the inside of a dome, and I had reached that stopping point.
Why leave a wall standing during boasting?
You still need that extra wood to set the overall shape. In part two I undercut right away under one flipping part of the acanthus, yet I still left some material like a wall, because I still had to establish the overall shape. In the next video I pointed at a wall and said I will undercut it too, so there will be a really deep shadow underneath, but later, not at this moment. Early on I attacked one spot from three sides without undercutting, because digging underneath it then would create a big problem later.
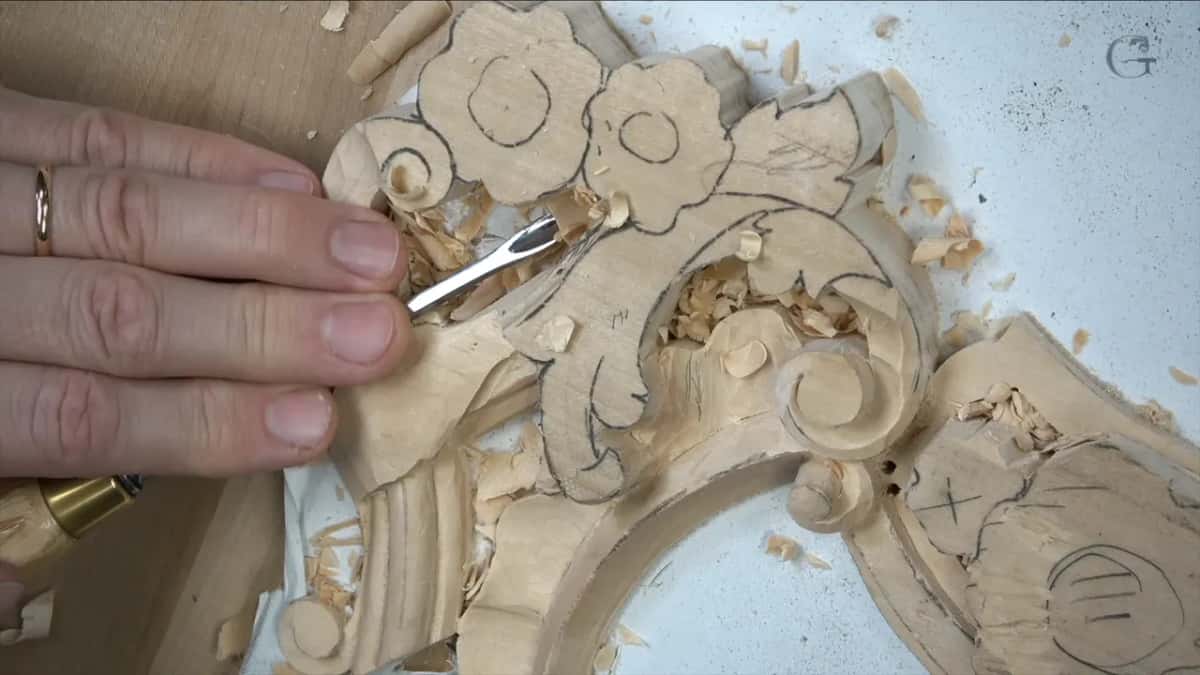
The cleanup can wait, too. I chopped straight down to remove some of the mess, and it doesn't have to be really clean at this point, I said, because the flowers are still there and I am still going to change it.
What is a plug cut?
A plug cut is what I call a gouge pushed in like a drill, almost through the wood. In part three I took a number 9 at 3 mm (1/8 in), though a number 11 would work too, and went in really, really deep. When this part is done it will be open the whole way through, but for now I had to be careful how I did it. I stopped at about 6 mm (1/4 in) in.
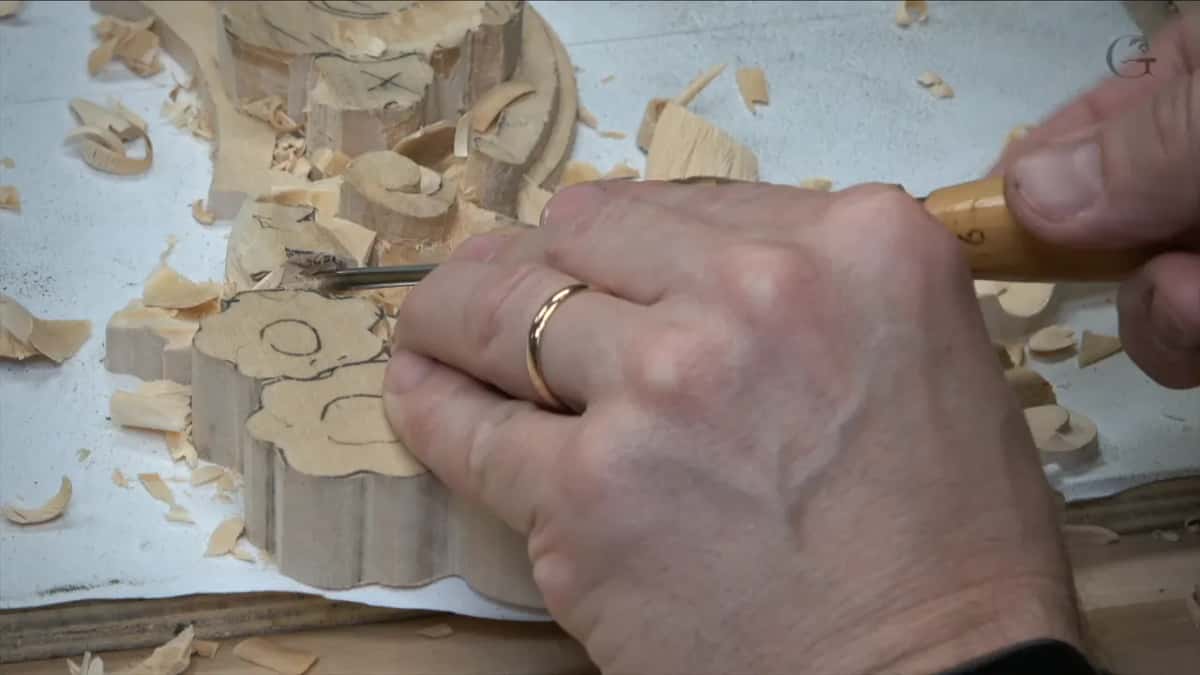
Then I carved toward that first plunge, and a few minutes later the two sides connected. A ridge there must not be damaged, because I want it to feel like it's growing from underneath, and it can go no lower than that. Lesson 7 has plug cuts too, for the holes in the small flowers.
How can a slope move like a racing track?
It never runs like a plain road. In one place the acanthus goes right underneath a flower, and the slope I made there is shaped like a racing track, with some kind of movement in it. Near my flower I said it has to feel like it's rolling.
Too much roll spoils it. I didn't curl one leaf the whole way round, because if you roll it too much, all you see is a straight line, and the point is not visible. One part lay flat and then rolled the other way, and I said I wasn't trying to show you some really cool moves, only to explain how it should look.
How much of boasting is about shadow?
Wood carving is always about light and shadow, as I said in the third video. Where the acanthus lies on top of a lower layer, I undercut right underneath to create that shadow. A small extra movement went inside too, one I had made on the first piece, because it casts extra shadow. "Totally don't have to do it," I said. "But I like that stuff. Why not?"
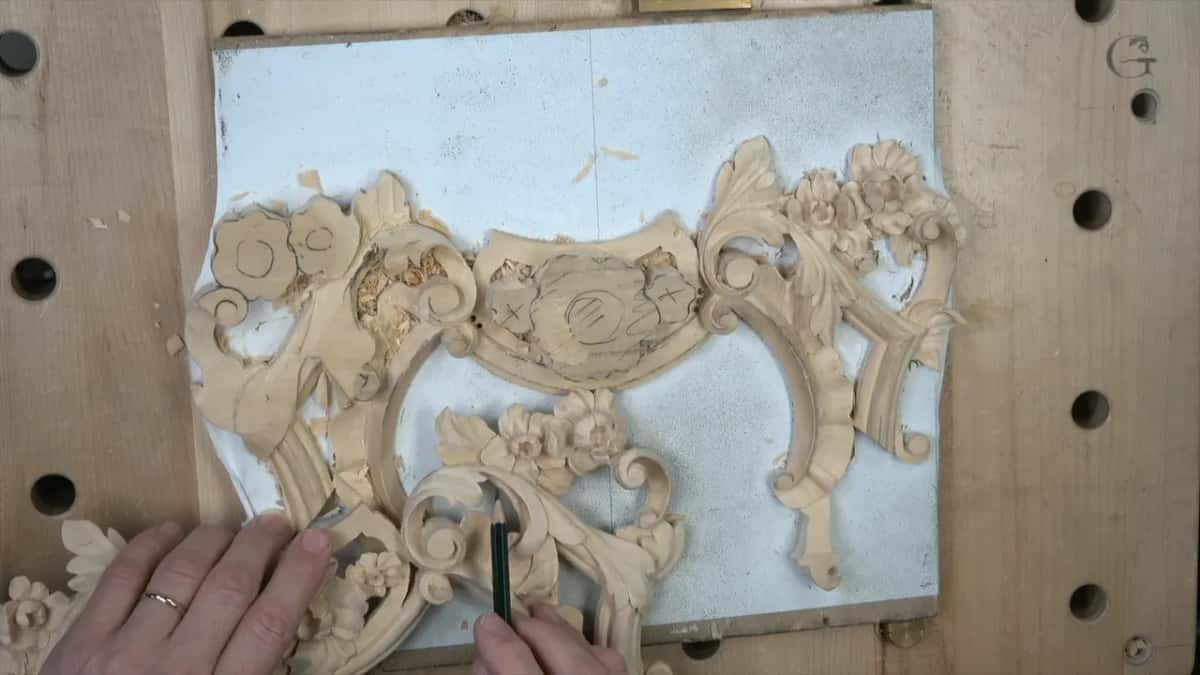
For that one I took a 2 mm (5/64 in) number 9, a thick one, and planned to switch to 1 mm (0.04 in) after. It was already casting a shadow. In my shop the light comes from every point, but once the panel is installed it will get only a couple of sources, so the shadows there will be much deeper. Those sources and where they come from are on the lesson 9 page.
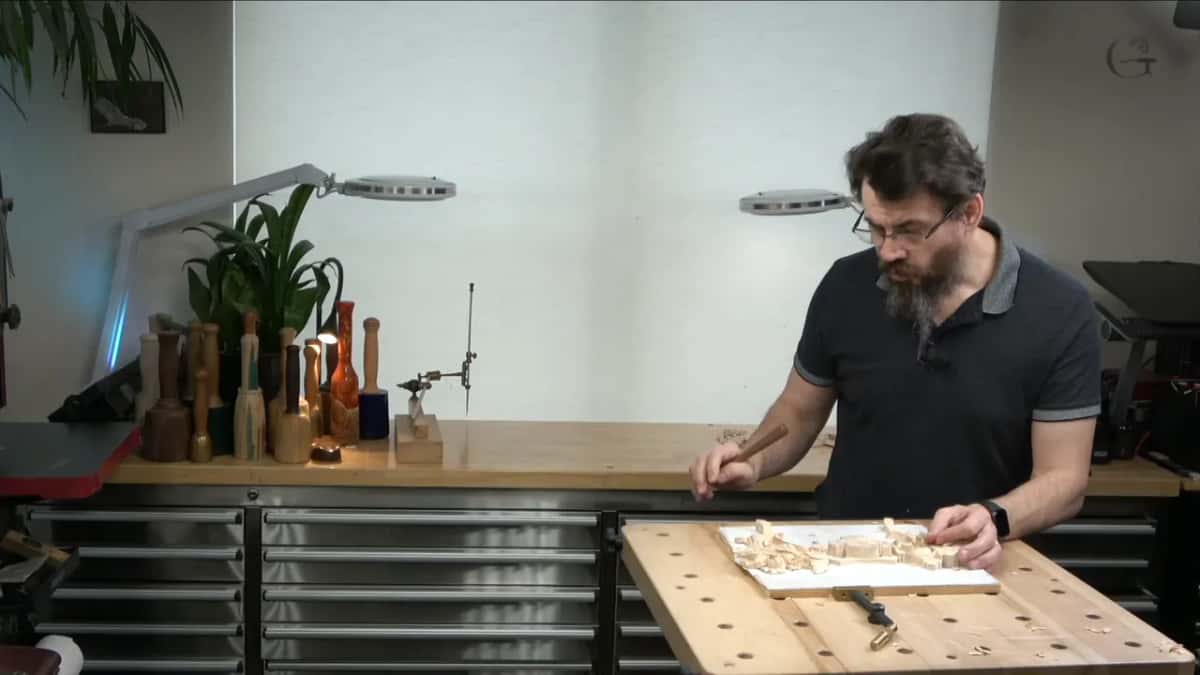
"Small detail," I said at the end. "Really small tiny detail, but it's going to be beautiful."
Why use a hair blower for the chips?
Blowing the chips off by mouth gets annoying on camera, so I used what I called a professional tool, "not mine, but my wife's old hair blower." It helps a lot. Later I called it my trusty blower, and cleaning the side took me a couple of seconds, maybe three, and only a couple if I hadn't been talking. I used a hair dryer in lesson 6 too, on this same panel.
Which tools did lesson 10 use, and where?
Here they are in the order I picked them up, with the sizes I said.
| Where on the panel | Tool I said on camera, with its size | What it did |
|---|---|---|
| Along the clover molding | Flat tool I love, though a skew works | Took the leaf down to about 2 mm (3/32 in) |
| Beside a drawn line | Number 9 at 10 mm (3/8 in) | Lowered it |
| Final pare of that line | Straighter number 2 at 12 mm (1/2 in) | Pared straight down at 90 degrees |
| Triangle corners | Several number 11s, then a number 16 V tool to show you | Relief cuts |
| Outline in part two | Small number 11, 7 mm, a little bigger than 1/4 in | Went around the line |
| Waste near a curl | Bigger number 7, about an inch (25 mm) or more | Took out extra material I didn't need |
| Deep hole | Narrow number 9 (3 mm, 0.12 in) | Plug cut, almost through |
| Under the top layer | Spoon number 11, first 5 mm (3/16 in), then 2 mm (5/64 in) | Undercut for the shadow |
Lesson 10 sits between lesson 9, where a leaf catches the light, and lesson 11, on the eye of the acanthus. You have a whole side to shape and nothing to finish yet. Access to the school puts the rest of this panel, and every lesson around it, in front of you.
How it's done
- Work the big form first. Carve every shape, movement and curve in three dimensions first, and come to the flowers after that.
- Pick a flatter tool you like. Any flatter tool works for boasting, even a knife, so use whatever feels more comfortable in your hand.
- Check the first piece before going deep. When you carve a pair, look at how the first one goes in that area, or measure it with a pointing machine, so you don't go too low and have to fix it.
- Come at the line from outside. Start outside your drawn line and work in. When the slope runs the wrong way, walk around the bench or rotate it.
- Stop short, then pare down. Leave about 5 mm, three sixteenths of an inch, before the line, then pare straight down at 90 degrees with a straighter gouge, such as a number 2.
- Relieve every triangle. Make a relief cut in each triangle before you push a tool toward the intersection, or the wood can split and crack.
Frequently asked questions
Is boasting the same as roughing out?
Pretty much. On my grape onlay I called the first of three stages roughing out, just to get an idea of the 3D movement, like blocking in. On the floral panel I used the word boasting for that first pass, with every curve set in three dimensions and no detail yet.
Do you need a special tool for this stage?
A skew, a normal chisel or a number 7, 5 or 3 gouge will all work, and I even said a knife would do. Pick whatever is more comfortable for you, since you are not putting in the details yet and the flowers will still change.
What gap did you leave beside the molding?
About 2 mm, no more than that, like 3/32 of an inch or so. The leaf follows the clover molding and falls down below it, and on my first piece it lies right on top and wraps almost underneath. Wrapping it right under would not give a more beautiful look.
What to carve next