
Alexander Grabovetskiy, woodcarver, School of Woodcarving · Published 2022
How do you shape an acanthus leaf in relief carving?
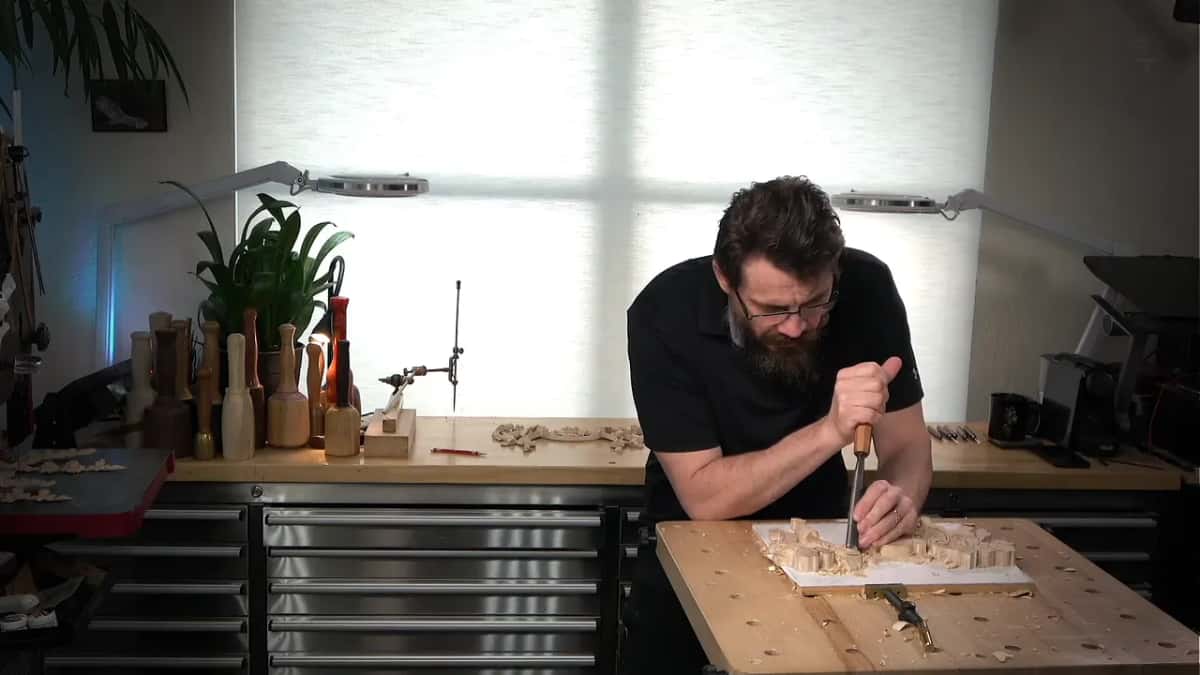
Quick answer: Shaping an acanthus leaf in relief is, on my Venetian floral panel, lowering the wood on each side of a drawn middle line until the center stands up as a soft convex. I carved a concave on each side, the second one shallower, and kept the raised middle, the pipe, gentle and not too pronounced.
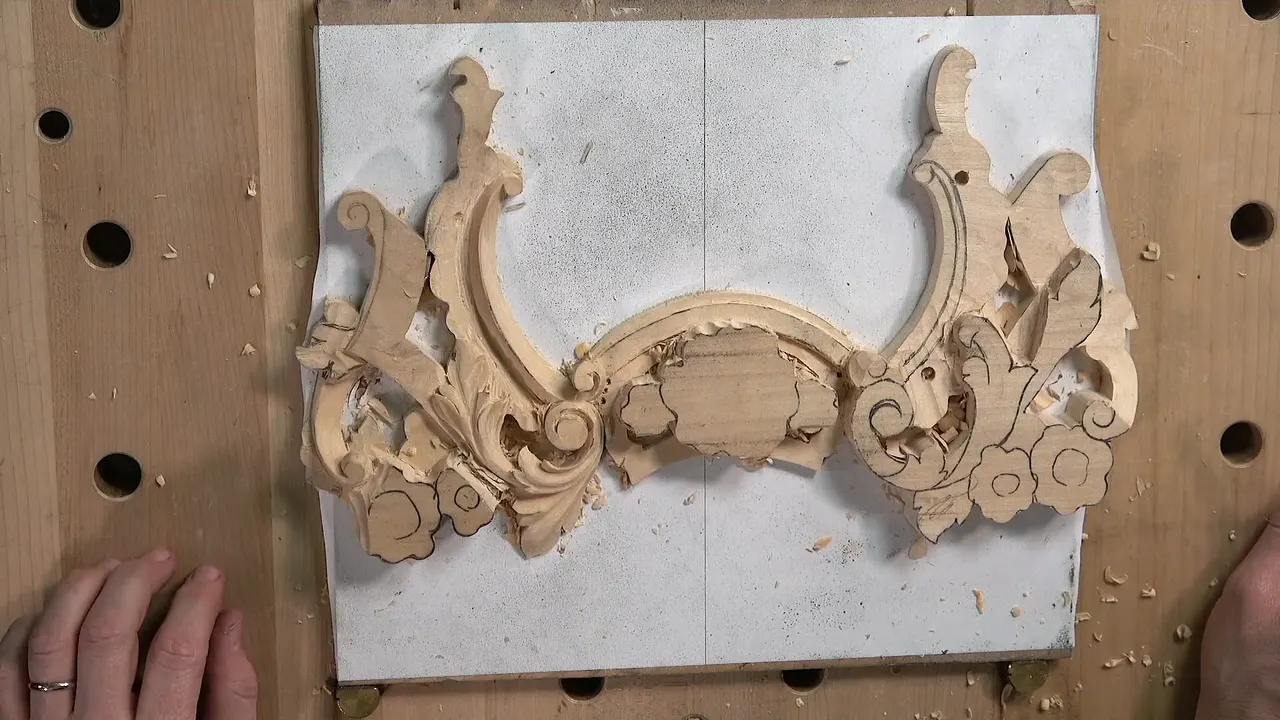
Shaping this acanthus leaf is a job of lowering the wood on both sides of a middle line until the center stands up as a soft convex. On my floral relief panel I drew that line first, carved a concave each side of it, and kept what stayed in the middle. I call that raised part the pipe.
Have you got a leaf drawn on your board already? Is there a gouge in your hand? Then the only thing left to know is where the first concave goes and how deep. I'll take you through this leaf in the order I carved it, with every tool size I said on camera and the spots where I wasn't happy and changed things.
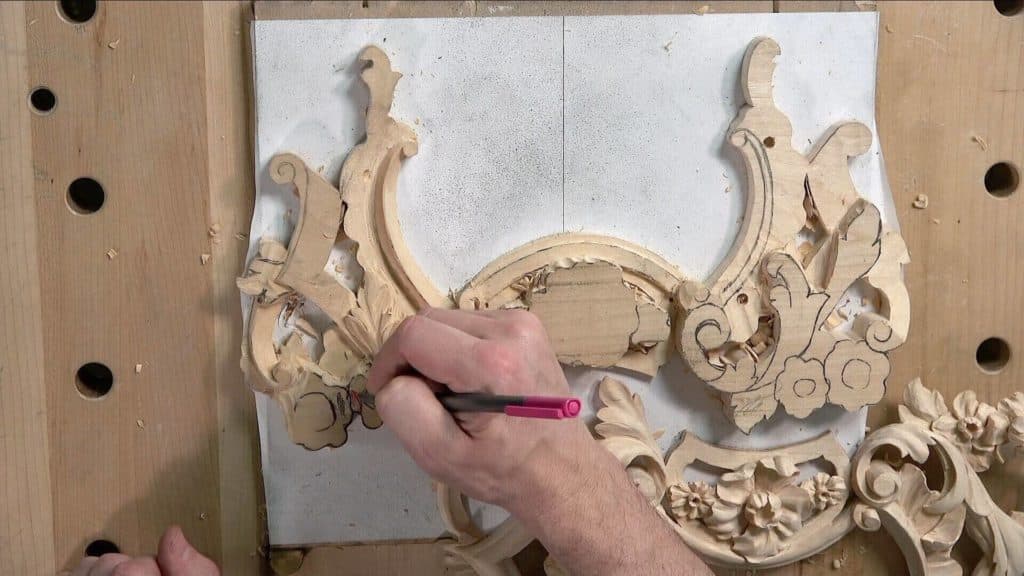
Every acanthus leaf on this panel is Venetian style, because the panel belongs to the Venice Room I was carving at the time. It was almost done when I filmed this. I was kind of tired of it already. Early in the lesson I said the goal is to give you an idea of what you can do, and what you see is acanthus movement right on top of a molding. You can put it on furniture, on a mirror or on a picture frame.
The whole leaf in six short lines
- Draw the middle line first, and make sure it flows nicely.
- One concave each side, and a convex left standing in the middle.
- Keep that convex soft. I called it somewhat flat, then took the word back.
- Don't roll an edge too much, or from the front it reads as a straight line.
- Keep some facets, but blend the ridges that come out too sharp.
- Undercut only a little on the board, because the real undercut comes later, from the back.
Why does this leaf get a raised middle?
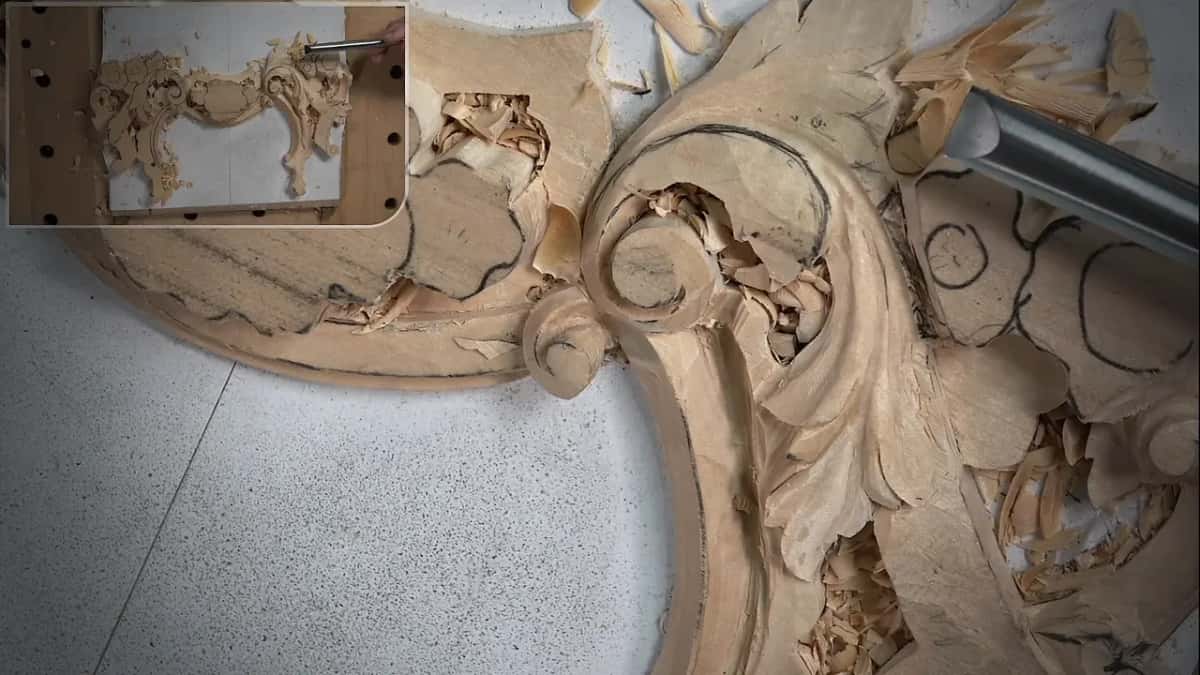
This specific leaf needs one, and I said so while I worked. That acanthus has to have a convex right inside, with a concave on one side and another on the other side. Not always, I added right away. But on this leaf the middle part has to have that convex movement.
On a long movement acanthus in the Venice Room I counted it out. Three divisions mean two eyes, and if you have an eye, you always have a convex, like the main vein, if you wish. Venetian style adds a convex inside each of the three divisions, so five in all. Two are thick, pronounced pipes, and the other three are a lot less pronounced, as you can see in lesson 74 of that course.
Where does the middle line go on this leaf?
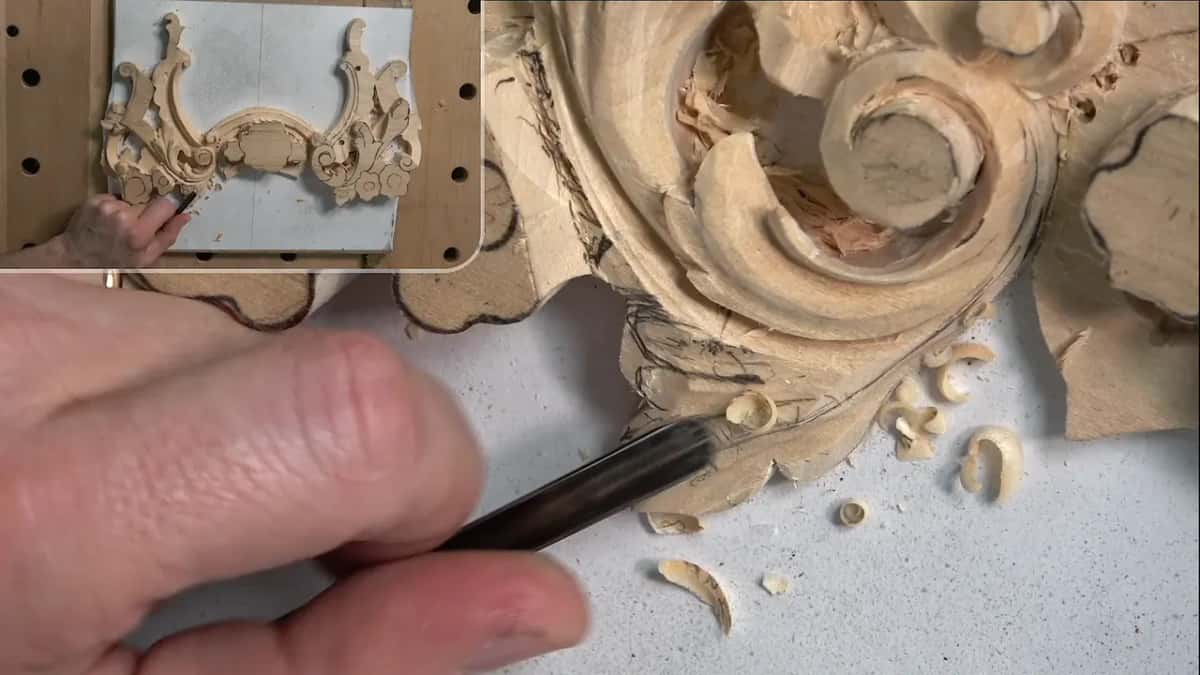
On that part of the leaf I put it in before the concaves and wanted it to flow nicely, and then I said the split out loud, so here it is in my own words. "Again, as you know, 40-60 rule. So we've got 62% and 38% on this side. It's a golden ratio." That's my middle line, and you won't see it too much, but still.
My Greek leaf in another course moves its middle line off the middle too, to one side or the other lobe by lobe, and a small part stays centered. Greek acanthus lesson 6 goes through it on a real leaf.
How do the two concaves raise the ridge?
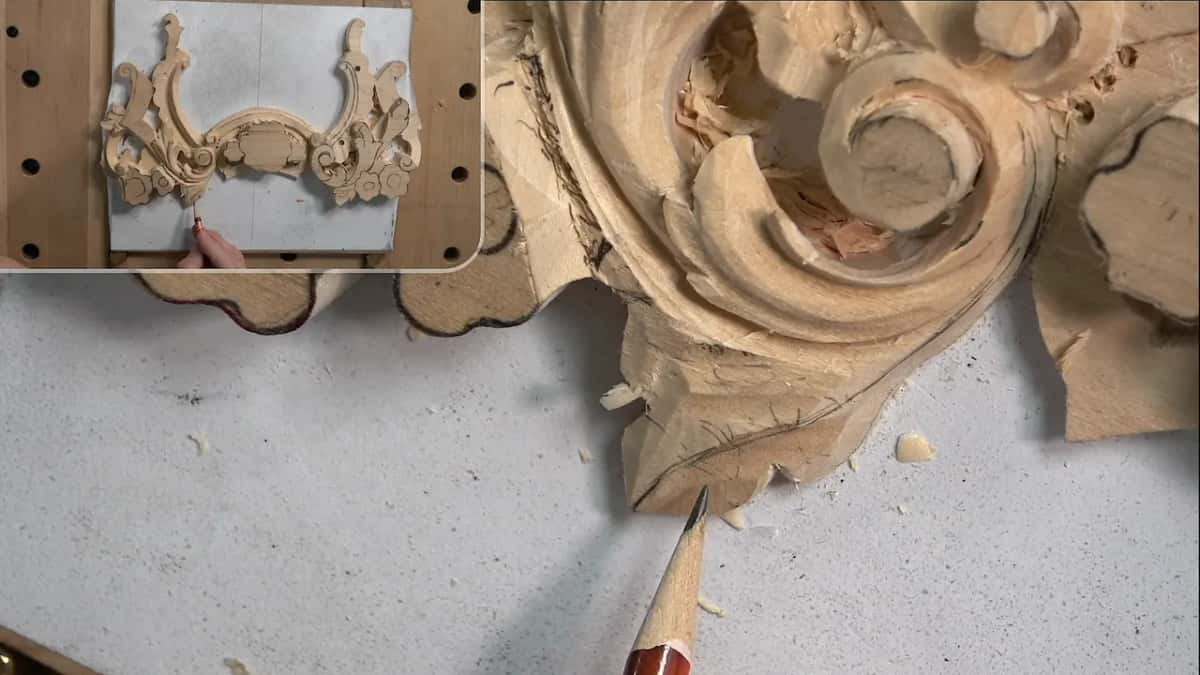
By taking wood away beside it. On the first part of the leaf I wanted the ridge higher, so I took a number 9 at a quarter inch (6 mm), started with short strokes and then went the whole length. The second concave, on the other side, was not as deep. And then I had to stop and take the chips out, because there was a lot of mess inside.
The next part got the same idea. I carried one concave all the way to its point and the other one to its own point. Either a 9 or an 11 would work there, and I took a 5 mm (3/16 in) number 11 from a German brand, just for fun. A couple of strokes. One spot needed more depth, so I changed to a smaller one, about 4 mm (5/32 in), I think.
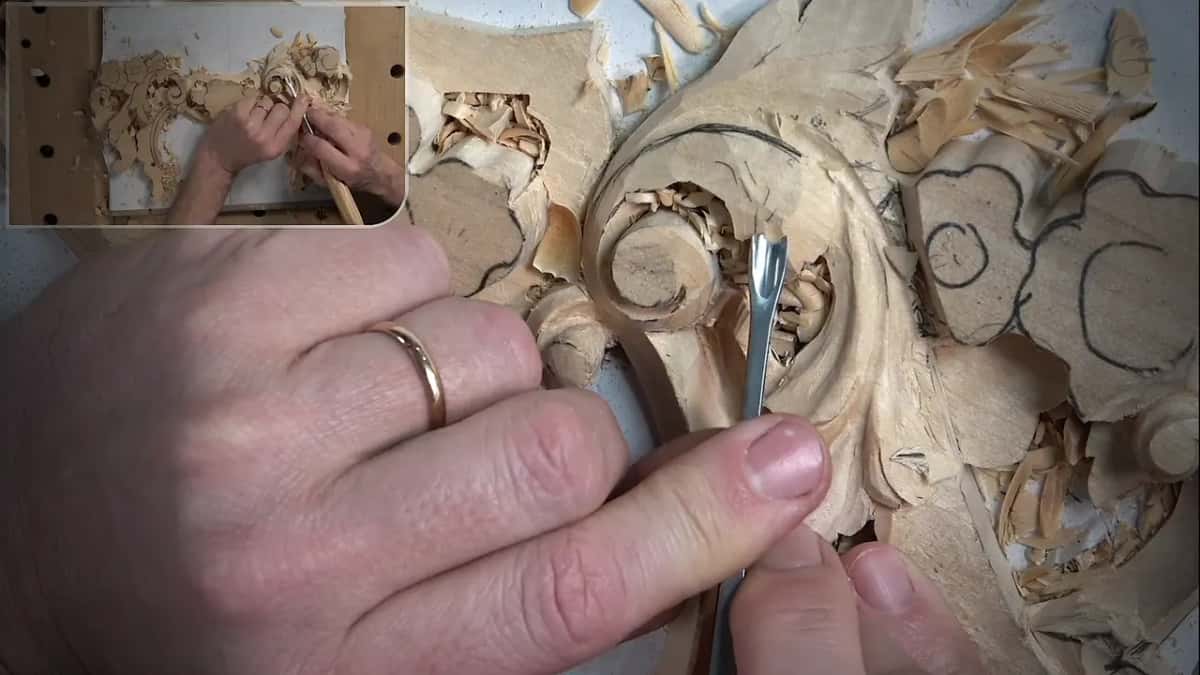
After that the middle looked a little too high, which is absolutely okay. I had no problem with it. Between the two separations I relieved the wood with the same tool, grabbed a mallet and just hit it. Please don't laugh at that word, relieving. That's exactly what it is.
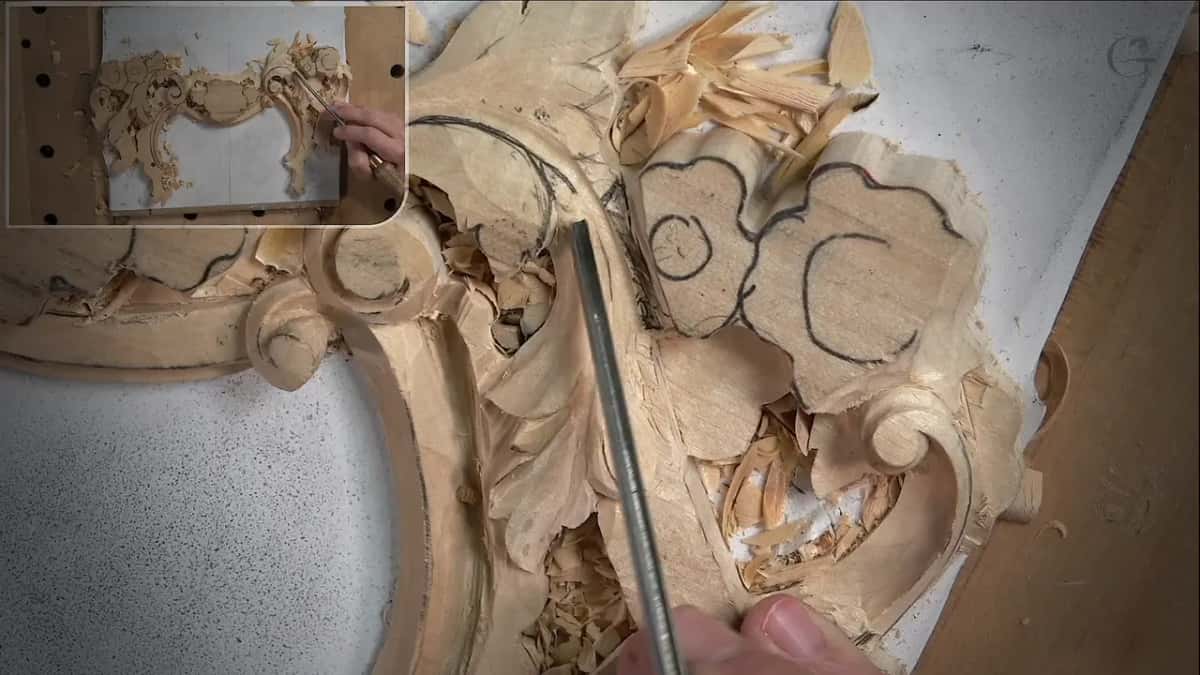
How soft should the convex in the middle be?
A somewhat flat convex is what I asked for, and then I took the word back. Not flat, I said. Maybe that's not the right word. Less pronounced. My number 3, a quarter inch wide, did it, and I think I dropped it just slightly there.
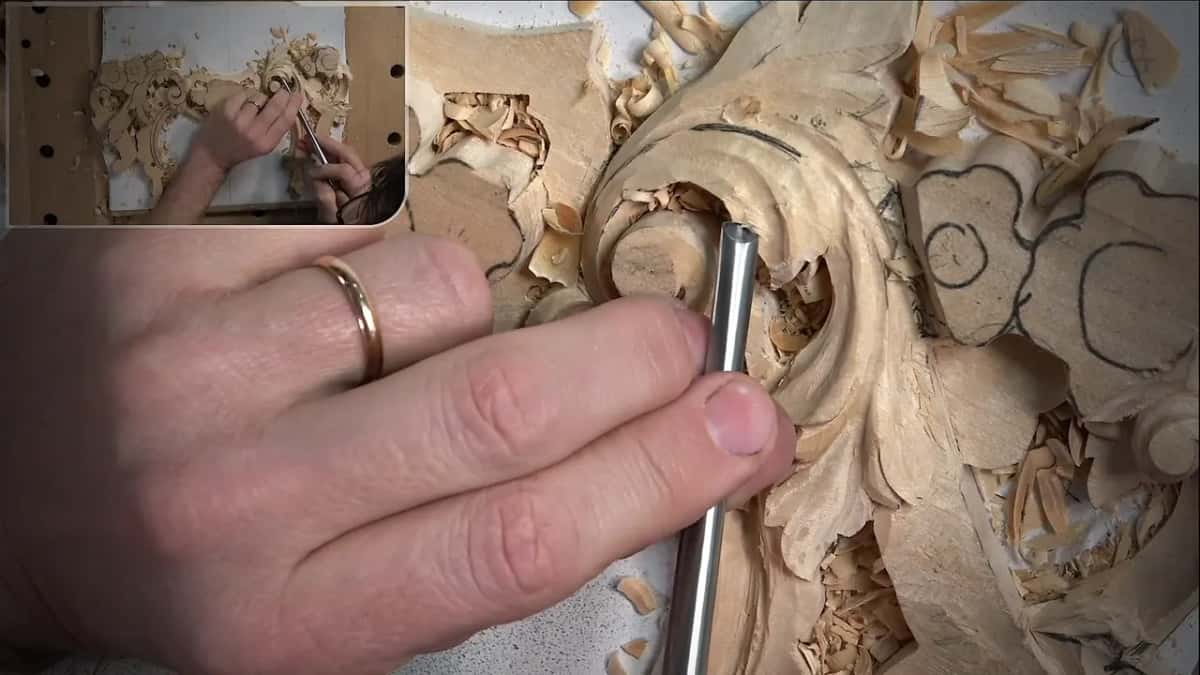
Then the middle part looked too raised, too big. I went back with a flatter gouge, the number 3 again, and took some wood away right there. It was raised, but I wasn't too happy yet. A number 5 looked like it might be too big for the spot, so I used a number 7 to make a nicer movement. Even if I had to go slightly deeper, I wanted it to feel organic.
The next section had space for the convex, and the same quarter inch #5, 6 mm, rounded it a little. Maybe a number 5 is overkill, I said, most likely. I lowered it slightly so it follows that direction, then went in from the opposite side with a flatter back bent, about a number 3, to make sure that part is actually convex.
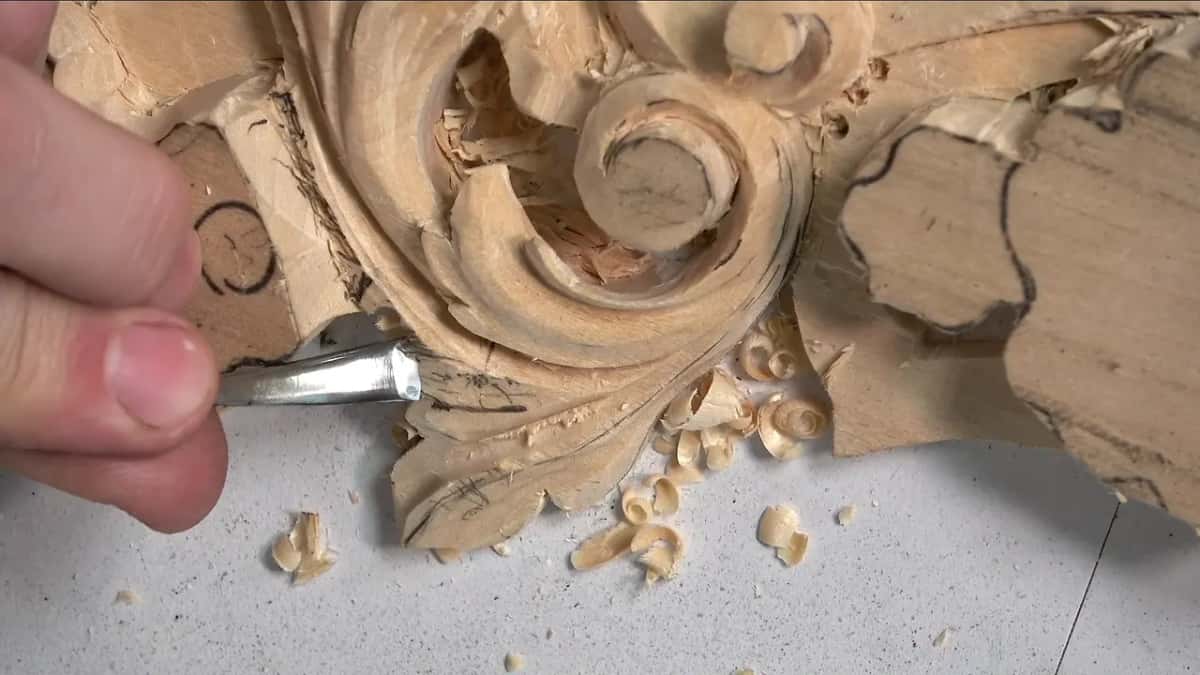
What happens when you roll an edge too far?
It turns into a straight line. One part of this leaf had to go a little downhill, and any flatter tool will work for that, so I used a #2 and lowered it. I turned to the camera with a warning for you. If you plan to do that, don't roll that section too much. Look straight at it from the front and you lose that feel, because it looks like a straight line, and it isn't going to look good.
Lower it a little bit, but not as much. And yes, when I rolled it the other way a little, I knew I was working against the grain.
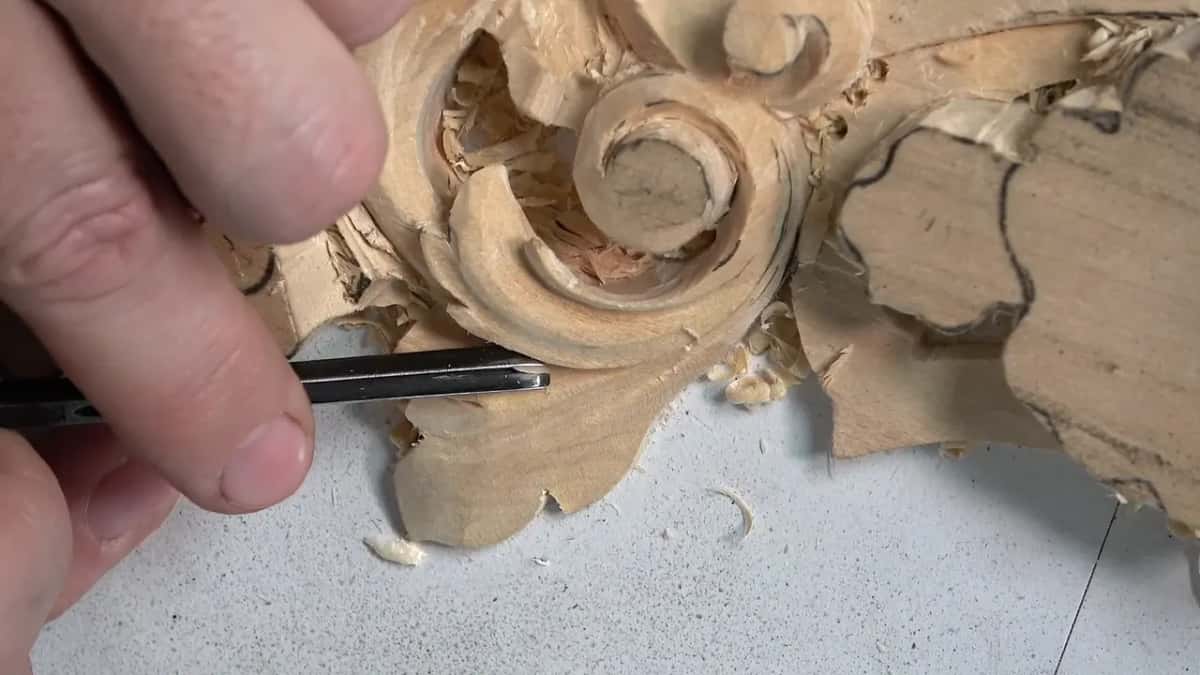
Why did the channel under the edge go deeper?
To make that part feel like it goes right underneath the movement above it. Near the start I took a smaller #11, about 3 mm (1/8 in), and dug underneath, just preliminary. Later the same tool came back and went deeper. Not much, but still somewhat deeper.
I gave the reason right there. I really want to make sure it feels like it's going from underneath. I think I had about 5 mm there, maybe 4, so about 0.2 in, between that point and the bottom of the groove. A small knife rolled it after that, and it looked much better. In my opinion, of course.
Later in the lesson one more part had to slide under its neighbor. Just a small, tiny knife blended it right underneath. I still didn't want to see that line, because that part still has to be the highest, so more wood came out and I made it really smooth. Carving one shape so it passes under another has its own lesson, Floral lesson 5.
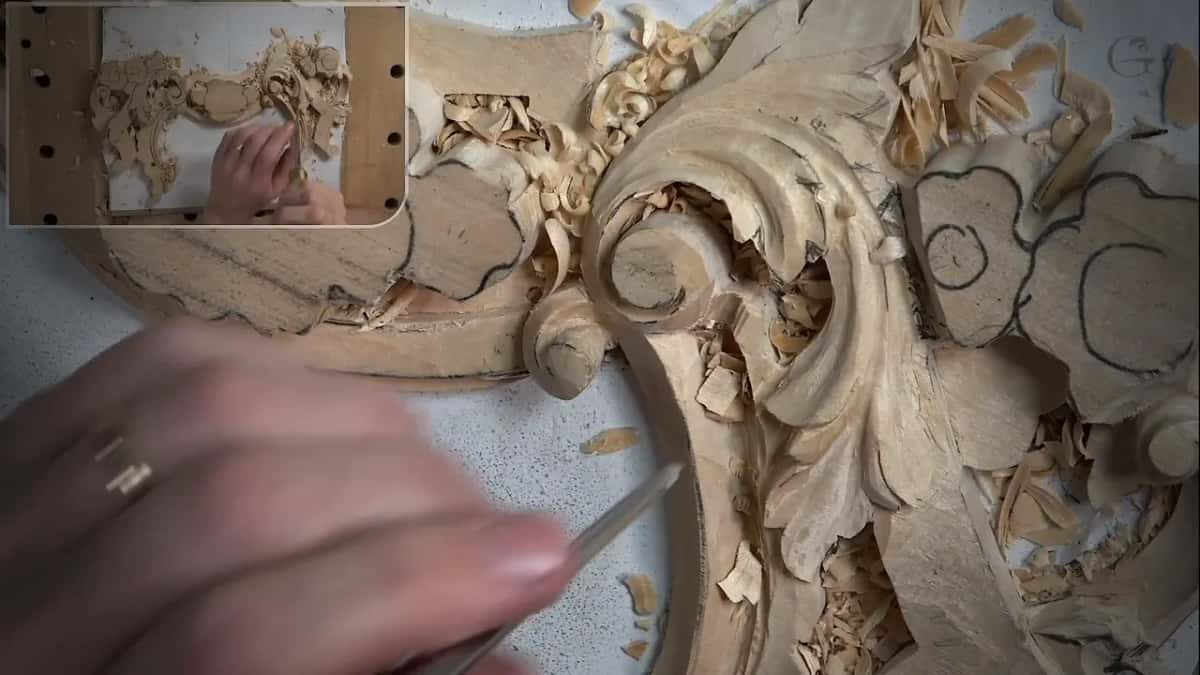
Divisions, triangles and a change of mind
Next came the details. I drew division number one, then another, then an extra one going a different way, and that left two triangles to remove. My small 3 mm #11 took them with a couple of relieving cuts, and I got a little closer to the outline. I didn't like how that section looked. A quarter inch knife came next, though you could use a skew if you have one.
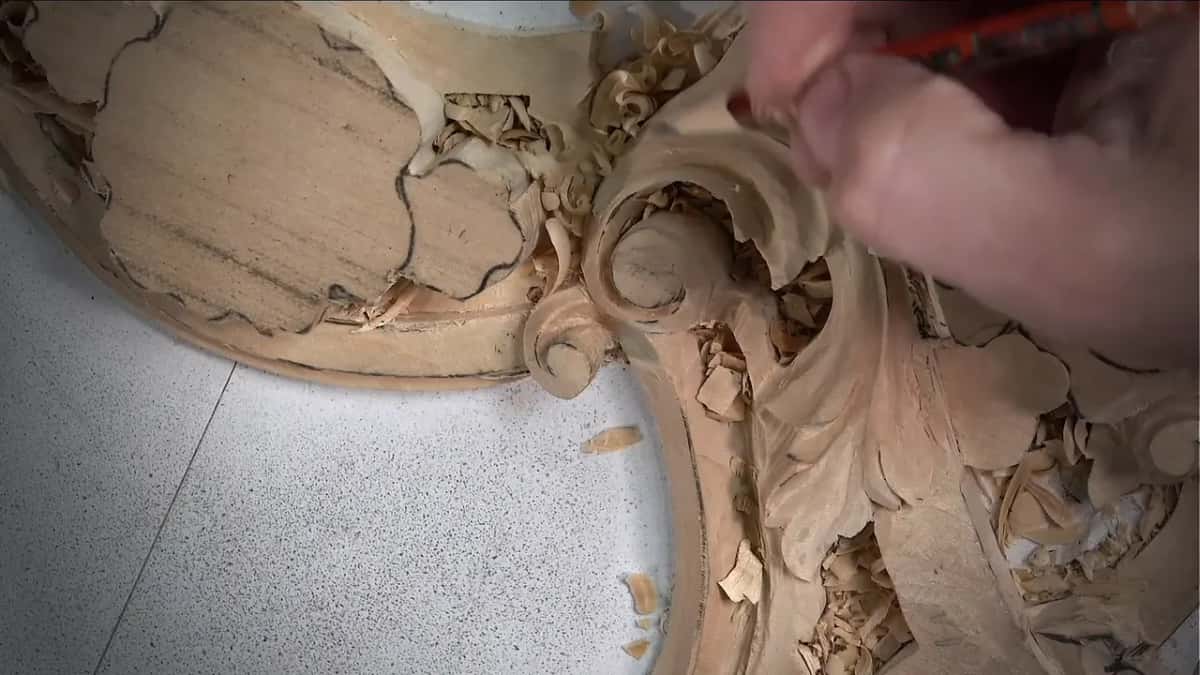
Then I checked my first piece to see how deep it rolls. It rolls a little differently, so I changed the design slightly and started my movement from a different spot. I thought it would look more organic, and said I wasn't sure. Chopping some of that out also left more wood for the future flower.
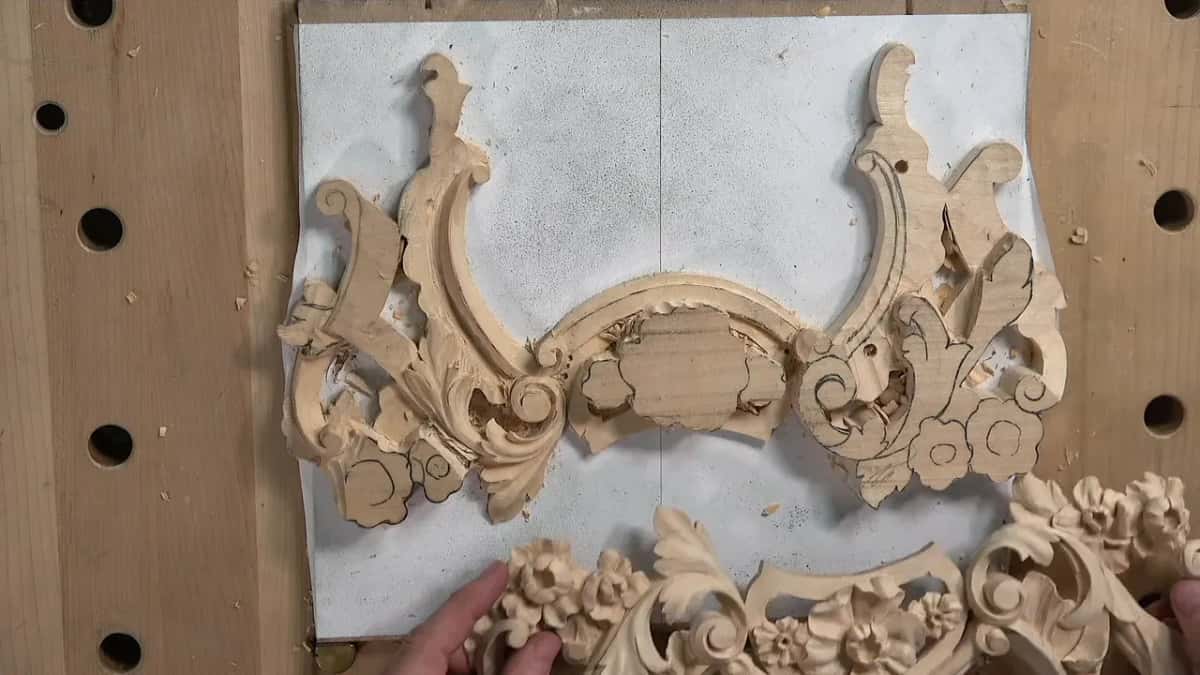
Here is the leaf in one table, part by part, with the tool I named for each one.
| Part of this leaf | What I did there, in the order of the lesson | Tool I named on camera |
|---|---|---|
| First concave, deeper side | short strokes at the start, then all the way along | #9, 6 mm wide |
| Second concave, other side | not as deep as the first one | the same #9 |
| Soft convex in the middle | dropped slightly, then lowered where it looked too big | #3, 1/4 in |
| Channel under the edge | somewhat deeper, 5 mm or maybe 4 to the groove's bottom | #11 at 3 mm |
| Line between two leaves | half a millimeter first, a little too deep, then about a millimeter | two small #11s |
| Both sides of the pipe | a little zipper to keep the convex once the eye went up | veiner, an eighth of an inch |
Should the facets stay?
I keep some of them and blend the ridges. I said I don't want to see those facets, then corrected it, because I like seeing them. I like those facets, but not as much. I have to be mindful how many I leave, even though on this panel it isn't a big deal, since it's all going to be covered with paint. Ridges that are too sharp are a little destructive, I'd say.
Furniture makers especially like to sand, and if you want to use sandpaper or small rasps, feel free, you can take it to perfection. I'm okay with that. I don't need to here, because this whole project gets painted.
Do you finish each detail before moving on?
Probably not, for me. There are two approaches to finishing your work. Some people say you have to stay with the detail you're working on and take it to the finished look. Others say no, you'll have a chance to clean that later. I probably belong to the second group, because sometimes I make a lot of changes to the design later on, and it gives me flexibility and a lot less frustration. Finished finished comes at the final stage, the cleaning stage.
How did the eye get lifted?
With one small concave right at the eye. Where the eye was, it didn't look too appealing, and seen from above it was going straight down. I wanted to raise it, so I made that spot a little higher with a small concave cut. Exaggerate that cut and you can see the eye show up.
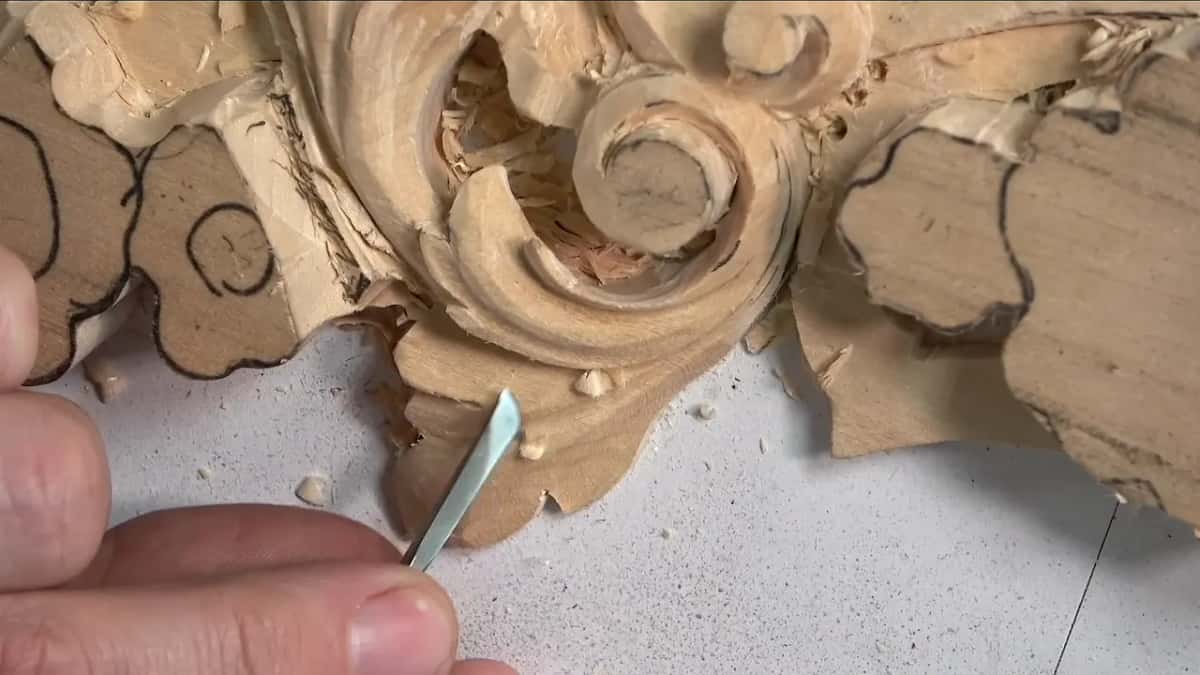
It's a small thing. I still had to blend it, but it gives a more 3D look, because that point is now slightly raised, and I could even make it more exaggerated. I also have to be careful, though, because I could see I was losing the convex beside it. So I had to carve a deeper concave on the side to keep that convex. To keep that pipe.
For that I took a 3 mm #11 veiner and made a little zipper on both sides, maybe even more. I had plenty of wood, and I really wanted to exaggerate that pipe. Then I blended it. My back bent could have done it, but a knife was fine.
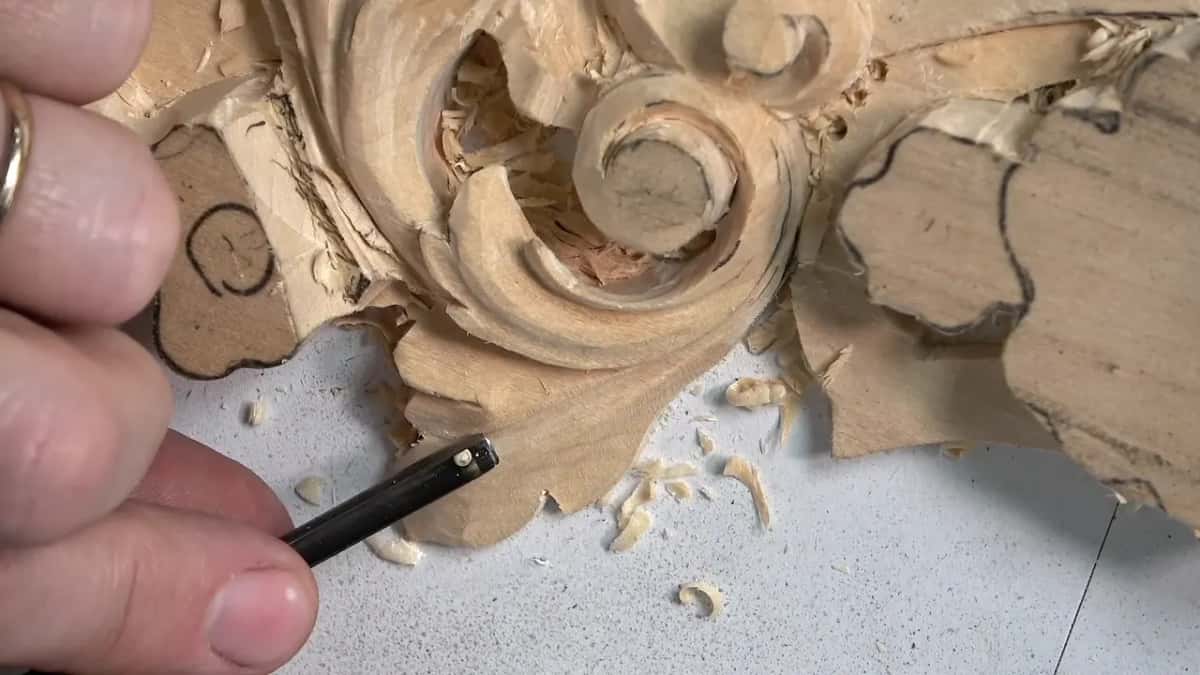
The Venice Room has the same little zipper. In lesson 69 there I used a 7 mm tool, a little bigger than a quarter inch, just slightly, near another eye.
How much undercutting happens on the board?
Only a little, and it's preliminary. I switched to a fishtail, the quarter inch #5, and started undercutting with the tool held upside down, still making a slicing motion. I used a smaller tool because there's a lot less resistance with it. In one area the motion starts at a point, then I rotate the tool almost upside down and go underneath, so it creates that movement. I didn't take it too extreme. Later, once I take the panel off the board, I'll have a chance to undercut a lot nicer from the back side and clean everything there.
At one point there was too much mess, and I wanted you to understand what I was doing, so I blew it clean. When I say blow this piece, it doesn't mean an explosion. I mean a hair dryer, a hair fan, and it's a really good idea. A really wonderful idea.
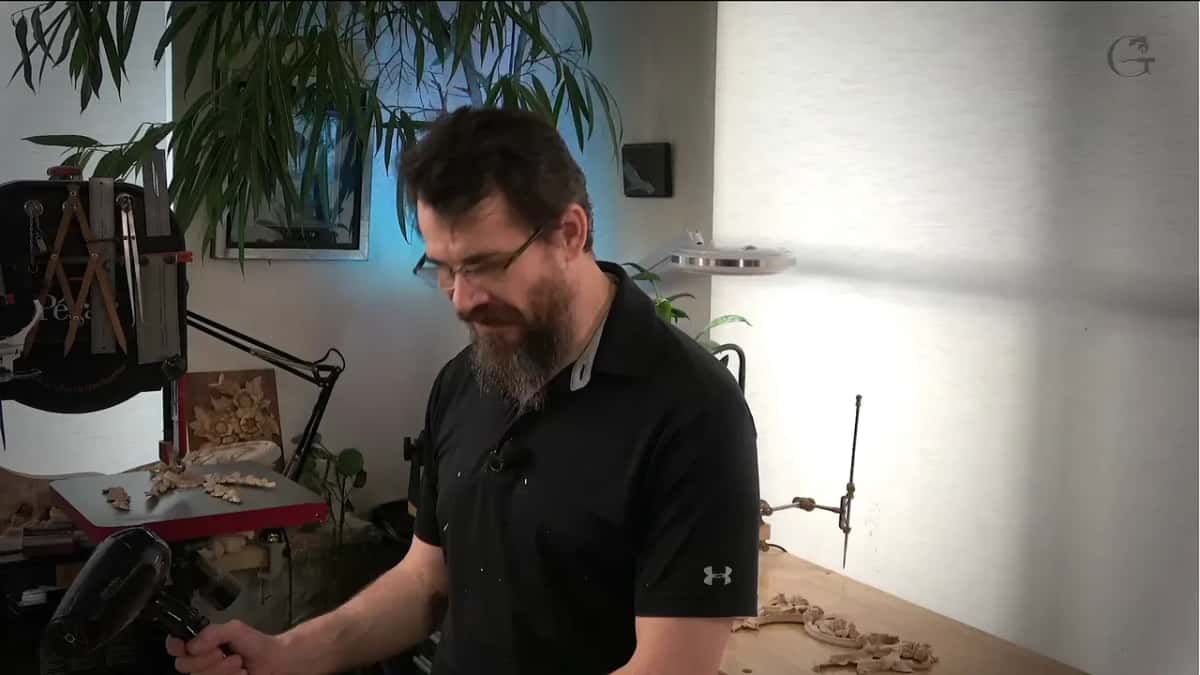
I gave the reason in the Venice Room. An air compressor collects some water, even if you drain it once in a while, and I don't want water on my piece. It's noisy, too. You could use one with no problem, but I feel much safer not to, and sometimes I use a vacuum cleaner instead. That talk is in Venice Room lesson 54, and in lesson 50 the chips are gone in a couple of seconds.
How high is the wall beside the molding?
Ten millimeters at the most, and that's on one side. Starting where the molding connects to my acanthus, I wanted the wall to go downhill, really nicely and smoothly, almost down to 1/16 of an inch, like a millimeter and a half. Maybe two millimeters.
On the opposite side the highest spot is no more than 10 mm (3/8 in). It gets much lower at the other end, maybe about 4 or 5 mm (3/16 in), and runs on to connect with the other side. The high spot is somewhere along that wall, and from there it goes downhill. I came at it from the side with that #5 I'd used for the undercutting, the quarter inch one.
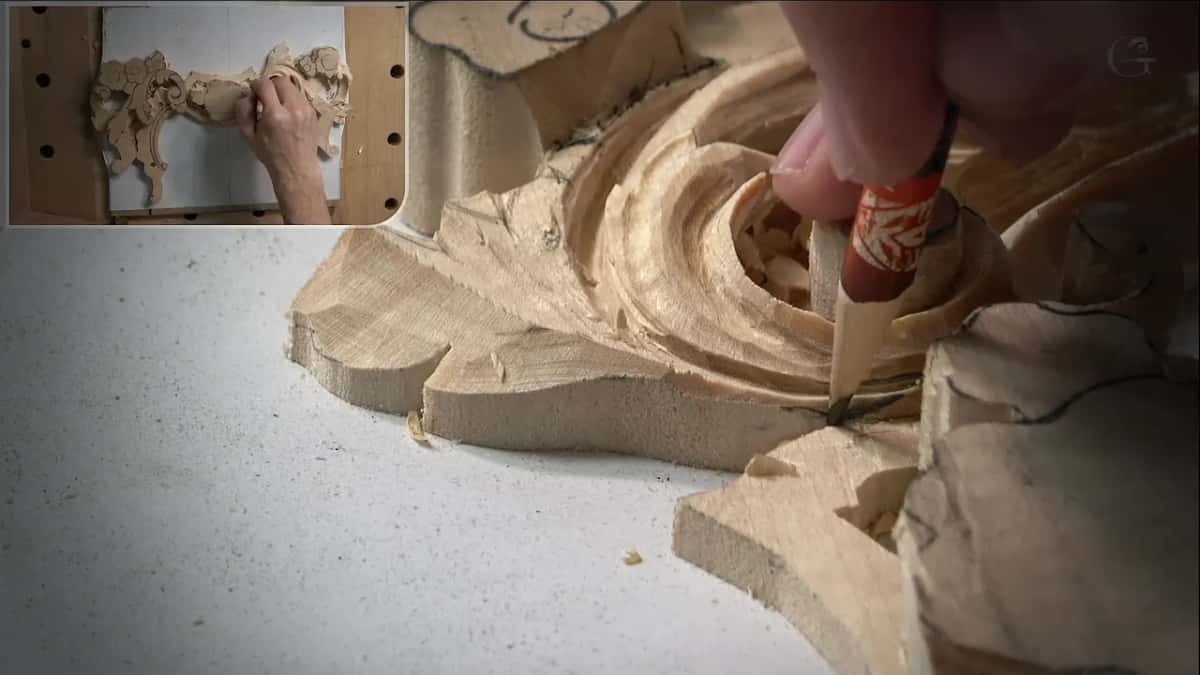
A leaf that climbs over moldings gets a whole course of its own, Acanthus over Moldings.
What did the last minutes of the lesson add?
A few small things. At the end I took wood off one area so it looks slightly bulging, then goes down, then goes up. The #5 was enough, and I didn't need any big or deep gouges. It still had to be blended, because it didn't look too appealing yet and it has to be a natural movement.
Inside that area I wanted a small concave. A quarter inch #9 looked like too much, so I took the #5. If you look closer you can see a ridge there, a little facet, almost like a micro pipe, if you wish to say it that way.
To separate two leaves I started with a half millimeter #11 (about 0.02 in). That went a little too deep, and I went to one of about a millimeter. The #7 at 14 mm (9/16 in) made the edges nicer for now, and I'll fix them once I decide what goes underneath that leaf.
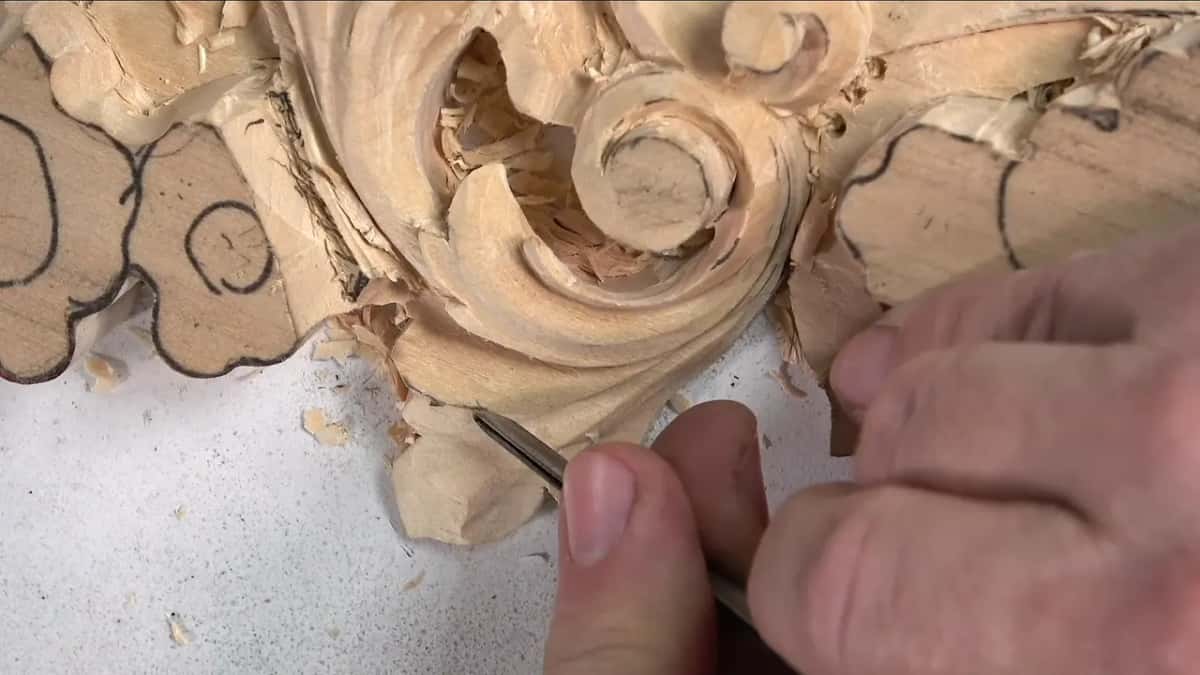
Then a #1 with a double bevel, around 5 mm, a bit under a quarter inch, shaped one part little by little. That line was a little too straight for me, so a small #5 gave it some curvature. Last, I brought the pointing machine back, measured the highest spot, and I was right at the height where I should be. The machine has its own lesson in the tools course, and in Floral lesson 4 it set the depths with a drill.
A red marker went on the part that needs to come down. The middle of the flower will be lower, about a quarter inch, so I'm safe to slope it, and that flower is Floral lesson 7.
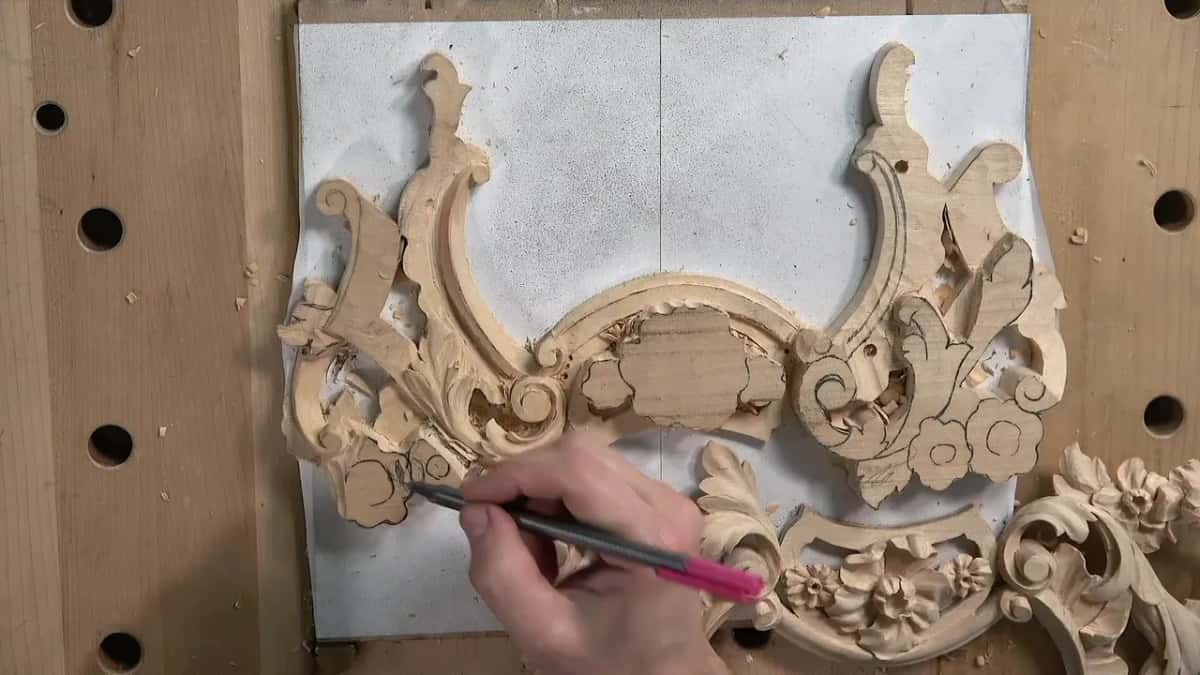
Do you have one leaf drawn and a sharp gouge? Then you have enough to start wood carving like this. The whole Floral and Molding course takes this panel through fourteen lessons, and the room it belongs to is the Venice Room course. Access to the school opens every lesson of this panel.
How it's done
- Draw the middle line. Put it on first and check that it flows nicely. Mine went 62% one way and 38% the other.
- Lower one side. Take a 6 mm number 9, begin short, then run the whole length so the ridge comes out higher.
- Lower the second side less. A second, shallower concave opposite the first leaves the middle standing.
- Soften the convex. Use a 1/4 in #3 and drop it slightly. If the middle looks too raised, take a little more off with the #3 again.
- Go deeper below the edge. A 3 mm (1/8 in) number 11 to about 5 mm, maybe 4, so the leaf feels like it goes from underneath. Roll it with a small knife.
- Lift the eye and keep the pipe. Make a small concave at the eye, then run a 3 mm veiner on either side of the pipe and blend it with a knife.
Frequently asked questions
What split did you use for the middle line?
On this Venetian leaf I called it the 40-60 rule and put 62% on one side and 38% on the other, a golden ratio in my words. You won't see it too much, I said. My Greek leaf sets its line off the middle too, and it shifts lobe by lobe.
Which gouge hollows the two sides?
The 6 mm #9 did the first part, short at first and then the whole length. Further along I used a 5 mm #11 and switched to roughly 4 mm where one spot needed more depth. Either a 9 or an 11 works there, I said.
Can I sand a carving like this one?
Feel free. Furniture makers especially like to, and sandpaper or small rasps can take a piece to perfection, which is fine with me. Mine skips it, because the whole project is going to be painted and paint will cover all of that.
What to carve next