

Alexander Grabovetskiy, woodcarver, School of Woodcarving · Published 2017
Where should the middle line of a carved acanthus leaf go?
Quick answer: The middle line of a carved acanthus leaf is the V cut down each lobe, and on this Greek leaf I put it slightly off the middle, toward the higher side, so the shadow falls on one side. One lobe moved maybe 3/32 of an inch (about 2.4 millimeters). A really small part stayed centered.
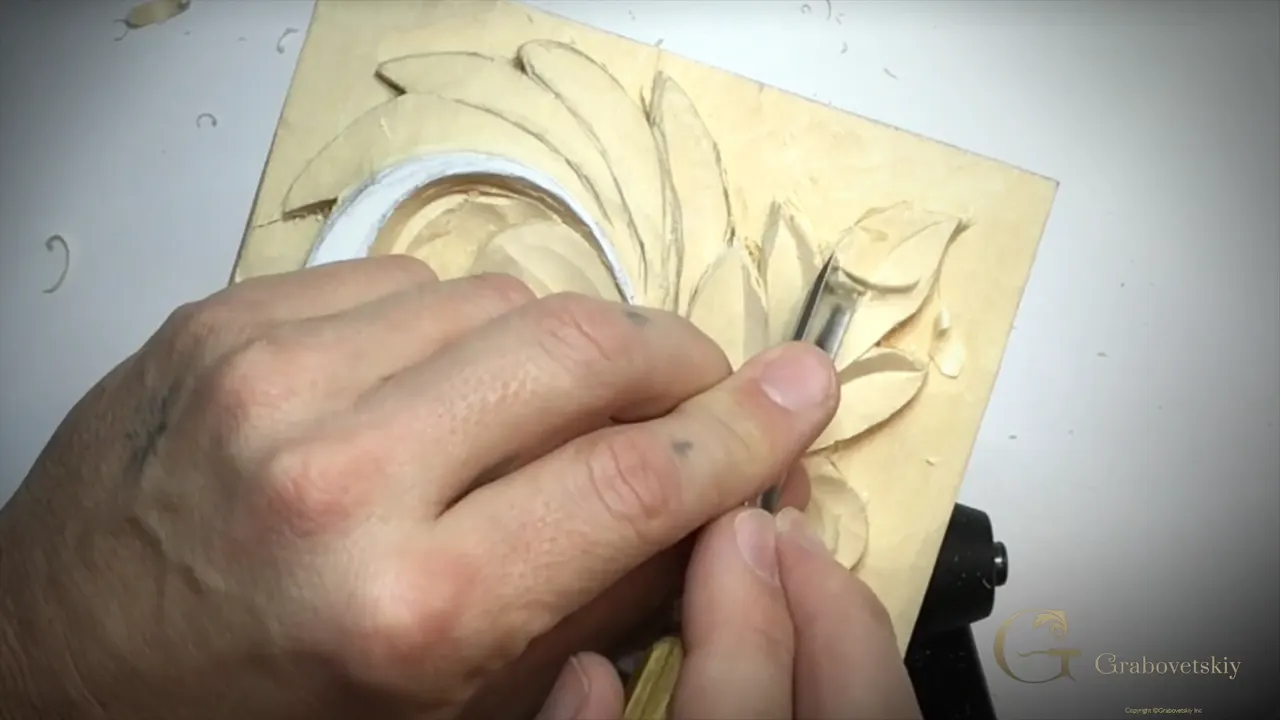
On this Greek acanthus leaf the middle line goes a little off the middle, toward the higher side of a lobe that moves, so the shadow falls on that side. On a really small part I left it centered. I decide it lobe by lobe.

Can you see which way a leaf on your drawing bends? Could you point to the edge that stands higher once it's carved? Then you can place this line yourself, the way I do here with a V tool and a knife.
I'll show you four lobes from this lesson and where each line went.
What I did with the middle lines in this lesson
- First the middle line went in, and the sides came after it.
- Where a lobe goes downhill, I moved the line slightly to the higher side, and the shadow falls where I want it.
- The move is small, roughly 3/32 in (a little over 2 mm) on one lobe.
- A tiny part kept its line in the middle.
- A V tool at 45 degrees, number 15 at 6 mm (about 1/4 in), made the micro cuts.
- A knife took out the ridges the V tool left.

Why not put the middle line right in the middle?
The first lobe of part three goes downhill and moves in one direction, and I wanted my shadow on the right side. If I put the line in the middle, it would not look good. So I moved it slightly to the right, to the higher side.
It's like an exaggeration of a shadow line, and it looks more organic, I would say, and more 3D.
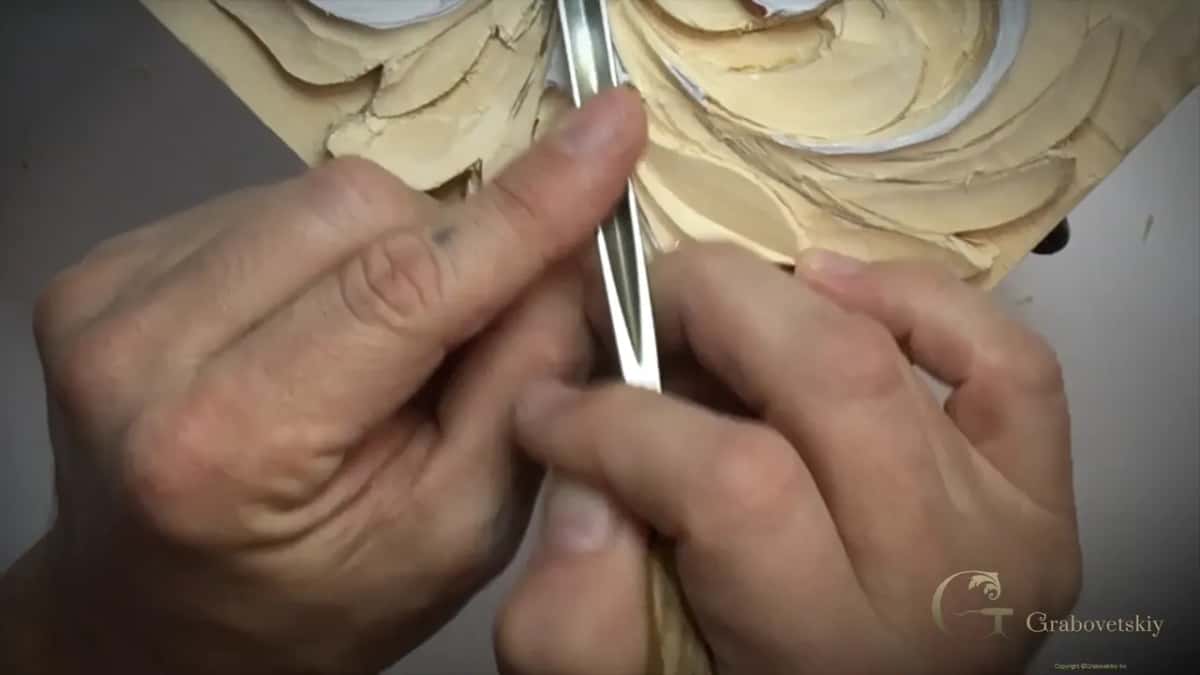
Part two had a different lobe. There I said that centered it would look okay, but I wanted it offset, so I moved it to the right-hand side. That makes the space between the line and the edge smaller on the right than on the left. It depends what you want to show.

Which side gets the line?
To the higher side of that lobe, and that side is not the same on every lobe. It went right on the downhill lobe. Later in part three I asked myself where to put it, and I went toward the left, because the left was going to be my higher point.
Watch the high point, or the high ridge, while you carve.
How far does the line move?
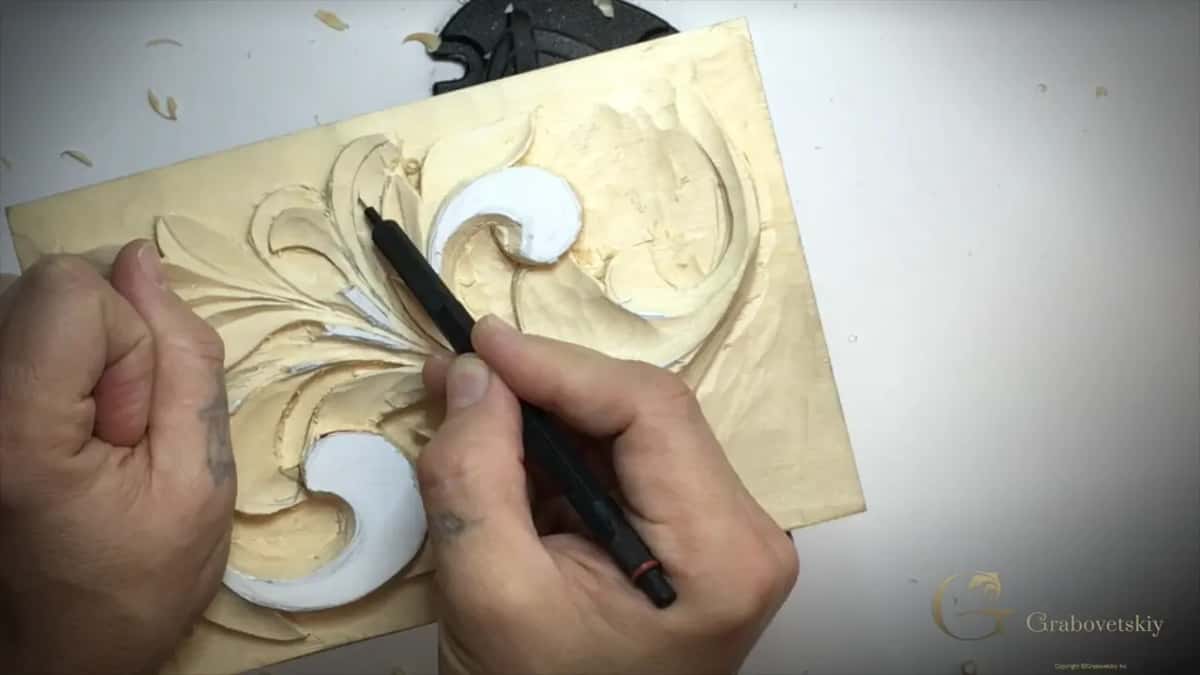
On that lobe I said 3/32 of an inch, maybe, about 2.4 mm. I divided it right in half, found where the middle was, and moved my line that much to the left of it. I think it will look good.
In lesson 9 I did the same on another lobe, middle line off center, about 3/32 to the right-hand side.
When does a line stay in the middle?
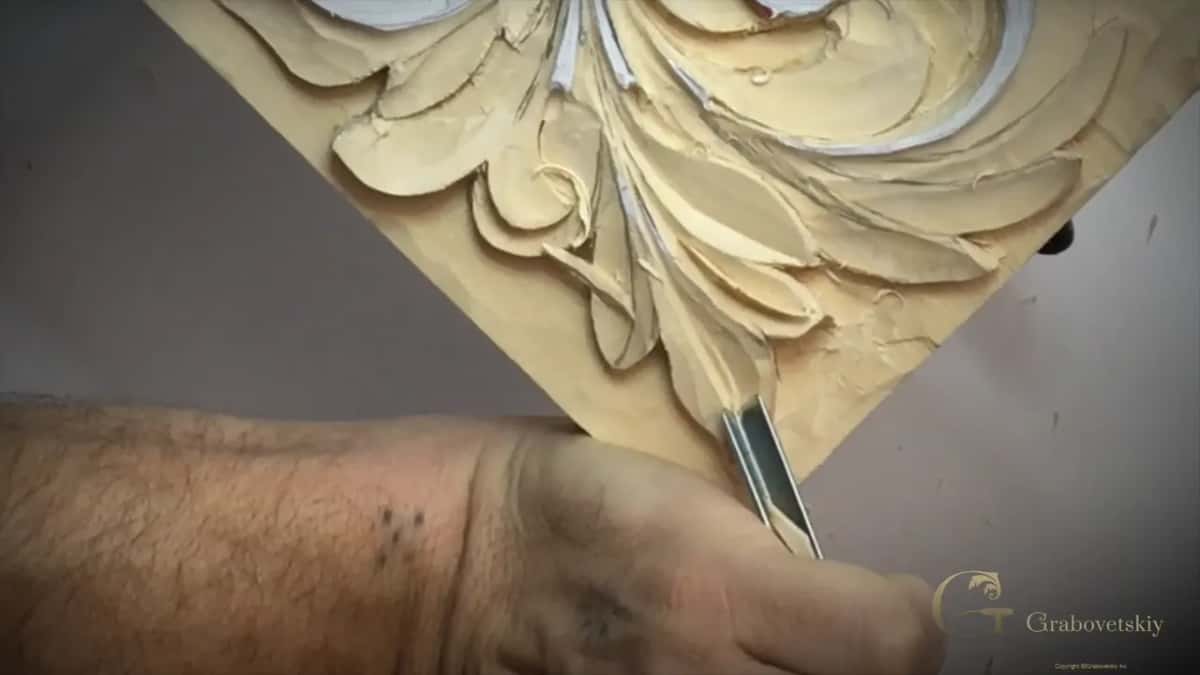
When the part is really small. It's not that big of a deal on a part that size, I said in part two, so we can do it in the middle. A bit later I did another small one just in the middle, which was absolutely fine. Holding the tool with just my fingers, I can easily see my middle there, and I made it deeper and left it like it is.
Lesson 5 had a V cut off the center too, where that leaf goes downhill.

Which V tool do I use for the middle line?
A V tool, number 15 at 6 millimeters, a quarter inch, and any V tool will work. It doesn't have to be 6 mm either. I like a 45 degree V tool. A 60 will work also, but with the 45 I can get to the tiniest spots without damaging the sides.

With 60 degrees I would remove much more wood at once from both sides. With this one I can do micro cuts, and I can go really, really far with it.
Keep it sharp. Your tool really has to be sharp, as I put it in part two, and the sharpening course is where I show how I do mine.
What is the keel of a V tool?
In the V tool lesson of the sharpening course I said a V tool is three tools in one. The bottom part isn't really sharp. It has some curvature. I treat it as tool number one and call it a gouge. The two sides are chisel number one and chisel number two. The heel, the back of the tool, I call the keel, like a boat keel.
Wikipedia's page on the keel calls it the bottom-most structural part of a boat.

Here the keel stayed on the middle line, and I worked with the right-hand chisel part of the V tool. Part two has me using one part of it like a chisel as well, and the side of it to clean on the outside.
What goes in first, the middle or the sides?
The middle line. I did it exactly like before, first my middle line, or center line, and then I work on my sides. Everything goes to the center line.
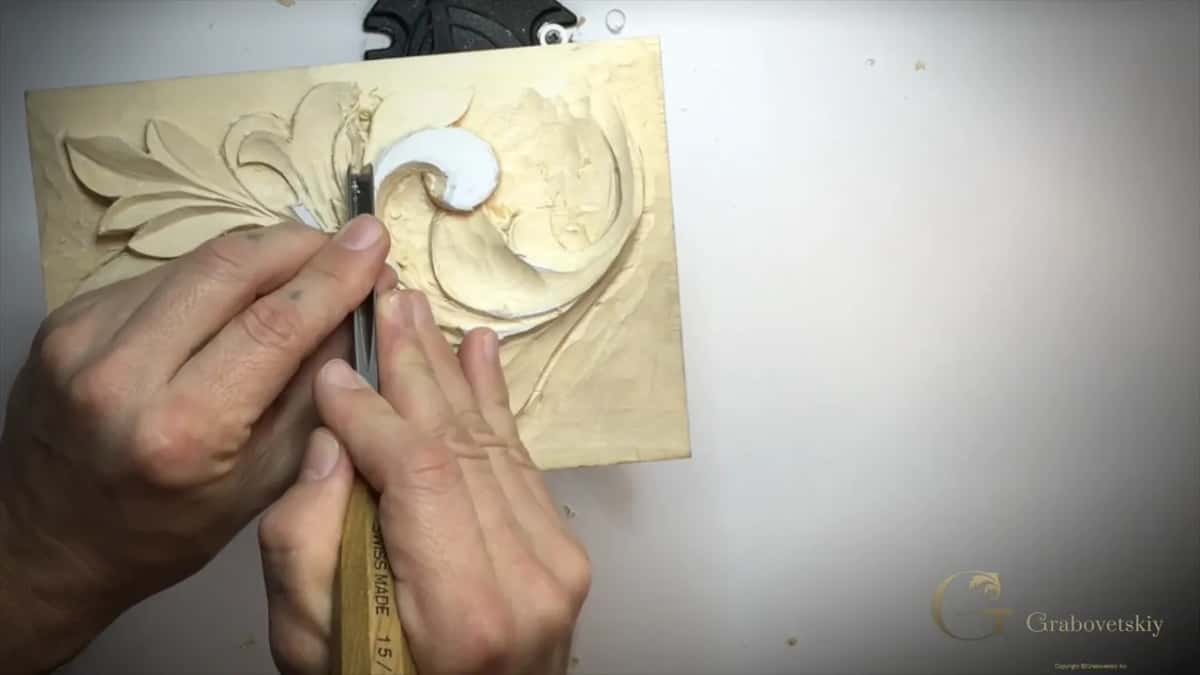
I call it the middle line, but it's not in the real middle, and you can see that. Once it's in, I move my tool to the right with the keel still on the line. I work the sides really carefully, without damaging the middle line.
How deep does each lobe go?
In part one I still had some paper left on one spot, and I went almost all the way until the paper was gone. That paper is the drawing I glued onto the block back in lesson 2, with photo mount glue. The panel is a relief carving in lime wood, the same block from the first lessons.
On another lobe I made it deeper, more 3D-ish, if you wish. For the small one I said it twice. Make it deeper.

How do I hold the V tool for micro cuts?
I always place my hand solidly against something, since it's all about how you control your tool. That way I can use just the muscles of my hand to make the movements, and my left hand sits as close as possible to the edge of the tool. You control it much, much easier, and the micro cuts come with ease.
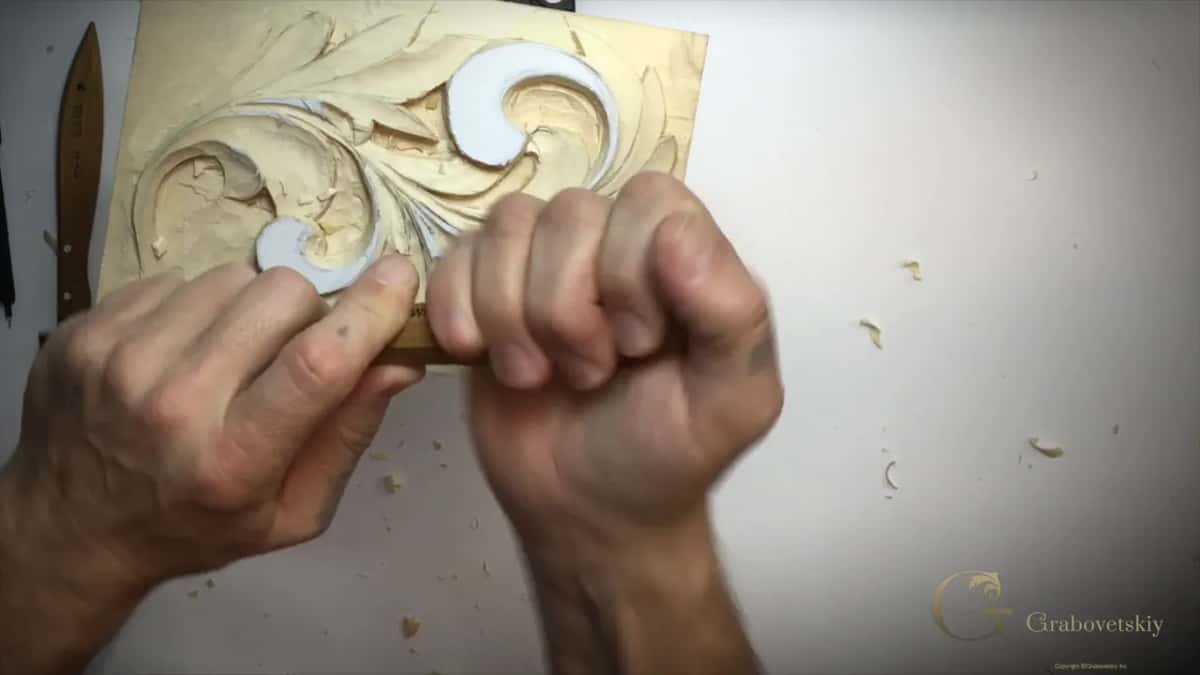
On the offset lobe in part two I positioned the tool as far as possible and held it just by my fingers. I could work the other way too. Just make sure you place your hand really close to the edge.
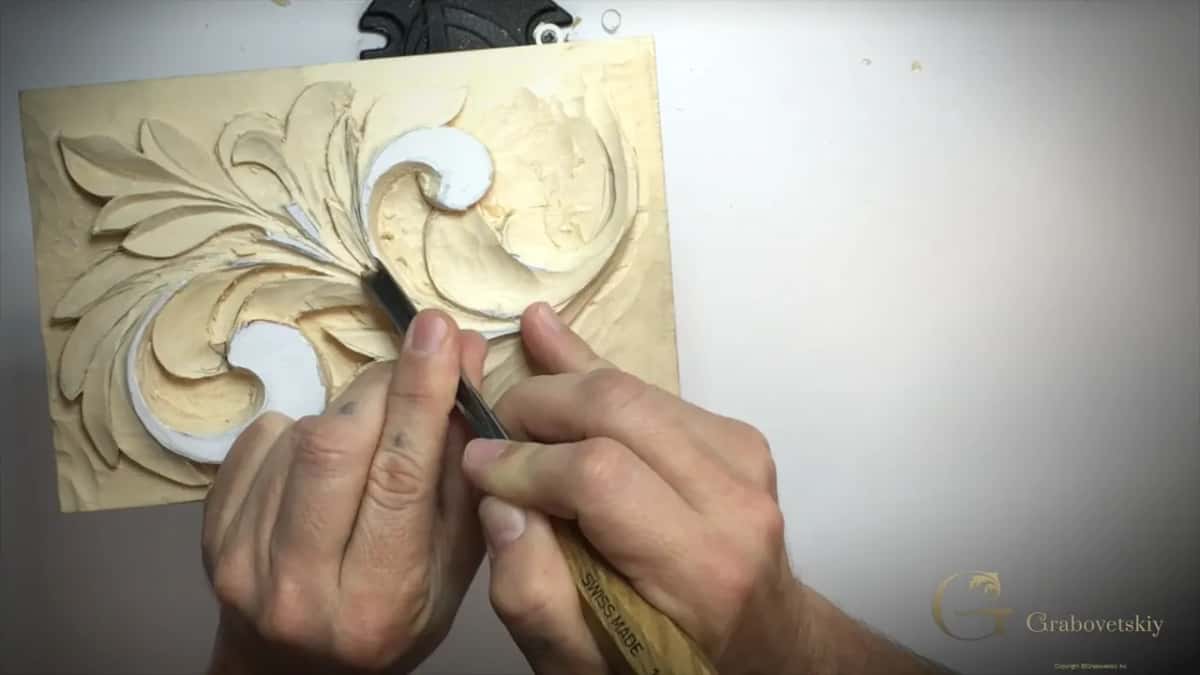
What do I do with the ridges the V tool leaves?
After the V tool I took a knife again to refine it and take out all those extra ridges I don't want to see. Keep an eye on the edge of the knife, so you don't hit the opposite wall.

Like I said, the idea is not to sand, and for that you have to be really careful how you use your tools. It does look beautiful. I like the result the knife left.

Later my tool left a ridge again, and I said a knife would be appropriate there. If it's not flying out, I take the V tool again and work my way in. Near the end of part three I laid the tool on its right-hand side, dug underneath one section, and left the ridge to remove later.
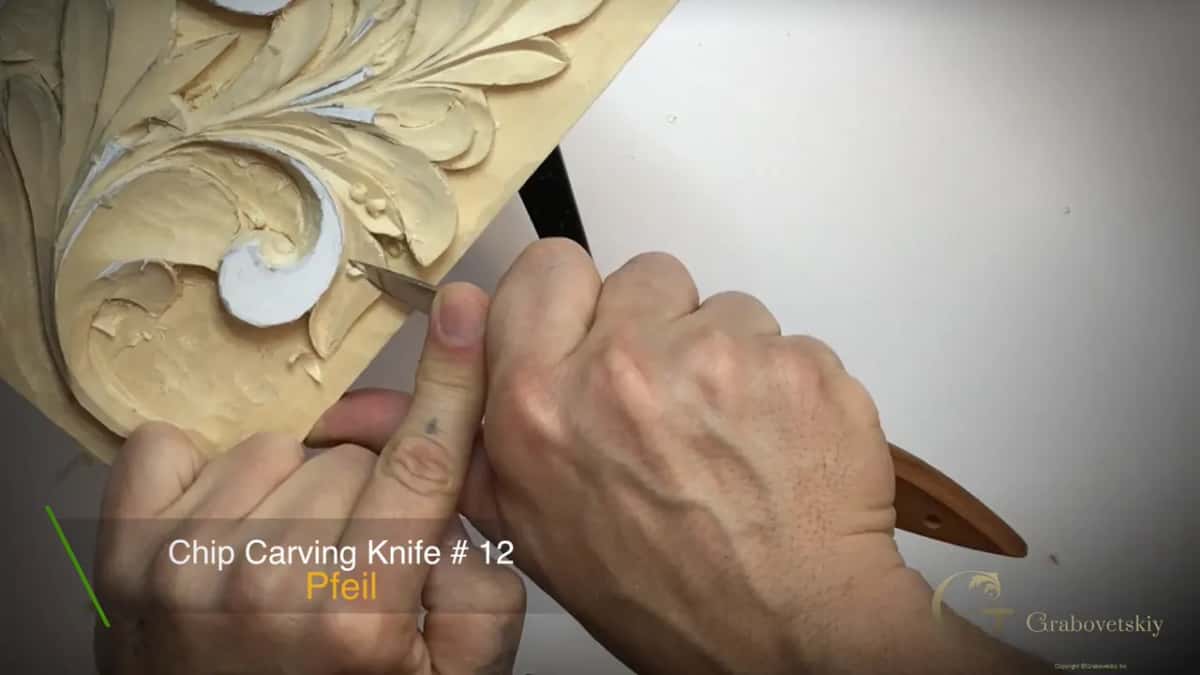
A card on screen calls my knife a number 12 chip carving knife.
What happens when the grain changes?
I rotate the work. Early in part one I saw I needed to change direction because of the grain, so I rotated and started on that side. If I push it, my grain will split and I'll make a mistake, so I rotate and refine instead.
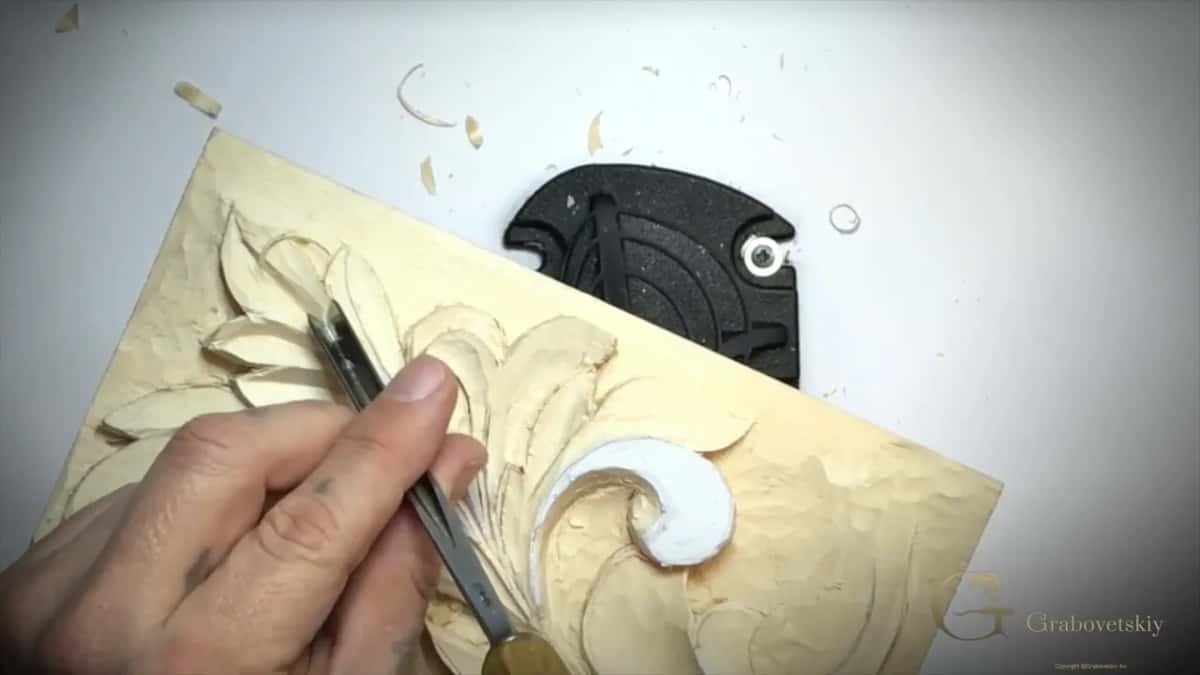
Part three had the grain against me at one point, and I attacked it the other way. Later I could see that if I pushed, I'd damage it. Just rotate and work from the opposite direction.
What is a marriage line?
My name for the place where the grain meets. On one lobe the grain changes direction, so I attacked from one side and then worked the opposite side to meet those two cuts. A bit later I could see something small, and I call it the marriage line, when the grain meets.

I use the word on other projects too. On the Hashemi flowers, in lesson 10, I said I approach it from both sides and clean it until that marriage line disappears.
In workshop 125 of the Venice Room I explained the name. I'm going to marry those two cuts, so I call it a marriage line. Force it, I said there, and it will break.

Does a small change really show?
I know it's not that noticeable while you're carving. But believe me, when the light hits, it does make a big difference.
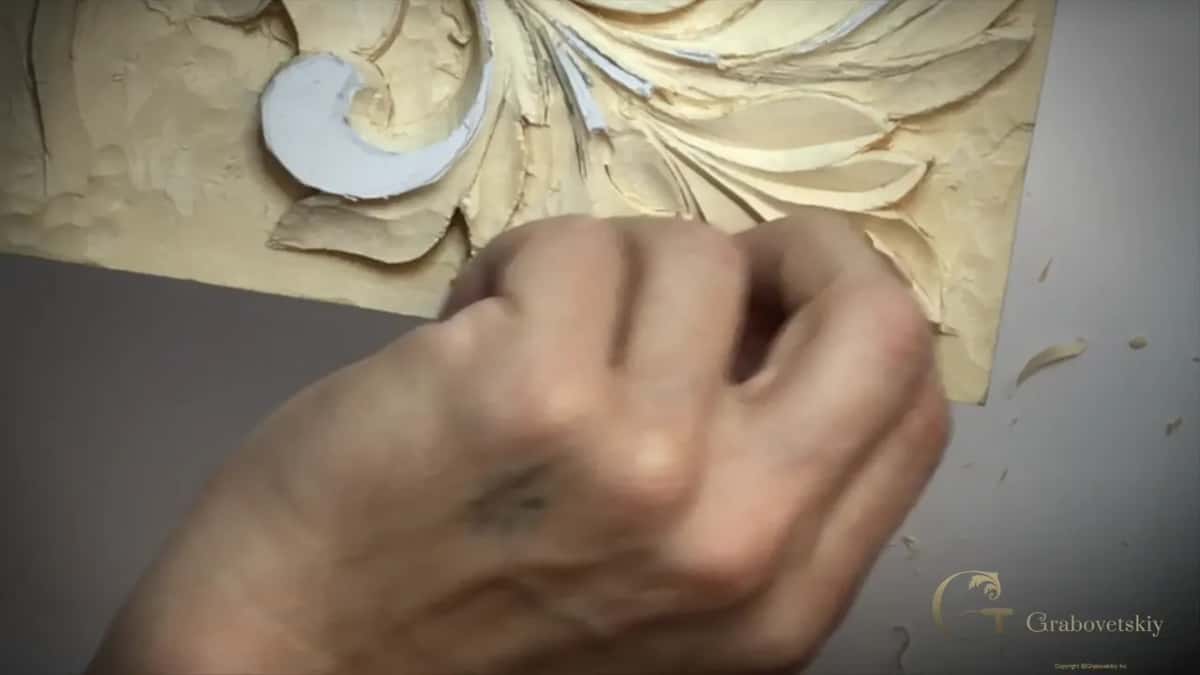
I said much the same about a flower on the furniture panel, in lesson 24. The center of that small dome was a little off center, so I made small passes toward myself, also a little off center, to give me extra shadow. It's just a one-millimeter cut (about 1/32 in), but every cut makes a big difference, I would say. That's my personal opinion, of course.
Is off center only about the shadow?
Lesson 38 of the Hashemi course has a center line I set to one side for another reason. I usually go about six parts out of ten there, by the golden ratio rule. I just eyeball it and don't measure it, and if it's slightly off center, that usually means it's good.
For this Greek leaf, the reason I gave on camera was the shadow and the higher side.
Can a number 7 gouge make the V?
In some areas we could make it even nicer. I used just the knife on one of them, but I said I could take the number 7 again, the 14 mm one we used before in lesson 3, and make it more of a roundish V. It's still a V. I'm not sure, can I say that?

The caption on screen calls it a straight gouge #7, 9/16 in (14 mm).
How do I make a leaf twist?
I wanted one leaf to twist a little more, so I made a concave cut on the inside. For that I took a number 9, 5 mm (about 3/16 in), and said it will work. I attacked from two sides because of my grain. It creates a beautiful movement.
With a knife I removed that ridge until it disappeared completely. And I was somewhat happy.
How many jobs does the V tool do in this lesson?
I said in part three that the V tool is a really important tool in any woodworking shop. It has so many uses, sometimes beyond what you'd think.

Here it set every middle line, and its sides worked like chisels. It took the excess out between two details, where I could have used a knife. It dug underneath one section of a leaf. It fixed the leaf I damaged, and it cleaned up at the very end of the lesson. To show that one leaf overlaps another, I said a V tool, angled, would probably give the same result as the knife I used.
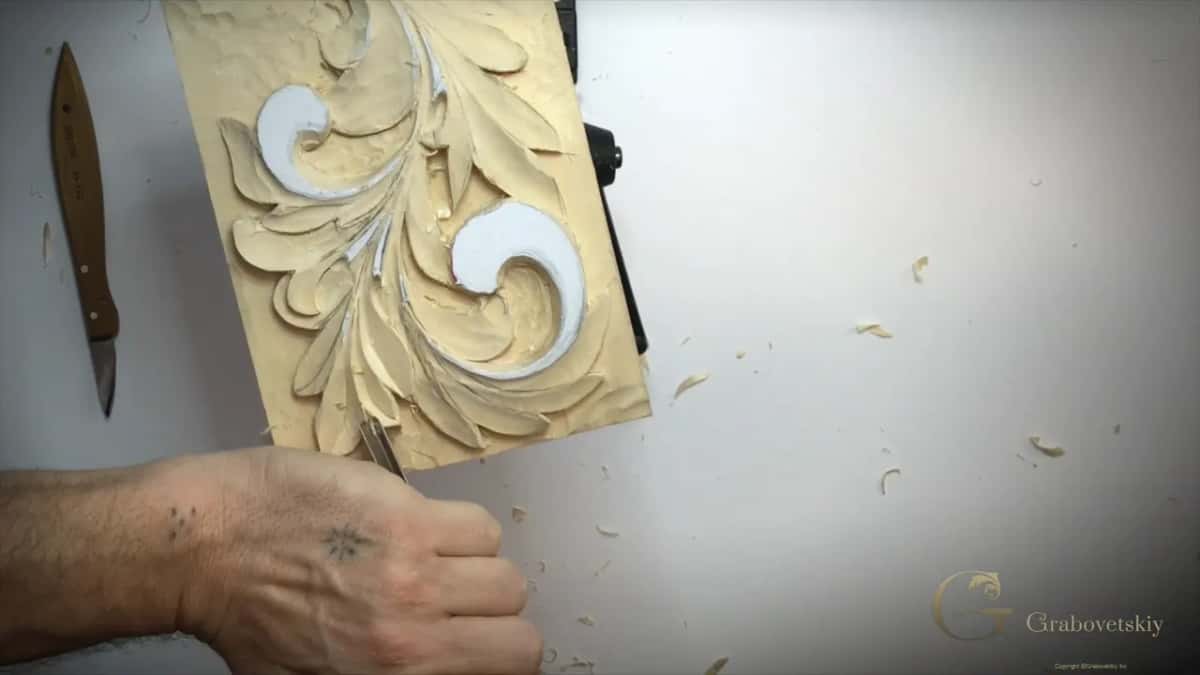
What happened when I damaged a leaf?
In part four I said I had to be really careful. Then I showed you the previous leaf, which I damaged while I was carving. I took my V tool to fix it, and I'm not too happy with the result. I refined my middle line next.

Which tool gets under a leaf where a knife is tough?
First the knife went around those leaves, slightly angled, so they were slightly undercut already, and it took the biggest chunks. A small gouge came next, a number 7 long bend, 6 mm, a quarter of an inch.


There's a beautiful tool designed just for cases like that. It's by Ashley Iles, Chris Pye tools, and he designed them for getting into areas like that. It works exactly like a knife, but I can get even deeper and undercut more extreme.
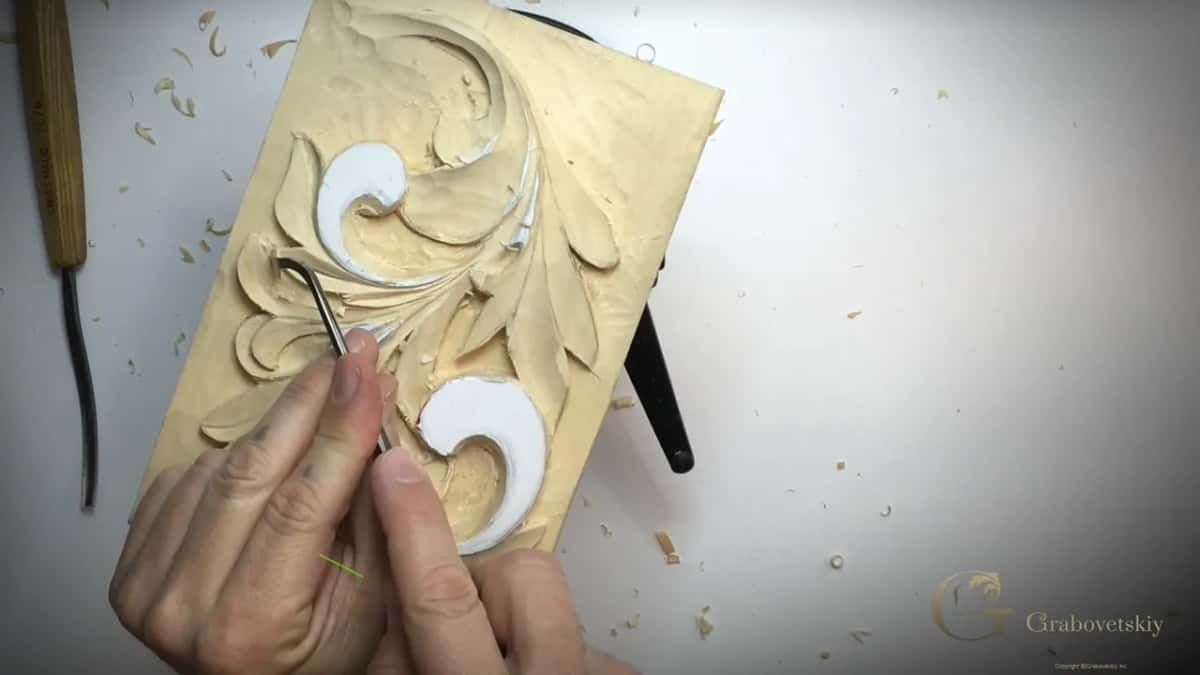
A knife will work too. This one comes in right hand, left hand and straight. One spot there was really tiny, and it would be really tough with the knife, but with this tool I was able to get it.
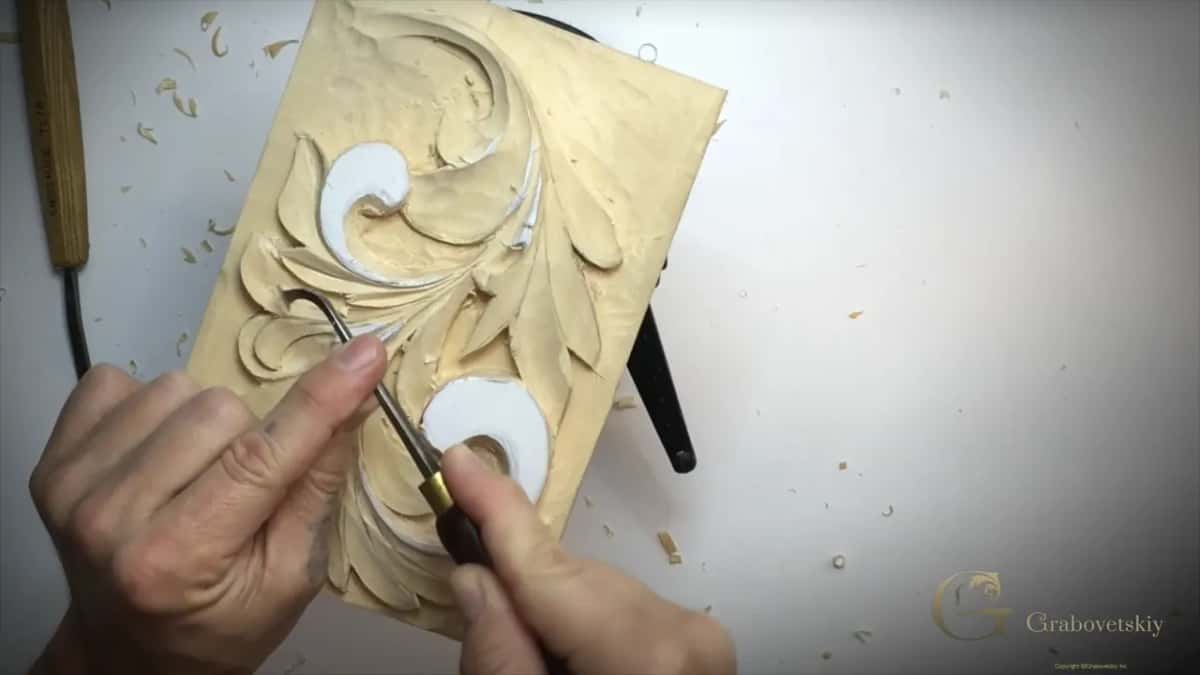
I always pull it toward myself, and I said I'm not sure you're able to use it any other way. Beautiful tool. Really easy to use.

In lesson 11 of the Hashemi flowers I brought up a Chris Pye undercutting tool as another way to the same result, going really deep and pulling toward myself to take out what I don't need. A half millimeter micro tool (about 1/50 in) would do the same job there too, I said. It just takes a little longer.
When do I call a lobe done?
When I'm happy with that side, and sometimes only somewhat happy. Twice in this lesson I said I'm somewhat happy, and once I added, although not completely. Other times I said I'm happy with this side and moved on.
Part one also has me saying that later, once we undercut everything, we'll have a chance to make sure it all looks the way we pictured it.
Where the line went on four lobes
| Lobe | Line | Why |
|---|---|---|
| Lobe in part two | Moved to the right-hand side, so the right section is smaller | Okay in the middle, but offset |
| The downhill lobe | Moved a little to the right, the higher side, for my shadow | In the middle would not look good |
| A later lobe | Toward the left by maybe 3/32 in (2.4 mm) | The left was my higher point |
| Tiny part | Centered, which was absolutely fine on a part that size | Not that big of a deal |
Where the leaf goes from here
Undercutting everything is still ahead, and lesson 7 is the next one. Every lesson of this Greek acanthus course is open with tuition, and if you're still choosing tools, the tools course is a good place to look first.
How it's done
- Look for the higher side. Keep an eye on the high point, or high ridge, of the lobe.
- Place the middle line. Move it slightly toward that higher side, where you want the shadow. Something really small can stay in the middle.
- Set the middle line first. Establish it with the V tool before you work on the sides.
- Work each side. Keep the keel on the line and carve with the chisel part of the V tool. Rotate if the grain turns against you.
- Hold it close. Place your hand solidly against something, with your left hand as close as possible to the tool's edge, for micro cuts.
- Take out the ridges. Use a knife, and keep its edge off the opposite wall.
Frequently asked questions
Does every lobe get an off-center middle line?
A tiny part of this leaf kept its line centered, and I called that absolutely fine. Where a lobe moved downhill, I moved the line a little to its higher side, to put the shadow there. It depends on what you want to show.
Will a 60 degree V tool work for the middle line?
Any V tool will work, and a 60 will too. The 45 is the one I like, because it gets to the tiniest spots without hurting the sides, and it lets me make micro cuts. With a 60 I would take much more wood off both sides at once.
Where is the keel on a V tool?
At the back of the tool, the heel, named like a boat keel. In my sharpening course I call a V tool three tools in one, a small gouge at the bottom and a chisel on each side. On this leaf the keel stayed on the middle line while the right-hand chisel part did the work.
What to carve next