

Alexander Grabovetskiy, woodcarver, School of Woodcarving · Published 2017
What does undercutting do to a relief carving?
Quick answer: Undercutting is taking wood from underneath the edge of a carved shape so it throws a shadow. On my Greek leaf a V tool laid on its side starts the shadow line, a back bent number 25 takes it deeper, and in one spot the tools go right through, so that part partly floats in the air.
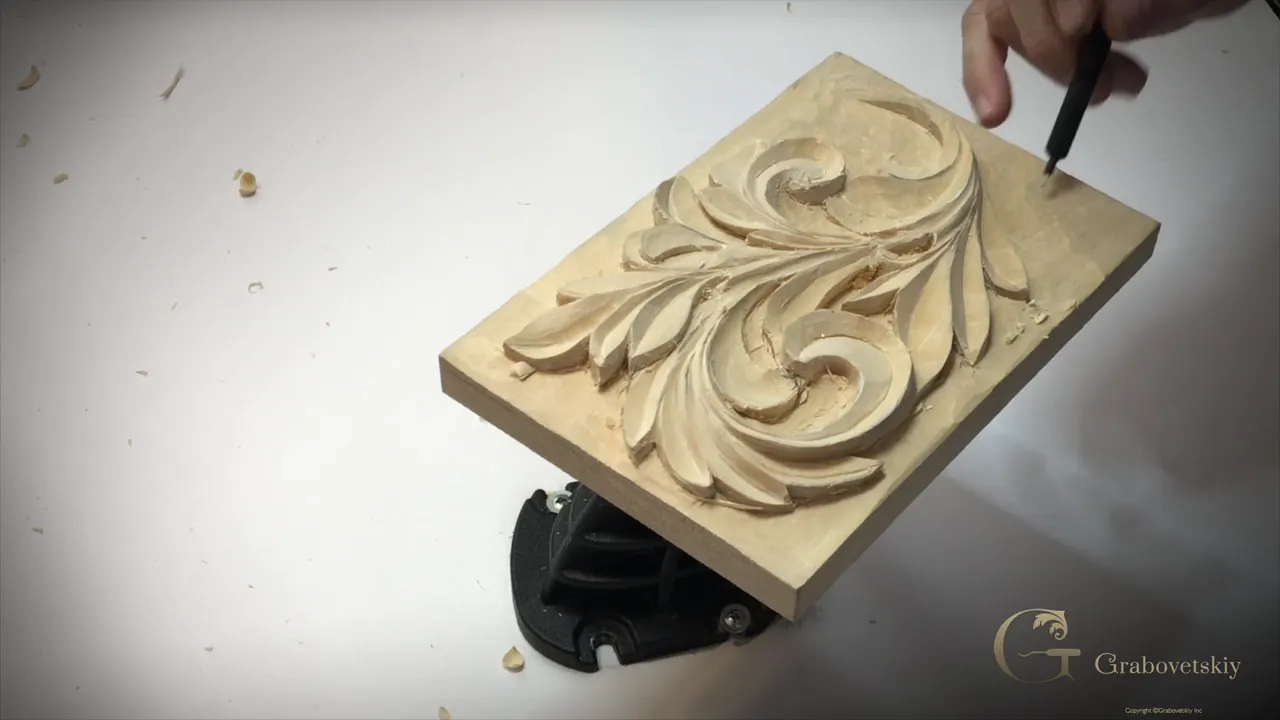
Undercutting is taking wood from underneath the edge of a carved shape, and on this Greek acanthus leaf it gives me a shadow line. I take a V tool, lay it on one of its sides and use it as a chisel. Take a little wood from under an edge and a dark band appears beneath it.
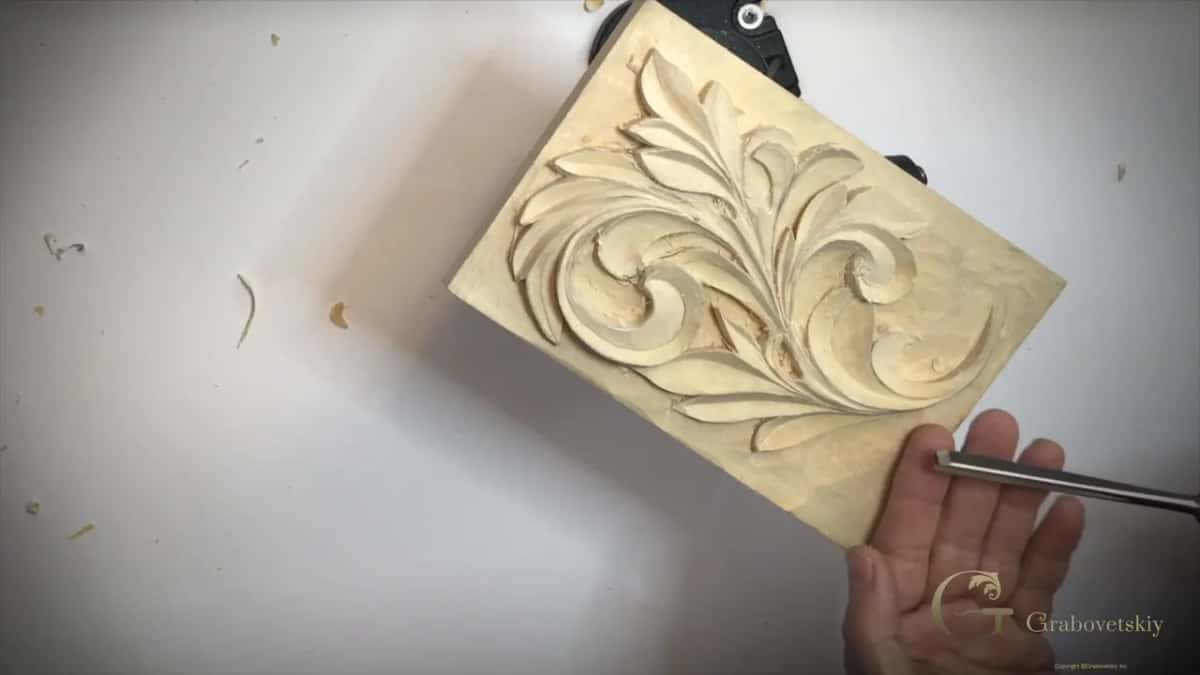
Can you see the dark line under a carved leaf in a photo? And could you hold a V tool? Then you can do this stage, because the shadow line in this lesson starts with one tool laid on its side and a very small bite from underneath.
It looks a little rough at this point, I know. But believe me, once we start undercutting and clean the edges, it will look nice and clean. For lesson 9 of the Greek acanthus course I go round the leaf with V tools, two back bent gouges and a knife, and in one place I carve right through.
Lesson 9 on the Greek leaf, in six lines
- A number 15 V tool, 6 mm (1/4 in), on its left side, starts the shadow line.
- For tight spots I take the same number 15, at 45 degrees and only 3 mm (1/8 in), because the big one won't fit.
- Then a number 25 back bent at 13 mm (about 1/2 in) takes it deeper.
- Many light passes, never one hard dig.
- No undercut on a model that will be cast in plaster.
- In one spot I went right through, so that part partly floats in the air.

What does undercutting do to a relief carving?
It makes a shadow, and the shadow is the reason I do it. In the second part I remove just slightly some material from underneath, and that's already creating the shadow line, which is what we are looking for. I'm always trying to create that undercut because of the shadow, and I just like how it looks.
This relief is a little deeper than what we had on the Corinthian acanthus leaf, so you'll see some really nice effects, because we're going to deep undercut.
In class 16 of the Gibbons class in Maine I put it this way. I really wanted to see one spot as a dark spot, a shadow spot, and as you know, wood carving is all about shadows.
Most people who look at the finished piece won't see the undercut itself. In lesson 11 I said they still look at the carving just straight on, so they're not going to look underneath, and the only person who knows what is underneath is you.

How do you start an undercut with a V tool?
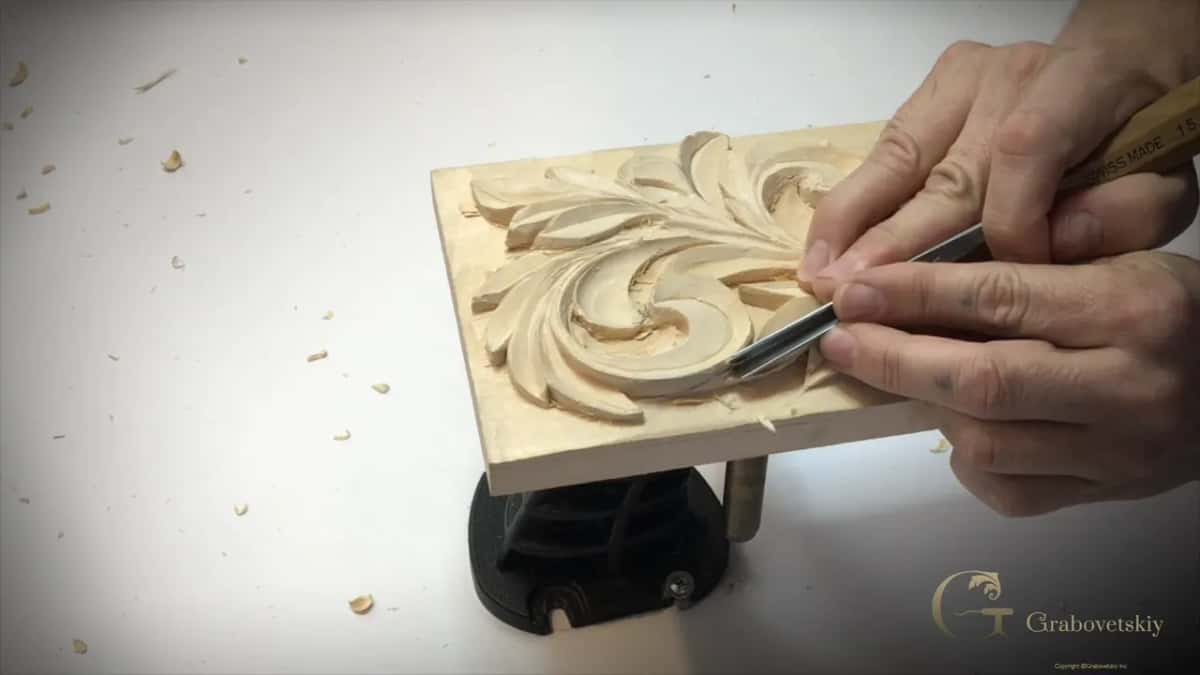
Lay it down flat on one side. I took the same V tool as before, a number 15, 6 mm. We could use a smaller one, but I used this one, lying on its left-hand side and flat on my background.
I still had space there. If you remember, we placed two lines, and there's going to be clean lines or even below, so I'm safe even if I raise the tool slightly to the right. I still have plenty of material, and I'm not afraid to remove too much.

Be careful anyway. This stage is not as easy as it looks. Not every carver uses a V tool for undercutting, I know, but I like it, and I really like how fast you can do it.
Is your V tool too big for the spot?
Take a smaller one. On the next spot I attacked from the opposite direction with exactly the same idea, and in a case like that the big V tool is not going to work. So I got a 45 degree V tool, also number 15, but only 3 mm.
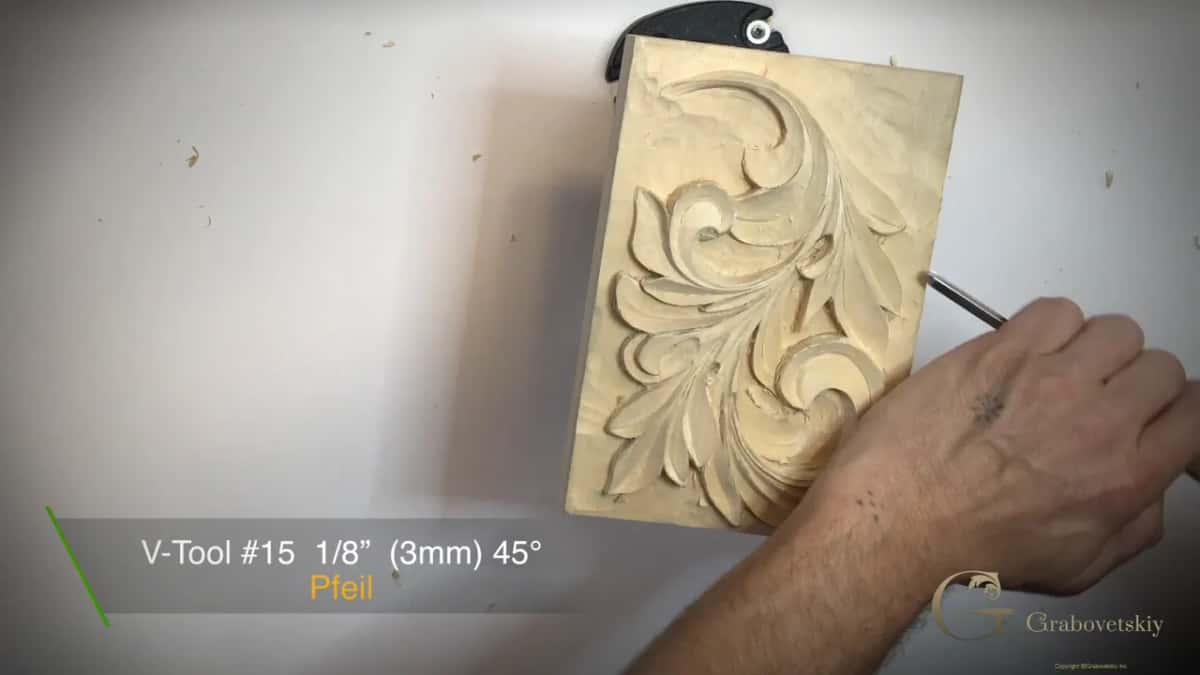
In the third part the straight V tool limited me. I could start with it, but if I hit this part of my carving, I can damage it, so be careful not to hit it if a straight one is all you have. It would be better to use a short bent V tool, like my number 12, which is 3 mm.
I've got a couple of them, and one has a micro crack in the metal that came from the factory like that.

When do you switch to a knife?
At the edge. Even if you're laying the tool flat and trying to hit the edge, you're not always going to hit it, so we still use a knife. I bring that undercut almost to the edge with the knife, and little by little we remove the material from underneath.
Be really careful here, because you can really break your tools. I know carvers who broke tools when they used a V tool for undercutting. Not everyone can master that technique.

Near the end of part two the knife went in again. Carefully, little by little, without forcing too much, I removed whatever I didn't need.

How many passes should one undercut take?
Many small ones. It's better to take multiple passes, because there's less chance to make a mistake. If I tried to do it in one pass and dig really hard, I could escape with my tool and damage the leaf right there.
So small passes are much better than forcing it and trying to remove a lot of material at once. It's better to take time, and it's going to take us a little bit of time to get everything nicely undercut.
Where does the undercut start when one leaf goes under another?
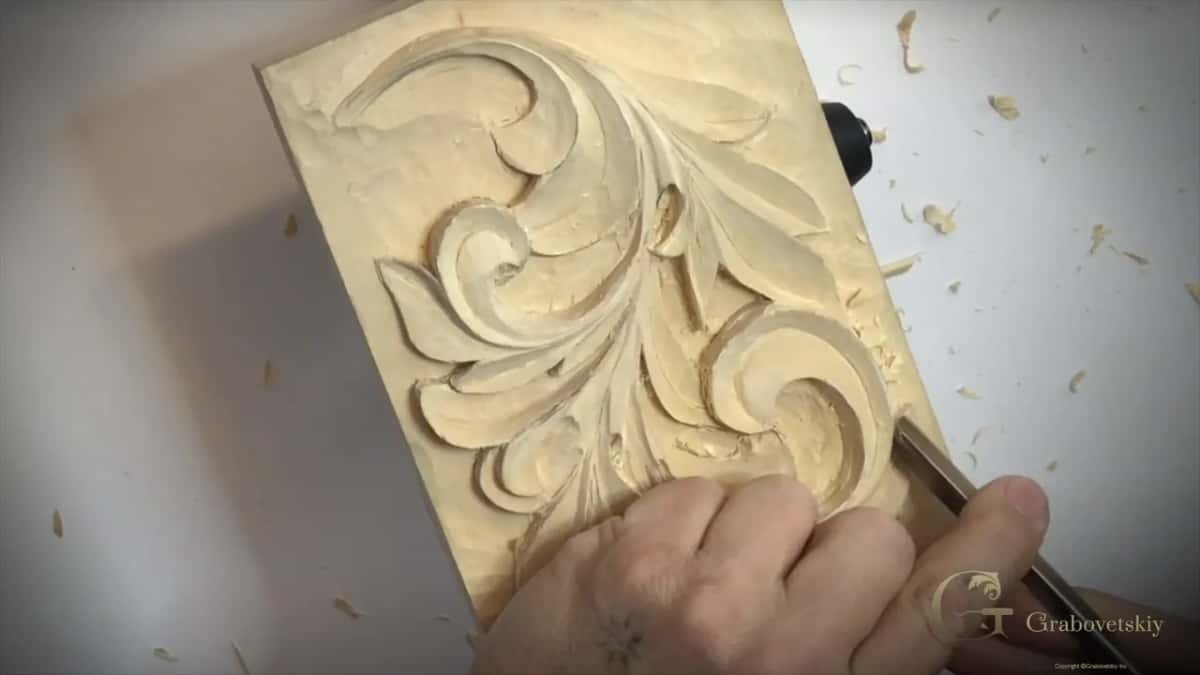
Where the lower leaf goes underneath. One area in part three is interesting because a leaf goes under its neighbor, and I have to make sure my undercut starts there and then goes all the way down.
I can't go too deep there either. If I go too deep, I can hit that middle line, which I don't want to do. Back in lesson 3 I took a marker to show you where one leaf overlaps another.
Why use a back bent gouge for undercutting?
It takes the shadow deeper. There's another way to undercut, and I like that way also, a back bent gouge, number 25, 13 mm (about 1/2 in). I use it a lot for extreme undercutting. Slowly I can start removing even deeper and create an even more beautiful shadow, and nothing is in my way.

After the back bent I took the small V tool again, 3 mm and still 45 degrees, and removed what was left.
Get multiple back bents if you are able to afford them. I've got a lot of different ones, because in some areas the 13 mm is just too big. There I bring a smaller one, still number 25 but only 6 mm, a quarter of an inch, and continue my undercutting.
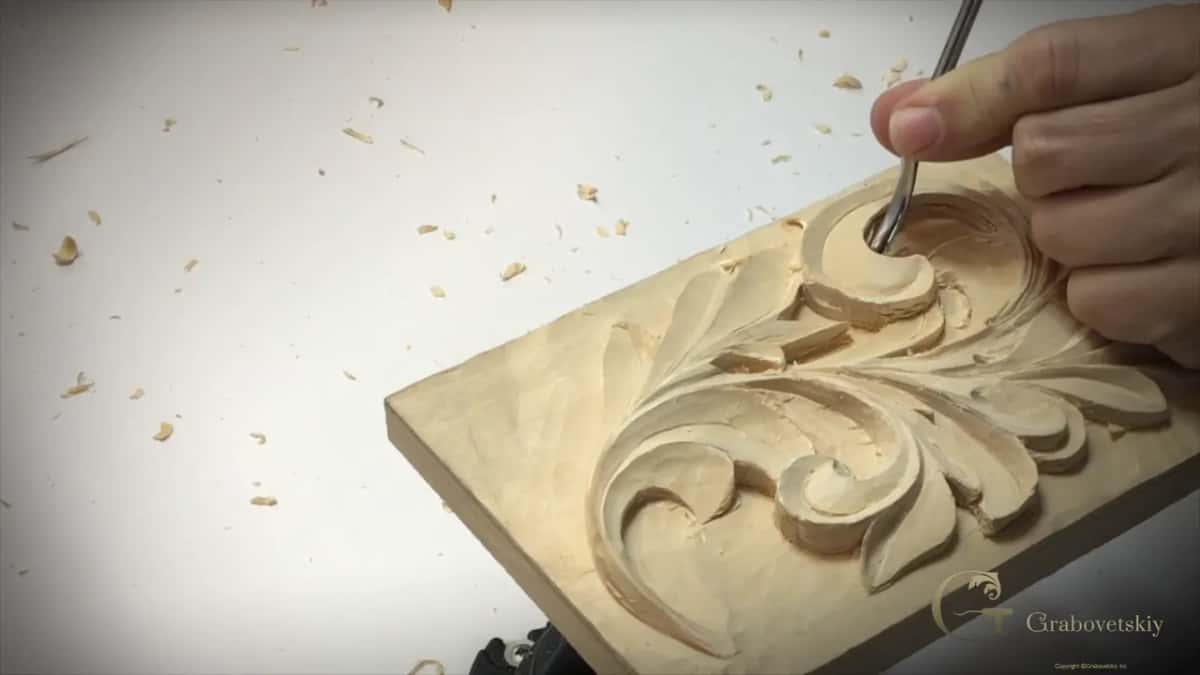
There are multiple approaches to undercutting, and in lesson 10 I say it's a good idea to try different techniques and find what's best for you. For me, the edge of the back bent is the quickest and really accurate. I also have sideways undercutting tools, a right hand, a left hand and a straight one. When I first got them, they were the only tools I used for undercutting, but for me they're not everyday tools.

When should you not undercut a carving?
When the piece is going to be cast. I've done some work for a company that did plaster work, and they needed some models made. I could not undercut, because they would cast them later. For mass production it's not practical.
Wikipedia's page on the undercut explains it from the factory side. In molding, it says, an undercut is any bump or recess in a shape that stops it coming out of a one-piece mold.
But if it's a standalone piece, a wood carving as art, I'm always undercutting. In class 11 of the Maine class I went deeper with a half millimeter number 11 for a darker shadow and asked if you have to do it. No, not really, but I think it's going to give me a much better shadow.

How far can undercutting go?
Through to the other side, on some pieces. On the more complicated pieces, like Grinling Gibbons, it's absolutely the most extreme undercutting you ever probably saw.
In that same class 16 of the Grinling Gibbons class in Maine, one spot was so thin that I went all the way through, and it made a beautiful dark spot. I switched between a number 1 and a number 11 and kept digging, really carefully. That's extreme undercutting.
Should you carve right through under a leaf?
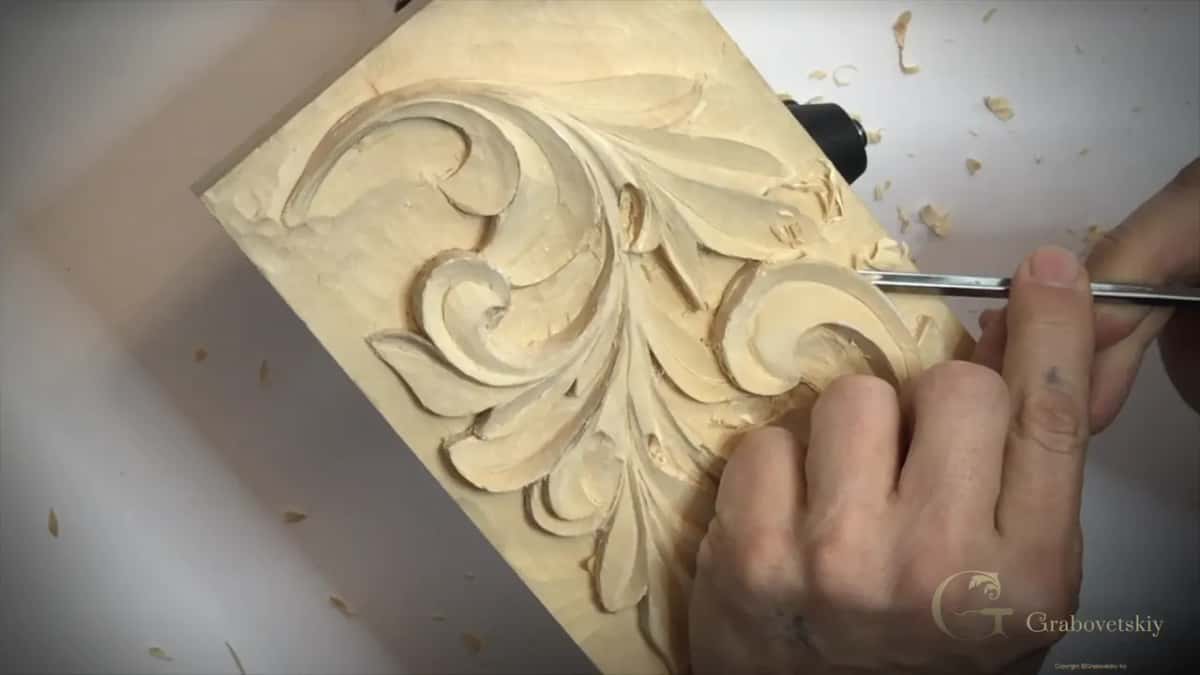
On one spot of this leaf I did. In part three I saw a place I could carve through, and that will look even better, even more 3D. Then in part four I thought it would be really nice to make the space below one part, so it would partly float in the air. I wasn't sure if I should, so I thought first. And I think it is a good idea.

For that I went in with the big back bent, number 25 and 13 mm, using just the edge of it. The V tool removed the excess until I was almost through in one spot, the back bent came in again from the other side, and then my knife went right through.
Watch the weak point. The grain goes one direction there, and if there's not enough material left, I can break it. So just make sure you don't remove too much right there.

How is the waste lifted out from underneath?
I hook it. I use just the edge of my tool in micro moves and hook the excess underneath until I can grab it and move it out. That's hooking, and I keep hooking with the edge of the back bent in lesson 10.
You could also use a gouge upside down, even if it's not a back bent. Sometimes a part of the carving is in my way and that's almost impossible, but at that spot I could use one with no problem.
Does a sharp tool sound different?
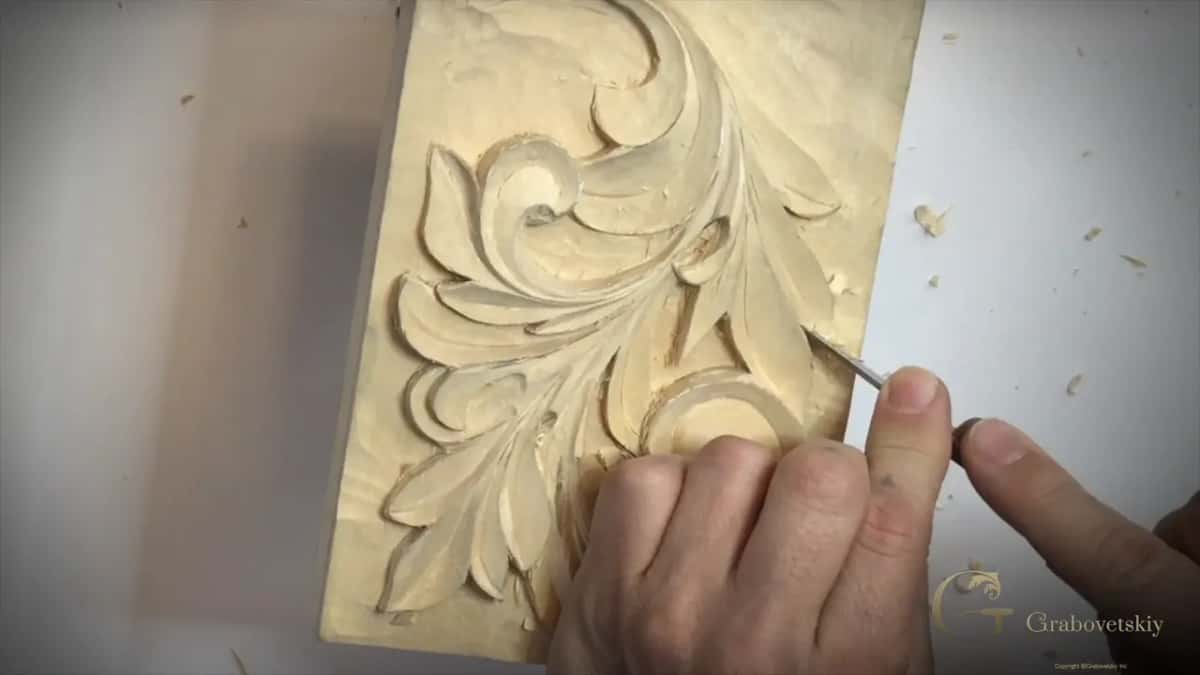
It does. You can usually hear the sharpness, how it just cuts through the fibers, and in part four you can hear how sharp my back bent is.
Early in part one my number 8 looked like it needed buffing. After a pause I tried it again, and it was much better. Sharpening has its own course here.

What happens to the lobes before the undercut?
They get their insides carved. On a Greek acanthus leaf you would have a V cut inside the leaves, but sometimes you would have just a concave inside, and I made one lobe concave on this piece.
First my number 12 carving knife took the edge gradually downhill, so it would look nicer. Then a number 8 gouge, 7 mm (about 9/32 in), and a little bigger, a number 9 at 10 mm, which in the United States would be three-eighths of an inch.

The rule is about the same as for a V. There's still a hidden center line you won't be able to see, but the concave has to go to that center line.
Then I went bigger again, a number 8 of about five-eighths of an inch (16 mm) by Ashley Iles. With a bigger tool my inside is going to look much cleaner, although I'm not that concerned yet about how it looks.
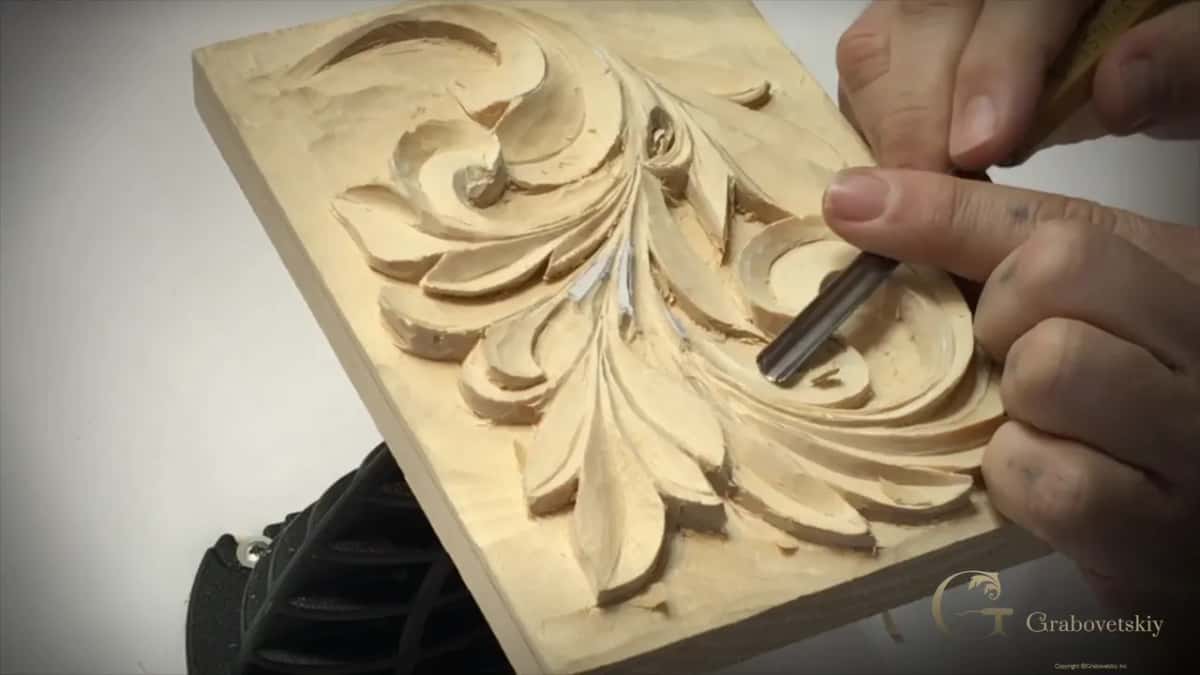
The next lobe definitely gets a V cut. I placed its middle line off center, about 3/32 of an inch (2.4 mm) to the right of the real middle. As I said in lesson 6, I call it the middle line, although it's not in the real middle.
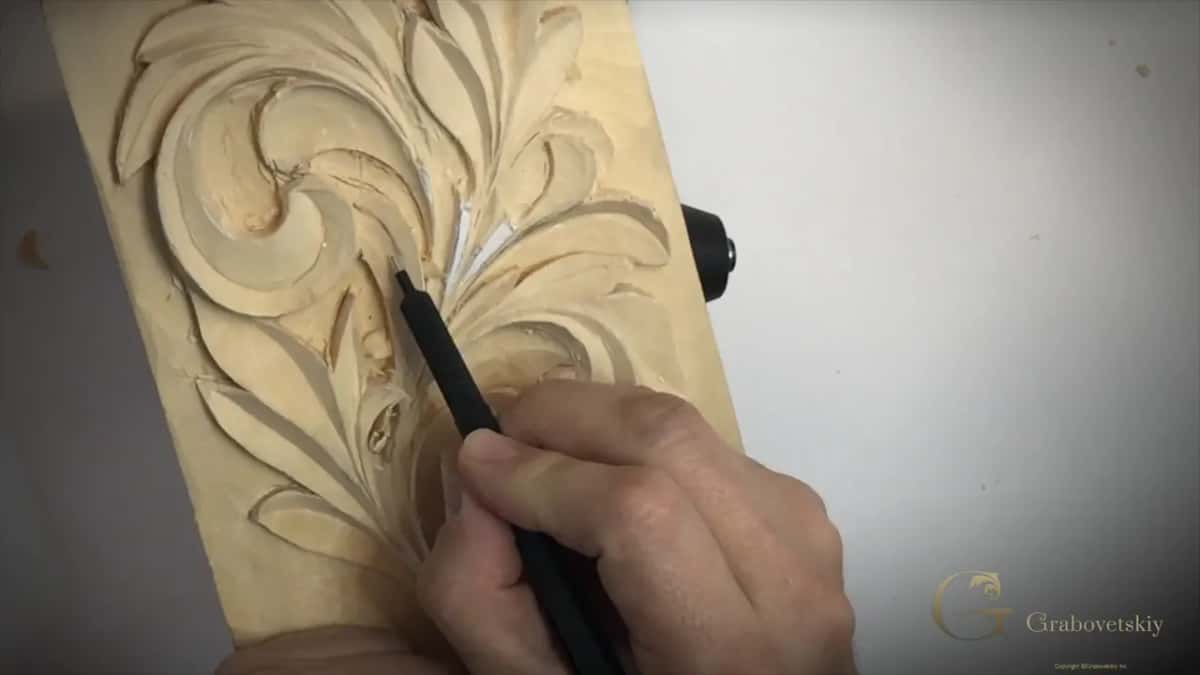
With a knife I made the center cut and brought the sides to it. I have to keep an eye on my grain. At one spot I had to change direction, because if I kept going I would make a split. So I attacked it from the opposite side with an initial cut, like a zip cut, and then went in with a number 5 gouge, 8 mm (5/16 in).
The same number 5 went in upside down to take the paper off the pipes from lesson 4. A bevel on the inside of your tool helps you work upside down, and on all of my tools I try to keep a micro bevel on the inside.
How much does a tool's size matter?
For me, not much. Honestly, I don't ever check what size my tool is. I just know inside of me which one I should grab at that moment, and the number 5 I cleaned with in part two has no marking on it at all.
The undercutting tools
| Tool | What it did on this Greek leaf | Quote |
|---|---|---|
| V tool #15, 6 mm | Laid flat on its left side to start the shadow line under each edge | I'll use it as a chisel |
| Smaller #15 V tool, 3 mm, 45 degrees | Goes into the spots too small for the 6 mm V tool | I'm going to need a smaller one |
| Back bent #25, 13 mm | Deeper undercuts and a darker shadow, worked with just its edge | Nothing is on my way |
| A 6 mm back bent, also #25 | Tight areas where the bigger 13 mm back bent won't go | It's just too big for this area |
| Short bent V tool #12, 3 mm | Reaches past a part of the carving the straight one could damage | Just be careful not hitting that |
| Carving knife | Takes the undercut almost to the edge, a bit at a time | We could just use a knife |
Where lesson 9 leaves the panel, and what comes next
I like what I see. Why the undercut waits until late in a carving is its own question, and I answer it in lesson 9 of the Roman acanthus.
Do you have a V tool? Is there an edge on your carving with flat background under it? Then lay the tool on its side and take a little from underneath, and watch the shadow line show up.
Every lesson of this Greek acanthus course is open with tuition, including the four parts of this one.
How it's done
- Ask whether it will be cast. A piece going to a plaster caster stays without undercuts. A standalone carving can have them.
- Lay a V tool on its side. Put it flat on the background, one side down, and remove a little from under the edge.
- Bring in the knife near the rim. Wherever the V tool can't reach, a knife takes the undercut close to the rim.
- Go deeper with a back bent. A number 25 at 13 mm makes the shadow darker. Change to a 6 mm one where the big one is too wide.
- Keep each pass light. Several small bites, not one hard push, so the tool is less likely to escape and do damage.
- Hook the waste out. Tiny moves with the tool's edge, until you can grab the chip and lift it away.
Frequently asked questions
Do you have to undercut a relief carving?
On work going to a plaster caster, leave it out. I made models like that for one company and could not undercut them, since they were cast later. A standalone carving is where I undercut, and in the Maine class I said a deeper shadow is not a must there, just much better.
Which V tool should you use for undercutting?
On this Greek leaf I started with a 6 mm number 15, lying on one side so one wing does the work. A 3 mm one of the same number, 45 degrees, went into the tighter spots, and where a straight shaft would hit the leaf, a short bent number 12 is better.
Does undercutting make a carving weaker?
Extreme undercuts do break more easily, and in lesson 11 I agreed with the carvers who say so. I stay on the more extreme side anyway, because you can break pretty much anything, even without extreme undercutting. It depends who is going to touch it, and how you're planning to use it.
What to carve next