
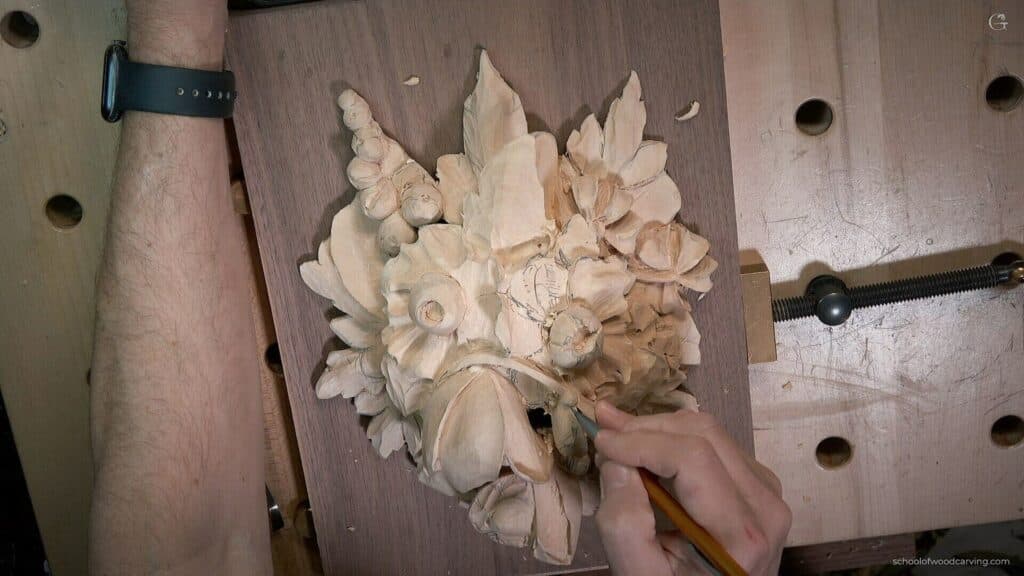
Alexander Grabovetskiy, woodcarver, School of Woodcarving · Published 2022
What is a back bent gouge used for on a carved flower?
Quick answer: A back bent is a gouge bent backward, its bevel on the opposite side from a front bent such as the spoon gouge. For flowers I call back bents probably must have tools. In class 11 I turned mine upside down inside a tulip to keep the inside round, slicing with a really sharp edge.
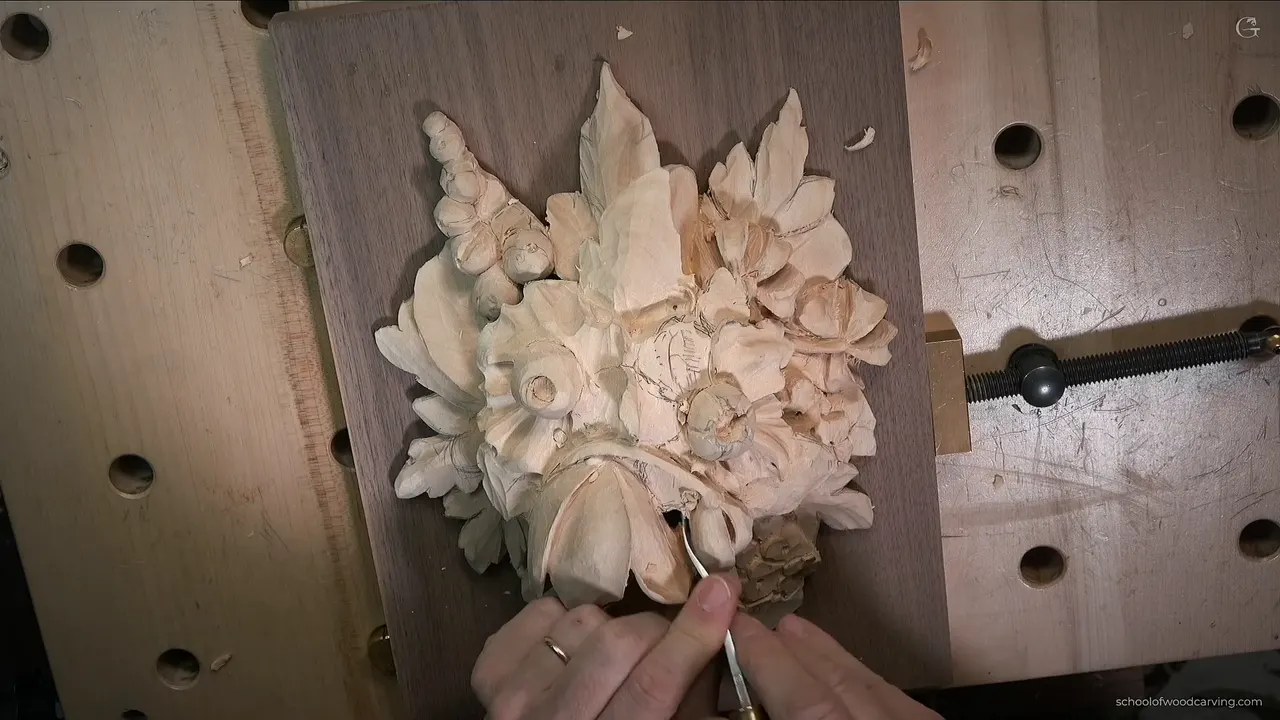
A back bent gouge is a gouge that bends backward, so its bevel sits on the opposite side from a front bent like the spoon gouge. On my Gibbons panel I used mine upside down in class 11, to work inside one flower without losing its roundness, then flipped it to do the same on the big tulip. For flowers, I said, back bents are probably must have tools.
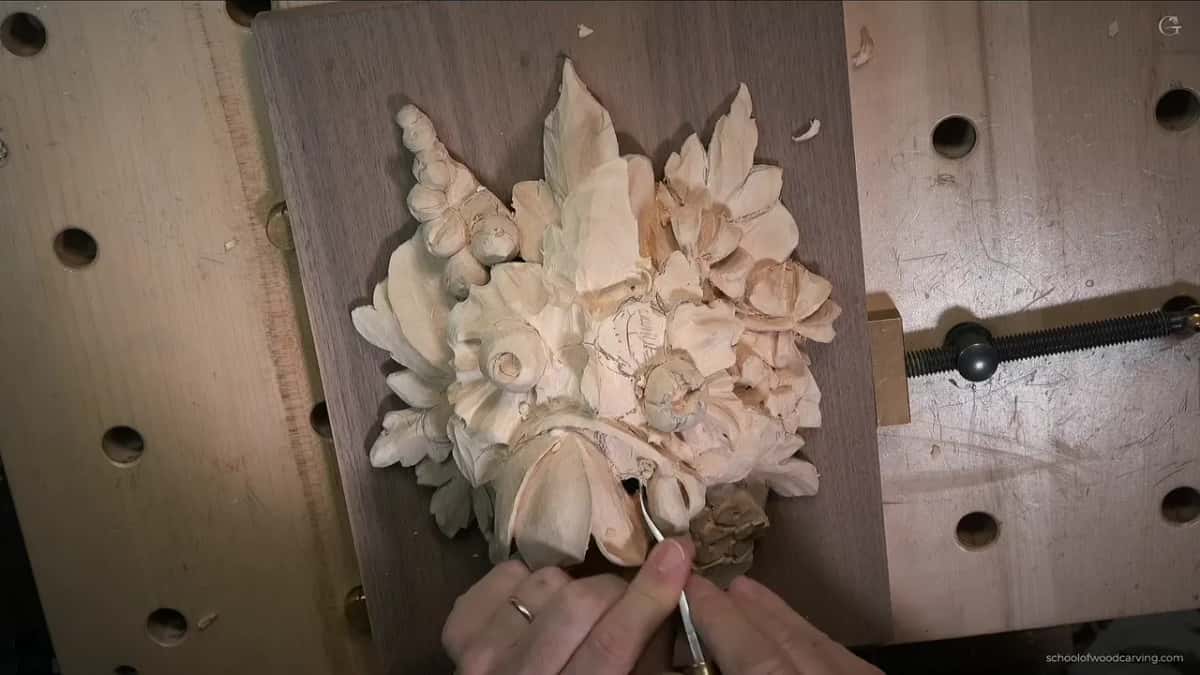
Ever wanted the inside of a carved flower to stay round? Ever had a straight tool dig in when you had to reach past a high spot? This lesson shows how I got a back bent in there, and the other tools I used on that one tulip.
Here I went back to the panel we carved together in class, up in Maine. A couple of things there I didn't like. The background was number one. You'll see what went on inside the big tulip and which tool did which job.
Six things from class 11
- Upside down, the back bent kept the flower round.
- My number 9 went straight down until I was through, for a deep shadow.
- Against the grain happened here, though I'm not pushing it on you. Sharp tools are a must.
- A bigger tool gives a cleaner surface until it can't, and then a smaller one takes over.
- Every pass inside the tulip aimed at one spot, the center.
- A small triangle taken out on the side let one petal overlay the next.
What makes a gouge a back bent?
In my lesson on sharpening a back bent I laid out the families. Most beginner sets are just straight gouges. Bent gouges come in two kinds, front bents and back bents, and the short front bent is the one carvers call a spoon gouge. There are medium and long front bents too.
The back bent bends the other way, backward. Put the two side by side and the bevel tells you, because on a front bent it's on the back side and on a back bent it's on the opposite side. Back bents come only short or medium.
In a short lesson on back bent tools I called it one of the best tools there is. Say there's a high spot, and you still have to reach and carve the area past it. Attack that with a straight tool and it's going to dig in. The back bent is raised above, so I can safely attack that part. Its other job is the undercut, when stuff is right in the way and you really need to get underneath.
I've got huge ones for big carvings and tiny ones of about one eighth of an inch, three millimeters, in different curvatures, and those back bents are my favorite tools.
How did the tulip get its dark spot?
I went all the way through. Inside this flower I wanted a deep shadow, so I placed a number 9, six millimeters, about a quarter inch, straight down. I gave it a rotation motion, though not a full one.
How deep that spot was, I didn't even know, and then I was through. The shadow it gave was deep. You don't really see it on the camera. It was a beautiful shadow.
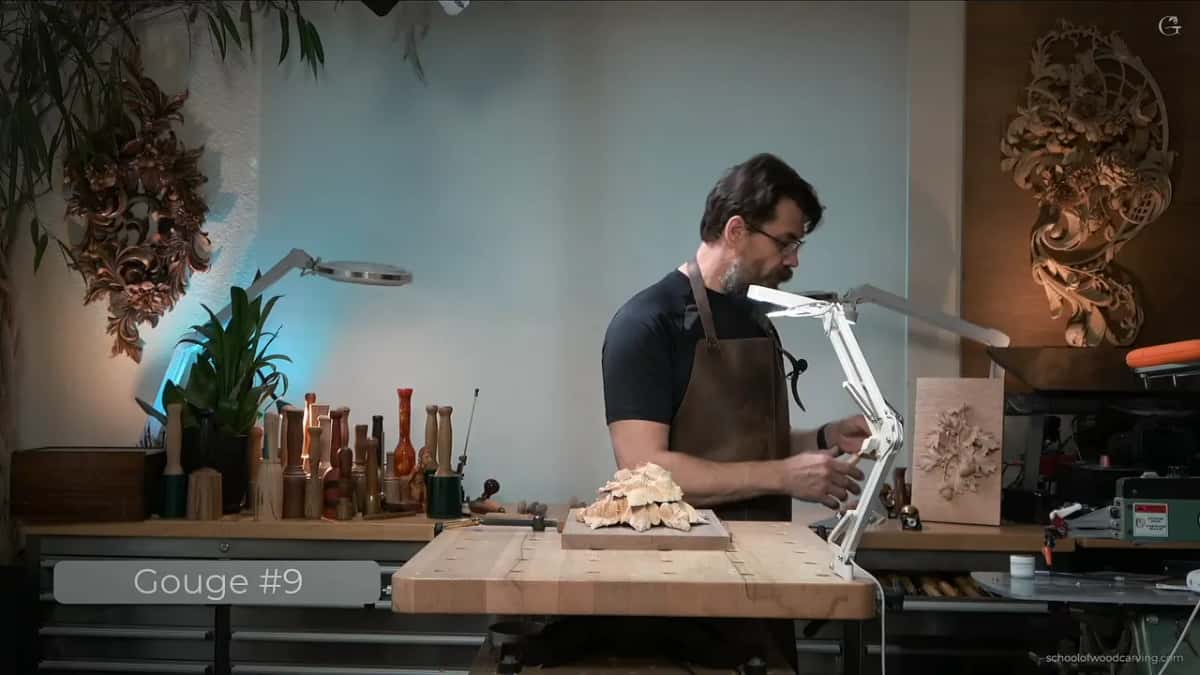
Six millimeters could be a little too big of a tool there, and I had to be careful not to lose the detail or the feel of that movement. So I went carefully, as much as I could.
The board behind the carving is walnut now, and a darker ground is what shows through a spot like this. Why I changed the background is on the class 1 page, and class 10 is where the woods Gibbons used come up.
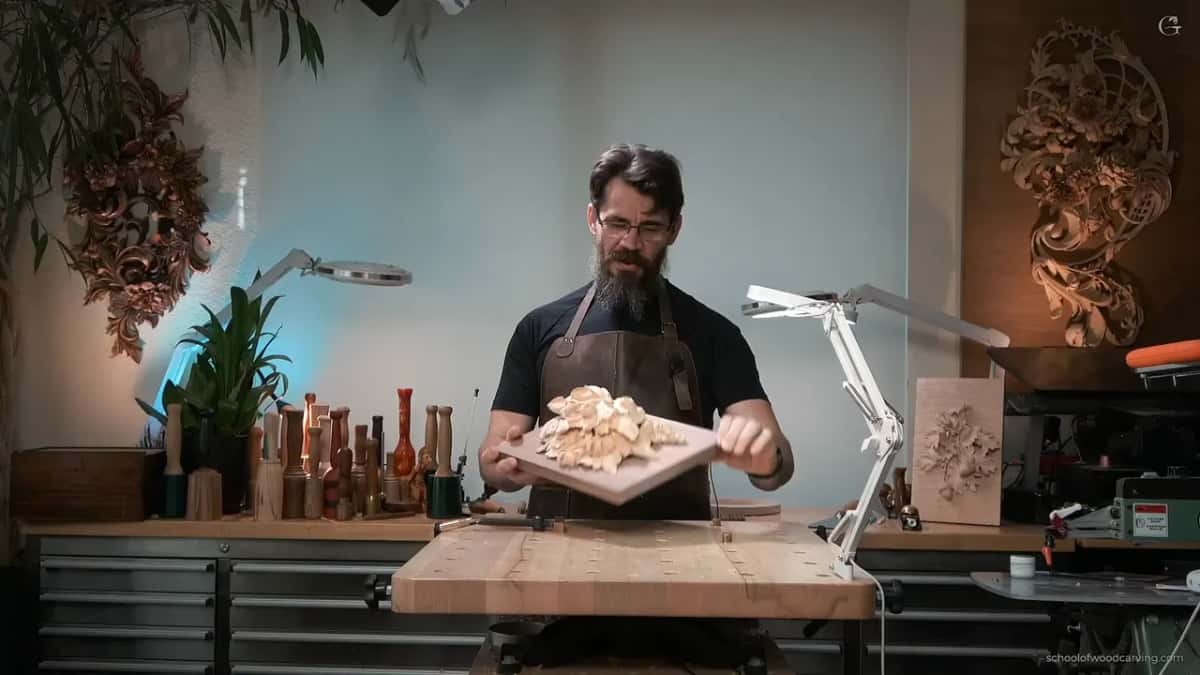
Why turn a back bent upside down inside a flower?
With the back bent I could just get in, so after the number 9 I turned it upside down and worked inside. The roundness of that flower had to stay. It's much easier to get that result this way, and of the multiple ways I could have done it, I really like this one.
Even with this bent tool you can see me trying to slice. Then I flipped it the opposite direction and got the same effect on the big tulip, without forcing anything. That would be a big mistake.
As the roundness came, my opening got wider and wider. See how deep the shadow casts, I said, and it gave me a really good feel for how much material I had on that petal. If chips fly inside, that's okay. There's plenty of space underneath to clean it out later.
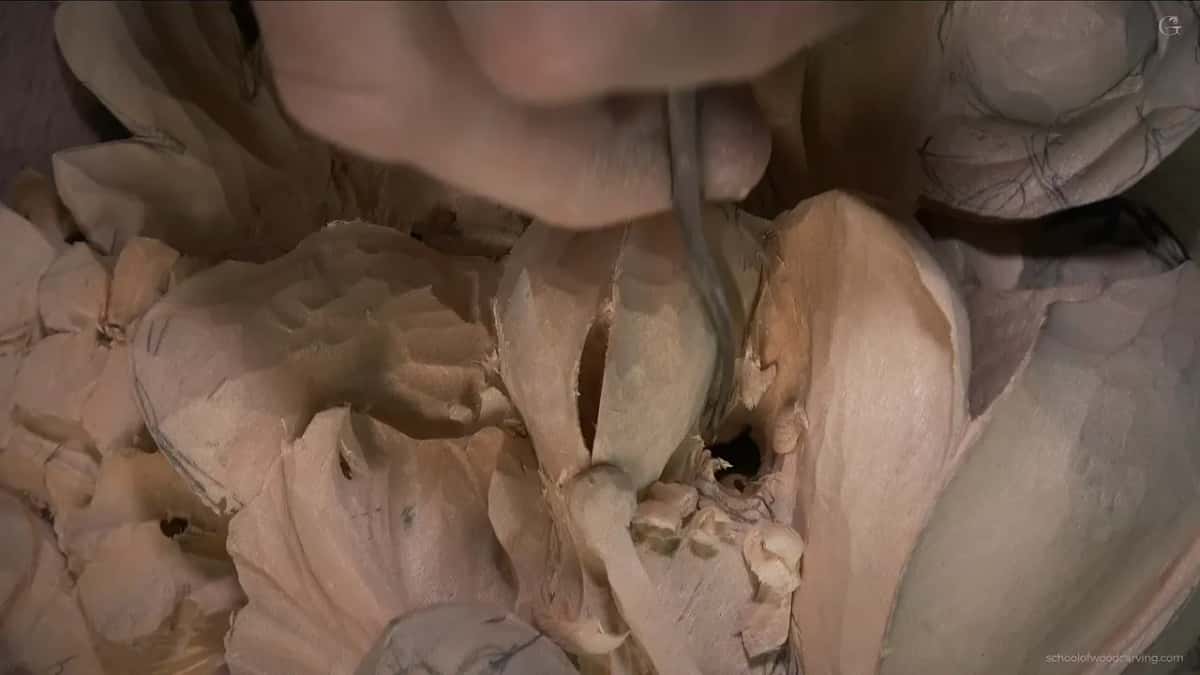
Does a layered carving look like pancakes?
From the side it can. A wood carver, one of the best carvers of the human face, said it looks like pancakes, and it does. Look from the side and you see the layers. Some of the earlier original work looks like pancakes too.
Last time I broke one part. I'd excavated too deep underneath, it was paper thin, and I decided to break it off completely. That way I exposed my first layer and that flower. I kind of like it, it gives a more 3D look, so I'm leaving it.
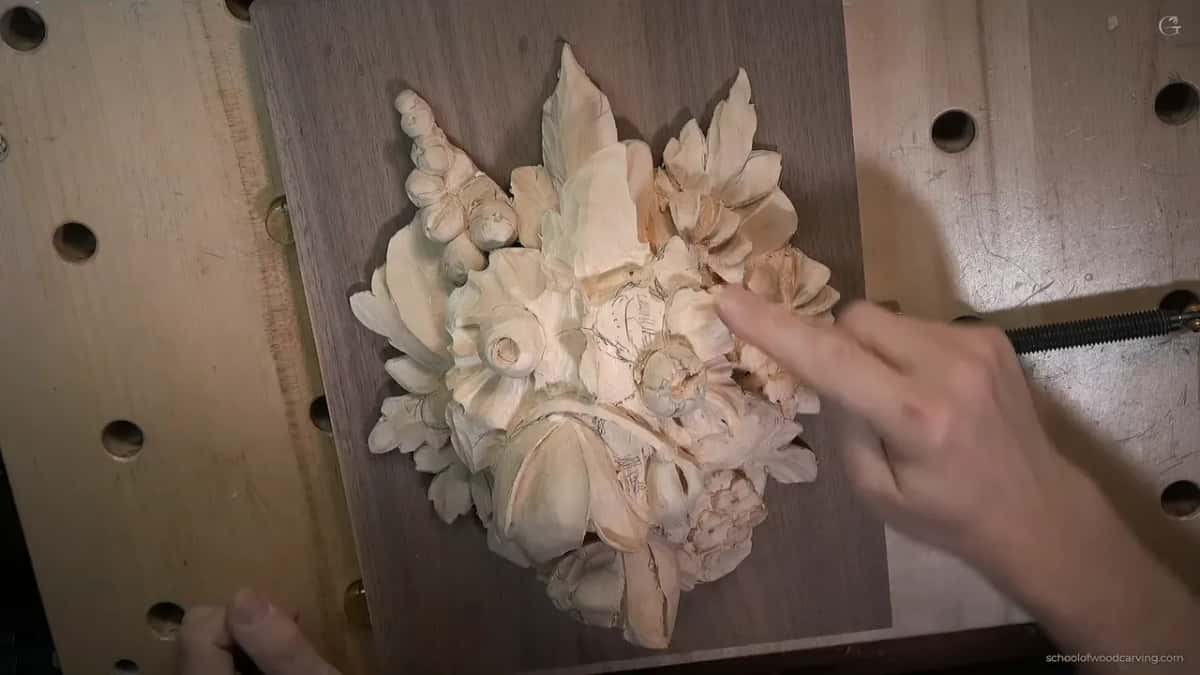
In part three I took a small detailing knife to one petal, and it looked like it was laying right on top of the first layer. It blends nicely, I said, and in that area it's not pancake anymore.
Is carving against the grain wrong on a flower?
On this tulip I did a lot of it and said so more than once. I'll clean that later, I said. And I'm not encouraging you to do that.
If you ask me why, there are a couple of reasons, I said in part two. One is that you're not always able to go with the grain. Doesn't matter what people say. I know it's not always possible, and you have to attack from whatever angle is more convenient.
Sharp tools are a must. When your back bent goes the wrong way of the fibers, it has to be really sharp. If it's not, you'll make a lot of mess, and it won't look as nice. At the start of part two I took the back bent again, and this time I could attack from the right direction and keep the roundness.
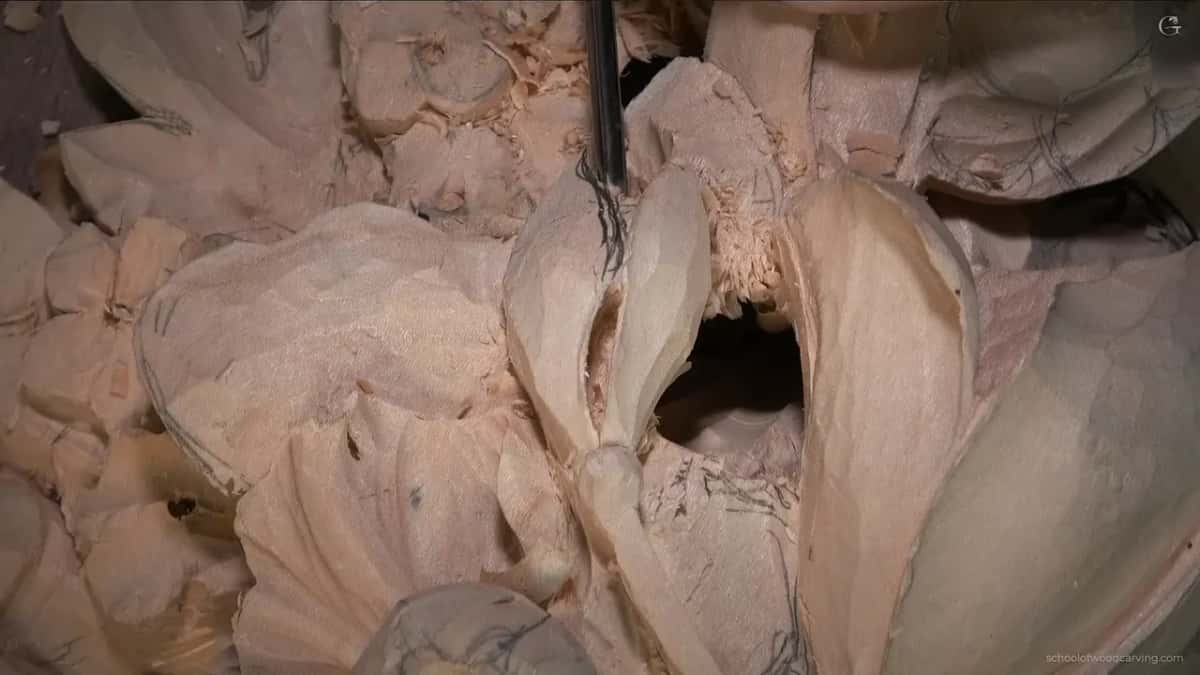
When do you switch to a smaller gouge?
If I'm able to do it with the bigger tool, the surface is much cleaner. There's a point where I can't get a clean pass anymore, and then I switch to a smaller one.
Inside this tulip I kept going back to a number 11 of two millimeters. Mine is a German one, a good one, but it doesn't have to be antique. Any 2 mm number 11 will do. I love number 11, especially in an area like that, where you get into really small spots. For a while I kept switching between it and the number 3 back bent.
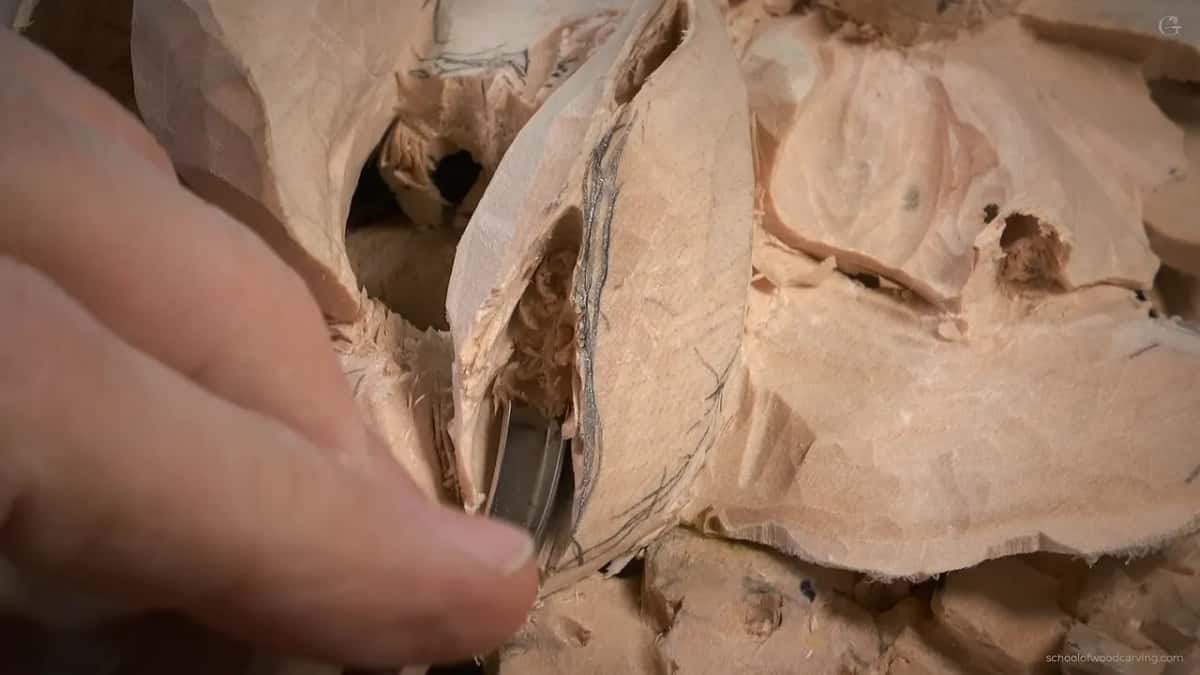
When the angle is limited, a spoon helps. I couldn't raise the tool up there, and I said if you need to use a spoon, use a spoon. Out came a spoon number 11, four millimeters, and I said a spoon number 9 would do the trick too, but they must be super sharp, because here I was scooping upward against the fibers.
And yes, I wiggled. Those who took my class in person know I'm against wiggling. Sometimes it's the only way to get the stuff out from inside the flower. Don't worry about all those chips, I said, because once they're gone you can see it's pretty clean.
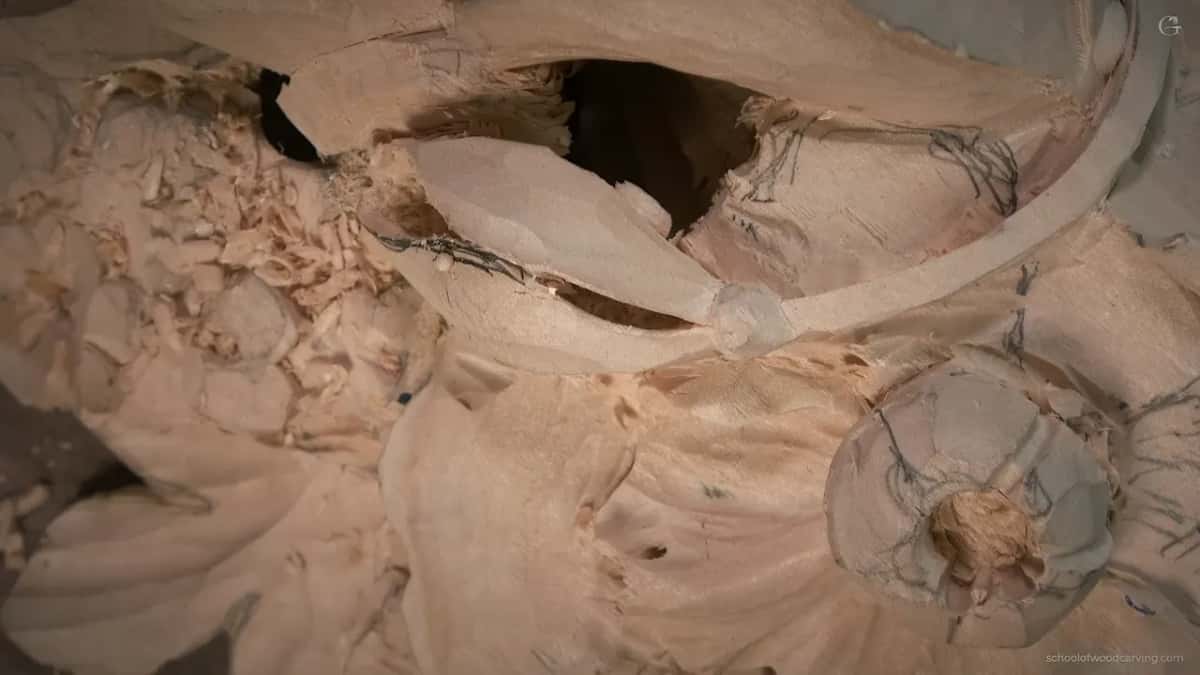
Where should every pass in a carved flower point?
At the center. You can see my aiming, I said, I'm really aiming to this spot. Even if the camera doesn't show it well, I'm thinking about that point the whole time.
The angle matters before that, too. Come in at the wrong angle and you can excavate too deep, I said, so I aimed at that little thing and didn't rush it.
The hole into the flower was really small. So I placed a tiny number 11, one millimeter, upside down and worked from inside, then the normal way, then upside down again. That side was really fragile, and it looked like I already had a crack. I didn't want to see that crack, so I came from the other side and took my time. It's a slow process.
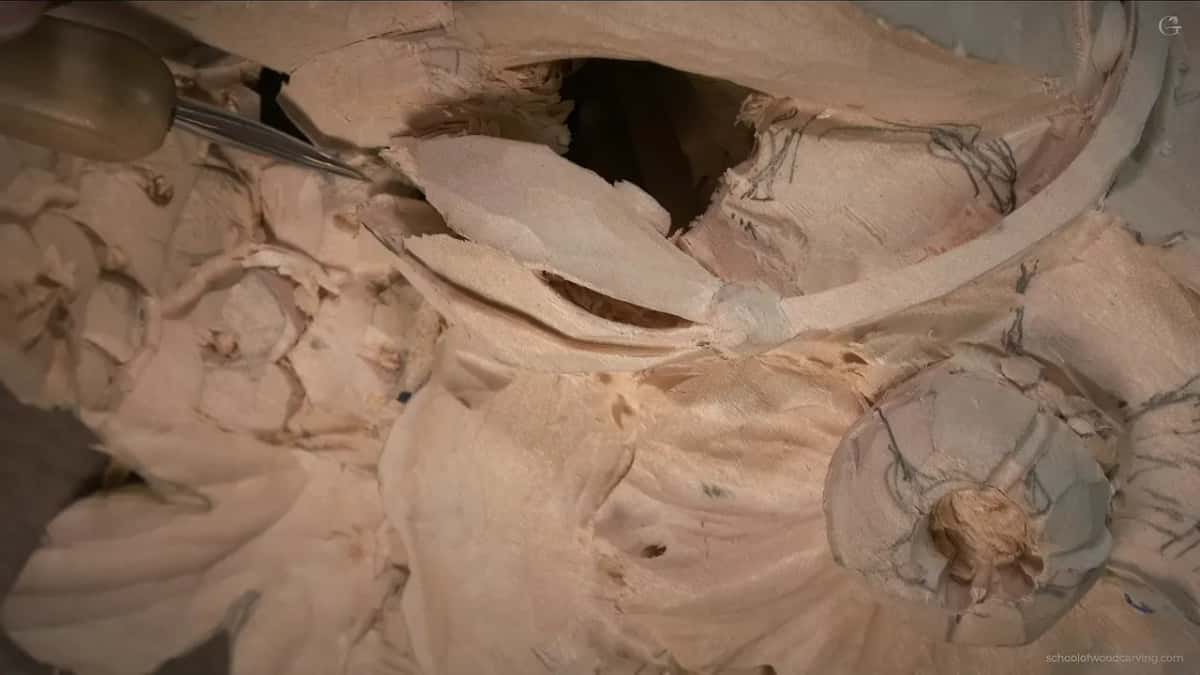
Which tools went into this one tulip?
Here are the main ones from class 11, and the sizes are as I gave them on camera.
| Tool | Size, the way I said it | What it did on the tulip |
|---|---|---|
| Gouge #9 | Six millimeters, a quarter inch, straight down | Opened a dark spot |
| Henry Taylor back bent | Number 3, the London pattern calls it 4 | Kept the flower round inside |
| Number 11 gouges | Two millimeters, then one, then half of one | Got into the tight spots |
| Big skew | Taken to a part that was too bulging | Made that shape more tiny |
| V tool #16 | Three millimeters, set at 35 degrees, undercutting | Thickness check, then the secondary petal |
| Spoon #11 | Four millimeters, and it had to be very sharp | Scooped out the inside |
| Detailing knife | Small, and used carefully near the petal below | Took out the small triangles |
Why use a V tool on a Gibbons flower?
In part two I picked up a number 16 V tool to excavate around one shape, so I'd know how much thickness I had. I know it's like an abomination for this type of carving, I said, but I'm okay with that.
The original looks like it has a secondary relief, a petal right underneath. So in part three I made a secondary movement, not as wide, somewhat tiny. The number 16 came back, three millimeters at 35 degrees, and I placed it in an undercutting position toward that line. That detail gives a feel of lightness in the area.
I wanted that shadow line without overdoing it, and then a half millimeter number 11 made the shadow even deeper. You don't have to do that, I said, but I think it gives a much better shadow.
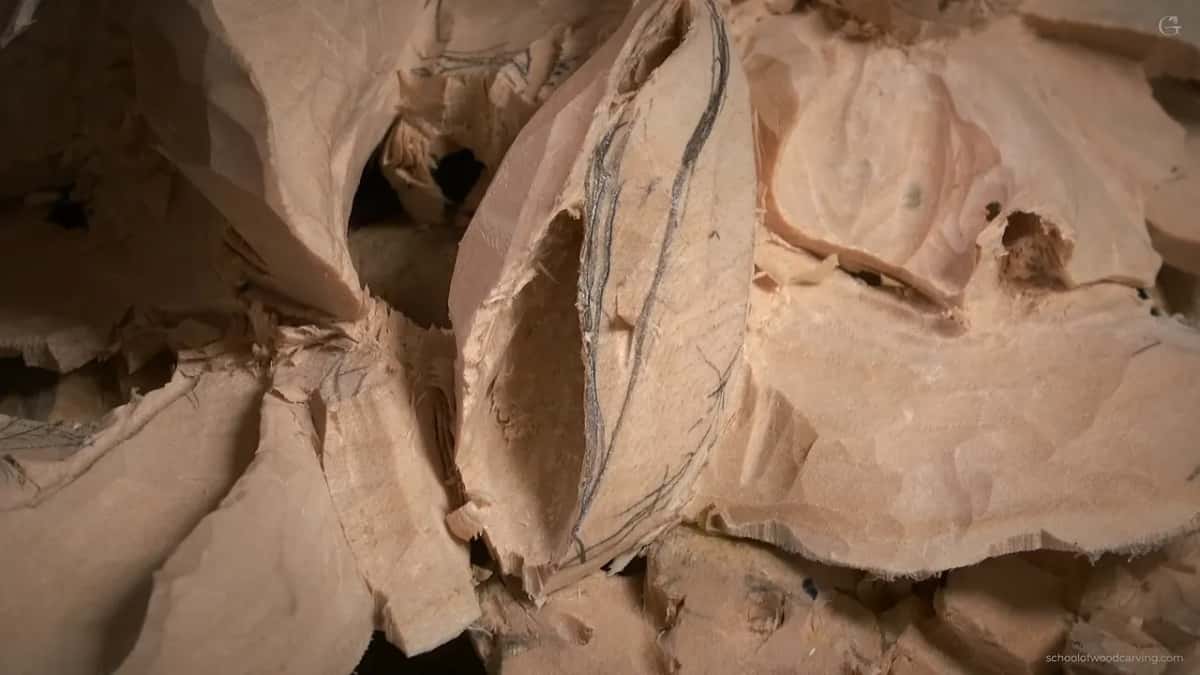
Because we undercut, there was a big ridge. The same back bent went in with the grain this time, from above down, to blend it smooth. When the number 16 came out a third time, I said I'm not planning to gold leaf or paint this piece, so I'm safe to use a V tool or parting tool.
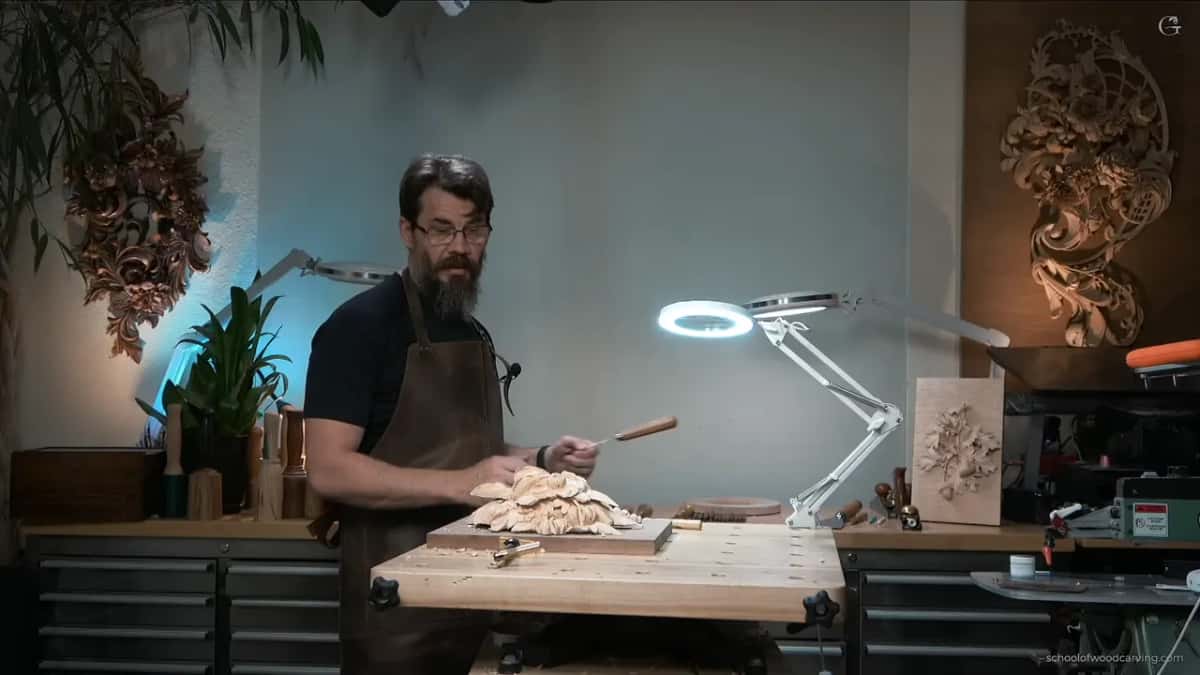
How can one small triangle change a carved petal?
This petal didn't give me a good impression, so I wanted some kind of stopping point. Just a small triangle, a point where that petal stops.
I took a small detailing knife and went carefully, because I didn't want to destroy the petal below. I said maybe a number 11 upside down could remove that triangle. Little detail like that makes the whole world of difference.
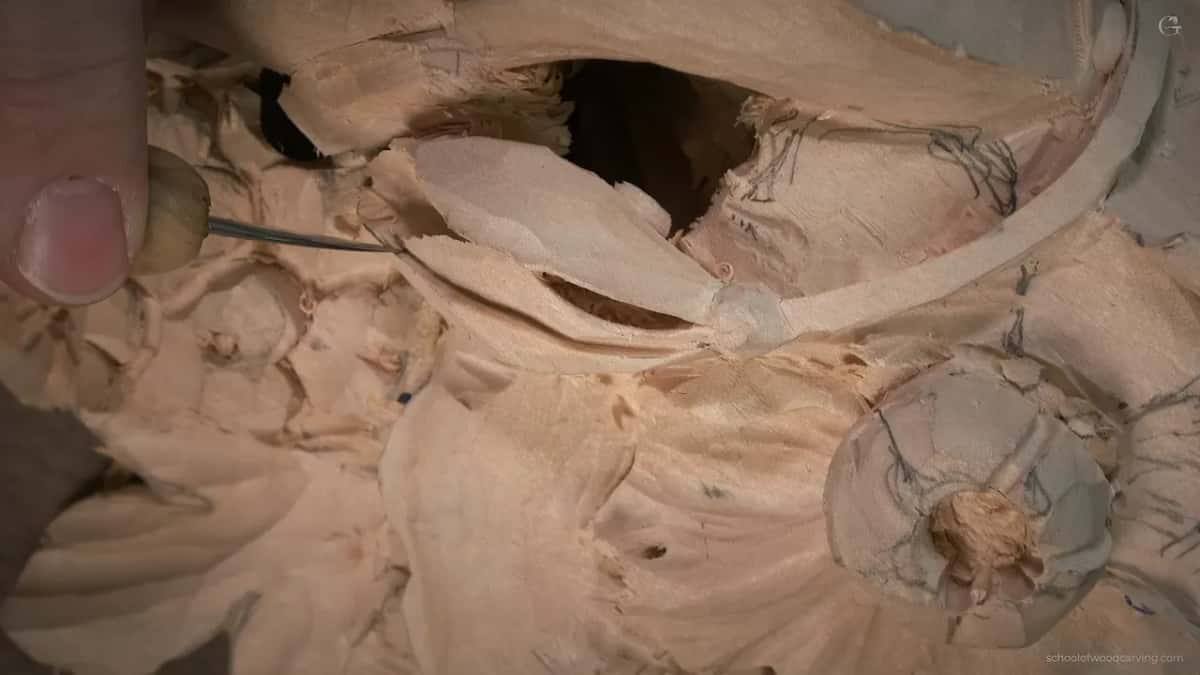
On the original there's another petal inside, and I wanted this petal to overlay that one. That meant going right along the side of the flower and removing a triangle, with the number 16 first and the knife after. We want it to look like a true life flower. Which way petals overlap on a real flower is what Maine class 8 is about.
How do you clean the facets and keep the shape?
All of those facets have to be cleaned, and when I clean, I try to go in the direction of the grain. For the facets you can use the same tool, and mine was the number 3 back bent, moving in really slow motion, riding right on top of those facets. That way it's clean.
I also saw a chance for a curly movement backward on that side. Not much, just slight. Maybe you don't see it, but it does cast some shadow.
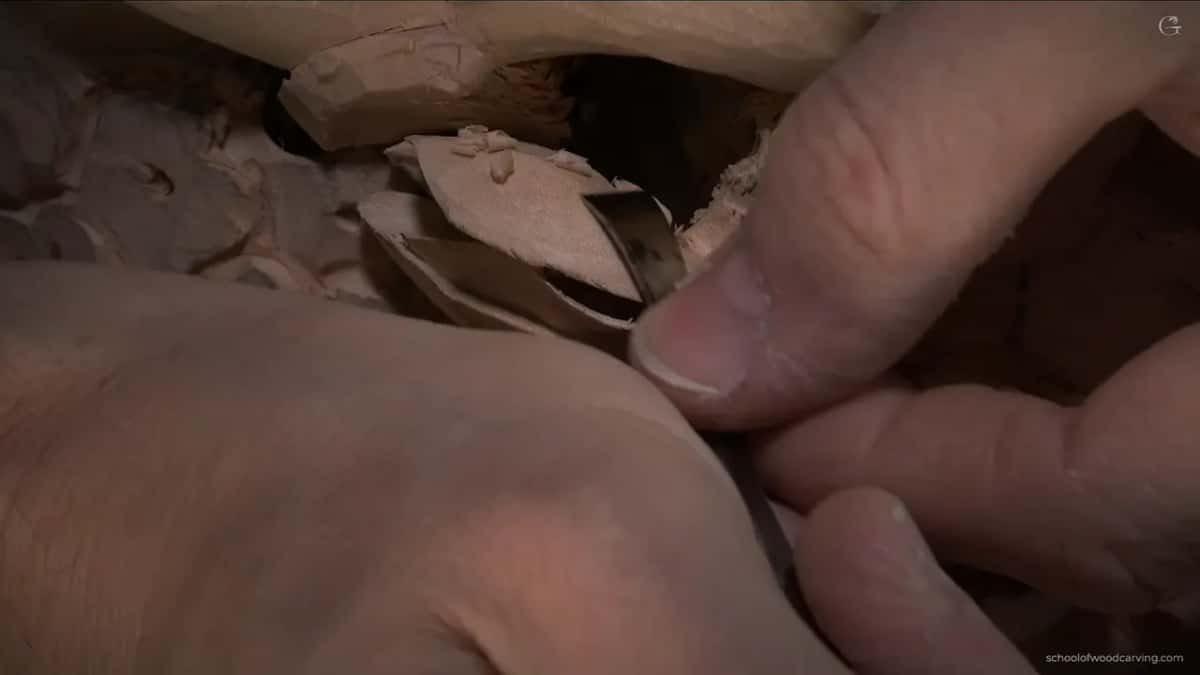
One section opened up completely. It's airborne now, and you can see it actually moving. That gave me a better idea what I can do with the chunk I've got.
I still didn't like how the petals connected to that part. So before the cleanup I made a slightly deeper excavation there with the same knife, and then thought the back bent might be better. I want you to really see the shadow at the connecting point.
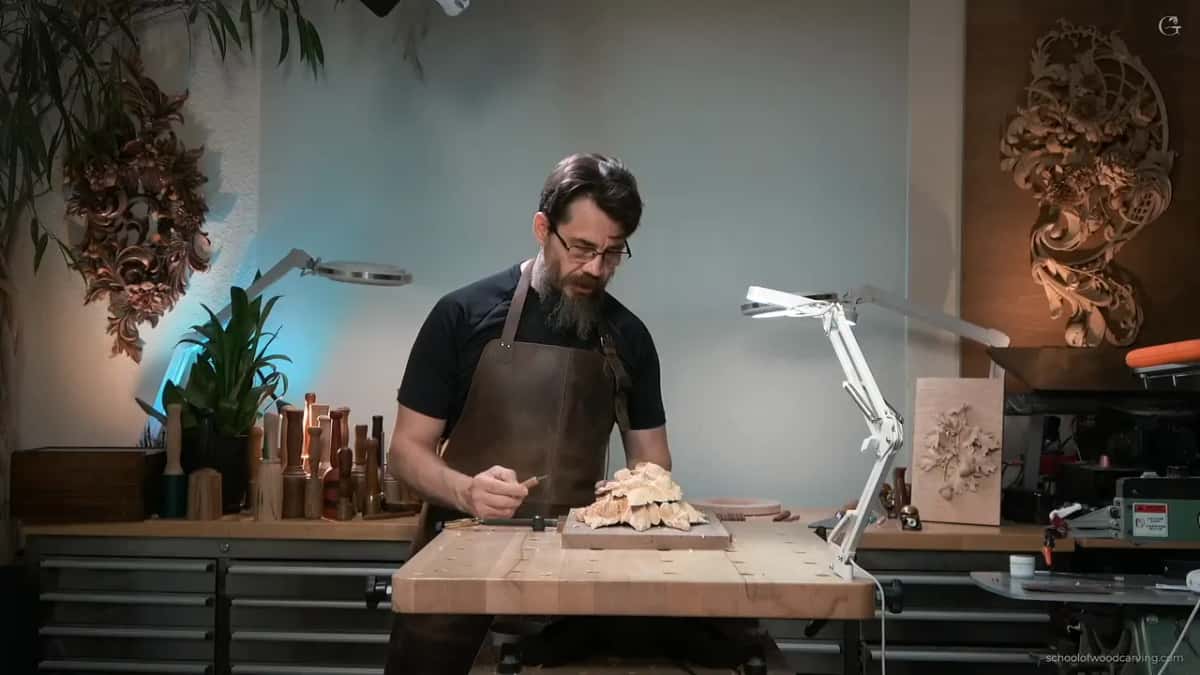
What if you can't tell what a detail is supposed to be?
I looked at the original picture and honestly had no idea what one little detail was. I knew it belonged quite a bit lower, so I dropped it. Maybe it's going to be some kind of leaf, I said.
Two other shapes were too bulging, and a big skew chisel got rid of the chunk that wasn't supposed to be there. That was the wrong way of the grain too, and I knew I'd be able to fix it.
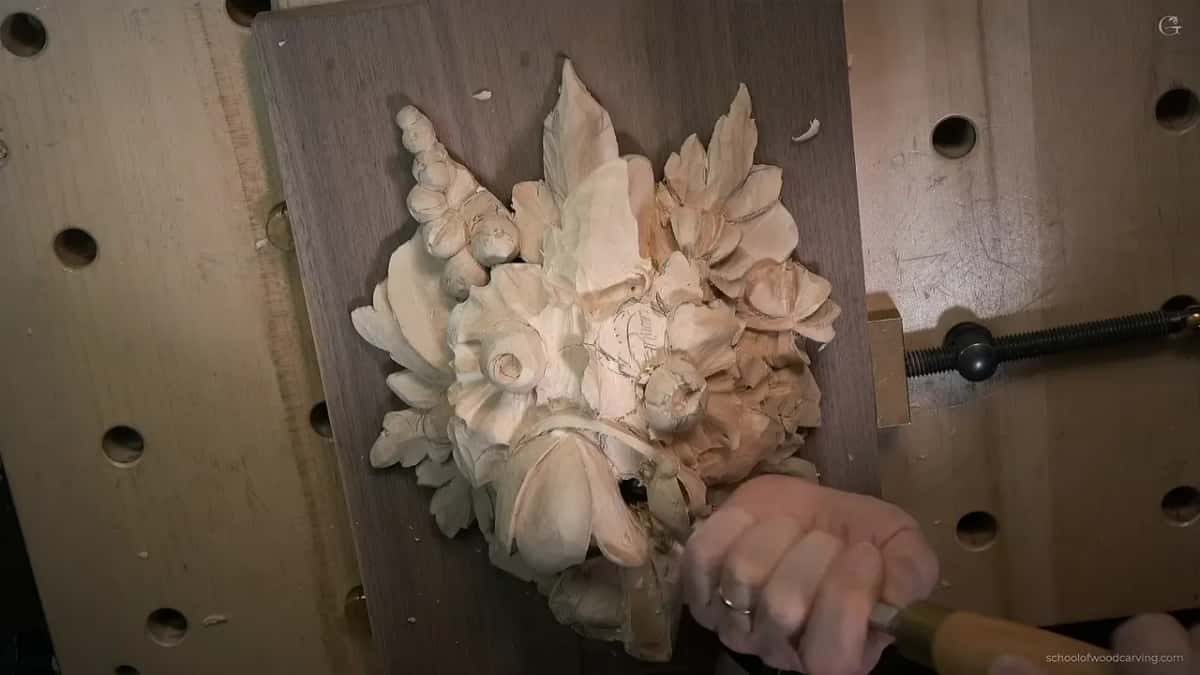
For one petal I could see I had about a quarter inch, six millimeters, to create some movement. It's a good idea to know what you have below.
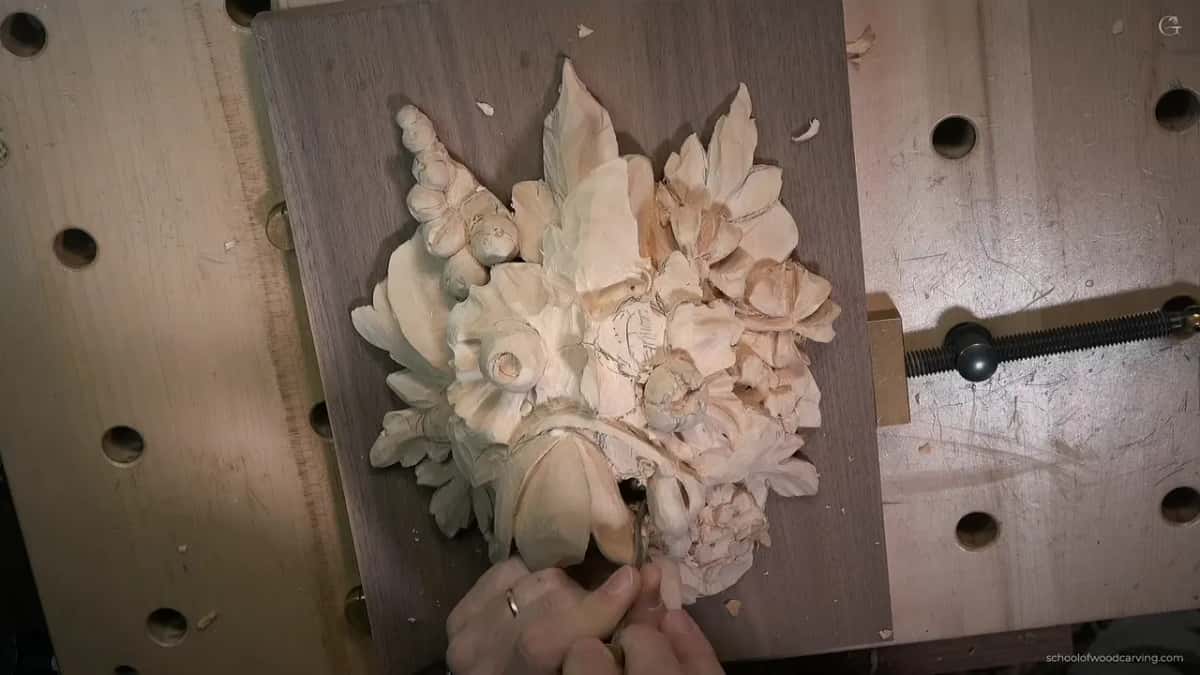
One of my petals came out longer than on the original. I wasn't sure if I should fix it. I did it a little different, but I think it's all right. And one part, I don't know what kind of flower it is. For now I keep it like the original, and later on maybe I'll do something better with it.
Do back bents help on other carved flowers?
They did in my Hashemi flowers course. In Hashemi flowers 10 I reached for a number 7 back bent, about half an inch (13 mm), to get close to one area and excavate what I wasn't going to use. Later on I can always clean that with a spoon gouge, I said.
Because of that gooseneck, I'm not prying anything against the material, and I can still carve barely touching that side. That's why I love those back bents. It's safer. I could probably get the same result with other tools, but it's nice to have one.
In Hashemi flowers 13 I took a half inch back bent because a part was in my way, and with it, it was much easier to move upward, uphill.
What comes before and after class 11?
Class 7 is where the tulip comes in, class 8 is about which way petals overlap, and class 12 comes next. All nineteen lessons of the Maine course are open with tuition.
I apologized more than once for covering the work with my hands and my head, and it's just not convenient to change the camera all the time. I'll try to be better with my camera positions, I said.
How it's done
- Open a dark spot. Number 9, 6 mm (1/4 in), straight down with a rotation motion until you're through.
- Go in upside down. Turn the back bent over, get inside and slice to keep the roundness. Flip it the opposite direction for the big tulip.
- Excavate the small spots. Number 11, two millimeters, switching back and forth with the back bent. A spoon helps where you can't raise the tool.
- Aim at the center. Every pass heads to one spot. Through a tiny hole, a number 11 of one millimeter goes in upside down.
- Undercut the secondary petal. V tool number 16, three millimeters, 35 degrees, in an undercutting position along the line.
- Remove a small triangle. A detailing knife takes it out, so one petal overlays the next.
- Clean the facets slowly. Back bent number 3 in slow motion, riding on top of the facets.
Frequently asked questions
Is a back bent the same as a spoon gouge?
Opposite, in fact. Carvers call the short front bent a spoon gouge, and its bevel is on the back. On a back bent the steel bends backward and the bevel sits on the other side, which I showed in my sharpening lesson by holding the two together.
Which size back bent did you use inside the tulip?
Mine was a Henry Taylor number 3, which the London pattern calls a number 4, and I said those are about the same. I used it upside down first, then flipped it the opposite direction for the same effect on the big tulip.
How do you make a dark spot inside a carved flower?
On this panel I went right through to the background. A number 9 at six millimeters, straight down with a rotation motion, did it, and the walnut behind, a piece I had on hand, gave the darker spot. Under one petal, a half millimeter number 11 later deepened a shadow line.
What to carve next