

Alexander Grabovetskiy, woodcarver, School of Woodcarving · Published 2017
How do you see the tool marks left in a wood carving?
Quick answer: Seeing the tool marks left in a wood carving is a matter of changing how the light hits it. Turn the piece or move the lamp, and marks and ridges you missed show up. On my Greek acanthus I turned the panel, brought a lamp really close, and cleaned what I saw.
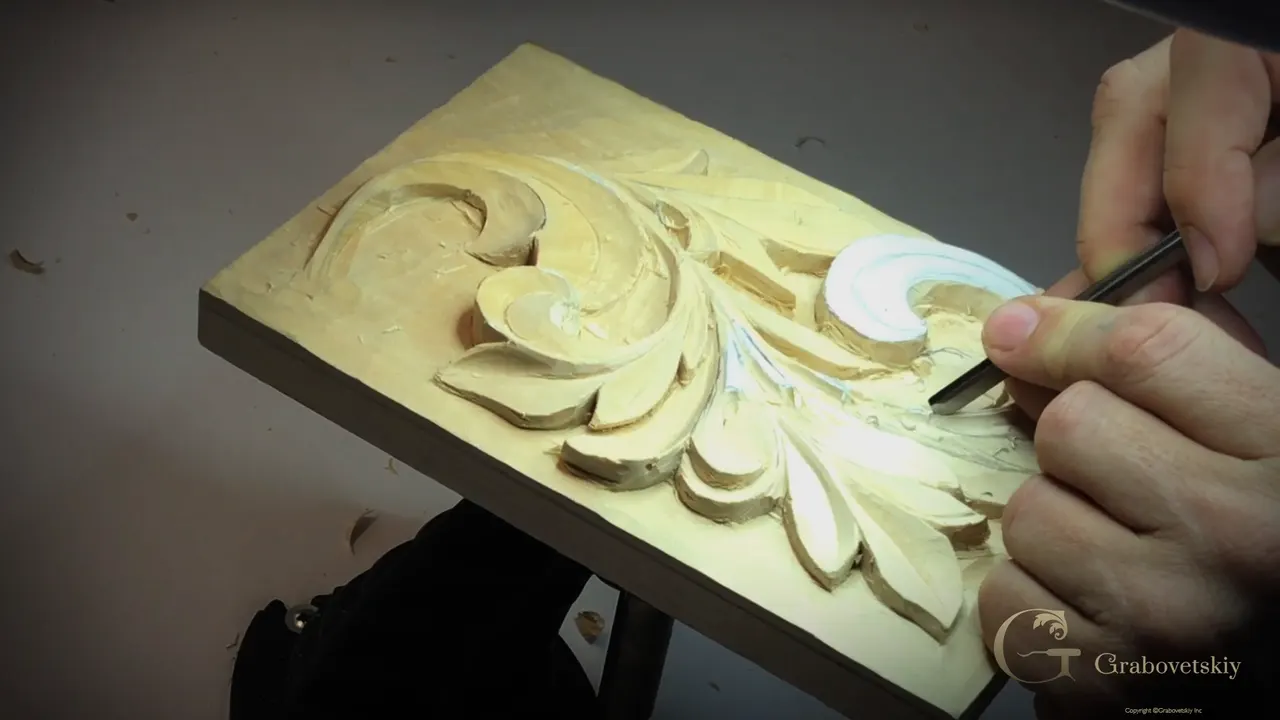
Seeing your own tool marks is about where the light comes from, so turn the carving or move the lamp and look at it again. In lesson 8 of my Greek acanthus I turned the panel to start on the next detail. Just because I turned it, my light hit it from a different position, and I could see much better where I had to clean a little more.
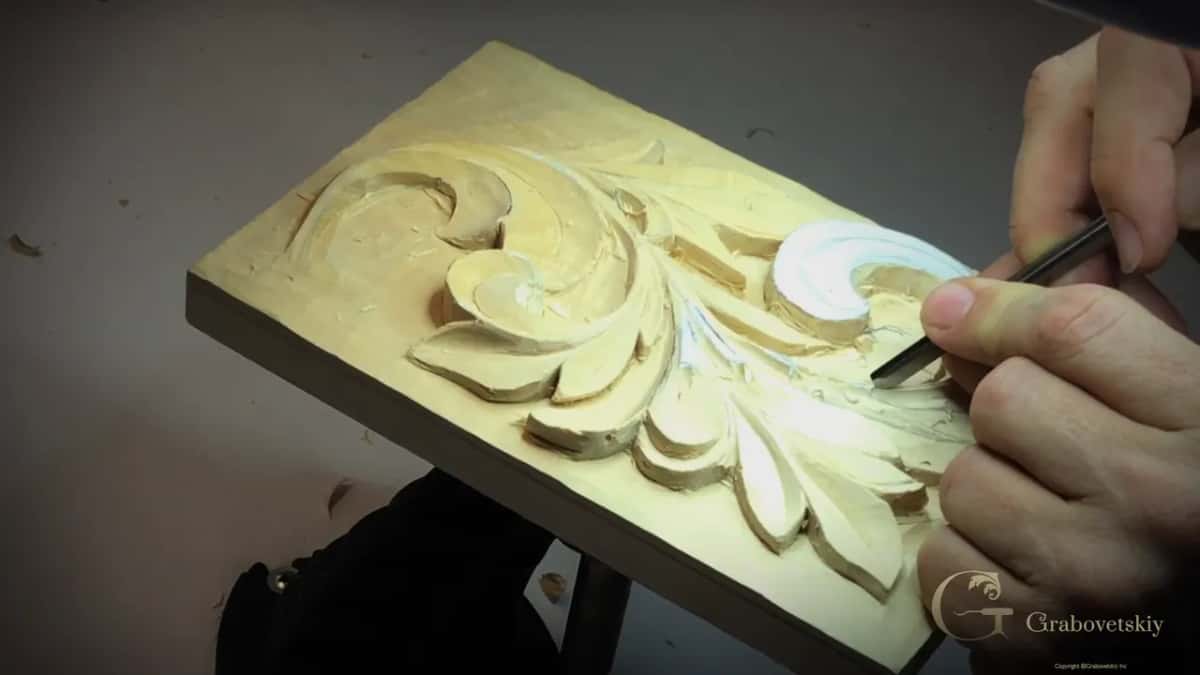
Can you turn a board in your hands? And slide a lamp a few inches closer to the work you're on? Then you can find the same marks I find.
Not every mark shows up right away, and that goes for my own work too. Early in part one I said that later on I would reposition my lights and see from different directions, and then I would see all the marks and all the ridges I left and clean them. I encourage you to do the same. Below is how I check a carving, and the carving on this leaf that left those marks.
Lesson 8 in six lines
- Your eye gets used to the light, and half of a groove can hide from you.
- Turning the panel shows marks you missed a minute ago.
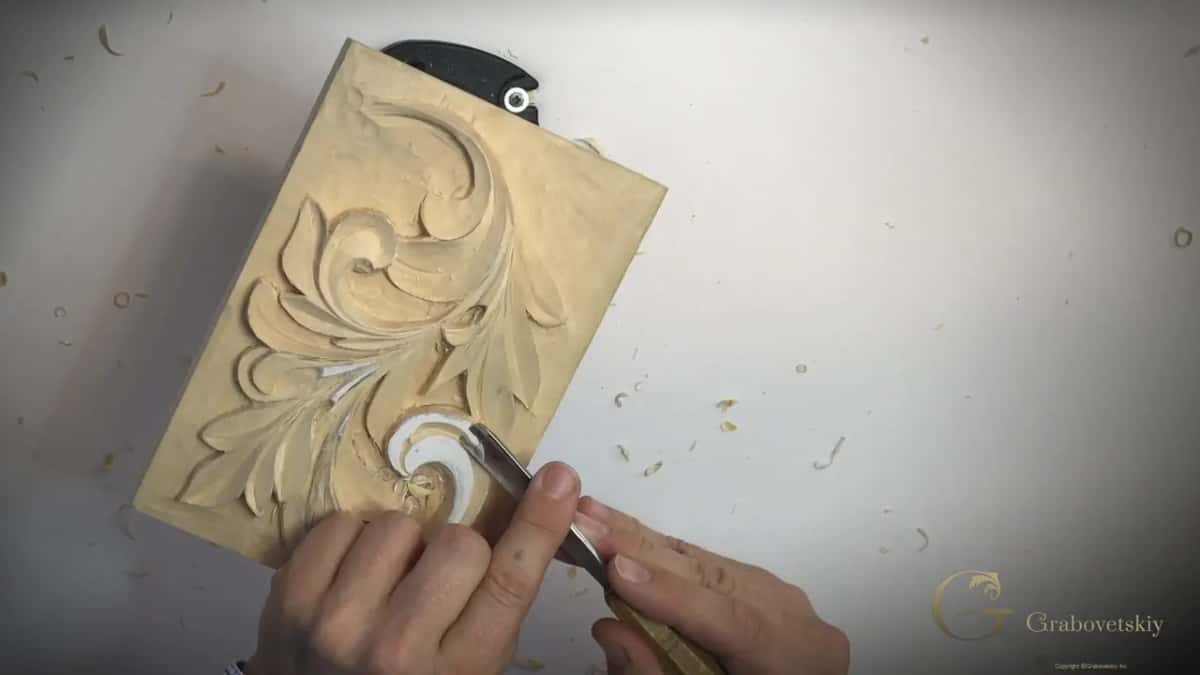
- My small 3 mm (1/8 in) V tool ran the middle line down a long detail.
- Number 15, 6 mm, finished it, barely touching the point where the line ends.
- A number 7 stepped along the flank, and then a knife brought each side down to the middle line.
- One little undercut, with the V tool laid on its side, already made a shadow.

Why can't you see your own tool marks right away?
You get used to the lights. After a while you are used to certain angles of the light, and you can see one side of the groove but you don't see the other. The grain direction plays into it too, and where the light hits.
On workshop 6 of the Venice Room I said it another way. Sometimes the shadow itself is the problem, because when the light hits and creates a shadow you really can't see what is going on. So very often I go back and check it under a different light condition, like at night, and I turn one side, then the other, and then I can see exactly what is going on.

Where should the lamp go when you check your work?
Close to the work, and in more than one spot. Part one of this lesson had me bringing a center line along a long detail, and I said it would be easier if I took a light like this one and brought it really close. So I did. That way I could see much better.

That's why I like my vise, as I said in lesson 7 of the Roman acanthus. I can just rotate it and see how the leaf is going to look under different lights, and that helps me decide whether to carve deeper or not as deep.
With the beginner cutting board in workshop 10 I said I would put the carving in different lights later, because when you look at it from different angles and the light hits from different directions, it's much easier to see if any ridges are left.

On the second layer of the Lily Box, lesson 7, the details were really tiny, and I used a magnifier lamp. A pencil mark I had left told me a spot was still high, almost impossible to see by the naked eye.
People who examine works of art have their own name for low light from the side. Wikipedia's page on raking light describes light at an oblique angle, almost parallel to the surface, and says it is widely used to examine works of art.
What do you do once you can see them?
Clean them while the tool is still in your hand. Back on the cutting board, in workshop 11, I said that later on I would turn the piece, look from different perspectives and use different lights to find ridges not visible from my side. I could see some areas to clean, and I asked, if you have the knife in your hand, why not clean it right away?
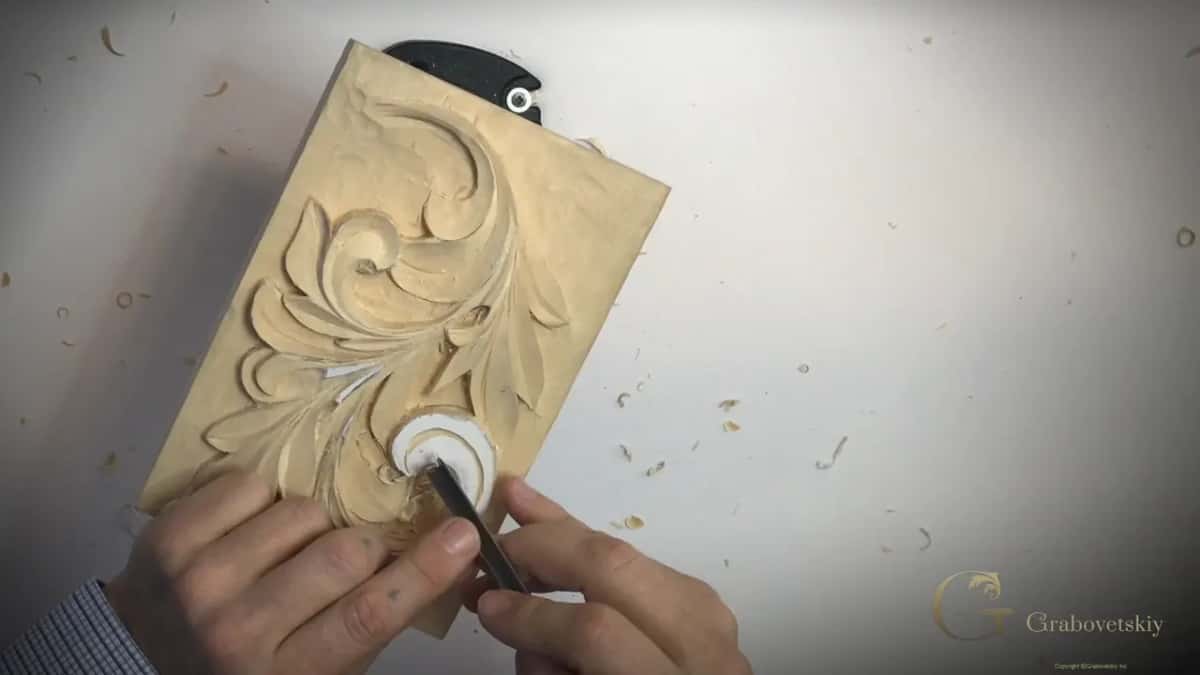
On that board the goal was to leave as few ridges as possible, so the carving looks like it's already sanded and smooth.
The background is its own job. We left about 1/16 of an inch (1.5 mm) of wood there on the Corinthian leaf, lesson 6, because your tool sometimes digs into the background while you carve the details. At the final stage that layer comes off with all those nasty tool marks. I put a number five, or any number three, on those ridges and make slicing movements.
On this Greek leaf, in lesson 5, I took the outer border back with just a knife, knowing it would be undercut later and no tool marks would be left there.
Should a carving keep some of its tool marks?
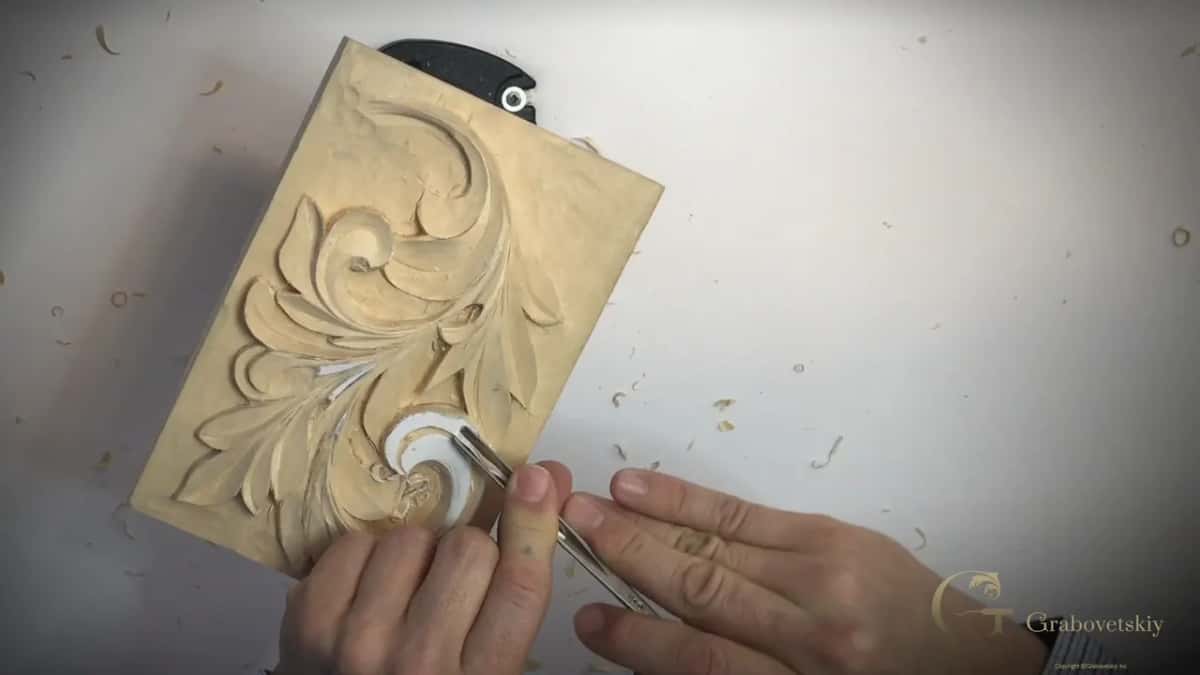
I want some of them left. I said it plainly in workshop 9 of the cutting board. We are wood carvers, so we carve and leave those marks behind without touching the sandpaper. We're after correct tool marks.
On the Roman acanthus, lesson 8, I was fair about it. Nothing is wrong with sandpaper, but if that's the whole purpose, you're only establishing the form and you lose the point of wood carving, the chisel marks and the feel of work done by hand. It's better to leave those ridges. It's more authentic, and every ridge creates its own feel. Right then I had too many, and I said of course I would take some of them off.
By lesson 15 of that course, I still wanted to see some tool marks on mine, just not as many as I saw. To clean the facets inside, I said you can attack them with a bigger veiner or a bigger gouge in a single pass, and it has to be absolutely, really sharp. I tried it with a number 11 spoon veiner.
Tool marks can even show a difference between carvers. In lesson 6 of the Roman acanthus I said an English carver and a German carver can carve the same design, and you can still detect the difference in the movement of the tools.
Which V tool carries a long center line?
A small one. This detail was really long, and I needed to make sure my center line continued all the way to its end. So I took a smaller V tool. Mine here is a V at 3 millimeters, an eighth of an inch. I started at one spot and brought our center line all the way.
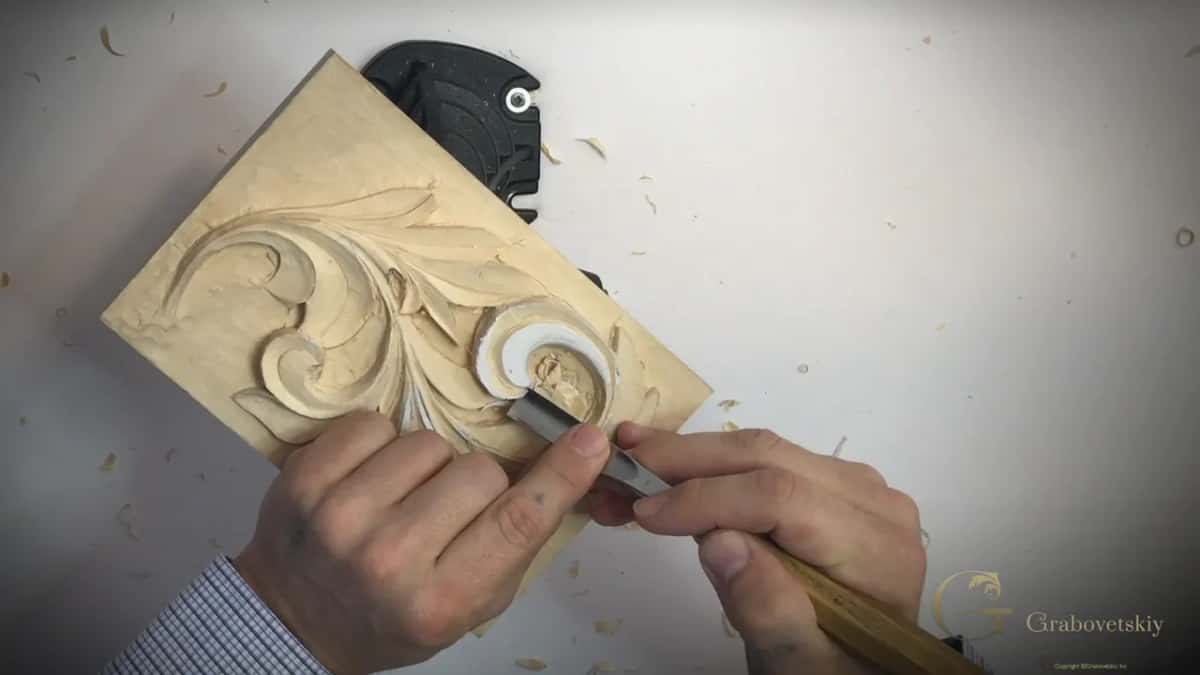
It doesn't have to be 45 degrees, though, and I said so on camera while the small V tool was still working the line. Forty five works, sixty works, ninety works. It all works the same.
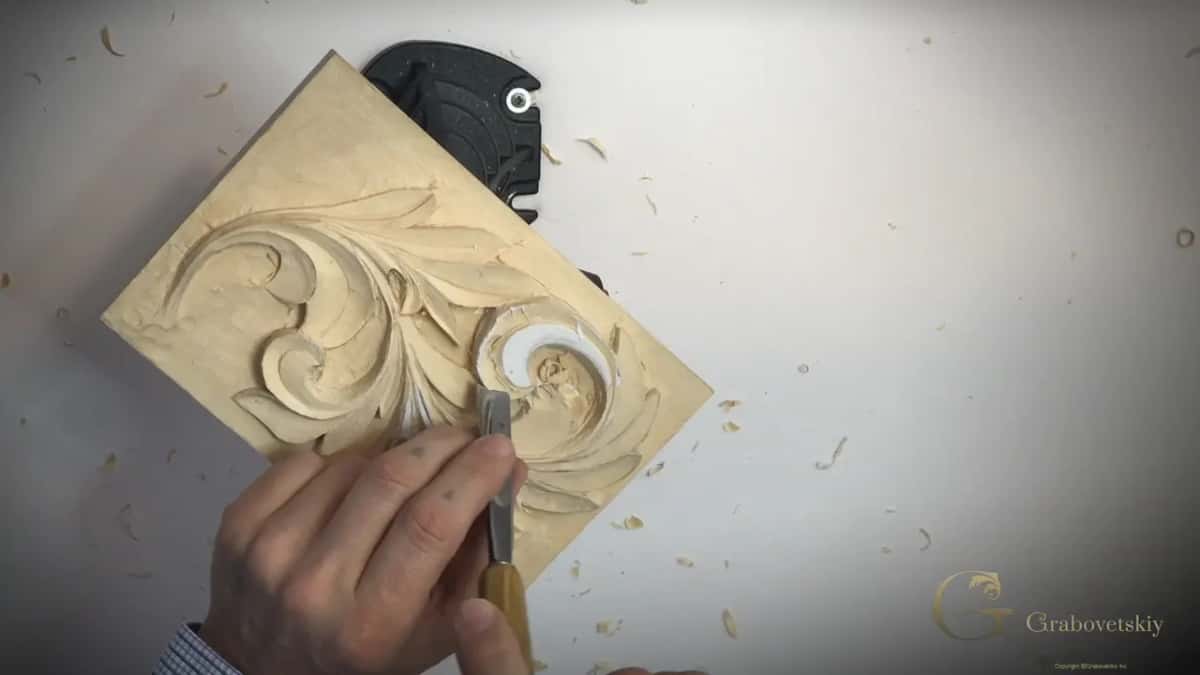
Then I took a bigger one, a number 15 of 6 mm (1/4 in), and finished the center line with it.
What goes wrong at the exit point?
Going in too deep. Be careful on the exit. You want to ease out of it, just like that, so you barely hit the point. The groove starts really high at that end and goes down from there.
What is a stepping cut?
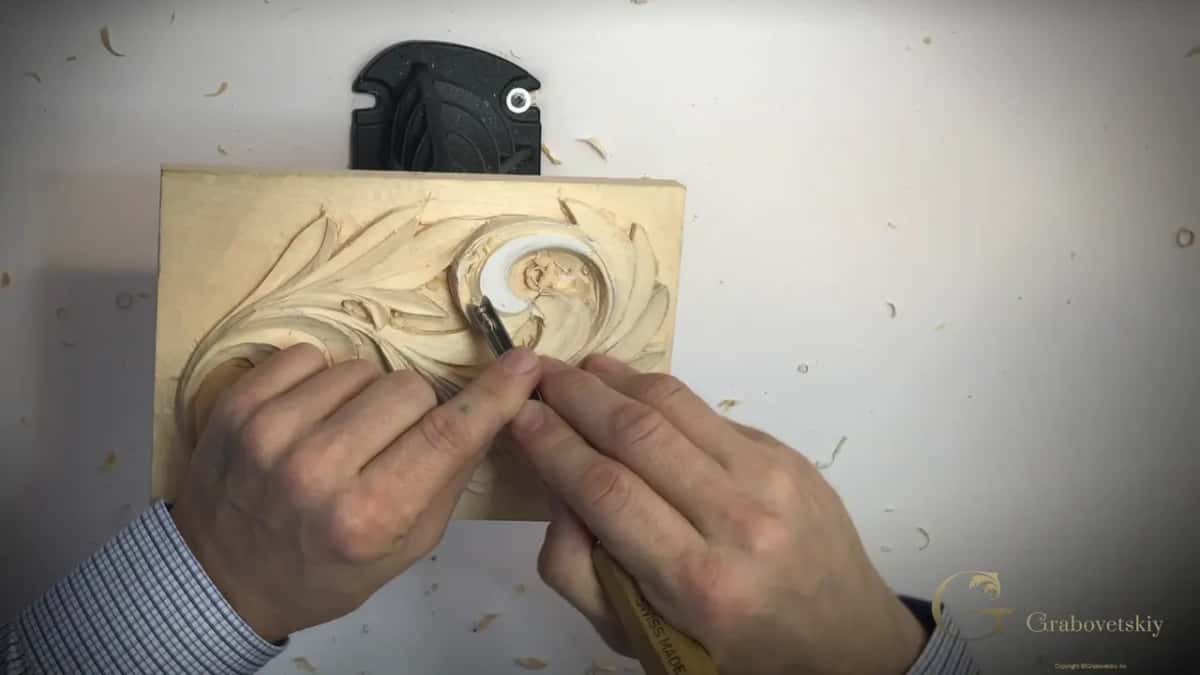
A stepping cut is my name for moving a gouge along in small steps. I start with one edge, then rotate, then move, then rotate and move again. Step, step, step, step.
I did it with a number 7, since we had that one on the workbench, on this side of the detail. Be careful there, because the grain changes, and you really have to keep an eye on how you carve. At that moment I was going across the grain.
I know some people don't call it that way. For me it makes sense, because you can see what I'm doing, making my steps.

When does the knife take over from the gouge?
When a side needs blending in. First I used a number one, double beveled, 8 mm (5/16 in). Any brand will do here. I'm going to be honest with you, that brand isn't my favorite, and I used it because it was handy right behind me.

Then I like to use just a knife and blend that side into the center line, little by little. Keep an eye on the edge of your knife, so you're not digging too deep. It is better to come back for a second pass than to destroy the piece because you pressed too much and didn't control the edge.
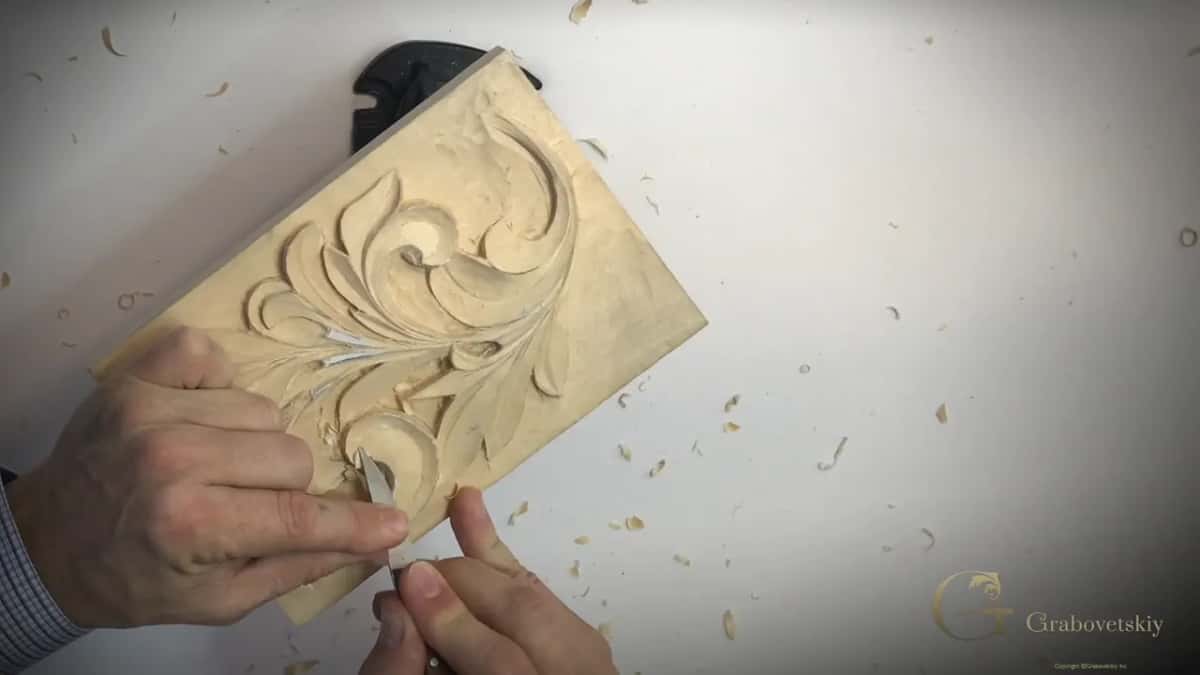
I came back myself. The chip still wasn't snapping out, and that meant I had to come at it from the other side.

A little further on, my grain meets. Where it meets, I have to approach from the opposite side.

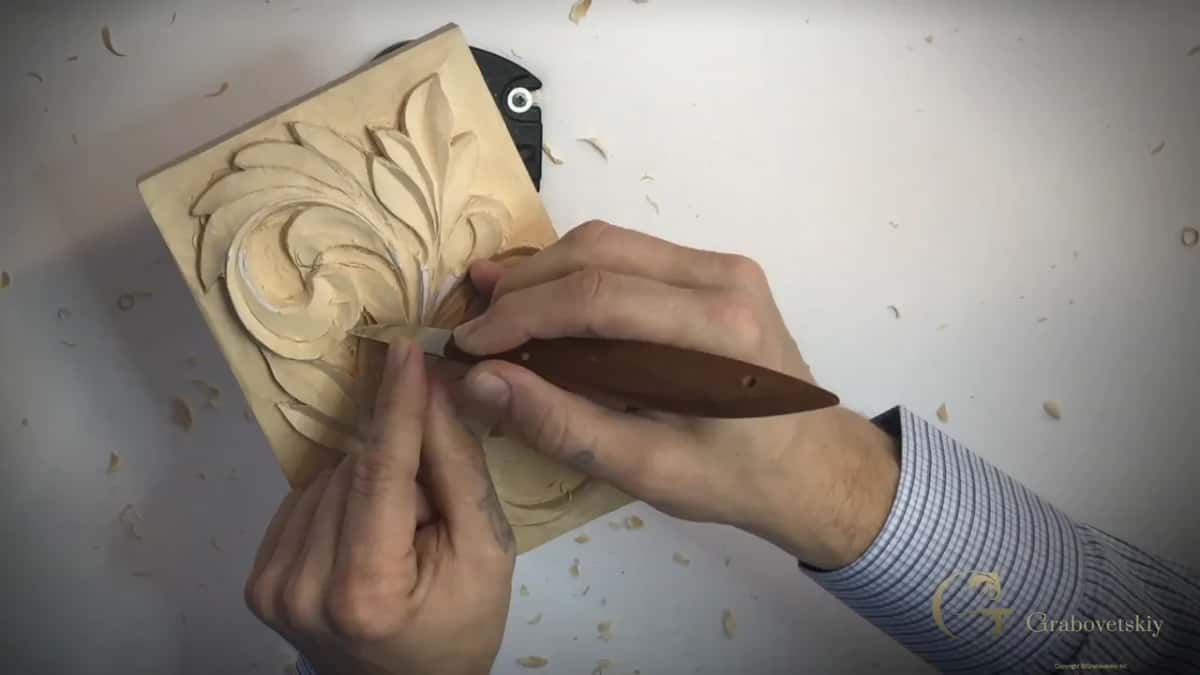
I kept up my cleaning passes, carefully, until I was happy with what I was seeing. Then a small spoon V tool brought the center line out again.

The tools on the bench for lesson 8
Here are six of the tools from this lesson and where each one worked.
| Tool | Job in this lesson | When |
|---|---|---|
| The small 3 mm V tool | Carried the line the whole length of the long detail | Early in part one |
| A 6 mm number 15 | Finished that center line and eased out gently at its end | Later in part one |
| Number 7 gouge from the bench | Stepped across the grain along one flank of the detail | Start and end of part one |
| Flat number 1, 8 mm | Did its work just before the knife came out | Start of part two |
| My carving knife | Blended the flanks toward the middle line, a little at a time | Most of part two |
| Ashley Iles number 5, 10 mm | Worked the part that has to go underneath its neighbor | Opening of part three |
Do you need a big set of gouges for this?
I could use a much bigger one, a tool matching that big area, make one pass and be done. That's why I have different chisels and gouges, so I don't have to use just one size. But I also understand that most of you don't have that big collection, and you have to use what you have. So in this lesson I used the minimum tools I had on my workbench.
Why the Ashley Iles number five?
I love how it feels. One part of the leaf has to go underneath the next, so I needed a different approach there, and I took a number five, 10 mm (3/8 in), let's say. It's a gouge by Ashley Iles, and that's the brand I love the most.
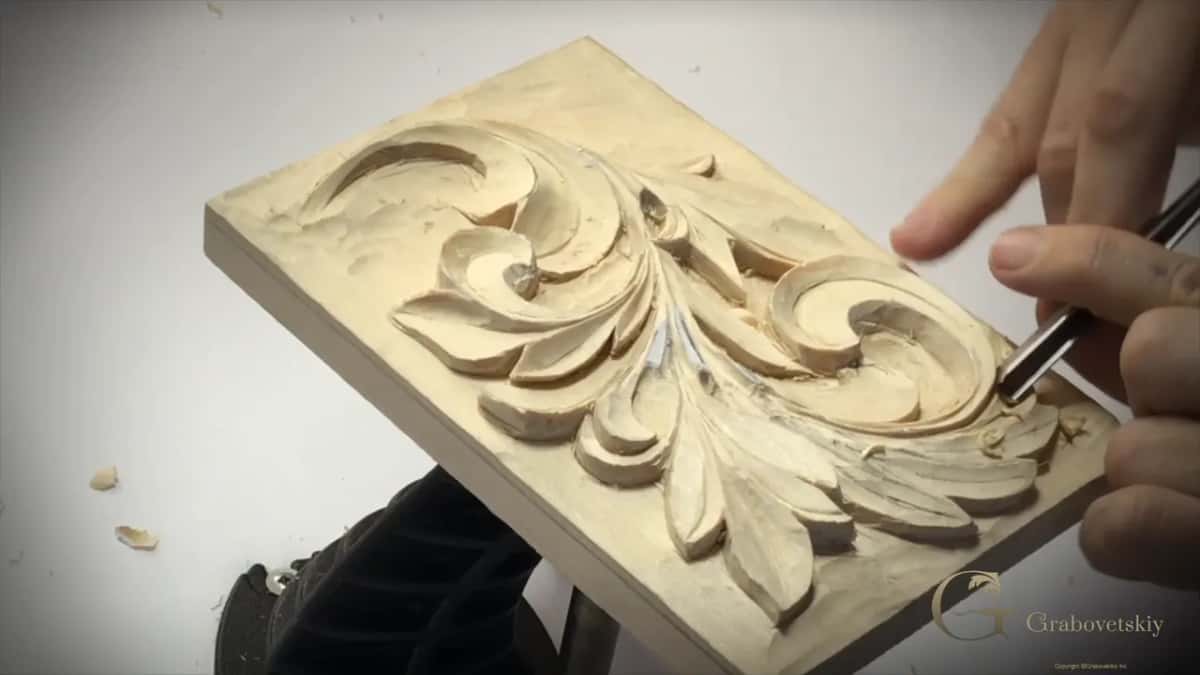
When I lay my fingers on the top of this tool, underneath it has a slight roundish feel, and my hand is not as tired. Most of my tools are English-made Ashley Iles. I also have some German-made and some Swiss-made.
From England I have three brands, Ashley Iles, Henry Taylor and original Marples from before they sold it overseas. I'm not sure, can you call it antique Marples? I love them. Really good steel, not too soft and not too hard.
A first shadow under one leaf
That piece was going to be undercut later anyway, so I did a little under it right away. I laid my V tool on its left side and started digging underneath the detail, and right away it created a beautiful shadow. That's what I'm talking about.

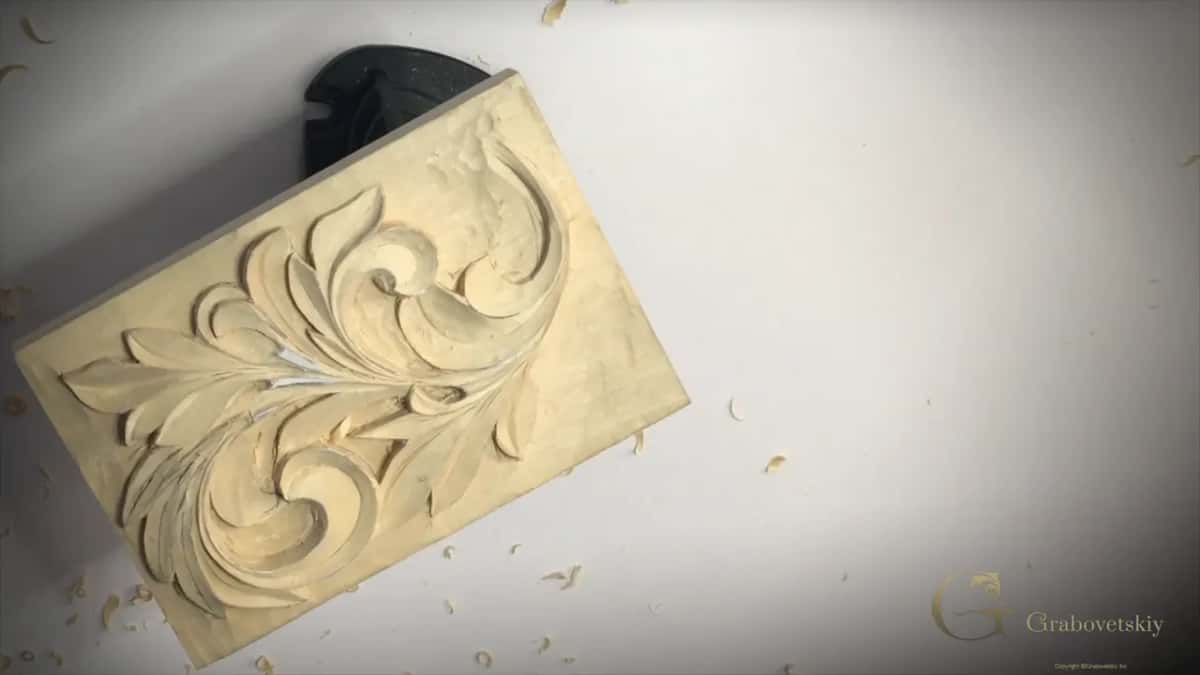
Later on we're going to undercut all around. For now I was happy with what I saw, and lesson 9 picks up from there.
What I left for later
I'm not too happy with the outside of this leaf, because it's looking rough. One cluster in part three doesn't look as nice as I want it to look either, and I feel I have to refine it later. That's okay for now.
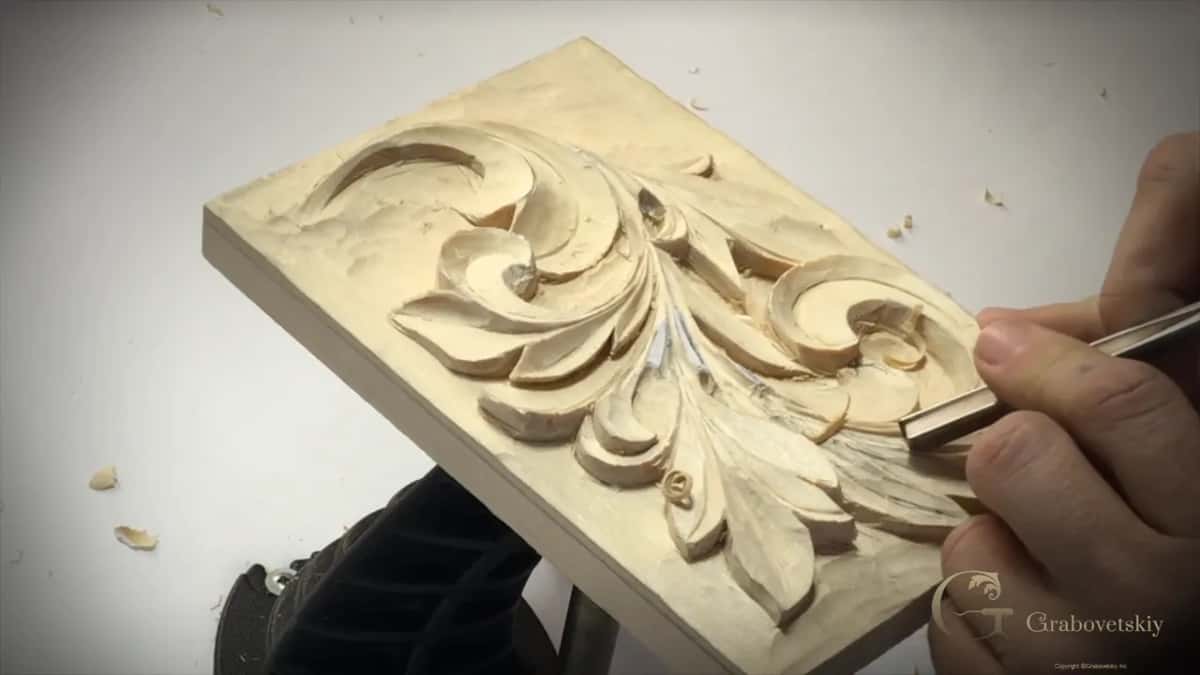
My lamp started blinking in part two, and I apologized for it on camera. In part three my lights were so poor I barely saw anything. Not so good.
Between those details I think the distance should be smaller. Well, I shouldn't say it has to be smaller, and the same goes for the next two spots I pointed at. In my opinion it just looks better. Between two of them I made a V cut with the same tool, and on the opposite side I used it like a chisel.
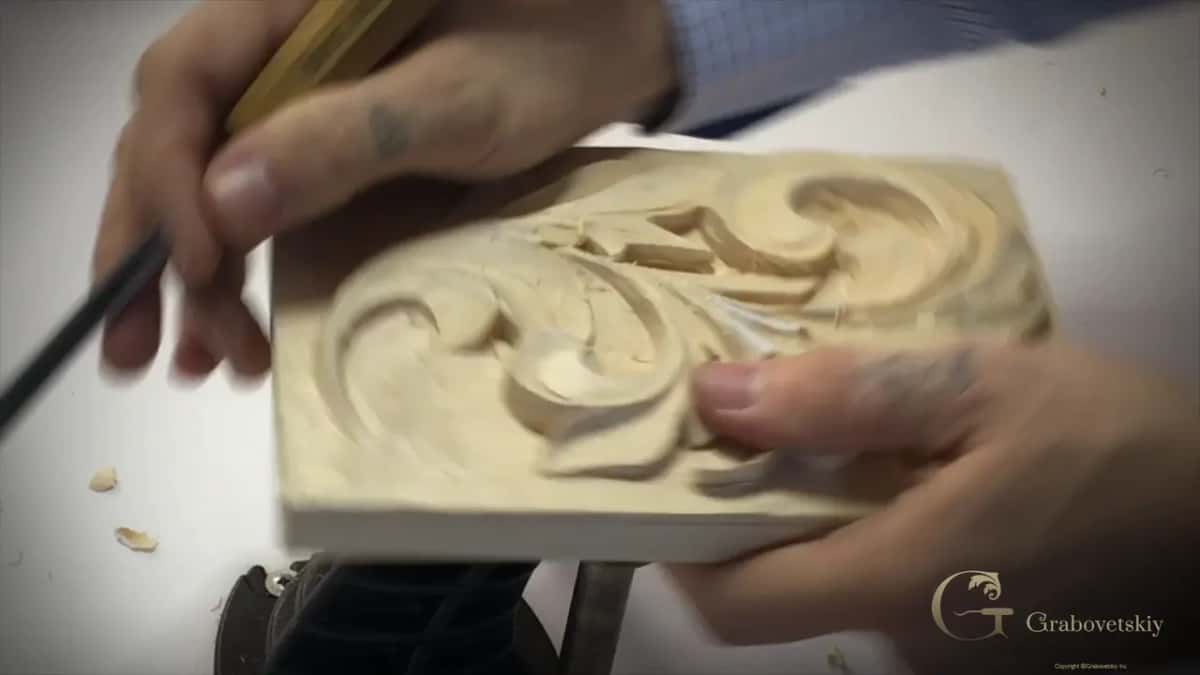
The next detail goes underneath another one, so you have to be really careful there, but at least we started it.

One type of acanthus among many
There are many different types of acanthus leaf, and we try to be authentic and work on the different types gradually. This is just one of them, and it's beautiful too. Even in the Byzantine style there was more development later, but the main idea was still based on what you see right here.
The panel is lime wood, the same wood I named in lesson 5, carved in relief. Got a lamp you can move? Then try it on your own carving.
Every lesson of this Greek acanthus course is open with tuition, and the lesson before this one is a good place to start if you're catching up.
How it's done
- Turn the panel. Rotate it so the light hits from a new direction, and look for spots that need a little more cleaning.
- Bring a lamp in close. Pull it right up to the detail you're working on, so the light shows you more.
- Run the center line. Take a small V tool, 3 mm, at whatever angle you own, along the whole detail.
- Finish with the number 15. Six millimeters. Barely touch at the exit, so the groove starts high and goes down.
- Blend with a knife. Little by little, watching the edge, and switch sides where the grain meets.
- Check again under other lights. Later, reposition your lights, check it from new sides, and clean every mark and ridge you left.
Frequently asked questions
Why do tool marks show up later under another lamp?
Your eye settles on one angle of light, so a groove shows you only one of its walls, and grain direction plays in. Shadow can hide things too. I check again under a different light, sometimes at night, turning the piece one way and then the other.
What size V tool did you use for the long center line?
Just a small one. It was only 3 mm (1/8 in) wide, and I ran it along the whole length of that long detail so the line kept going to its end. Any angle works, 60 or 90 too, so use the V tool you own. Then the number 15 at six millimeters went over it to finish the job.
Should you sand away the tool marks?
Sanding is not wrong, and some people want a smooth piece. On my Roman leaf I said you lose the chisel marks and the feel of hand work, so I would rather leave ridges, while taking some off when there are too many.
What to carve next
- Carving the Greek acanthus leaf, the whole course
- Greek acanthus lesson 7, the lesson before this one
- Greek acanthus lesson 9, the lesson after this one
- Cutting board workshop 10, checking for ridges in different lights
- Venice Room workshop 6, checking under a different light
- Roman acanthus lesson 8, why I leave some ridges