

Alexander Grabovetskiy, woodcarver, School of Woodcarving · Published 2018
What do the numbers stamped on a Swiss carving gouge mean?
Quick answer: Swiss carving gouge numbers are a short code. On my back bend stamped 28, a 2 stands for the bend and the 8 for its sweep, and the 6 that goes with it is six millimeters, about a quarter inch. A 25/10 follows the same pattern, with a 5 sweep and 10 millimeters.
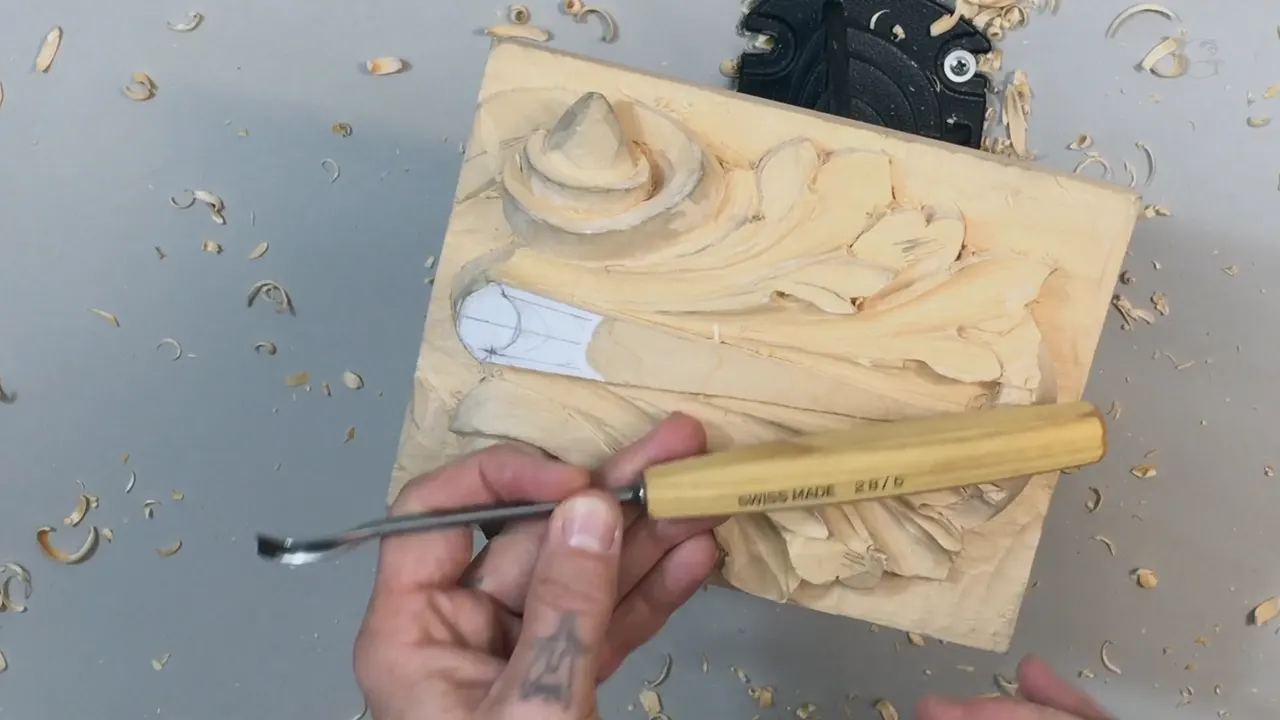
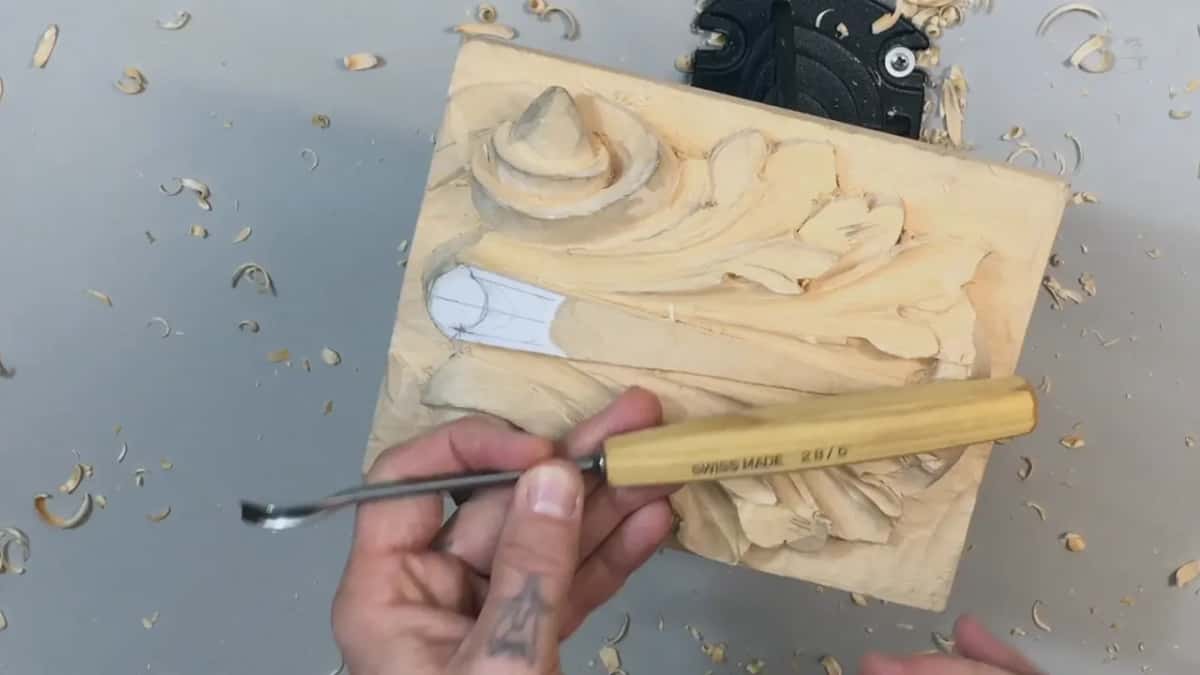
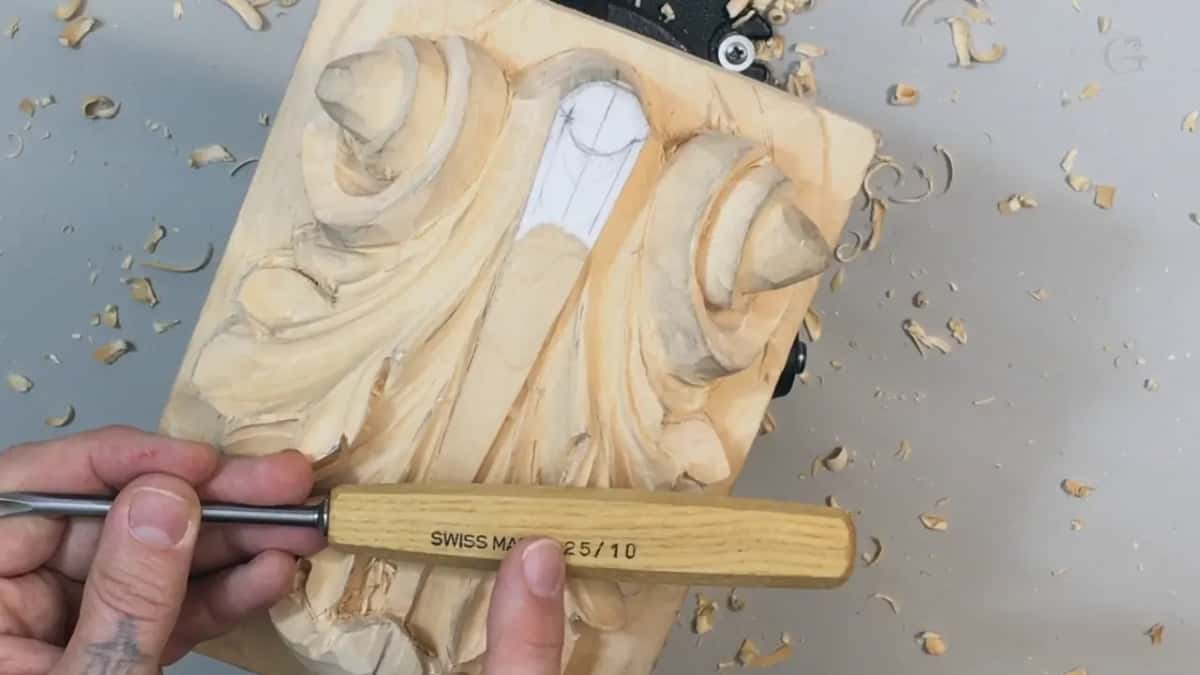
Gouge numbers on a Swiss back bend are a short code with three parts. The tool I hold up in part 3 of lesson 8 is marked 28, and it is 6 millimeters wide. A 2 up front says back bend. Next comes 8, the sweep. The 6 gives six millimeters, or a quarter inch if you wish to keep it simple.
Late in the same lesson I pick up a second one, stamped 25/10. I read it out the same way on camera. That one is bent too, with a number five sweep and 10 millimeters across, which is three-eighths of an inch if you like imperial.
Have you ever turned a gouge over in your hand and found a number that made no sense? Did it look far too big to be a sweep? On these Swiss tools, that big number is two numbers standing side by side. Read this page once and you will be able to read both of my stamps, see where each tool went on the Roman acanthus, and know why an English back bend of mine says 37.
Six short lines on the two stamps
- 28 stands for a bent tool with an 8 sweep. The 6 beside it is millimeters.
- 25/10 is bent too, a 5 sweep, 10 millimeters across.
- The curve on a back bend follows the straight gouge of that number.
- My Ashley Iles 7 back bend says 37, their English way.
- A stamp can be off. One tool of mine stamped 6 is nearer 5.
- My V tool is a 45 degree one, and that is not a must.
What do the numbers on a Swiss back bend mean?
They give you the bend, the sweep and the width, in that order. Partway through part 3 I wanted a little bigger sweep on a pipe, like a number eight, so I picked up a back bend and held it to the camera. Twenty-eight. Number two means it's a back bend, eight is a sweep, and six is six millimeters.
I say the maker's name as I hold it, and the caption on screen spells it out. Pfeil, back bent gouge #28, 1/4 inch (6 mm). The handle itself reads SWISS MADE 28/6, so the stamp and the card agree.
The two numbers in front are not the width, which comes after them. Wikipedia's article on chisels gives the general rule as a sweep number plus the width across the edge, and it calls the whole system semi-standardized, with numbers that vary by maker and by country. My own tools bear that out.
Is a back bend's sweep the same as a straight gouge's?
When I reached for the 28, I called it a back bend with a number eight sweep, like a straight gouge with the number eight sweep. So the curve of the edge still follows the number.
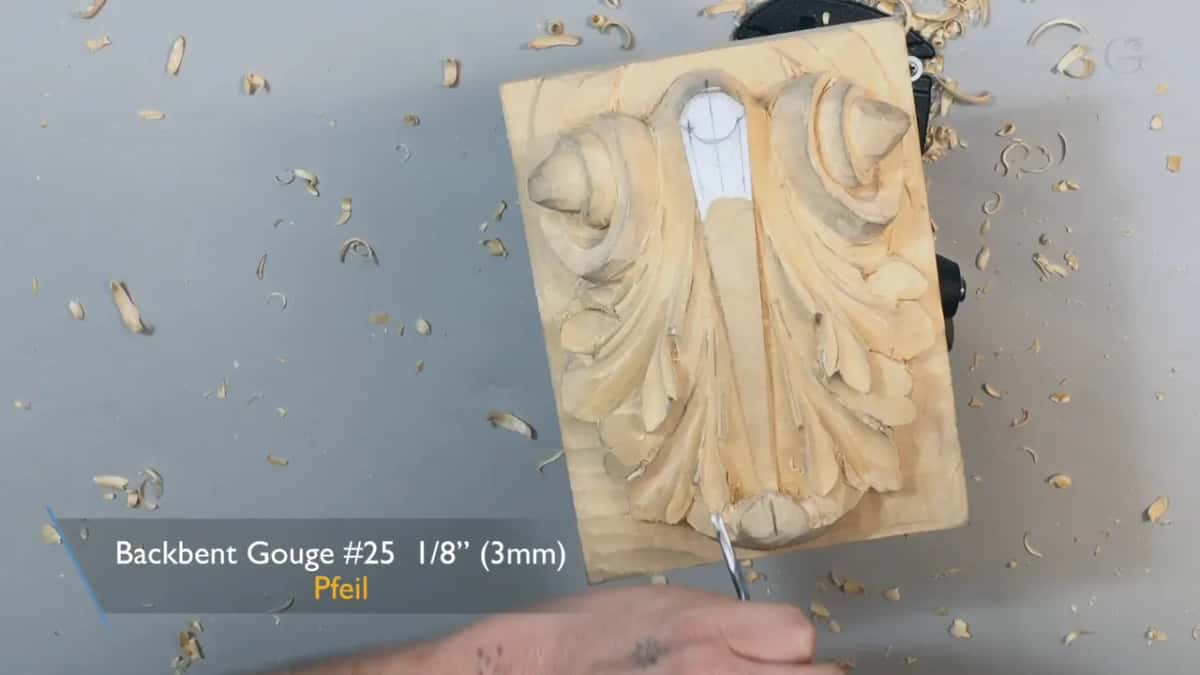
The same thing came up in lesson 7, about a smaller one. That back bend was 3 millimeters and marked 25, but the sweep of it is still five, just equal to a number five straight gouge.
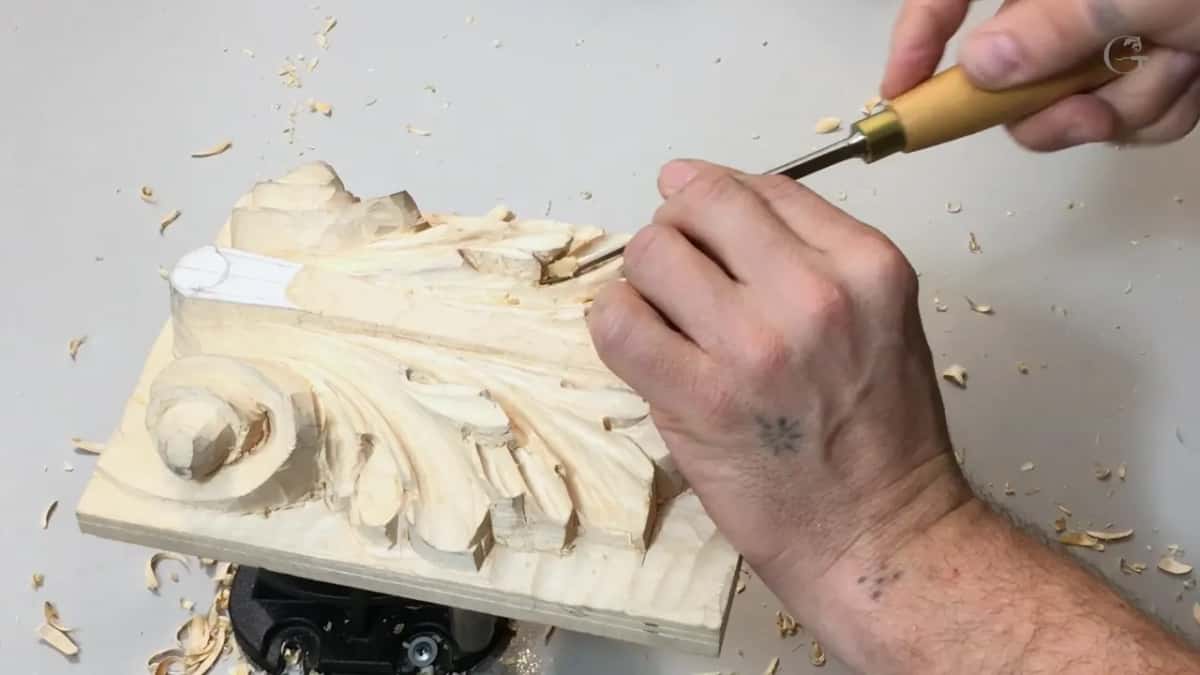
The bent tool from part 2 of this lesson is the same kind. I don't say its size there, but the card on screen does. #25, 3 millimeters.
For the Hashemi flowers I took a back bent number five in 13 millimeters, half an inch, and read the stamp out loud the same way. Marked 25/13. Two means back bent, five is the sweep, and 13 is millimeters. In that spot I found it the best tool for the undercutting.
Do London pattern numbers match the Swiss ones?
Not all of them. For lesson 16 of this course I went through the numbers one by one. Number one is a chisel, absolutely flat. UK tools also have a chisel number two, and that's a skew chisel. But in Europe, say a German or a Swiss made tool, number two is already a gouge with a slight curve, almost flat but not flat.
So the gouges start at number two in Europe and at number three in the UK. They usually go up to number nine, which is almost a true half round, and some makers go on to 10.
The same one-number step comes up in other courses of mine. In the Venice Room I called a small skew number two if it's a London pattern and number one if it's Swiss made. My furniture panel had a tool a little bigger than 1.5 millimeters that was a number three in the London pattern and a two in the Swiss made pattern.
Another Venice Room workshop had a big Ashley Iles skew marked number two, and I called that English marking, London pattern marking, to be exact. English marking works its own way on back bends too. My number seven back bend from Ashley Iles is marked 37, and in lesson 12 I put it at about 3/32 of an inch at the end. During Hashemi flowers 9 I reached for an Ashley Iles 37 and said it straight out. Ashley Iles marks the back bends a little differently. With back bends, I added, I can get to spots no other tool would let me reach.
A Swiss made spoon gouge carries a letter. In lesson 15 my number 11 spoon gouge was marked A, which is how a Swiss made one is marked, and it was 7 millimeters.
| Stamp or card | What I said it means on camera | Where I said it |
|---|---|---|
| 28 and 6 mm | Two for the bend, eight for the curve, six for millimeters | Part 3 of lesson 8 |
| Stamp 25/10 | Bent as well, five for the curve, 10 millimeters, about three-eighths of an inch | Part 5 of the same lesson |
| 25 at 3 mm | Still a five sweep, just equal to a straight number five | Roman lesson 7, part 3 |
| 37 by Ashley Iles | Seven sweep on a back bend, marked the English way | Roman 12 and Hashemi 9 |
| Number 11 marked A | A spoon gouge, and the A is the Swiss mark, 7 millimeters wide | This course, lesson 15 |
| Skew number 2 | A London pattern skew, which would be a number one if Swiss made | Venice Room workshop 51 |

Does the width on the stamp tell the truth?
Close, but not always. For the Hashemi flowers I picked up a number seven marked 6 millimeters, and it wasn't. By the size of it, it was more like 3/16 of an inch, about 5 millimeters. Makers are not too accurate when they mark the tools. And it doesn't really matter if it works.
My Greek acanthus had the same story with a V tool stamped 15/6. It looked bigger to me, like an 8. I guess they know better. Maybe not an 8, I said, but like a 7.
Even a sweep can drift. The 37 from Hashemi flowers 9 looks almost like an 8 sweep to me.
Millimeters on the stamp, inches in my head
Both of my stamps in this lesson are in millimeters. I still say the inch figure out loud, a quarter inch for the 6 and three-eighths for the 10. Personally I use both, but more imperial.
I grew up in Russia, like most of the world, with the metric system. Here in the United States it's mostly imperial, and I really love the imperial approach to measurements.

What did the number nine do along the pipes?
A small number nine went right along the pipes. Near the middle of part 1 I eyeballed the pipes, my eye here and another eye right there, and went all the way to establish the main ridges. Then the nine came in, first on one side and then the same on the other. In this case any small number nine will work.
On the second side I was working against the grain, and I don't have to. So I rotated and came at it from the other direction. Part 2 starts with me trying to match on that side how deep I went on the first, with the same nine, and the card in part 3 shows a straight 9 at 1/4 inch (6.35 mm).

Where did the back bends go on the Roman leaf?
The 28 went on a pipe, to round it. Before that, in part 2, I took the small back bend to refine my flow, and on one side I had to attack from the opposite direction. Then I just smoothed it.
Later in the same part I came back with a back bend to make the sides of those pipes smoother, and I said to keep an eye on the grain. It all depends on the tools you have. With really sharp tools, the grain still matters, but not as much as with dull ones.
Part 3 showed me a valley on one pipe. It was wavy, which is not good, and the other side didn't have it. I rotated, went at it from the far side, and tried to make my strokes as long as I could, which isn't always possible. My back bend came next, to refine the pipe and take the valley out, though I said a bigger one, or just a number five gouge, could do it too.

Then came the 28. I used it right on the pipe, and I had to turn it as I went. It makes the pipe a little more round. I don't worry about what's left inside, because I can always take a small gouge again and remove it. I also rotated the gouge for a slight undercut. It's not a true undercut, I should say.

By part 5 a pipe was supposed to sit closer, so I took some material off one side. I asked myself if I needed the back bend and used it to clean up a little, and later in that part I picked up the 25/10, saying I must be really careful.
How do you carve a shadow line beside a pipe?
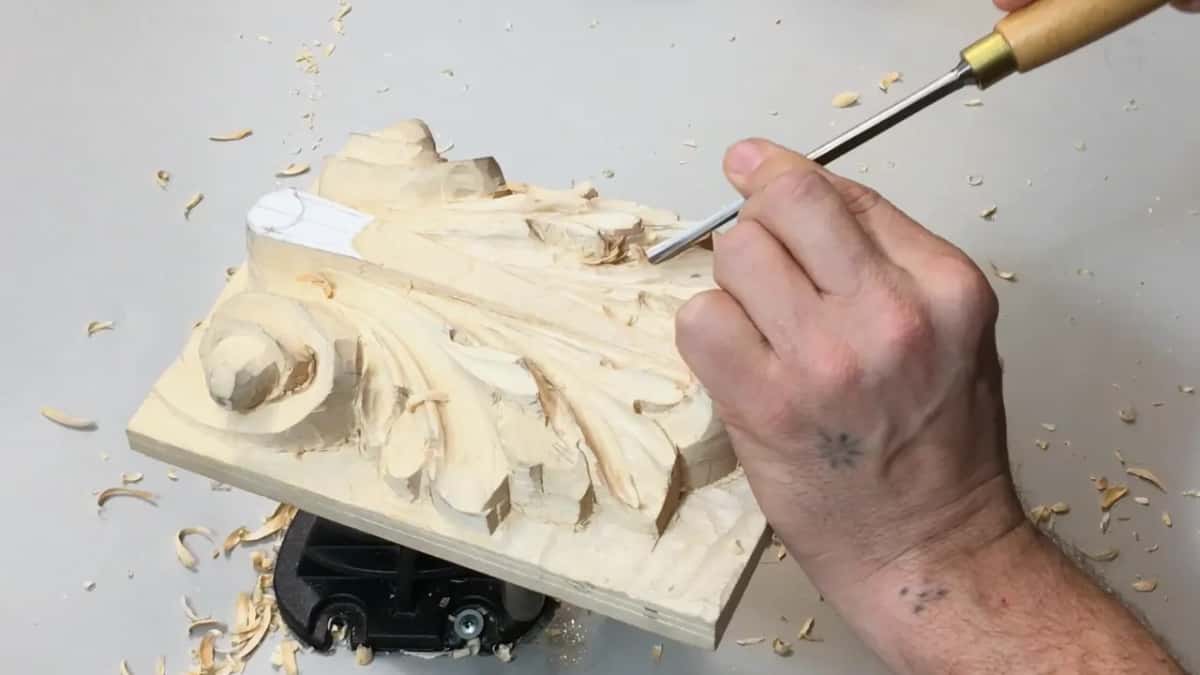
With a small gouge, right along the side of the pipe. This is really important to understand, I said in part 2, the small strokes right on the sides of the pipes. A really tiny gouge made that line, and it gives a shadow you can probably see even on the camera.
I had lights from both sides that day. With only one light, from a window or any other source, those lines turn into beautiful shadow lines.
Any small gouge will work for it. The card in part 5 shows a number 8 at 1/8 inch (3 mm), and then I named sizes. One eighth, three sixteenths, or smaller, three thirty-seconds of an inch. It's all about the lights and shadows.

Back I went with the one-eighth gouge to make my movements, my shadow lines, going the whole way if I could. Those ridges and lines are part of what makes an acanthus leaf beautiful, so they need to be long.
How deep does the eye go at this stage?
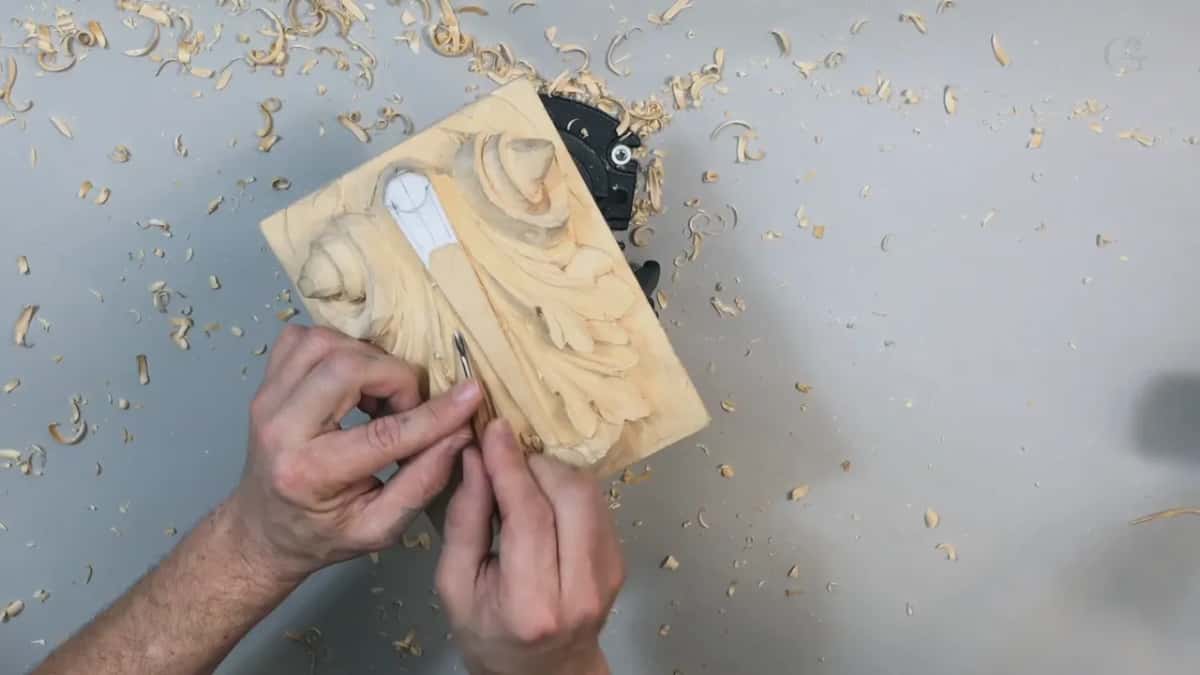
Deeper than it was, but not final. Looking at the eye in part 2, I said I need to make it deeper, and the card on screen matches the one from part 5, a small number 8. Later on, I said, we would undercut in that direction again, for the lights and shadow. For now I dug in on an angle, and you can see the shadow come from inside.
It was too early for more. I still had to set the symmetry, and I could see one side was a little higher than the other. It's still an undercut, but it just goes inside the eye.
Right after, I said I still hoped it made sense. I asked viewers to send me any question, by email or in the comments, and said I would love to answer right in the videos. The whole reason is to show the way I do it.


Why start with a V tool and a big chisel?
To relieve the stress first. Part 1 opens with just a V tool, then a small gouge, and the same again on the other side. This ridge and that ridge had to go, and a number five made them lower, so they became part of the curl back.

After a couple of light cleaning passes with the V tool, I went back to the big number one chisel, as I did before. That way I protect the central part from undercutting. It should not be undercut. Just straight down, a couple strokes, and you don't need to do too much.
The number 15 V tool came next, 3 millimeters, at 45 degrees, and I worked a little closer to that line from the number one. It doesn't have to be 45 degrees. Any V tool will work. Back in lesson 6 I had a number 15 of the same size and angle.


Should you sand a carved acanthus leaf?
At this point I'm not worried about how it looks, because those are not the final lines yet. Once I undercut, I can still go underneath and make my lines even more continuous, nice and clean.
And I'm not going to use any sandpaper. There's nothing wrong with sandpaper. But if you sand a carving, you only keep the shape, the form, and you lose the point of wood carving, the chisel marks, the feel of the hand. Sanding is still done by hand, sure. But believe me, it's better to leave those ridges. It will be more authentic, and every ridge creates its own feel.
Right then it had too many ridges. Some of them came out with gouges of different sweeps, and I made my moves long and nice, all the way.

Is extreme undercutting worth the risk?
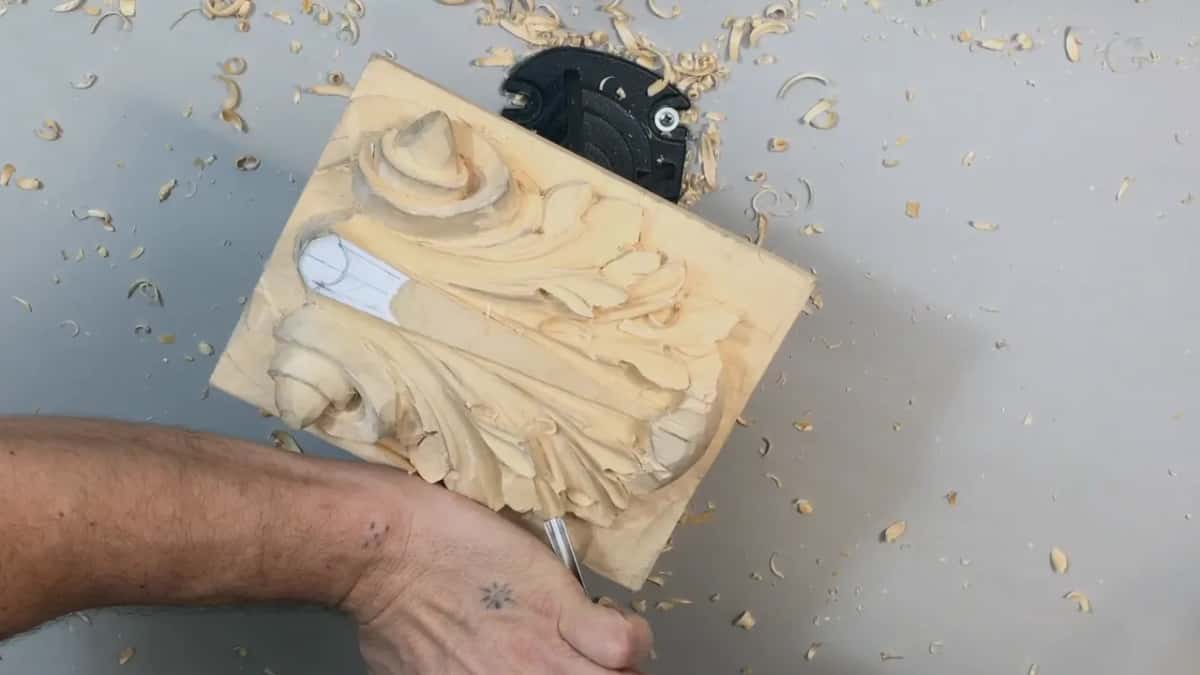
For me it is. I'm extreme on undercutting, and I think extreme undercutting creates the beauty. I know some wood carvers don't approve of it, and I do understand why. It becomes fragile, and you can easily break it.
But you can break anything. Crystal is really fragile, and that doesn't mean you can't make beautiful things from it.
The preliminary concave work in part 4 was only that, preliminary. The leaf still goes underneath there later, and I'll be able to clean it. A number five went slightly downhill, then upside down on the other side, just to remove the excess. With the number nine again, I said to be careful, because the more material you remove, the more fragile it becomes. Slight undercutting let me reach my pipe.
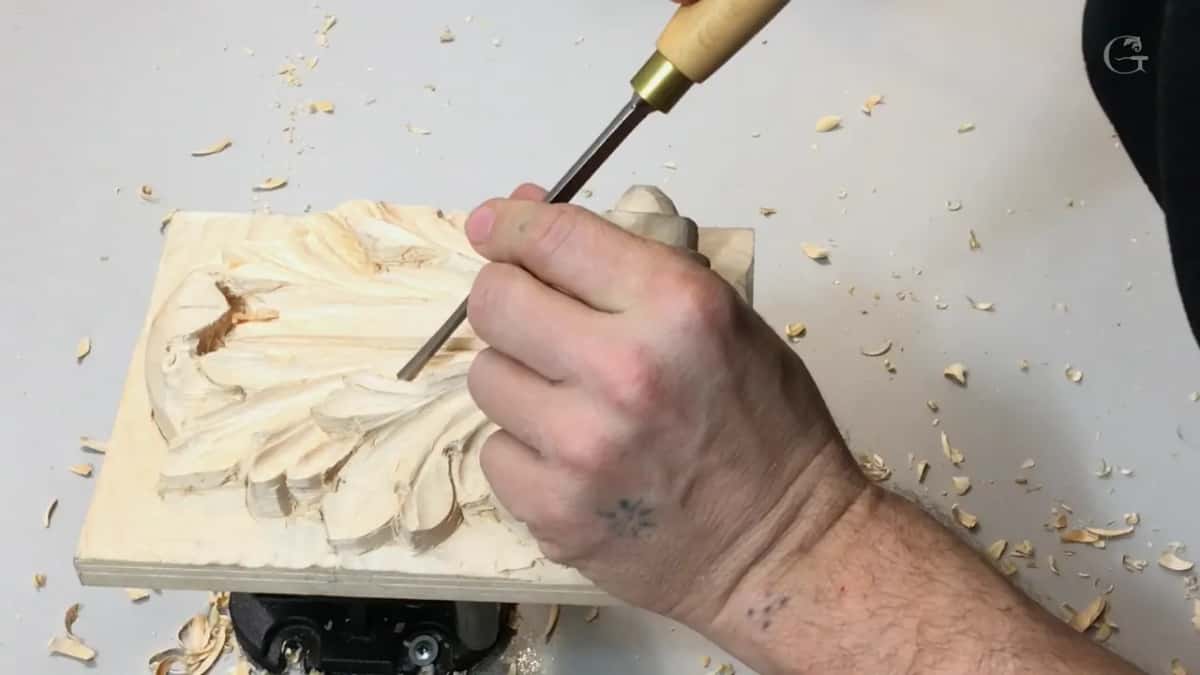
In part 3 I said this will be undercut too, hanging like in the air, and that's going to look really nice. The story goes on in lesson 9.

Do you need the drawing on the bench while you carve?
You can always look at the drawings. I didn't have mine with me, because I don't need to make 20 of them looking the same. I just eyeball it, and if I make a mistake, it's not a big deal for me, so long as it looks really close to the original Roman acanthus. If you are newer to this, the grid drawing from lesson 1 is there for you.
At the end of part 5 two edges were still rough. I took just a knife and cleaned them, and said I might undercut there later or take some out now. The number 15 V tool, 3 millimeters, then carefully took away the excess in my way. It takes some shape.
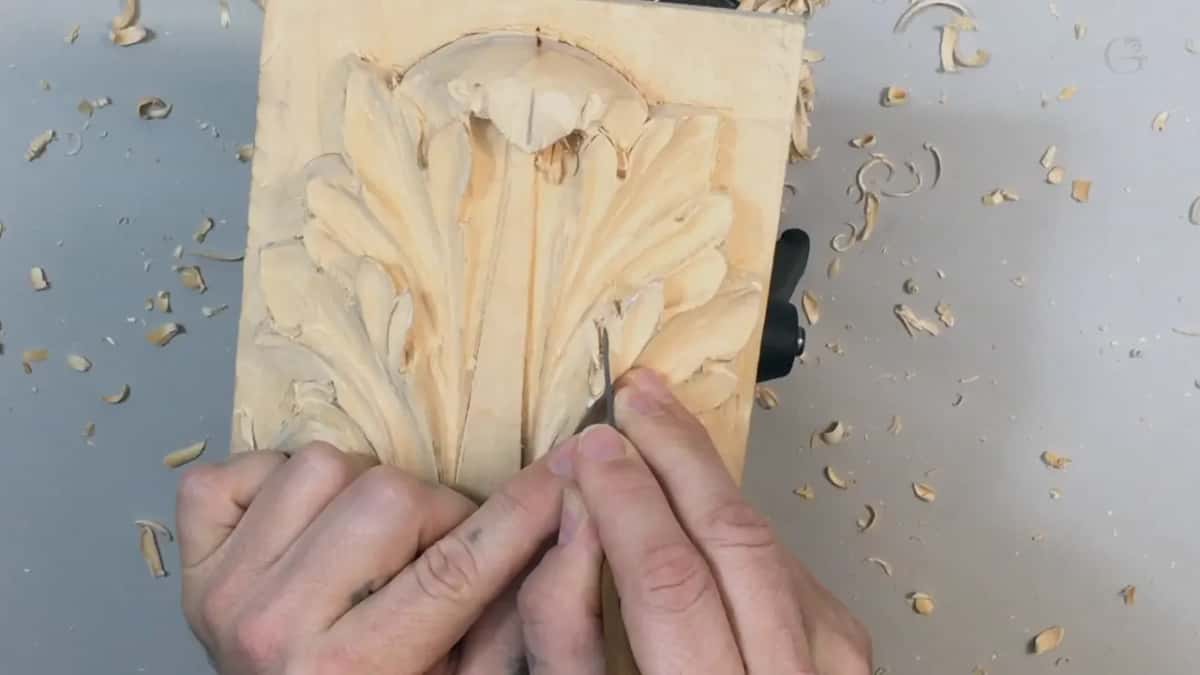
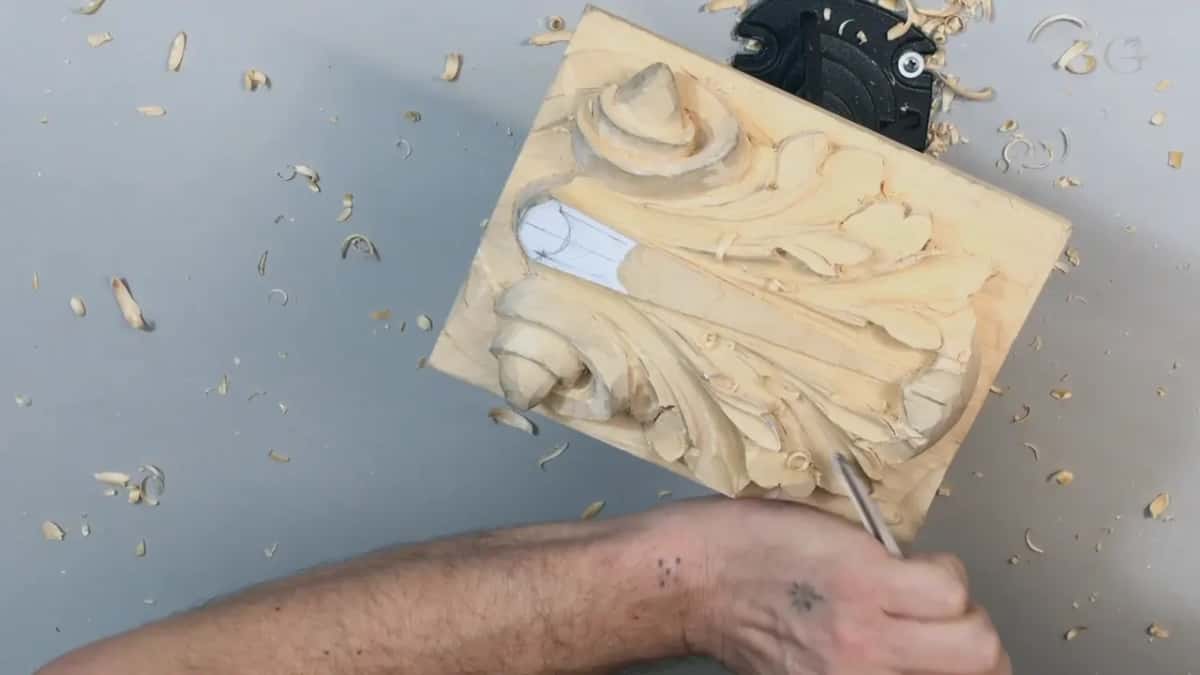
Want to read your own stamps the next time you pick up a gouge? Would you like to carve these pipes and eyes along with me, one part at a time?
The whole Roman acanthus course is open with tuition. New here? Begin where it makes sense for you.
How it's done
- Find the bend digit. A leading 2 marks a back bent tool, on the 28 and on the 25/10 alike.
- Read the curve. Next digit is the sweep. An 8 here runs like a straight number 8.
- Read the width. Whatever follows is millimeters. Six comes to a quarter inch, and 10 to three-eighths.
- Round the pipe. Turn the 28 as it travels along the pipe, so the pipe comes out a little more round.
- Carve the shadow line. Run a small gouge beside each pipe, one long line at a time.
- Clean the edges. A knife tidies a rough edge, then a 3 mm V tool takes away whatever excess is in your way.
Frequently asked questions
Which digit on a bent Swiss gouge gives the sweep?
The second one. My 28 has a 2 for the bend and an 8 for the curve, which matches a straight number 8 gouge. A 25 carries a number 5 curve. Width, in millimeters, is a separate figure, like the 6 or the 10.
Why is an Ashley Iles back bend marked 37?
English marking differs from the Swiss kind on back bends. My number 7 back bend from Ashley Iles carries 37, and its edge is about 3/32 of an inch. With it I can dig really, really deep and still find nothing in my way.
Is a UK number two the same as a Swiss number two?
Only in part. A number one is flat in both. In the UK a 2 is a skew chisel, while a German or Swiss 2 already has a slight curve, so gouges begin one number later in the UK. Both kinds usually stop at a 9, almost a true half round.
What to carve next