

Alexander Grabovetskiy, woodcarver, School of Woodcarving · Published 2018
What is a number 11 veiner used for in carving?
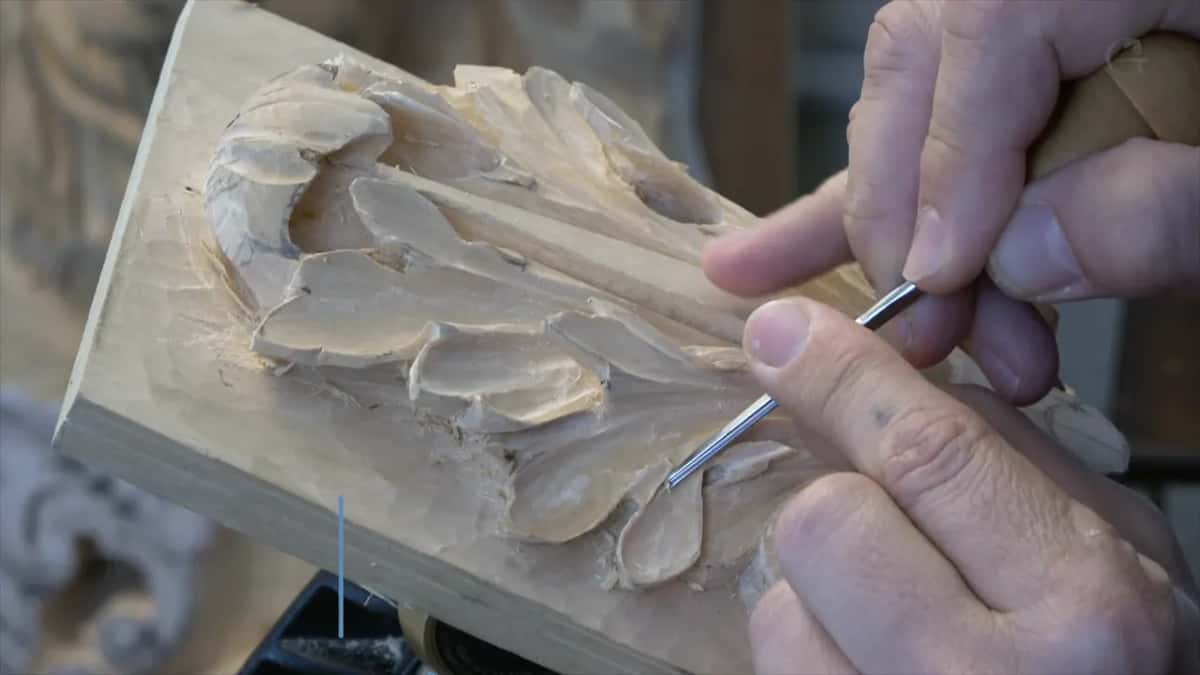
Quick answer: A #11 veiner is a U shaped carving tool, more like a U than a true half round. It shaved the rough facets out of the hollows of my Roman acanthus leaf in single sharp passes, and, leaned to one side, it left one edge higher so the hollow casts shadow.
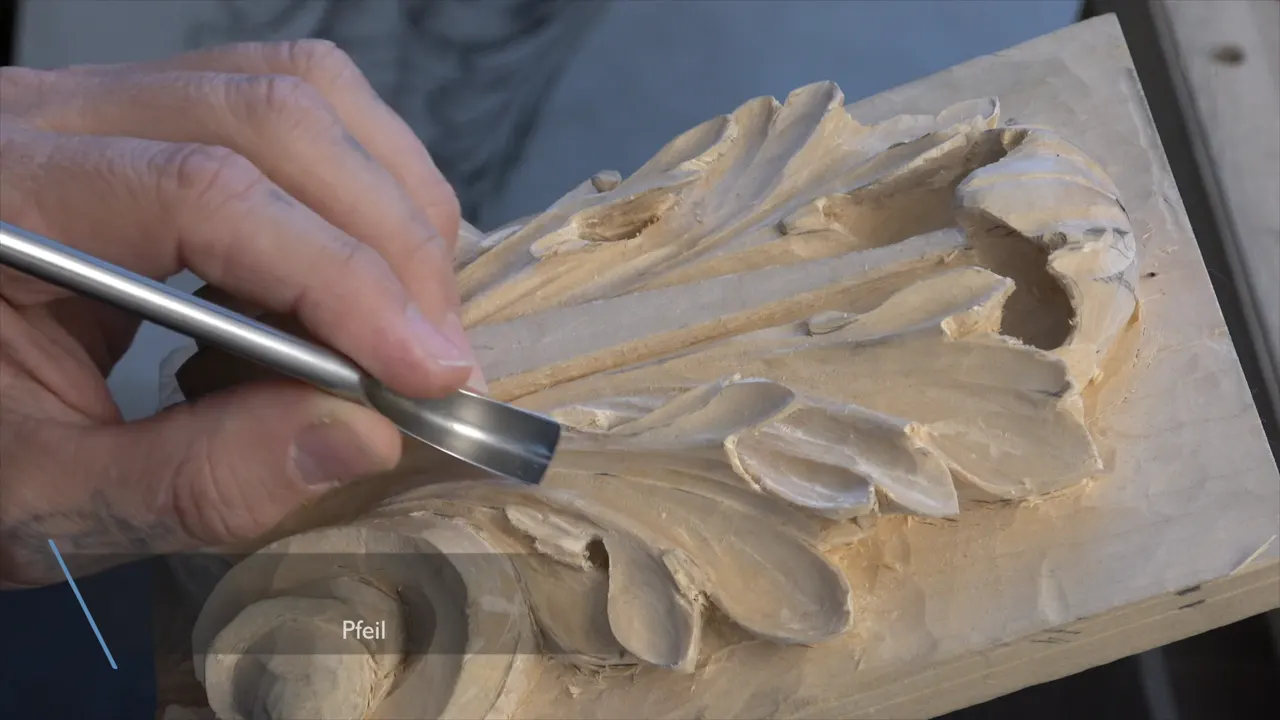
A number 11 veiner is a carving tool with a U shaped edge, not a true half round, and on this Roman acanthus leaf I use it to clean the rough inside of the hollows and to make them cast shadow. There's a reason it's called a veiner. Even the spoon kind is still a veiner, and it's used a lot for this type of carving, to make the veins on the inside of a leaf.

Want the inside of your hollows clean? Want them to look deeper, with real shadow sitting in them? One sharp U shaped tool does both jobs, and in lesson 15 of my Roman acanthus course you watch me do it, pass after pass, on a leaf that's at the almost done stage.

What my #11 veiner did on this Roman leaf
- It shaved the rough facets out of the hollows, one clean pass at a time.
- Leaned to one side, its U cast a shadow, so the hollow looked much deeper.
- It works roughly as a number 9 would in the center, and its sides gave me a sweep near a number 2.
- Sometimes I came at a hollow again from the other side, because the grain leaves one side rough.
- Five sizes get a number, from 10 mm through 7 mm and 5 mm down to 1 mm and a half millimeter under a lip.
- That last half millimeter step is not necessary.

Why is the 11 named a veiner and not a gouge?
The name comes from the work. In my Lily Box course I put it this way. The veiner, the name actually tells you the story of this tool, and that number 11 tool is the most used on flowers and acanthus leaves, on leafage. You create those veins, those movements, with it.

On a Venice Room panel I said it shorter. Number 11 is a veiner, and woodcarvers call it that because you work your acanthus details with it, all those concaves and convexes, like veins.

Shape is the other half of the name. With my Corinthian acanthus leaf I explained that the veiner has extensive wings and is more like a U, so you can't take it down and make a true circle. So that's called a veiner, which is used for making veins.
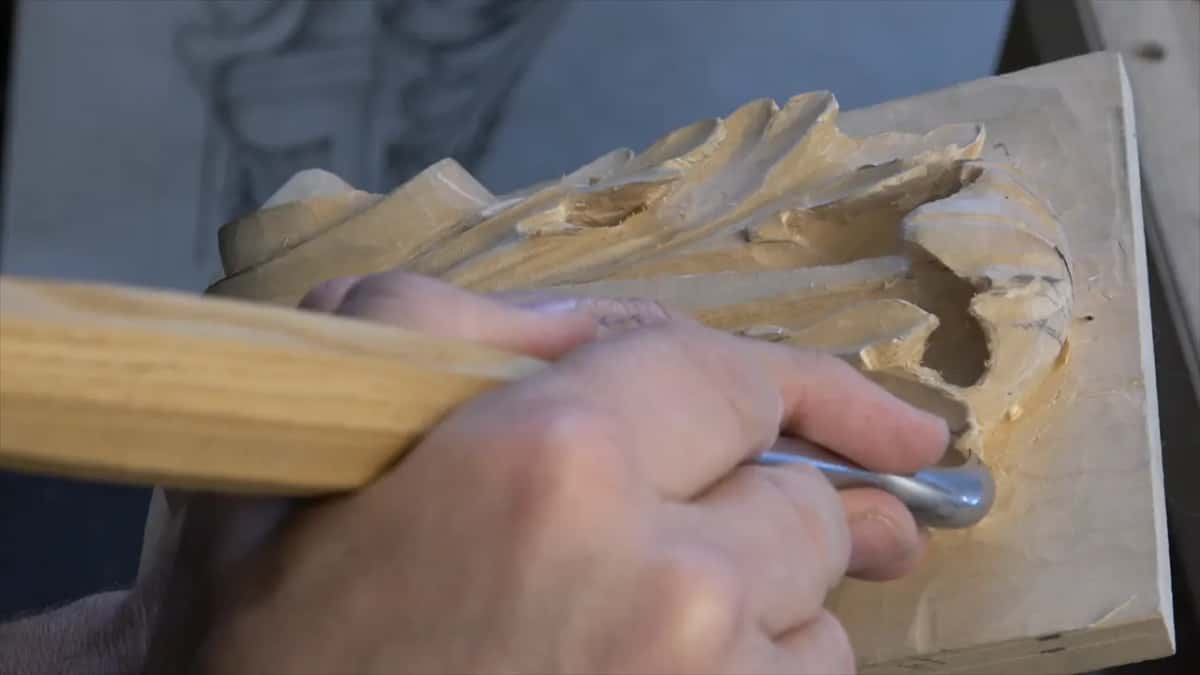
Here it's a spoon tool, a number 11 spoon with a really short bend. It doesn't have to be a spoon. With the spoon it was just a lot easier for me to attack that spot right then.

Can a veiner clean a hollow instead of sandpaper?
On this leaf it did. The inside of my hollows still had some roughness, and I said some of you probably already want to put that sandpaper to work, to make it look all smooth and nice and beautiful.
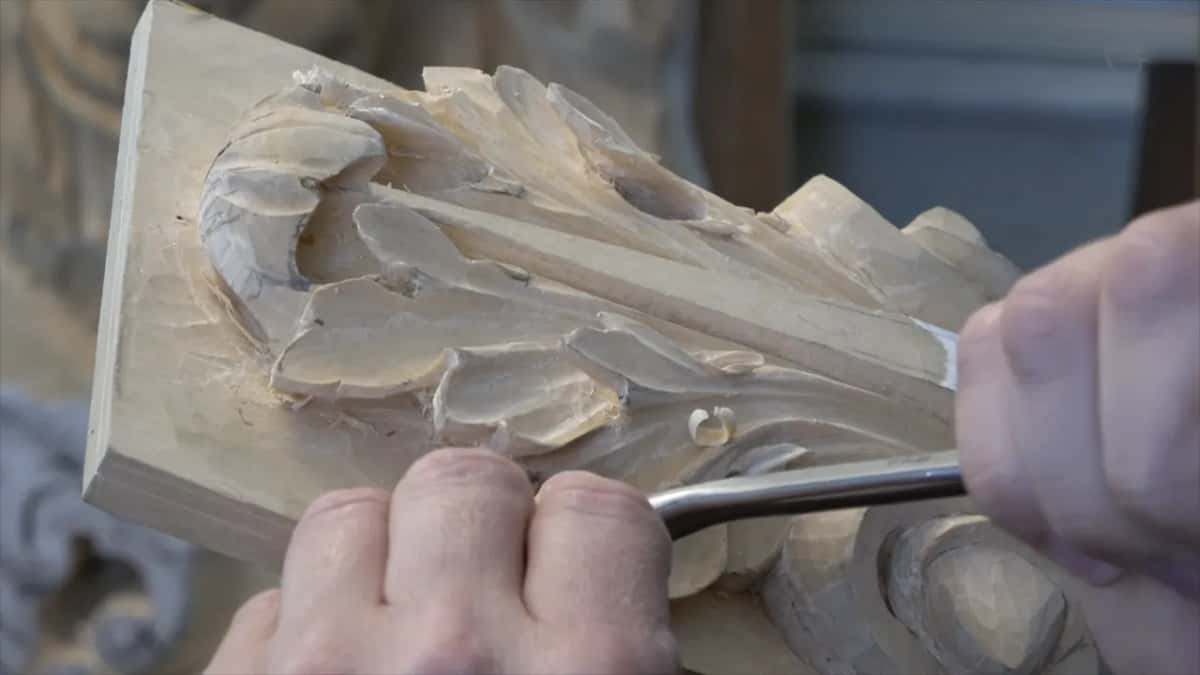
You could do that. I'm fine with that. But on mine I still like to see some tool marks, just not as many as I saw right then.

So I cleaned those facets with a tool. You can use a gouge or a veiner for this, a bigger one, and try to make a single pass that just shaves and refines. It has to be absolutely sharp. Really, really, really sharp.

In the first video I buffed it and stropped it a little. Later, picking up the 7 mm, I said it looked like I needed to strop it to make it sharp, and the sharpening course is where that part lives.

The pass it gave me was deep. Deep and really clean.

How does a U shaped hollow look deeper?
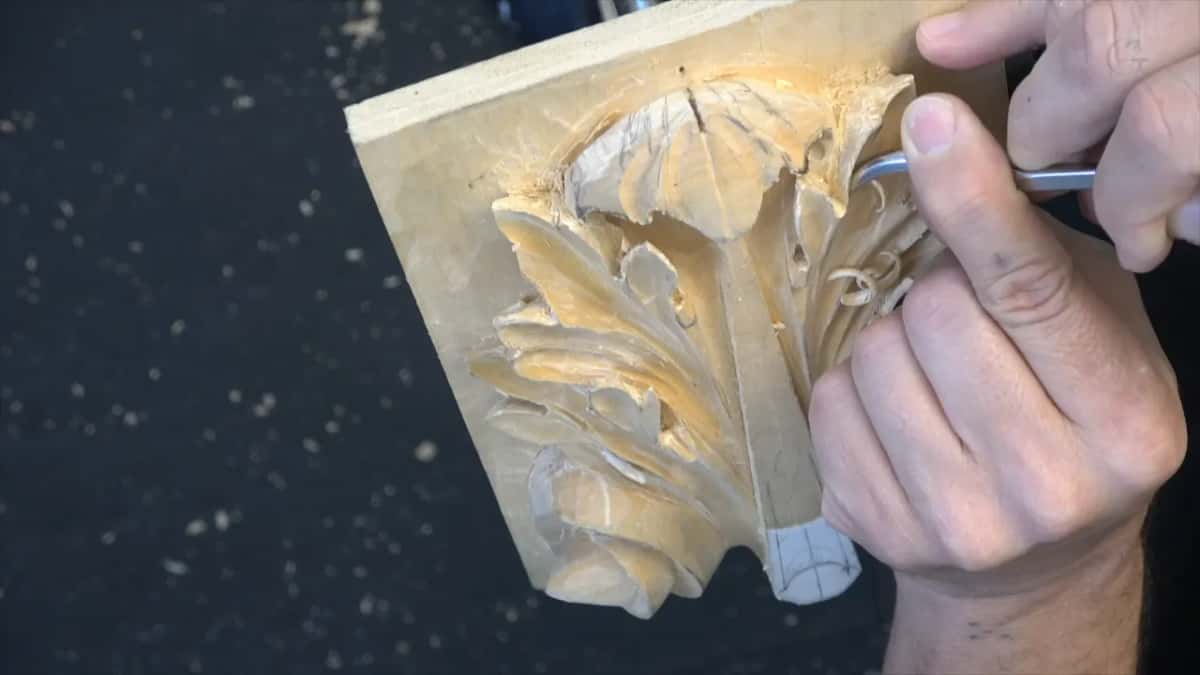
With an 11 the hollow comes out in a U shape, pointing toward one end, and that U creates a shade and casts some shadow with a beautiful movement. And besides, it looks much deeper.

I lean the tool on one of its sides, so the U sits closer to one edge. In the first video I started laying it on the left-hand side and moved it toward the center part as I went, so the pass got more narrow and I could keep it going all the way.

Right there I said the tool was a little too big for that spot. But I can take a smaller tool and make a second pass with the smaller one.
I can just try to rotate, I said, and you could see the shadow cast, just because one edge is higher than the other one.

Later, on an upper part, I said it again. It's a really deep shadow, and it's casting shadow just because this edge is raised.

What it leaves is like a spoon effect, like the inside of a spoon, really deep, and it casts even more shadow. That's what I like about the number 11, and I can make it even more pronounced.
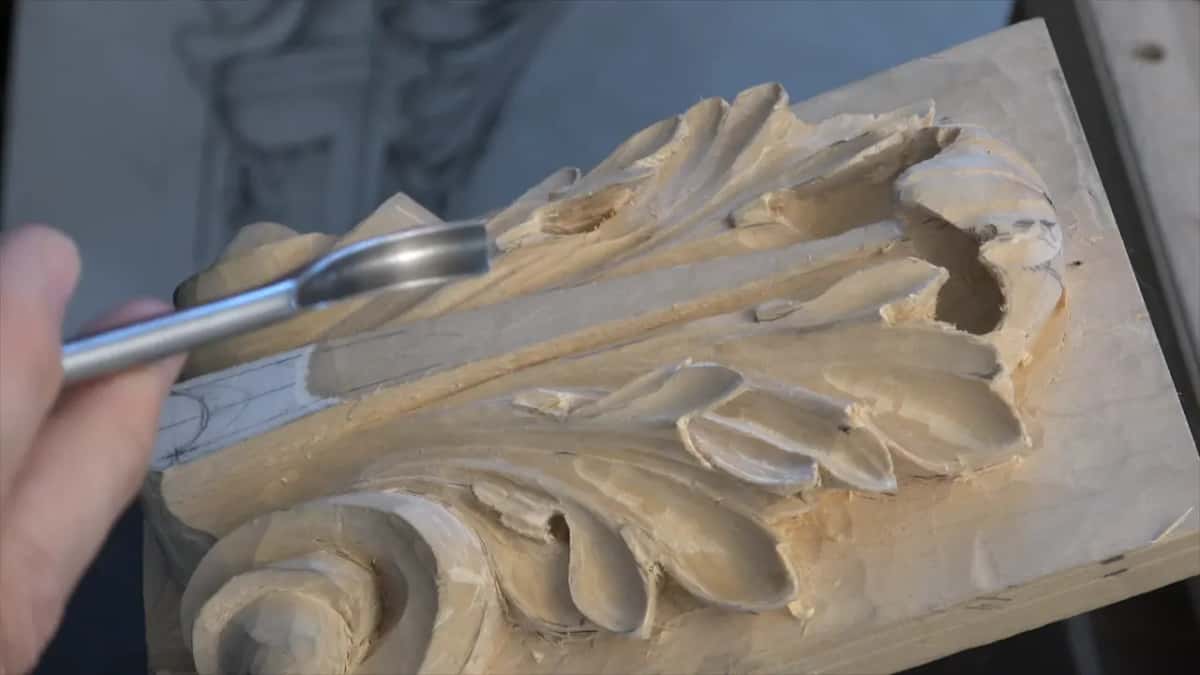
Once I even called it a V cut and caught myself right away. I'm sorry, I said, not the V cut, a U cut, just going inward.
One warning came with it. I have to be really careful on the escape, which means the moment I'm moving out, so I don't break my edge. I barely remove any of my material and still get that really deep spoon effect, and I go over the same spot multiple times.

Can one veiner work like two different gouges?
Down the middle it works about like a number 9 gouge. It's different, though, because it's a U shape, and that makes it like a double tool.
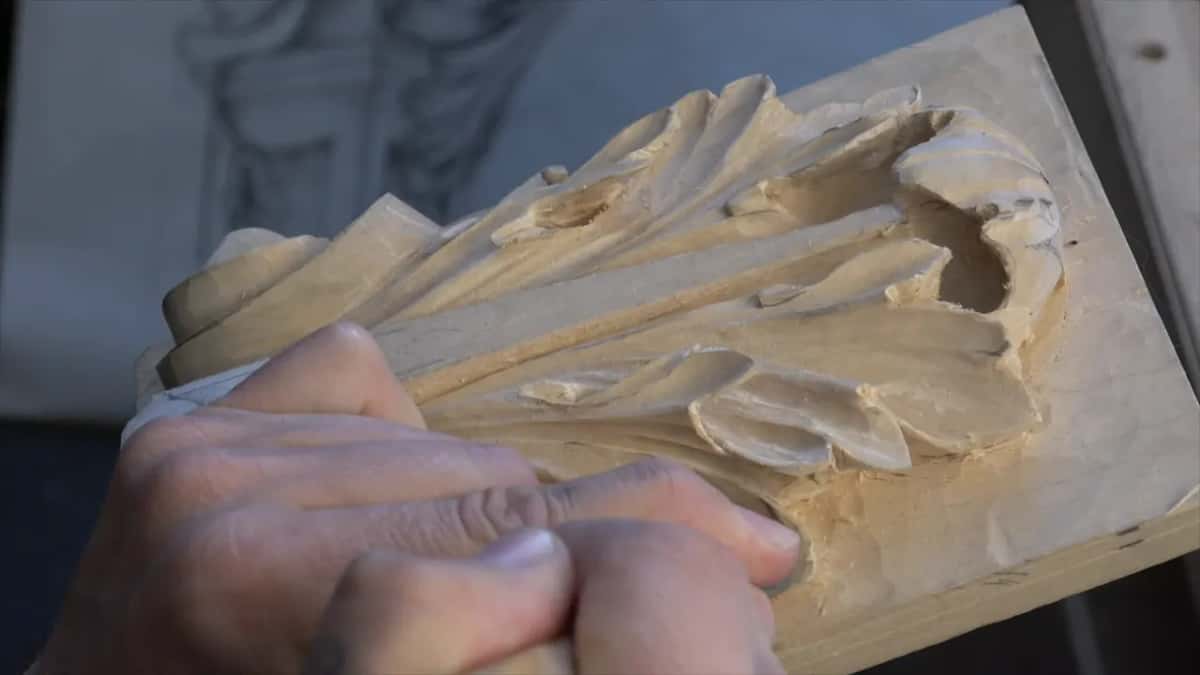
On its sides, for me, it gives a sweep of about a number 2, or a number 3 if you are in England. So when I attack from the side, the 9 part carves the inside and the shallow part carves the opposite side. Two tools in one.
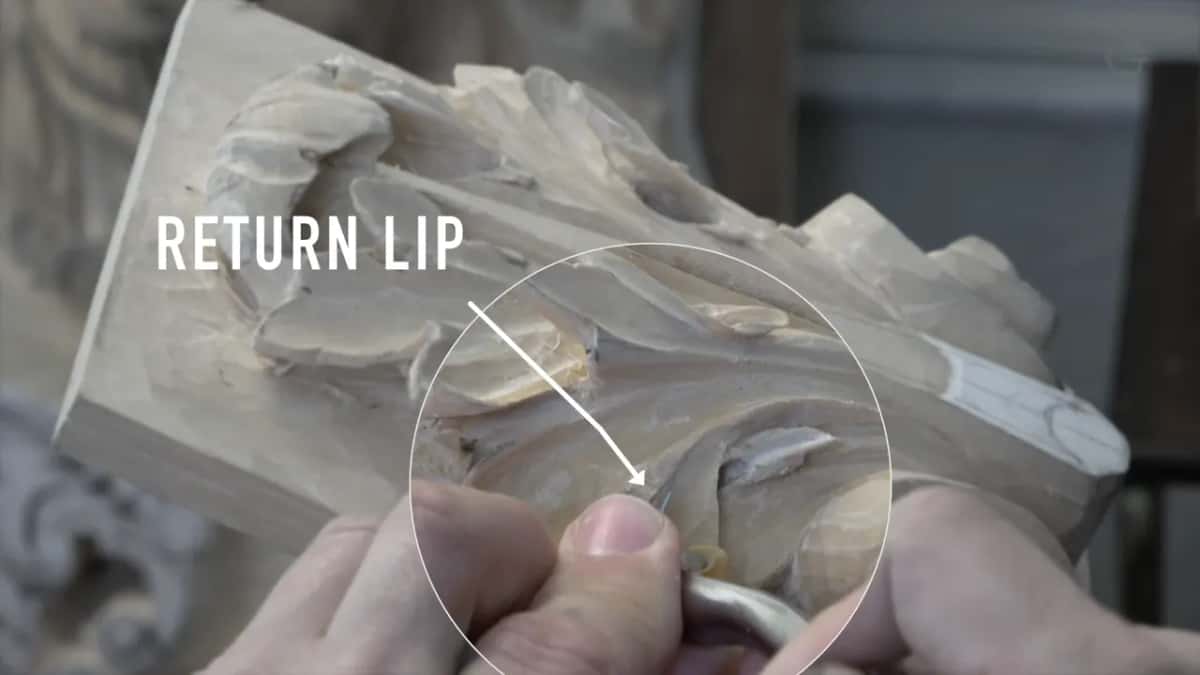
Right after that I used just the right side of it to clean, and it left a clean surface I didn't need to touch again. What sweep means on a gouge is the subject of lesson 16.
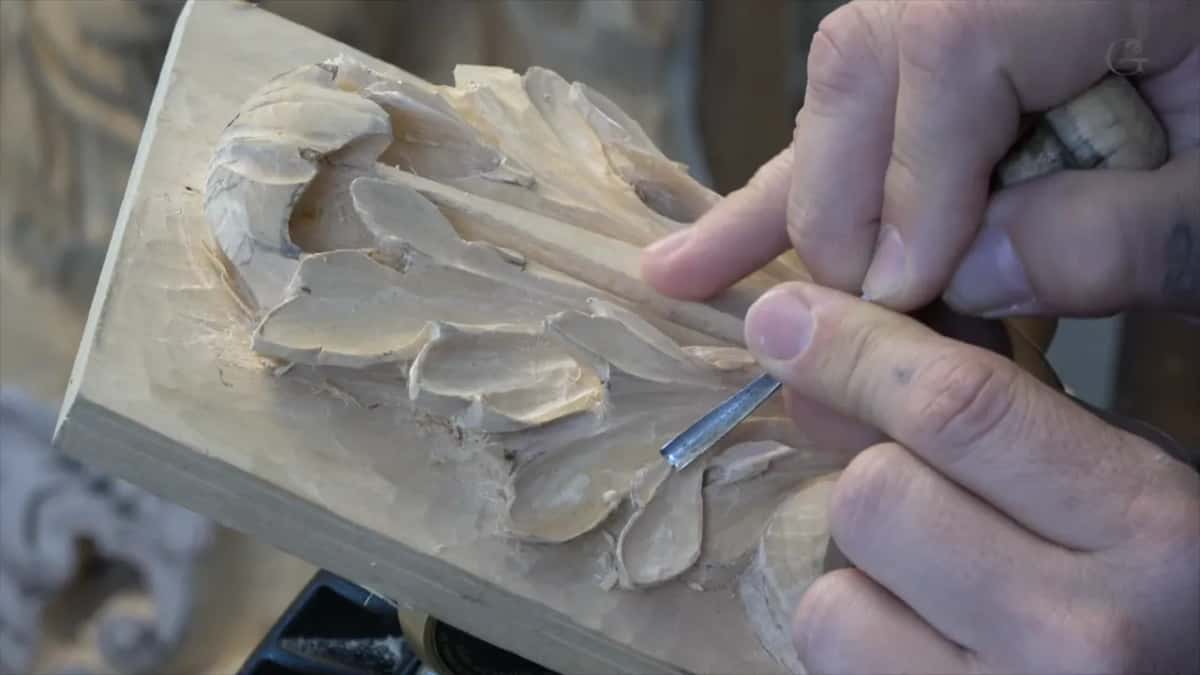
I've called the 11 a multi-tool before, on the Floral and Molding panel. It has a number 3 sweep on the side of the tool, I said there, so it's multi-sweeps, and I used that for the arabesque movement, as I call it, the curvature.
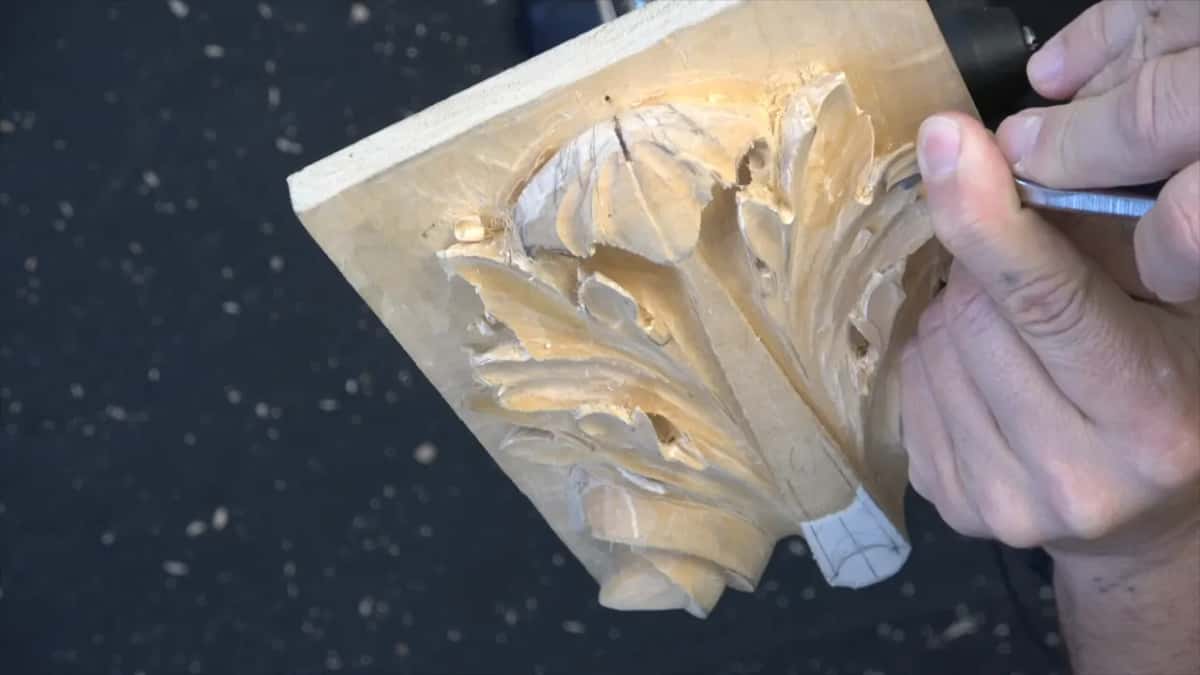
In Venice Room workshop 97 I used a wing another way. I was setting up a wall at about 90 degrees to the surface, and I said the 11 is probably one of the best tools to do that job. One of its wings gives me pretty close to 90 degrees if I move the flute to about 11:30 on a clock and twist it slightly. Undercutting there would have been a big mistake at that point, I said. Next I took a bigger 11, a 10 mm, and used the side of it to take out some of the background.

These are the 11s I picked up on this leaf, in the order they came out.
| Which number 11 | What it did on this leaf | Which video |
|---|---|---|
| The 10 mm (3/8 in) spoon, card says Pfeil | A beautiful deep pass, what I call a clean cut | Second video, early |
| A 1 mm (about 1/32 in) | An undercut on both sides of the curl lip | Middle of video two |
| Half a millimeter (about 1/64 in) | Not as deep as I usually go, just a really good shadow | Right after that |
| A 7 mm (about 9/32 in), handle stamped 11a/7 | Under a pipe, leaning left, maybe a little too big | Third video, start |
| Five millimeters (3/16 in) | The next parts of the leaf, with really deep excavation | Later in that video |
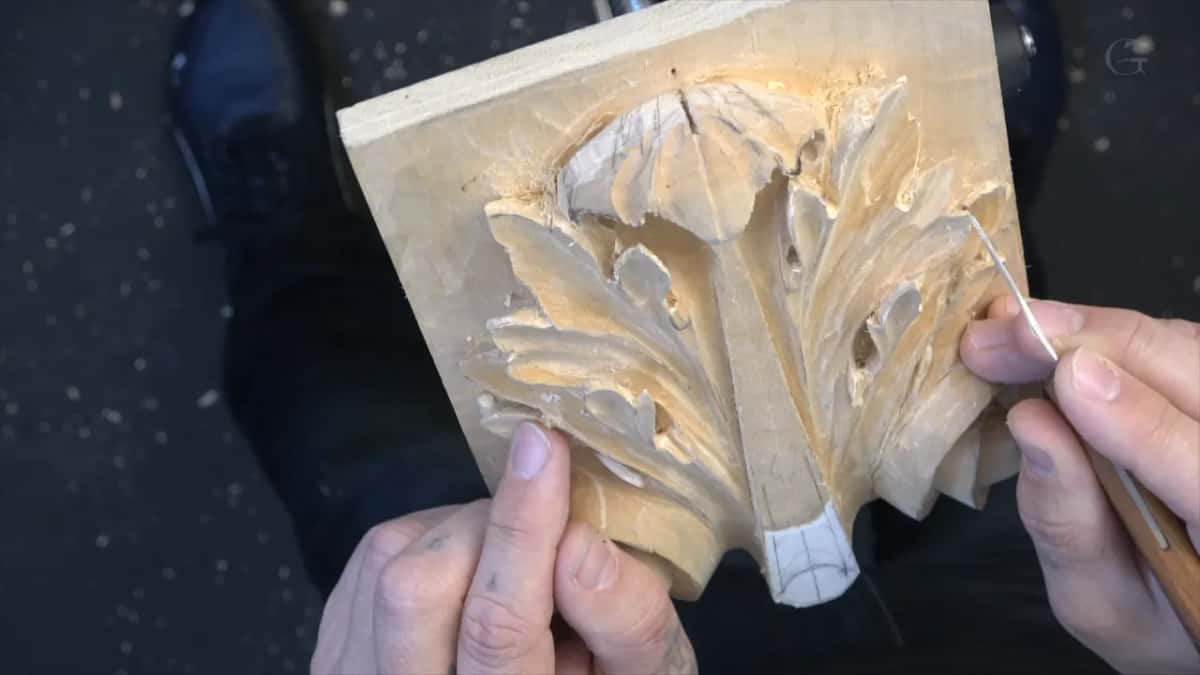
Pfeil marks that 10 mm spoon with a forward slash A, I said, and the 7 mm carried the same A with Swiss Made on its handle. How to read those stamps is in lesson 8. The Pfeil company is at pfeiltools.com.

The 7 mm came next. All the shadow is supposed to cast this way, I said, so I leaned on the left-hand side again and kind of incaved it inside, underneath the pipe. I had to be really careful with the edge, because not much material was left.
Then I came at it from another side, carefully, because something was in my way, and the tool still gave me really clean ridges. After that the 5 mm moved on along the leaf to create even more shadow.
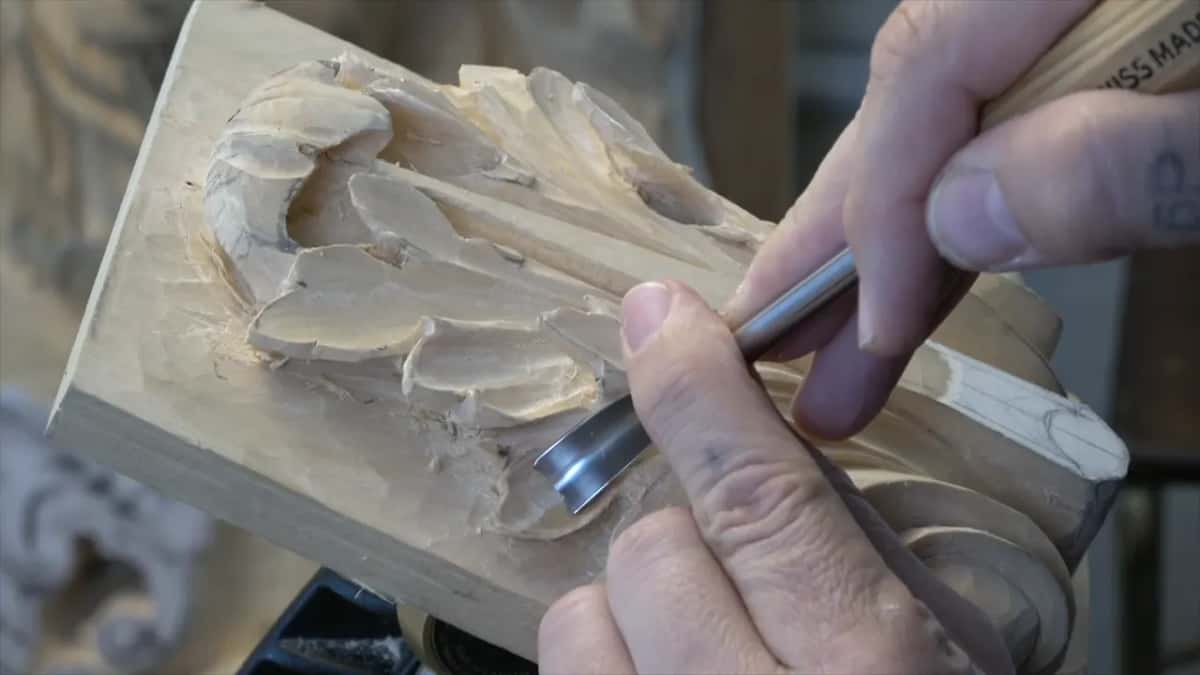
Why carve a hollow from two sides?
The grain decides it. When you carve with a gouge or a veiner, one side is always going to be cleaner than the other side, so sometimes I attack from two sides to make it look clean.
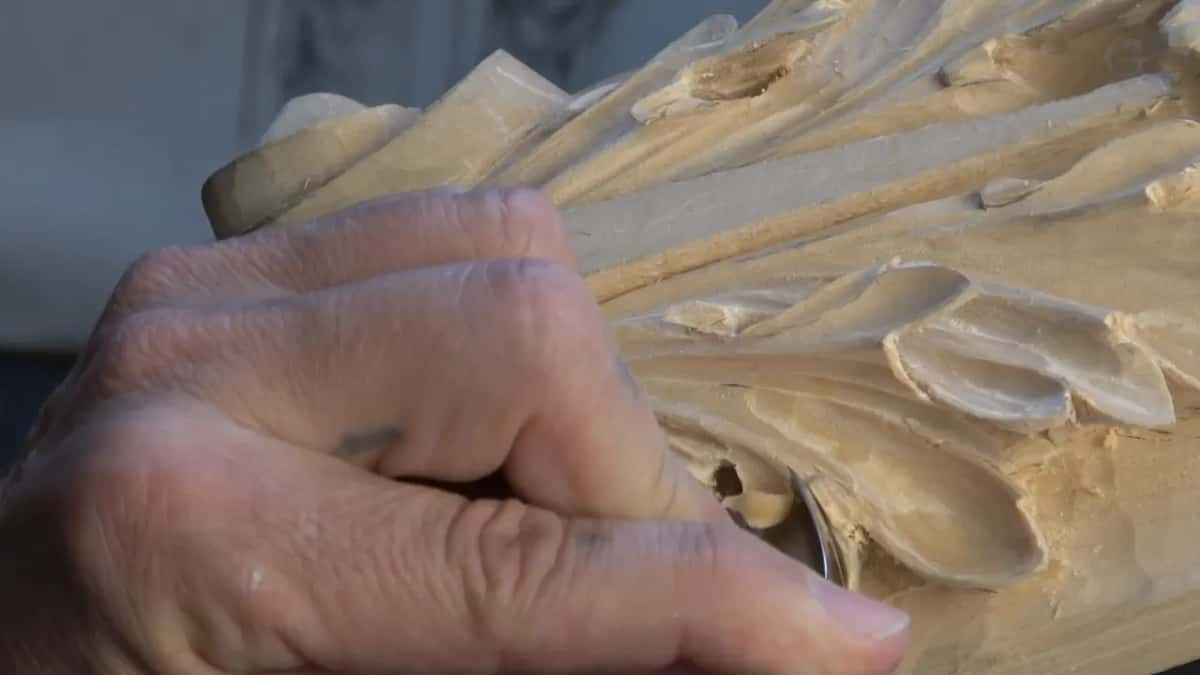
I wasn't sure the camera could see it. One side was clean and shiny because of the grain, and right at the separation line the other side was not shiny and not clean.

Where the two passes meet, I marry them. I call it marry two cuts, and it's like a marriage line.

There's a line I keep. I follow my design, the visible line, because I want to keep that ridge. And even with this tool, I still do slicing.

Slicing goes with the 11 in my other work too. My Grape Onlay got the same. I worked in small, small passes with a number 11 and still sliced, and I said it's really important to slice it.

What if the veiner runs onto the edge?
It happened to me here. I got too close to the edge, I got too excited, and it created an extra division line that I didn't want to see.

If it happened, like I said before, it happened on purpose.

So I made an extra notch, or I should say an extra subdivision, and repeated it on this side. I used a number 12 carving knife for that, because I messed up. I got too carried away, too much. Then I refined it carefully, and it looked absolutely fine.
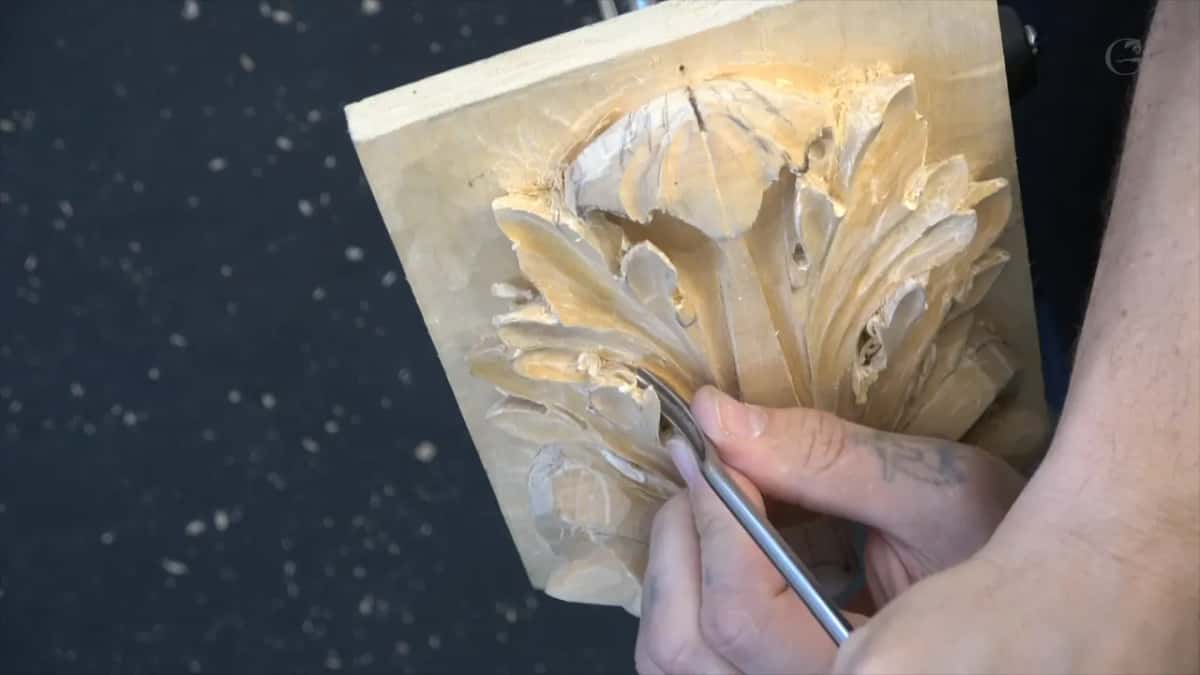
Next I said I had to make sure I wasn't making exactly the same mistake I made above. Lesson 11 is all about thin edges.
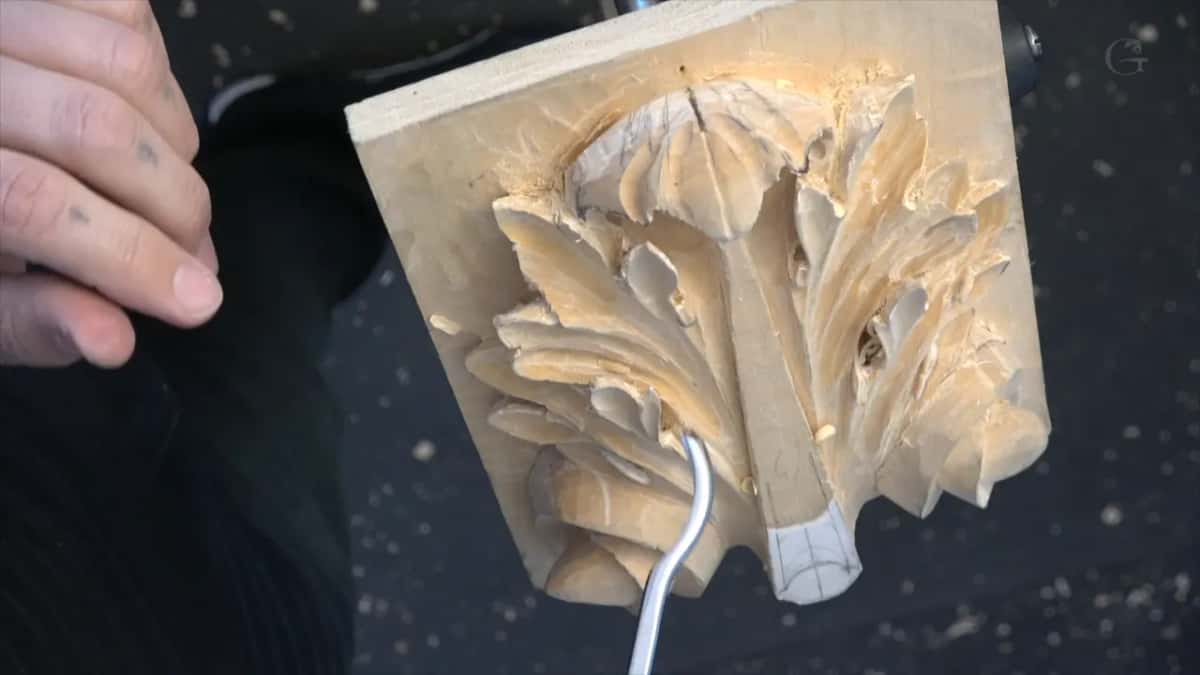
How small does the 11 go under a curl lip?
Down to half a millimeter on this leaf. I call these the curl lip or return lip, and I noticed one wasn't really good, so I took a 3 mm (1/8 in) number 6 to clean it and recreate that lip.
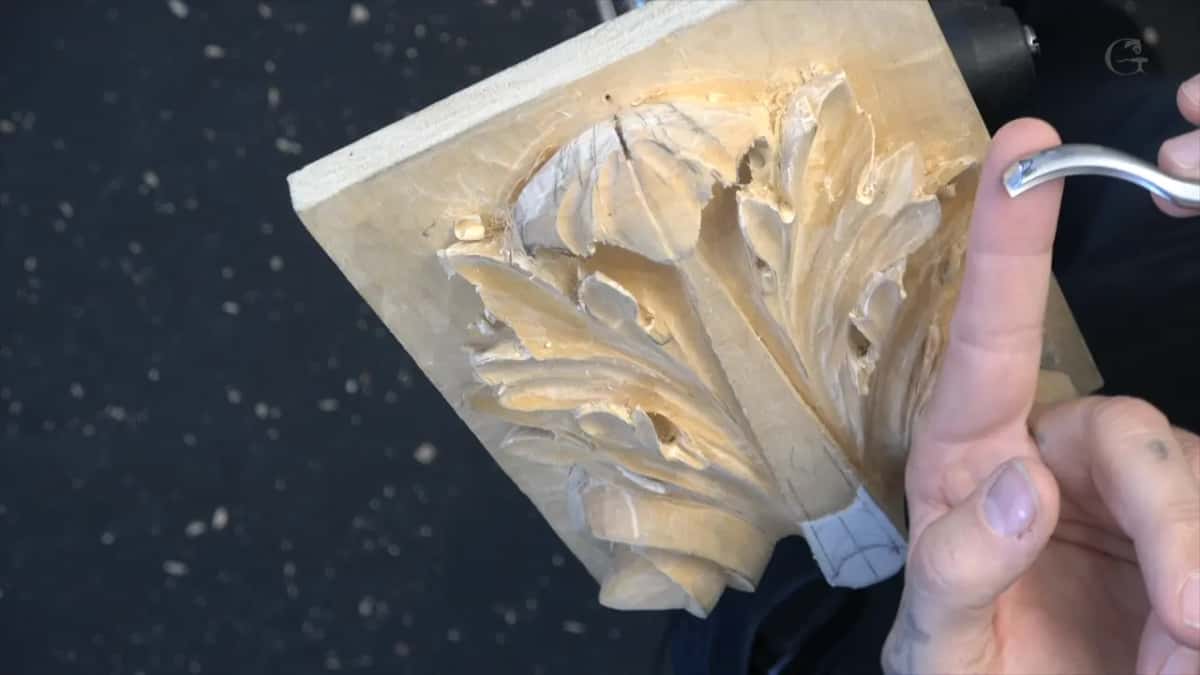
And if you don't feel comfortable with those really deep excavations around the lips, you really don't have to do them.
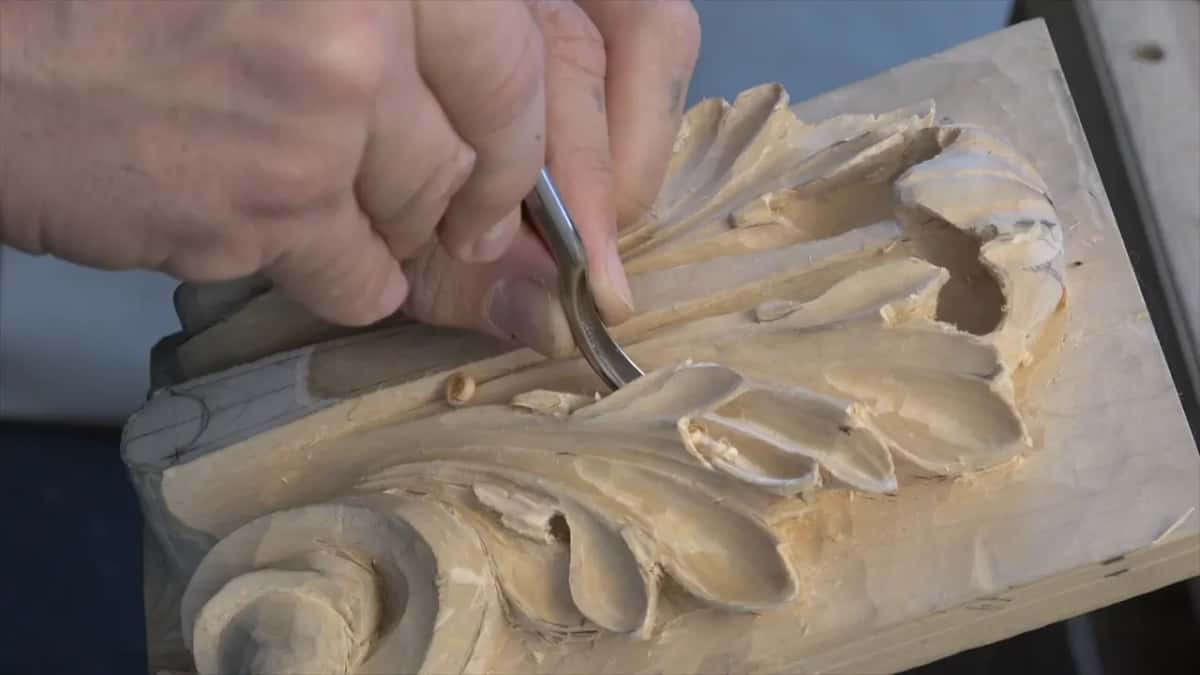
Then a 1 mm (about 1/32 in) 11 made an undercut on both sides. After that I followed with a half millimeter 11, but not as deep as I usually go, and it still gives a beautiful shadow. This step is not necessary.

The half millimeter tool is the one lesson 14 is about, and the return itself is in lesson 12.

Where else do I reach for a number 11?
Next to a background I still have to undercut. On a furniture panel I used the side of my tool, the left side, instead of poking straight down with a flatter tool, because I didn't want to damage the background I was going to undercut later. I said the 11 is always safer.
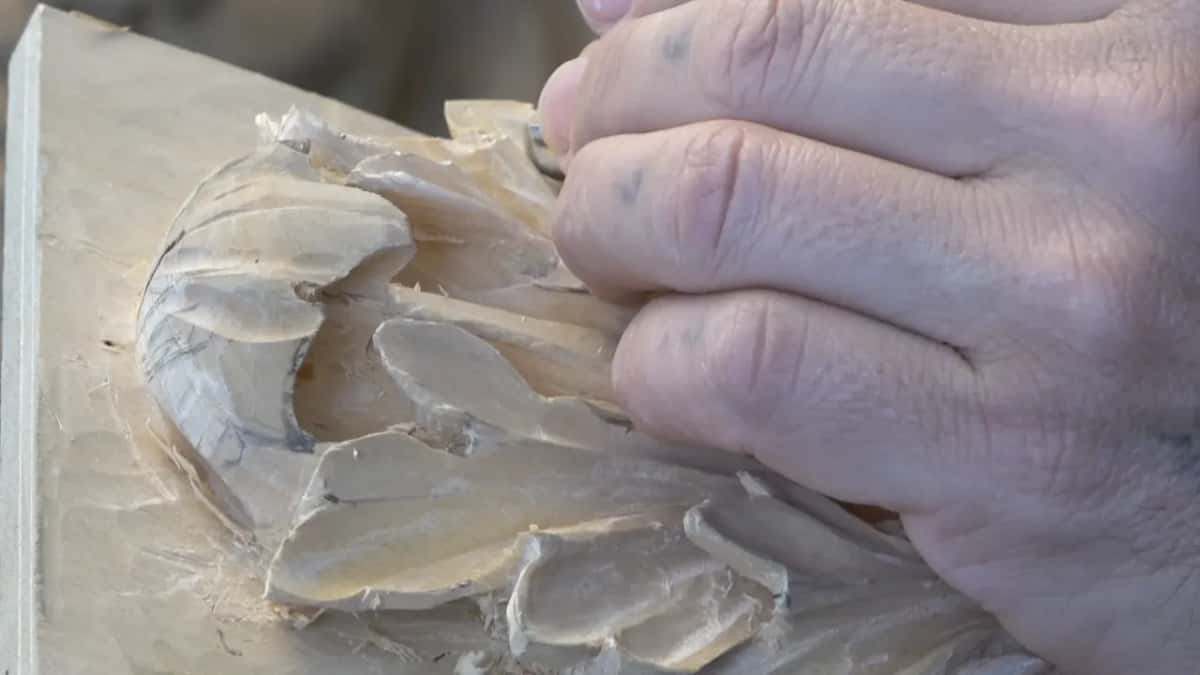
A three millimeter 11, one-eighth of an inch, made what I call a relieving cut on the Grape Onlay, a relief cut, to relieve some of the stress, and I came at it from different angles.

On Acanthus over Moldings I was starting an eye that tucks underneath a line. In my opinion the 11 is always better for that type of development, I said, and I attacked with the flute up, the flute being the middle part of the tool.
Why carve the hollows of a Roman acanthus so deep?
I gave my answer on camera, and I said I'm not sure if I'm right or wrong. If you look at the ancient Roman acanthuses, they're all exaggerated. They're all stylized, and some of them really extremely exaggerated.

So even though it's just a leaf, I'm trying to exaggerate the movements and separations.
Not every acanthus leaf we work on will have that much exaggeration. There are different styles of acanthus leaves, with different characteristics and different cultural input, and a Moroccan one, I said, is going to look absolutely different.

This lesson came after a long gap. I moved to another location, became a grandfather and worked on other projects, and then I came back to this leaf at the almost done stage, to refine it, clean it a little and add some more details.

Would you like to watch the shadow come up as the veiner leans over?
Lesson 15 sits inside the Roman acanthus course, and tuition opens it with the rest of the course. New to all this? Start here.
How it's done
- Get the edge really sharp. A shaving pass needs an absolutely sharp tool. When mine wasn't, I buffed it on the strop before going on.
- Lean the 11 on one side. I laid it on the left-hand side, so the U sat closer to one edge. That edge stays higher and casts the shadow into the hollow.
- Move toward the center as you go. The pass gets narrower, and I can keep it going all the way.
- Go over the same spot again. I did it multiple times and barely removed any material, careful on the escape so the edge wouldn't break.
- Attack it the other way. One side always comes out cleaner because of the grain. I came back the other way and married the two passes where they met.
- Change to a smaller 11 when it feels big. From the 10 mm I went to a 7 mm, then down to 5 mm farther along the leaf.
Frequently asked questions
How is a #11 different from a #9 gouge?
The 11 on my acanthus leaf worked about like a 9 in the center. Its U shape gave the sides a shallow sweep too, about a number 2, or a 3 if you're in England, so one tool carved the hollow and the opposite side.
Do I need a spoon bent veiner for this?
Not for the hollows on this leaf. I said in lesson 15 that a spoon isn't required, and that with the spoon it was a lot easier for me to attack that spot right then. Mine had a really short bend.
Why does one side of my groove come out rough?
Grain. Whatever the tool, gouge or veiner, one side always comes out clean and the other rough, so I attack it from each side and marry the two passes where they meet, along what I think of as a marriage line.
What to carve next