

Alexander Grabovetskiy, woodcarver, School of Woodcarving · Published 2025
What is a relief cut in wood carving?
Quick answer: A relief cut is a small first cut, made with a number 11 veiner of 3 mm (1/8 in), along the line where a separation will go. I take it to relieve some of the stress in the wood. With it in, the gouge that carves the separation has a much easier job.
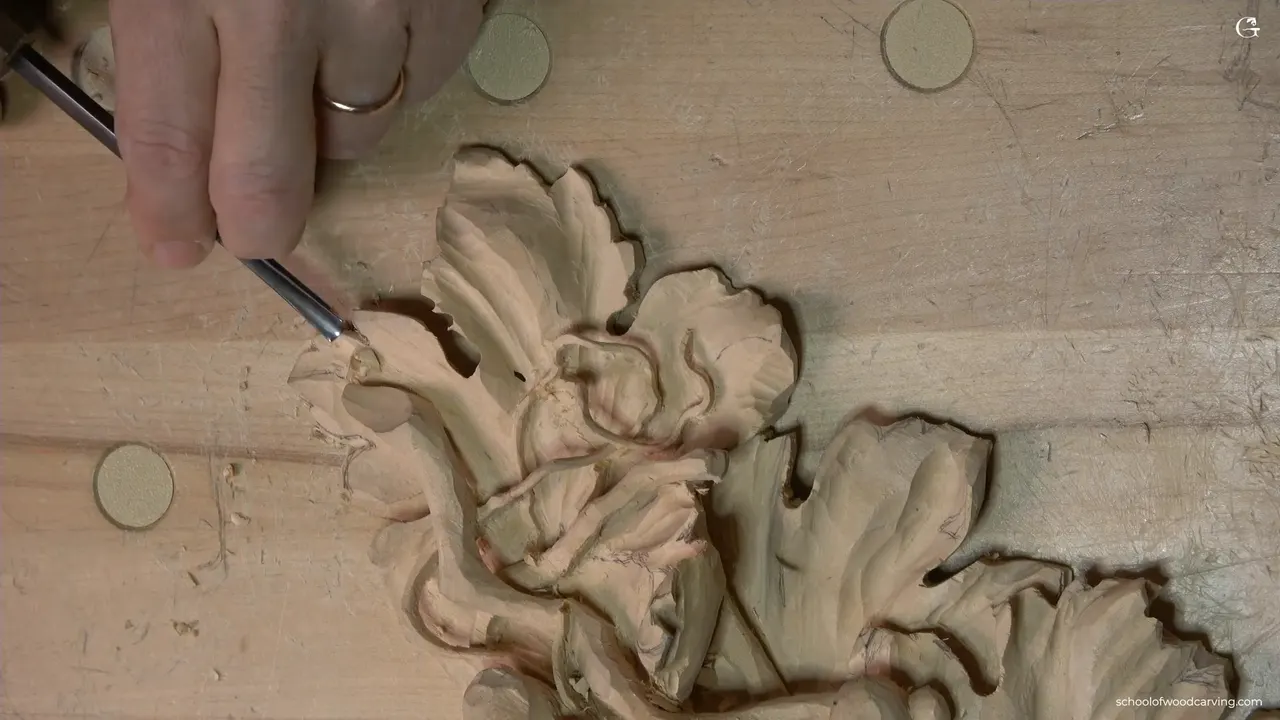
A relief cut is the small first cut I take with a number 11 veiner, 3 mm (1/8 in) wide, right where a separation is going to go. On the curl of this grape leaf it went in before the number 7 and the number 3 ever touched those lines. Later the number 3 carved the separation, then went in upside down for the undercut.
Do you want a thin leaf edge to stay on your carving? Would you rather take one small cut first than glue a broken piece back on and carve it all over again? Then learn where this cut goes before a gouge comes near that line.
You will see the tools I used in lesson 14, in my order, how thin that edge got, and what I said happens when you skip it.

Five short lines on the relief cut
- It goes in first, before the separation and the undercut.
- The tool is a number 11.
- I take small passes with it, and I still slice.
- Skip it and try a flatter gouge, and a lot of times you will break the edges.
- Where the edge got thin, a 2 mm veiner went deeper.
What does a relief cut do?
It takes some stress out of the wood, and that is where the name comes from. In the second video of lesson 14 I put it this way. I call this cut a relieving cut, a relief cut, because we need to relieve some of the stress. I laughed about it in the next video, because I don't know a better name for it.
The word can mix you up a little. Relief is also the name for a whole kind of sculpture, where the carved shapes stay attached to a solid back. Mine is one small cut, not a kind of carving.
The same thing came up in lesson 4 of my acanthus course, on a leaf in the Byzantine style, about the little triangles between the divisions of the acanthus. Every one of those triangles becomes like three pieces inside, and it is really important to relieve it. Some people take a gouge and just start in, and just because of the grain they break the points. So the relief cut there is really, really important.
I know some of you probably doubt that, and I said so in workshop 50 of the Venice Room, right after I showed two more separations. That's how I call it, relieving cut, even if it sounds funny for some of you. I don't really care if it sounds funny. It's just the right thing to do.
Lesson 3 of this course shows the same idea on the outline of a leaf, with a shallow relieving channel taken before the outline went in.

Which tool makes a relief cut?
On this curl I used a number 11 at 3 mm, an eighth of an inch. For those of you who don't know what a number 11 is, it's like a letter U, a veiner. Later, on the thinnest part of the leaf edge, I went to a 2 mm one, the same kind of veiner, because I wanted to go deeper.
In smaller areas, obviously, I have to use a smaller tool. Those are my words from Maine class 4 of my Grinling Gibbons course, where the relieving cut went straight down, like 90 degrees, with a 10 mm number 9 (3/8 in). The tight separations there got a number 11 at 3 mm, the same size as here.
Here are five of the tools from lesson 14, in the order I first picked them up.
| Tool | What it did on this leaf | Video |
|---|---|---|
| Number 9, 10 mm (3/8 in) | Took the curl back, slice by slice, and left some wood for the curl upward | First video |
| Ashley Iles number 3, 12 to 13 mm (1/2 in) | Upside down, to get rid of the ridge and roll the curl | First video |
| Small number 11, an eighth of an inch | The relief cuts from several angles, then a start on undercutting | Second video |
| Antique number 3, 1/4 in (6 mm) | The separation, then upside down for a concave underneath | Second video |
| A 2 mm number 11 | Upside down again, in little chunks, where the edge was thin | Third video |
Why carve a curl from the side first?
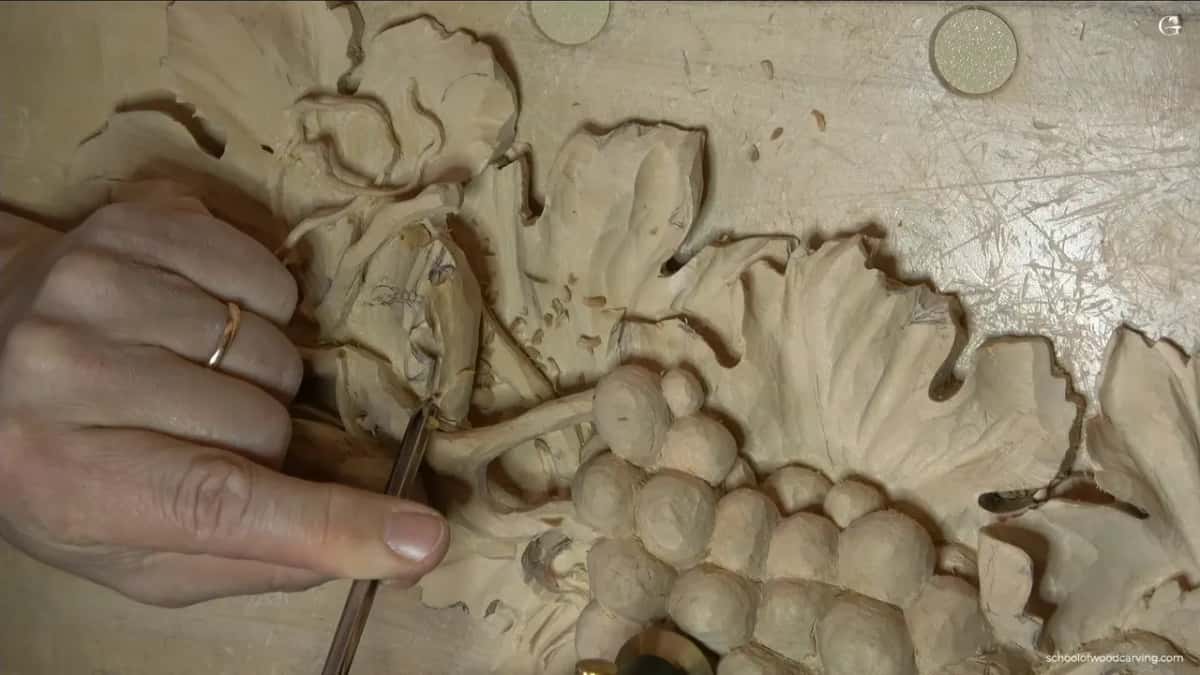
Digging a curl only from the inside is one of the mistakes I see very often. The curl here came up, but I hadn't excavated underneath it yet, and I wanted it to curl in and then out.
People make the excavation just from the inside, and that creates a spoon effect, which does not look natural. For more on spooning, see lesson 9.
For that, any gouge like a number 8 or a number 9 will work. I grabbed a number 9 at three-eighths of an inch, 10 mm, and it doesn't matter what brand you use. The excavation right underneath was already done, so that part was fragile. Too much pressure and it ends up too thin, and you can break it. Make sure you slice.
If the tool gives you too much resistance, change it. Use a smaller one and remove smaller chunks. Pushing creates too much stress, and I just have to feel the tool itself.

Slice by slice I took out about half an inch (13 mm) from the upper point downhill. That slope wasn't parallel to my workbench, either. It went slightly downhill, and the other side had to follow it.
The curl outward on the other side is not something I have to do, and it's already going to look really nice without it. But I think it gives some extra movement, some extra detail. Little by little, and don't overdo it. Slicing is the key.

A flatter tool came out next, an Ashley Iles number 3, which is actually equal to a number 2, about half an inch, 12 or 13 mm or so. I used it upside down to make a roundness and get rid of the ridge. I had to be careful how I attacked, because the more passes you take, the more fragile it becomes.
It looked like I needed to strop it slightly. Some areas I had to work against the grain, and if the tool is sharp, that shouldn't be a problem. I shouldn't say if, because it's sharp. It is really sharp.
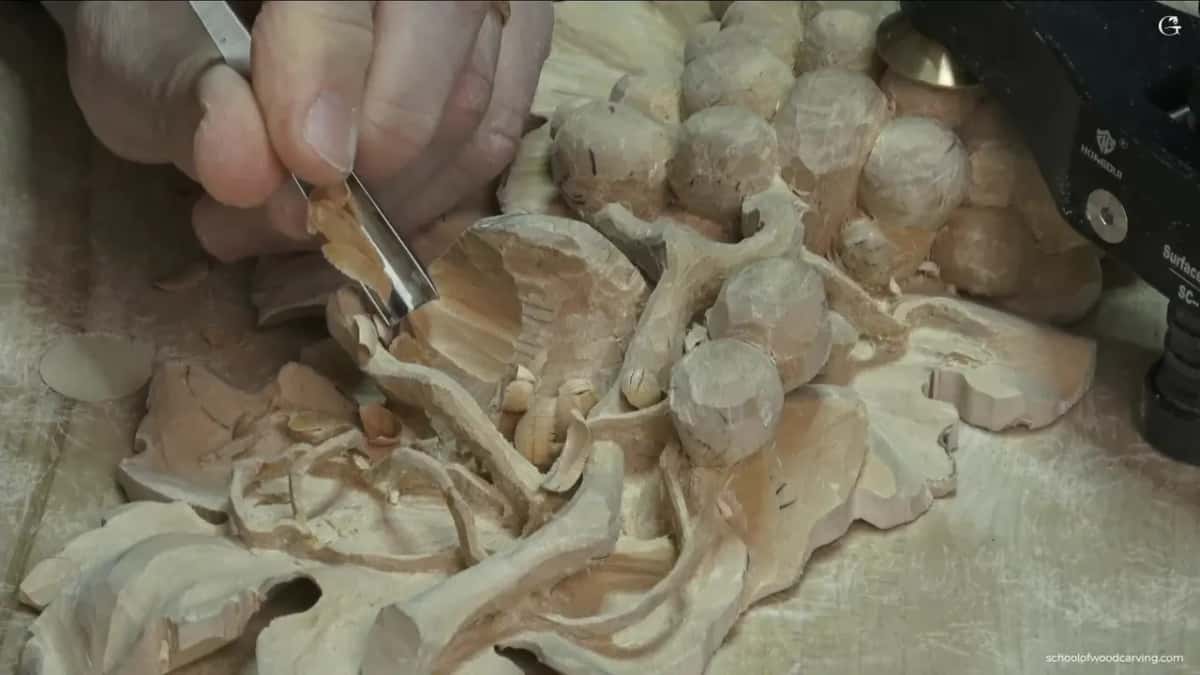
After that I looked from different points of view to see if anything needed a fix. My curvature wasn't that nice, and I fixed it, so it reads like a letter S. The subdivisions, all those notches, are also important to bring onto this leaf, and lesson 8 shows how I subdivide a grape leaf.
Where does the relief cut go on a grape leaf?
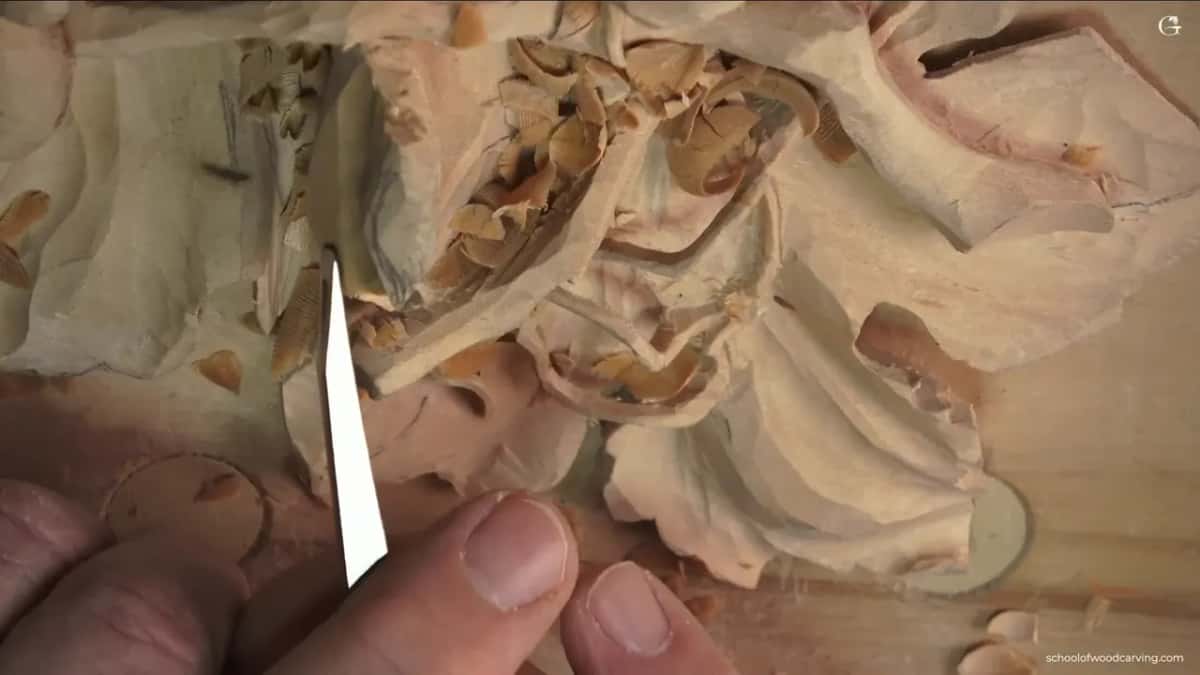
Along each separation, and I find those first from the logic of the curl. The stem goes from inside somewhere, and that is the central motion. The separations come from the golden spot. I use the golden ratio again, the 60-40 rule, to move that central motion, and from any point of view it still looks good. If that rule is new to you, I said back in lesson 1 to watch the design course.
Then I draw. On this leaf I'm going to have three main separations, and the pencil marks show where each one goes. Only after that does the smaller tool come out. Relief cuts first, and the finalized look comes later.
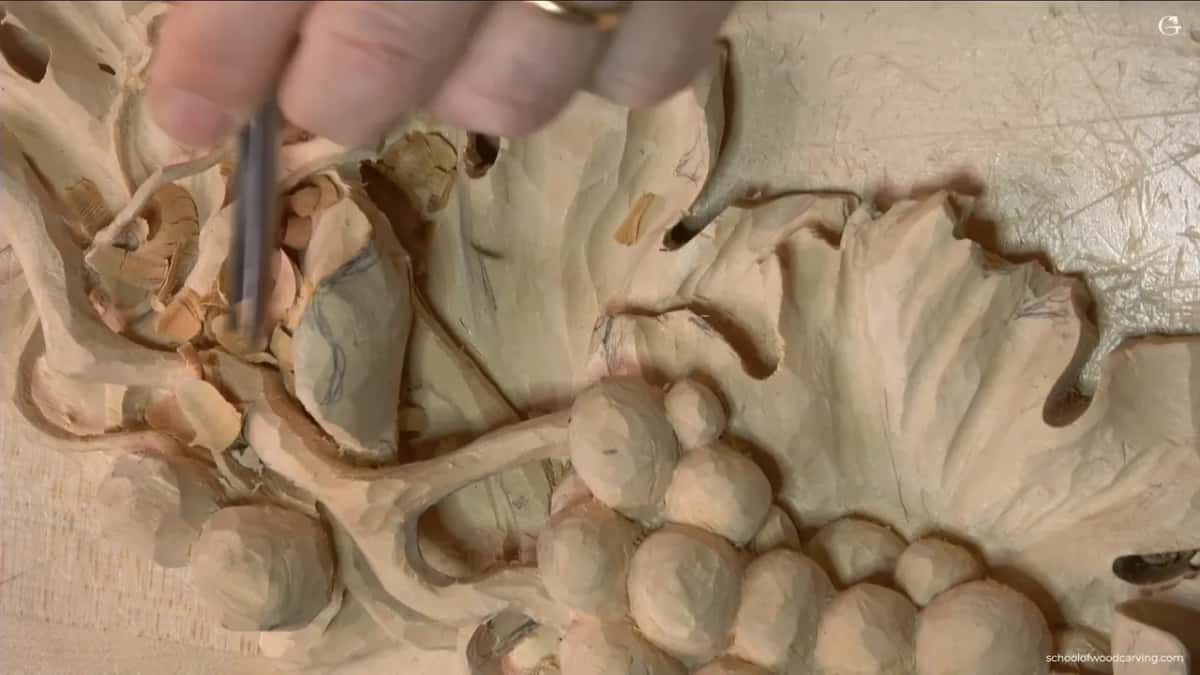
I go multi-direction, at different angles, because in the end I need to excavate right underneath this curl, even more than before. A little undercutting can start there too, but don't get too excited about it. I'm after really good shadow.
But even with the number 11 it's small, small passes, and I still slice. That part is really important. From the other side I took a relief cut as well, with a Piggly Wiggly cut, rocking the tool back and forth. That relief cut then gets blended from both sides.
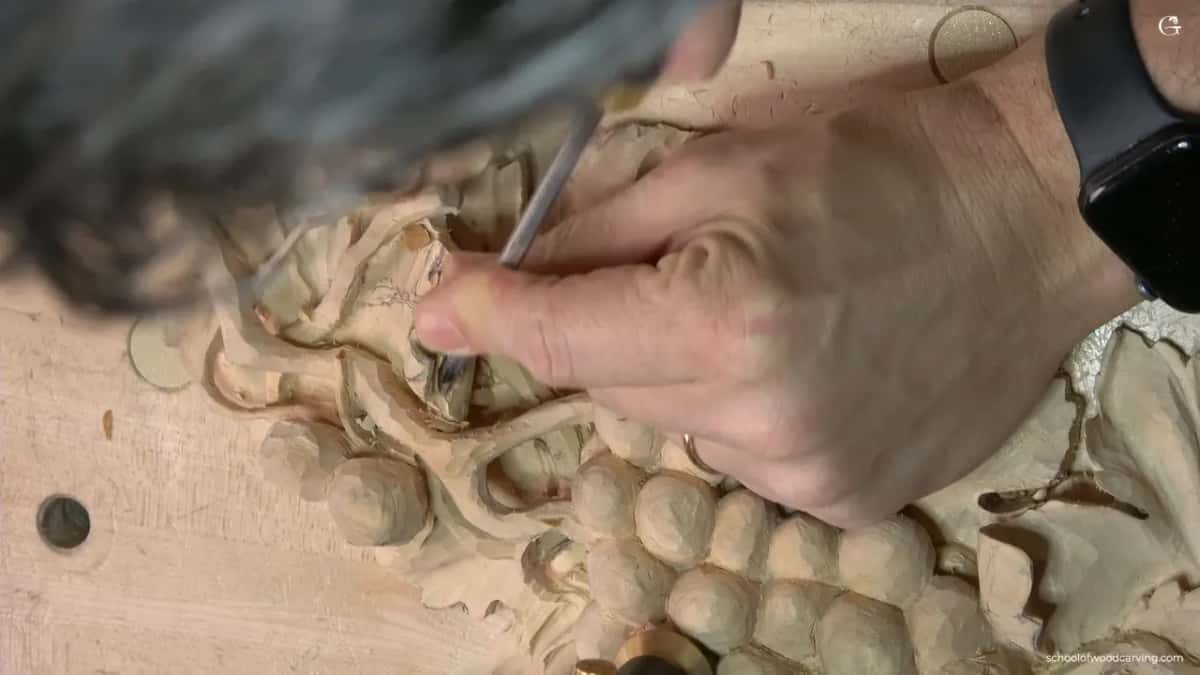
If you took my class in person, you know this about me already, and I said it plainly in the first video. It just bugs me when people push the whole thing in, without that rotation motion and without the slicing.
What comes after the relief cut?
A shallow concave comes next. With the pencil mark there you can see the curvature, but without any carving there you don't really see that movement. I took a number 7, a small one, about 3/16 of an inch (about 5 mm), and made a preliminary concave cut.
It doesn't have to be too deep. Without that concave cut you're not going to catch the motion, and I need it there to catch that shadow. Back went the number 11 for one more relief cut there.

Then the separation itself. In this case I thought it was strong enough for a number 3, and I used one about a quarter inch, about 6 mm, an antique and a really good one, an American brand. Just because that preliminary cut was there, it was a lot easier for me to make the separation with it. I call it a separation, or a subdivision.
Pushing is not what I do here. It may not show on the camera, but I am slicing. Attack from multiple points of view, and don't force it to chip out. You may have a tendency to just hook a piece and remove it, and so do I. It is better to go little by little, especially with crazy grain, and the grain here runs all over.
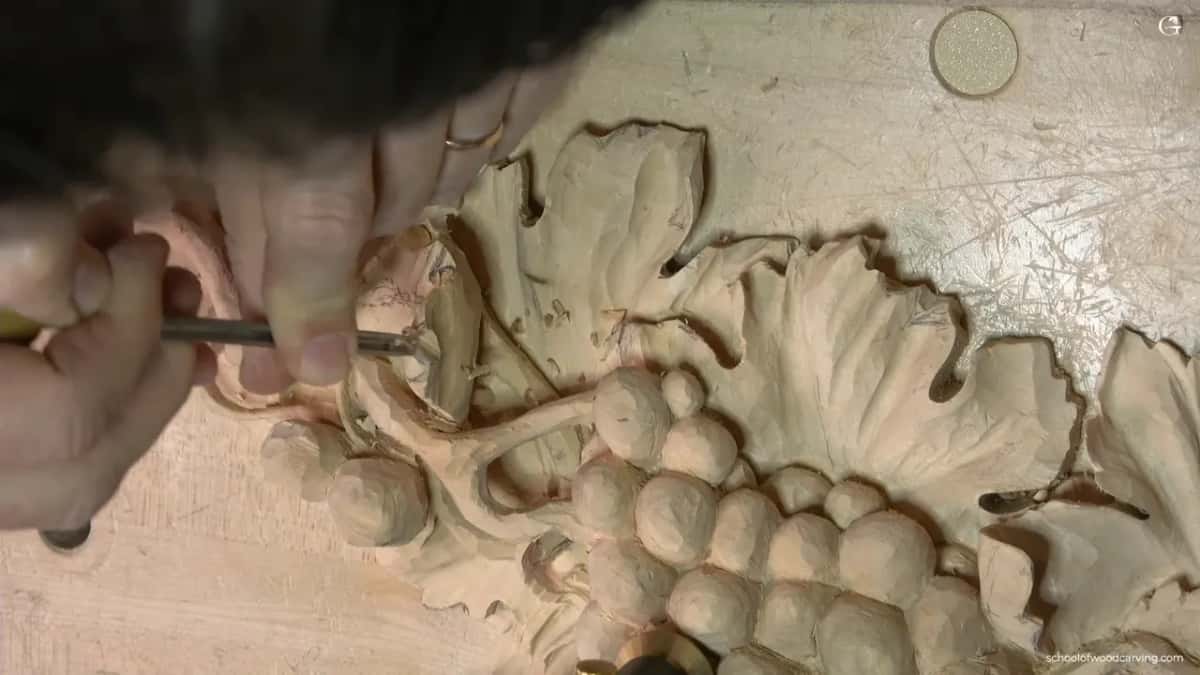
How do you undercut after a relief cut?
With the same tool, upside down. I keep checking it from different sides while I do it.
Too much roundness underneath is not how it's supposed to look. Matter of fact, quite the opposite. I want a concave on the inside, and that way it casts a much better shadow. I slow the movement down and do the same thing right beside it, because I really need to see that shadow there.
A push there would be a big mistake, and the tool stays upside down, my flute at six o'clock. Now I do see that shadow.
Undercutting a thick carving from the back is a different job with its own reason, and that one is in lesson 12.

How thin can a carved leaf edge get?
On the curl I aimed for about one-eighth of an inch, about 3 mm, and I didn't want to go less. It's kind of fragile there, because the grain runs this direction, and I want to make sure it doesn't break later. It doesn't have to be one millimeter thin.
The leaf edge near the end of the lesson was another spot. From the side I had probably about 2 mm (5/64 in) left there, no more than that. Even with two millimeters you can still put some motion right at the edge, and my 3 mm veiner went to it upside down, flute at about six o'clock. In some spots it got thinner than two millimeters.

To go deeper there I took the smaller veiner, still upside down, in little, little chunks. Be careful. You could put some kind of support right underneath if it doesn't feel safe. Sometimes I hold it by hand, with a finger under it. If it's a little too thin, you can break it, and it's wise to put a wedge right underneath. That time I didn't worry about it.

What happens if you skip the relief cut?
A lot of times you'll just break the edges, and that is what I told you in the last video of lesson 14. If you're brave and you don't like to do those relief cuts, try it with a flatter gouge, going inward, and you'll see what I mean. Try it if you don't believe me.
If you are just starting, I'd suggest my beginner's course, as I said in that same Venice Room workshop.

Why not spoon out a concave?
I get a better shadow when I go from the edge first, to lower the whole edge down. Near the end of lesson 14 a number 7, a quarter inch (6 mm) I think, made a concave toward the central line. The grain made me change to two different angles of attack.
When you raise the tool and excavate, I don't like the effect. It creates like a spooning effect, and it doesn't look natural, in my opinion, of course. You could do whatever you feel like, but I don't think it's a good idea. It's better for me to excavate and exit downhill, toward the background, or in this case my bench. That gives me much better shadow. But again, that's just my opinion.
Next I had to come in from the vine itself. I can't carve inward there any more, because it's along the grain. I took a spoon, a small number 3, a little bigger than one-eighth of an inch (a bit over 3 mm), went in from right underneath, and blended it into what I had carved before.
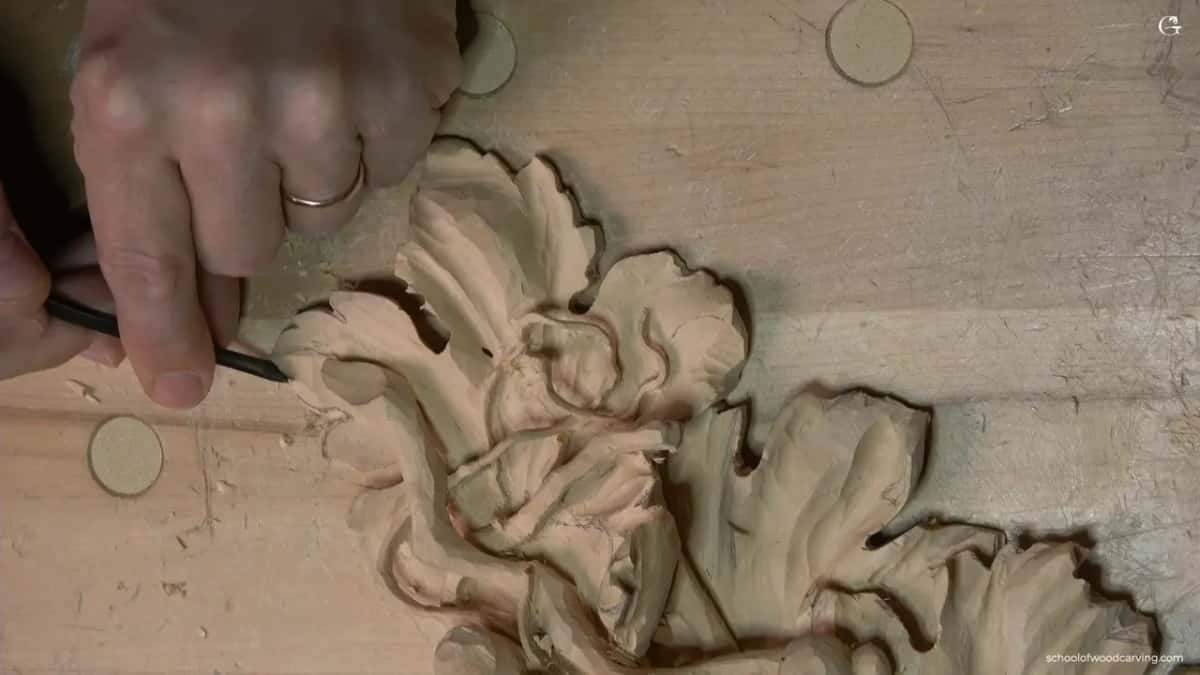
When is a grape leaf like this finished?
Never, really. There's absolutely no end to what you could do, and you can develop as much detail as you wish. Like I said multiple times in this lesson, you can just abandon it.
I could work a little more on this leaf, and there's a lot of cleaning to be done. Bit by bit it takes shape. A carving like this could go on a mantel, on a kitchen hood, or even above the door, if you have that classical look. The overall shape, I love it, and again, that's just my opinion.
One more thing about those thin parts. Be careful not to damage what you already carved, because all of those parts are fragile. I already broke some of them just by misplacing it, when I set it somewhere away while I was working on something else.
Oh, by the way, I got a new thing for my bench. It's a powerful blower, and it's rechargeable. I've used it for the last couple of months. Before, I used a hair blower. Now it sits right on my bench, and I can just grab it. I kind of like it.
Do you want to watch these relief cuts go into the curl, one slice at a time? Then come carve the whole grape onlay with me in the full lessons, starting from the lesson before this one if you like.
How it's done
- Draw the separations. I find the golden spot, use the 60-40 rule for the central motion, and pencil in three main separations on the leaf.
- Take the relief cuts. The small veiner takes the relief cut along each one, from different angles.
- Keep the passes small. That small tool still slices in small passes, and then I blend the cut from both sides.
- Catch the motion. A small number 7, about 3/16 in (5 mm), makes a shallow preliminary concave, not too deep, so the motion and the shadow show.
- Carve the separation. My antique number 3, 6 mm (1/4 in), carves the separation, which goes a lot easier with that first cut in. I slice from several sides and don't force it to chip out.
- Undercut upside down. I turn the same number 3 over, flute to six o'clock, and make a concave underneath, not a roundness, until I see the shadow.
Frequently asked questions
Is a relief cut the same as relief carving?
Two different things share the word. Relief carving is a whole kind of work, where the shapes stay attached to a background. The relief cut I mean is a single small cut, taken first by the U-shaped number 11, made to ease the stress before the separation goes in.
What size veiner do I need for a relief cut?
My relief cuts on this grape leaf went in with the small number 11, three millimeters wide. Later I dropped to 2 mm, for depth. In the bigger spaces on my Gibbons panel in Maine, the relieving cut went straight down from a number 9 at 10 mm, three-eighths of an inch.
Should a relief cut be pushed or sliced?
I slice. A tool as small as the number 11 still takes small, small passes from me, and at times I rock it back and forth, the Piggly Wiggly cut. Pushing creates too much stress, and too much pressure is how a part only a few millimeters thick ends up broken.
What to carve next