

Alexander Grabovetskiy, woodcarver, School of Woodcarving · Published 2021
Should a carved acanthus leaf be sanded smooth?
Quick answer: Sanding a Byzantine acanthus is a step I leave out. In lesson 4 I call sandpaper offensive and make the leaf smooth with the tools instead, slicing with a rotation movement until most of the facets are gone. Later in the course I said that if you like to use sandpaper, I'm absolutely okay with that.
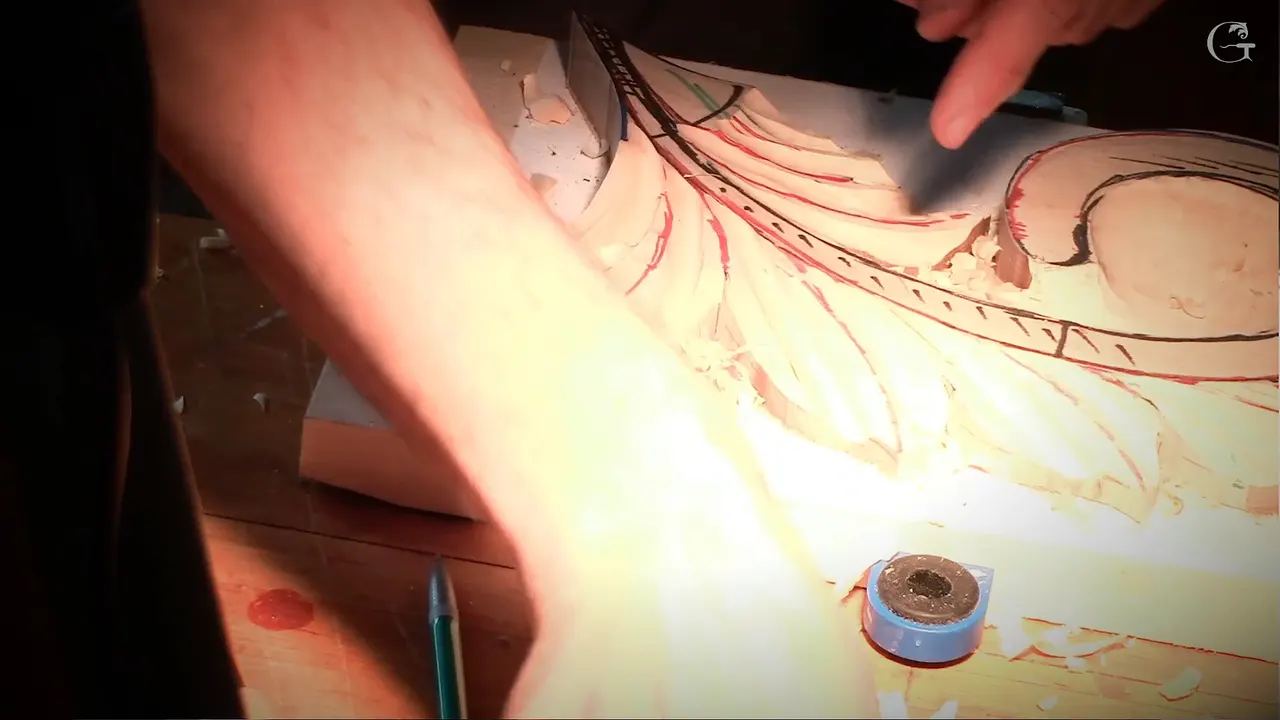
Smoothing a carved acanthus leaf without sandpaper is what this lesson does, with the carving tools alone. I said it to the class while I worked on the Byzantine panel. Make sure it looks really smooth and nice. We're not going to use sandpaper. It's offensive.
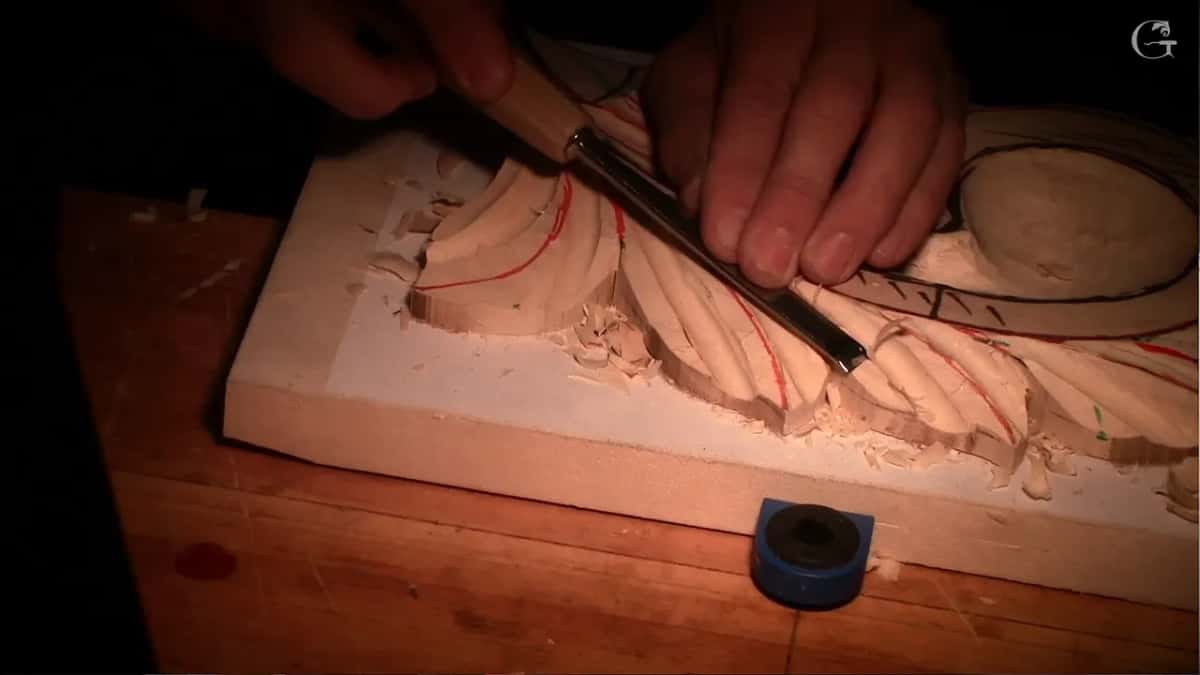
I'm going to be honest with you. That word is strong, and it belongs to this panel. In lesson 10 I said a lot of people ask how to leave the surface smoother, and that if you like to use a sandpaper, I'm absolutely okay with that. I still love a finish right out of the chisel.
You look at your leaf and see little flat facets all over it. You want them gone, and the shape kept. Here I take most of them off with steel, and I'll show how I hold the tool, which movement does the job, and what comes after it.
What I do instead of sanding on this panel
- I turn the tool over and slice.
- A rotation movement takes the facets out, and it's almost like a sandpaper.
- Some facets can stay.
- I keep switching between the tool for concave and the one for convex, and the pipe stays raised up high.
- A number 7, turned over, takes off the extra edges.
- Damage from digging deeper is fine, because I'm after a really good shadow effect.
Why no sandpaper on this Byzantine acanthus?
On this panel I gave no long reason, only the word offensive. What I gave instead, again and again, was what I'm looking for on the leaf. We have to make it a smooth transition. No sharp facets. And right here it's really critical and important, so just blend it really nicely.

Here is what I am after. If you even need to dig a little deeper and create that damage, I said, it's absolutely okay, because we are after a really good shadow effect. And in Byzantine style acanthus, the pipes are really important.
Back in lesson 5, I told the class a Byzantine acanthus leaf was never left as bare wood. It was always gold leaf. Before Italian gesso, they used just the red clay, and they burnished the clay itself, which is like taking all the facets out, so it looks almost sanded. Of course, they did not sand, I said. Sometimes they used pumice stone, just to make it a nice surface.

Is there a place for sanding at all?
Sometimes there is, and you should hear that from me too. In my Q and A video about sandpaper I said that if it's a gold leaf, as much as I love a finish straight off the chisel, I'm still using some sanding. The grits I use on the grape onlay are in its final assessment.
Talking about the floral panel, I said I'm not the biggest fan of the sanding process itself. I really like to leave all my work with the facets. But I know a lot of furniture makers really like to make it smooth, which is absolutely fine. A scraper is another road, and the scrapers lesson in the tools course covers it. On this leaf, though, the gouge does all of the smoothing.

How does a gouge take the place of sandpaper?
With a movement. I showed it slow for the class. If I exaggerate it, I said, I do a movement like this to blend it, just like a rotation. The tool slices, and my whole movement turns with it. Then I do it little by little, but much quicker, and I'm taking out those facets.
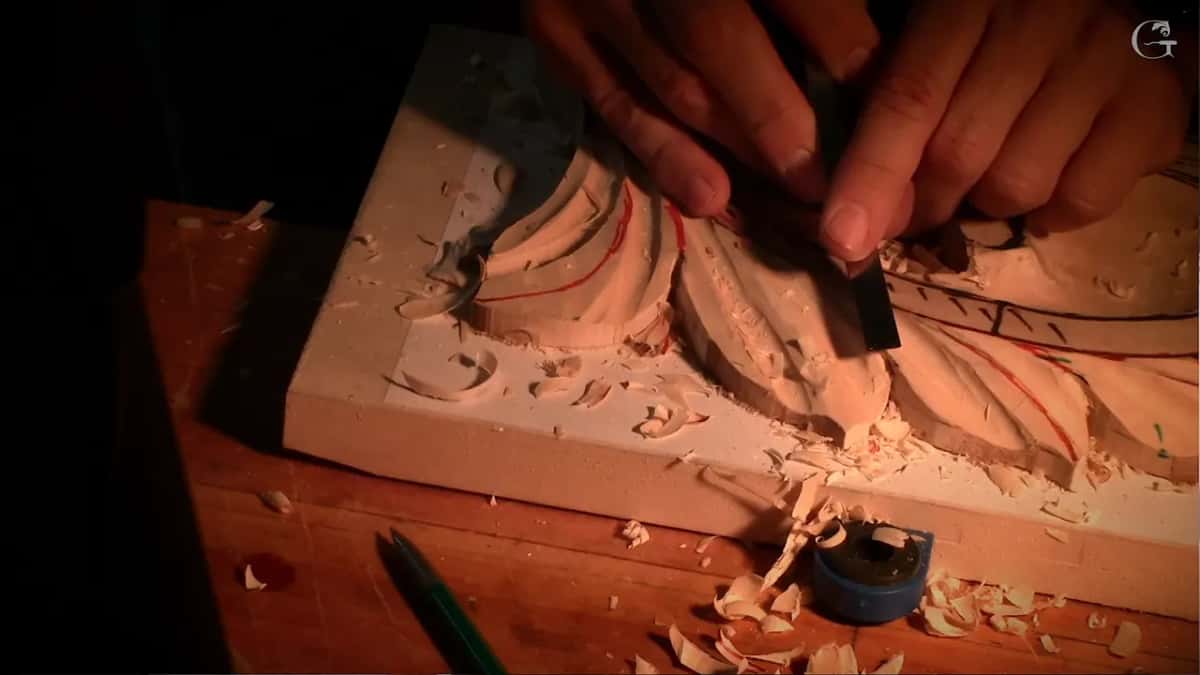
Someone asked if I was fighting the grain. Yeah, I said, it's almost like a sandpaper. Then a student asked if I was basically going against the grain a little bit, and I was. I am actually doing it right now, I said, but the surface I'm getting is just absolutely gorgeous.

I can do some spots even upside down. Then someone said you could just turn the piece around and go with the grain, and I said yes. But again, we don't want to see those sharp edges.
On the grape onlay, lesson 12, I showed a move close to this one in slow motion. My tool goes upside down, I make a circular motion, and with micro movements I'm barely removing any material. By that technique, I said, you can make it look like it's completely sanded. I also said it takes a long time, at least for me. Maybe I'm doing it wrong.
Where on the leaf does the tool go upside down?
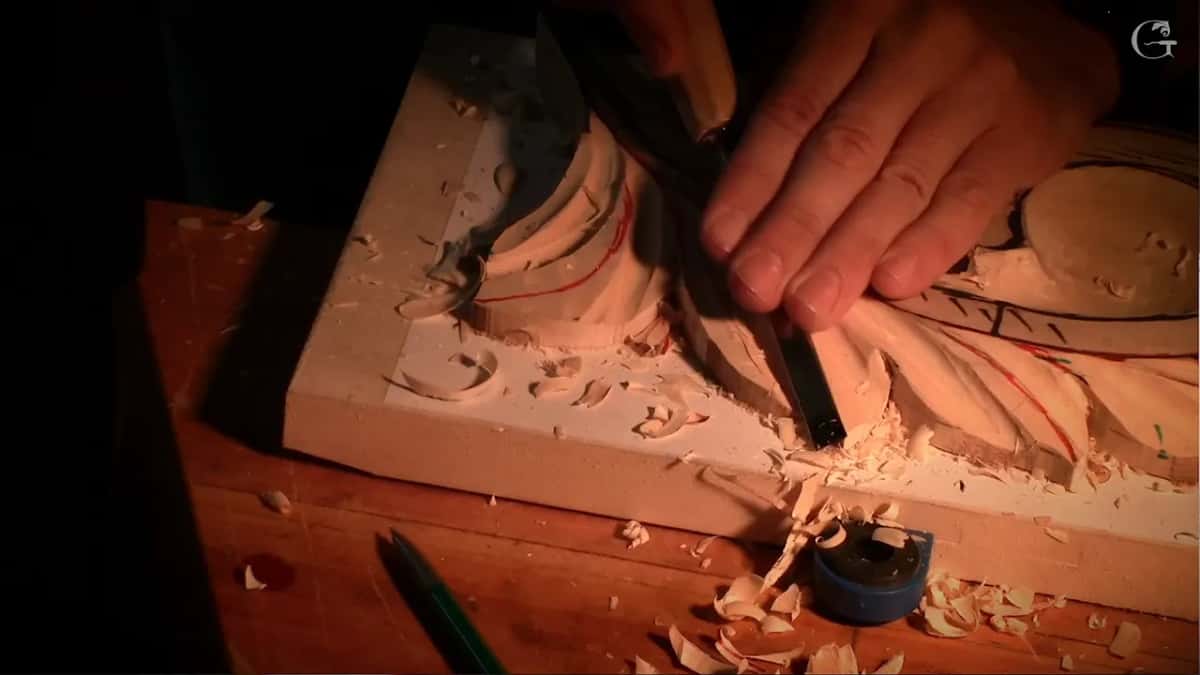
On the pipe first. Now I'm going to create my pipe, I said, and really important, wonderful people, don't create a tiny, teeny part right here. It has to be wide, otherwise it's going to look weird. Then we take the tool upside down and start shaving it, just like that.
What I'm after is that ridge, and that ridge has to be high too. We dig, even a little deeper on the left side of the tool if we need to. But I really want to see that pipe. To clean the waste I grab the same tool we used before, without pressing. See? And that's a clean cut.
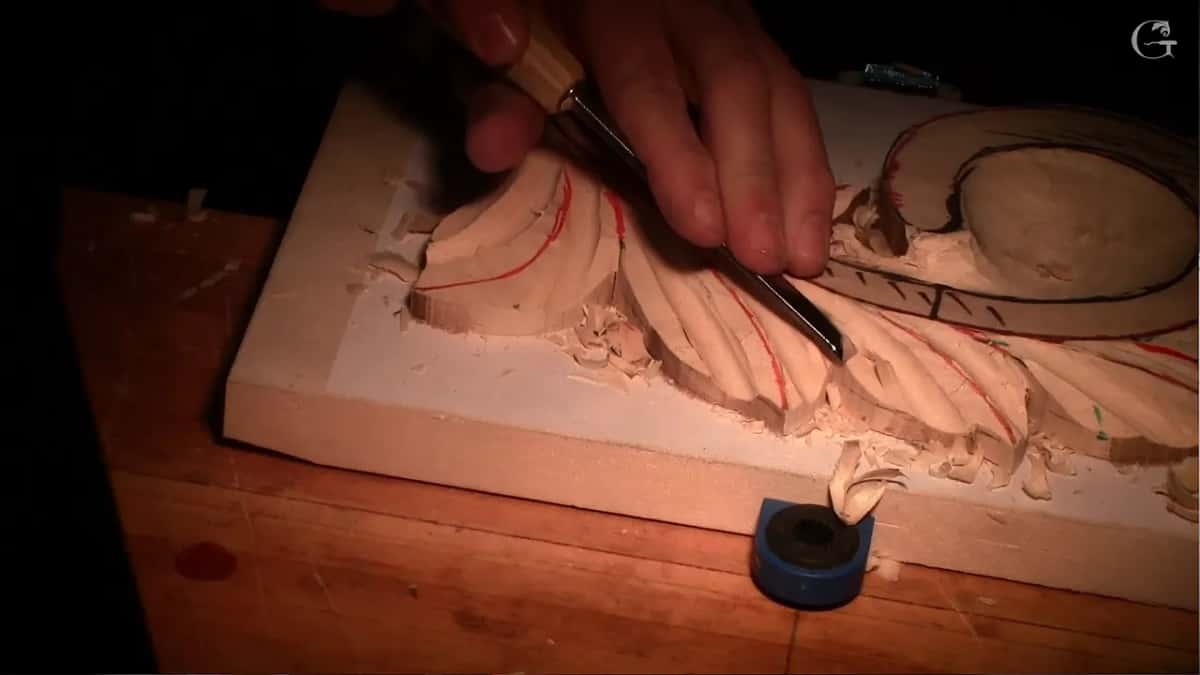
Then the middle of each leaf gets exactly the same effect. Turn it over, position that tool the way it's not fighting you, slice, and blend until you create convex. In the middle of each leaf, we're going to have convex.
To check it, I said let me turn off, and you can probably see it with the shadows. It's actually true convex, and I asked the class, do you see it or no? Some of you, I said, and someone in the room said some of us.

How smooth does it have to be before I stop?
Most of the facets, not all of them. Try the best to eliminate all the facets, I said, not all of it, but most of them, okay? And if you can't eliminate some facets, it's okay. Just because of the limitation of the straight tool, it digs in, and that's no bueno for me, so for me it's better to use the normal position.
For the pipe, yes, you can take it to the perfection. With the number 9 I clean that cut while I'm still making the rotation movement, and I try to get my cut as long as possible.

Watch the overall shape while you do it. At one spot I had a little too straight of a line, so I needed to move my concave a little to the left and make that movement more flowing. It's just a matter of refining it. So no straight lines.
Keep some wood under you, too. In my case I had about five millimeters left, maybe four (3/16 or 5/32 in), and that is why I keep saying 10 millimeters, three-eighths of an inch. We do a 3D shape.
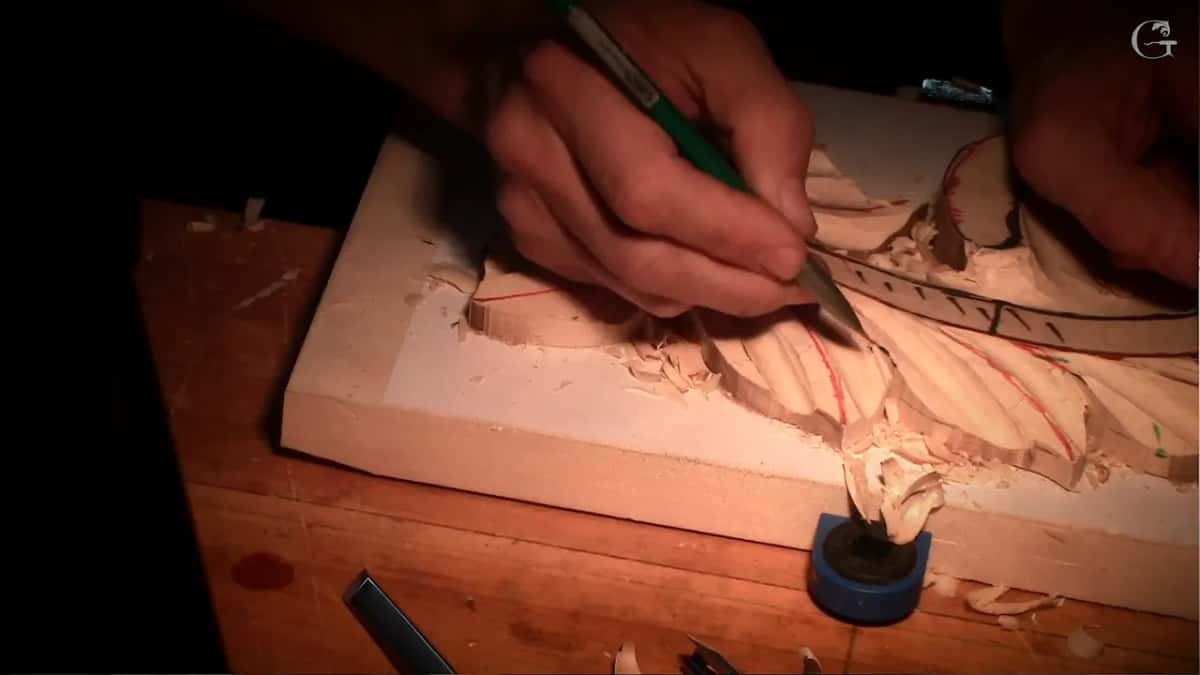
Which tools do the blending in this lesson?
I switch between two of them, the tool I use to carve concave and the tool I use to carve convex. The pipe you can do with the knife, or with the number 2, exactly the same idea. You just hold it on an angle. You don't push it, remember. A skew works also, if you do have one, so just try to attack from different points.

| Tool | Job | Hold |
|---|---|---|
| A number 2 | Blends the pipe, exactly like the knife does | On an angle |
| Knife or skew | Does the same blending from different points | Your choice |
| 3 mm (1/8 in) number 11 | Cleans by the black line, then stabs every triangle | Straight down |
| The number 9 | Cleans the cut with that rotation movement, as long as possible | Still rotating |
| Number 7, 14 mm (9/16 in) | Gets rid of extra edges and makes the S curvature | Upside down, in spots |
| A 10 or 12 mm (3/8 or 1/2 in) number 2 | Takes out the triangles a bit at a time after the relief cuts | Not all at once |
| A V tool | Fine for the first cut, if you have one | Go ahead |
| Bigger tool, mallet | Relieves a big spot even more | Big tools only |
If I need to clean with a smaller tool, I grab the 3 millimeter number 11, about an eighth of an inch, and start again by the black line. But don't be too crazy about it. Oh, I need to sharpen it, I said. Mine is dull.

What happens when the wood fights back?
I stop, and I change the position or the tool. If it fights you, get the tool in the right position and try to blend it nicely. When it starts fighting, like in my case, I would just stop it, turn my tool upside down, then finish it with either the same tool or a different one.

The wood fought me in another way, too. My tool hit some stuff abrasive inside of the wood, and then hit it again. Somebody guessed there was a nail under it. No, there's no nail, I said, but I have no idea what that is. Later it looked like a piece of metal inside, I said, just a shiny something, and I don't know how it's even possible to get that inside of the wood. It's the first time.

When I came back to it in lesson 10, I said to check what direction it doesn't fight back, and attack either left to right or right to left. A little later I caught the grain anyway, doing the same rotation. See, I just caught the grain, I said. No bueno. So I attack from different sides. I'm trying to ride on top of the fibers.
When do the separations come in?
Late in this lesson, after the blending. Each leaf gets divided in three, and each of those gets divided in three again. You take a spot and calculate approximately what's logically the spot for the separation. It should be easy.
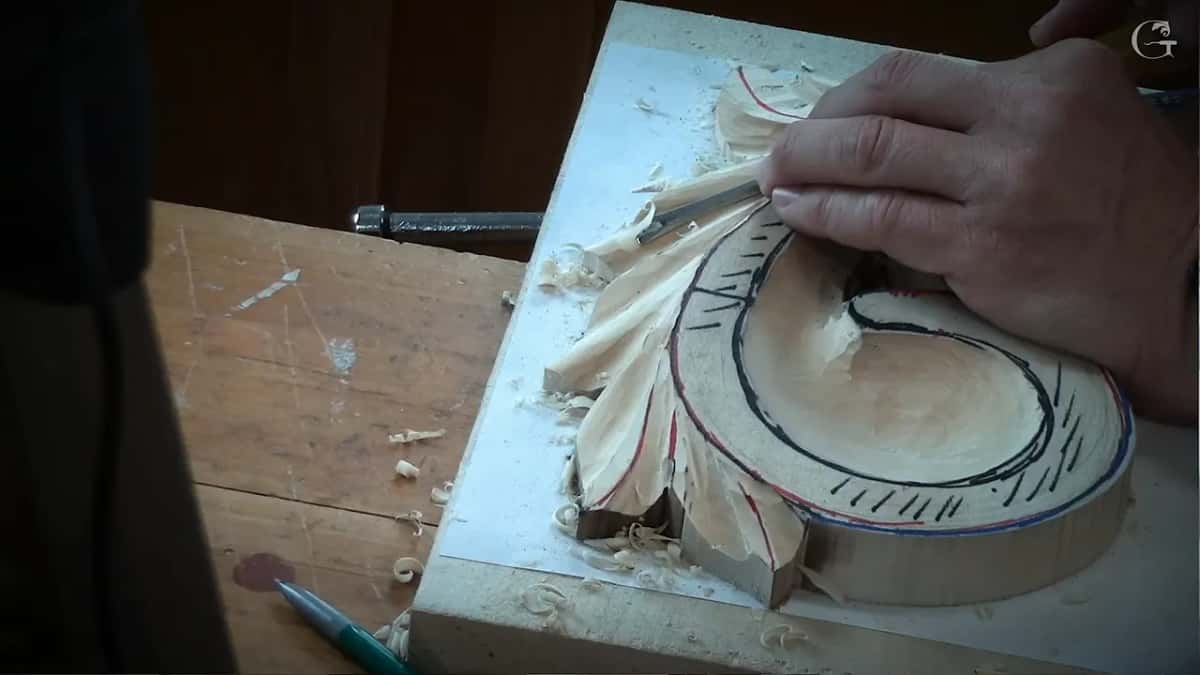
And yes, I could draw that in the beginning. But then you would miss the point of how to carve it as if it would be a solid piece of wood, so that's why I left that part for a little later.
Once I draw it, you are welcome to come and take a picture on your phone and place it close by. Sometimes it's a really good idea. Even just how I drew that, it already changes everything, and every one of those leaves becomes like three pieces inside.

Why stab a relief cut before the triangles come out?
The grain breaks the points if you skip it. Some people take a gouge and start right in, and just because of the grain, they break the points. So relief cut is really, really important.

I take the number 11 in 3 millimeters and just stab it down. A few stabs in every triangle area. A student asked if that includes the eyes. Not the eyes, I said. Close to the eyes, but not the eyes.

In one spot I took a bigger tool and even a mallet, so I could relieve it even more. We don't need to use a mallet if it's not a big tool. Then the number 2, whatever you got, 12 or 10 millimeters (1/2 or 3/8 in), and we start establishing those cuts little by little. Don't go all the way right away. And don't concentrate just on one leaf, okay, just go around and work on everywhere else.

One of mine was not right. See what happened right here? I didn't relieve it enough, so I should relieve it more. Don't think that you stab once and get a beautiful shape. Take your time, okay? And walk around.
Then somebody asked me, what about using a V tool for the initial cut? You could do a V tool, yes, absolutely, I said. If you have one, go ahead and use it. But on the other hand, I told them, authentic Byzantine carving didn't have V tools.
Why do the walls stay vertical for now?
Undercutting comes later in the course. At least make it vertical, I said at the end, because we'll undercut that later.
See, I'm just going downhill here. Now you understand why we're using that board, because I'm digging into the board. It's better to just get either plywood or basswood, whatever.
A space like this, like a letter S, you can take the number 7 at 14 millimeters, about 9/16 inch, and create the S curvature. Right there it's already established. But if you need to reestablish it, number 7 would be the tool. And again, blend it nicely.
What does each leaf look like by the end of this lesson?
Concave, convex, concave, over and over. One question was about this leaf overlapping that one, and I said yes, correct. Between those two points it's really smooth. But it's the start of convexing.
The middle is a convex, and a pipe is a convex. That part is called the pipe, this one the middle, and that thing is called an eye. It's going to be really, really attractive once it's done.
Earlier I found a cut that falls down. That's no bueno. So we blend, and I make sure the ridge is going up, same as on the other side, or it won't look like overlapping. It goes up from that side toward the middle, and it goes up from that point toward that ridge. While I made the concave deeper, a student saw I was avoiding that eye. Yes, I said, I'm creating deeper concave without going too crazy on the bottom.
One last thing about my board. Please don't use markers. I use that only for the purpose of showing up, because you can see it's really hard to get rid of.
The next one is lesson 5, and all ten sit on the course page. Access to the school opens them, along with the Greek and Roman acanthus courses.
How it's done
- Make the pipe wide, then shave it. A tiny, teeny pipe looks weird to me. I shave it with the gouge flipped over, and dig a little deeper on the left side if I need to.
- Hold the number 2 on a slant. I slice with it, no pushing, and a knife or a skew can do the same job.
- Rotate to take the facets off. My whole movement turns, a little quicker on each pass, until the facets come out and only a few stay.
- Flip the number 7 for leftover edges. At 14 mm (9/16 in), turned over in some of the spots, it gives a better convex in the middle of the leaf.
- Stab relief cuts into every triangle. A few stabs straight down with the small number 11, close to the eyes but not into them.
- Open the triangles slowly and keep the walls vertical. Number 2 next, slowly. The undercut comes after this lesson, so for now every wall stays straight up and down.
Frequently asked questions
Is sandpaper ever okay on an acanthus leaf?
Near the end of this course I said I'm okay with sandpaper for anyone who likes it. For this Byzantine panel, though, no. I love a chisel finish. When a piece gets gold leaf, I still do some sanding, and my grape onlay got a light pass too.
What tool takes off the extra edges in the middle of a leaf?
I use a number 7 at 14 millimeters, which is 9/16 of an inch. In some spots I turn it upside down and get rid of the extra edges, and that gives an even better convex right in the middle. When the wood fights me, I stop, turn the tool over, or grab a different one.
Do I have to remove every facet before I stop?
Most facets out is enough. I try my best to take every facet off, but if a few won't come, it's okay. A straight tool has a limit and can dig in, so I keep mine in the normal position and let a few small facets stay.
What to carve next