

Alexander Grabovetskiy, woodcarver, School of Woodcarving · Published 2021
How do you finish a carved acanthus leaf and its background?
Quick answer: Finishing a Byzantine acanthus is edge work first and background work second. I undercut the overlaps with a 1 mm number 11, brought every surface out sharp using a number 2, textured the board with a 9, glued the leaf on with Titebond and shaved off the facets with a flatter gouge.
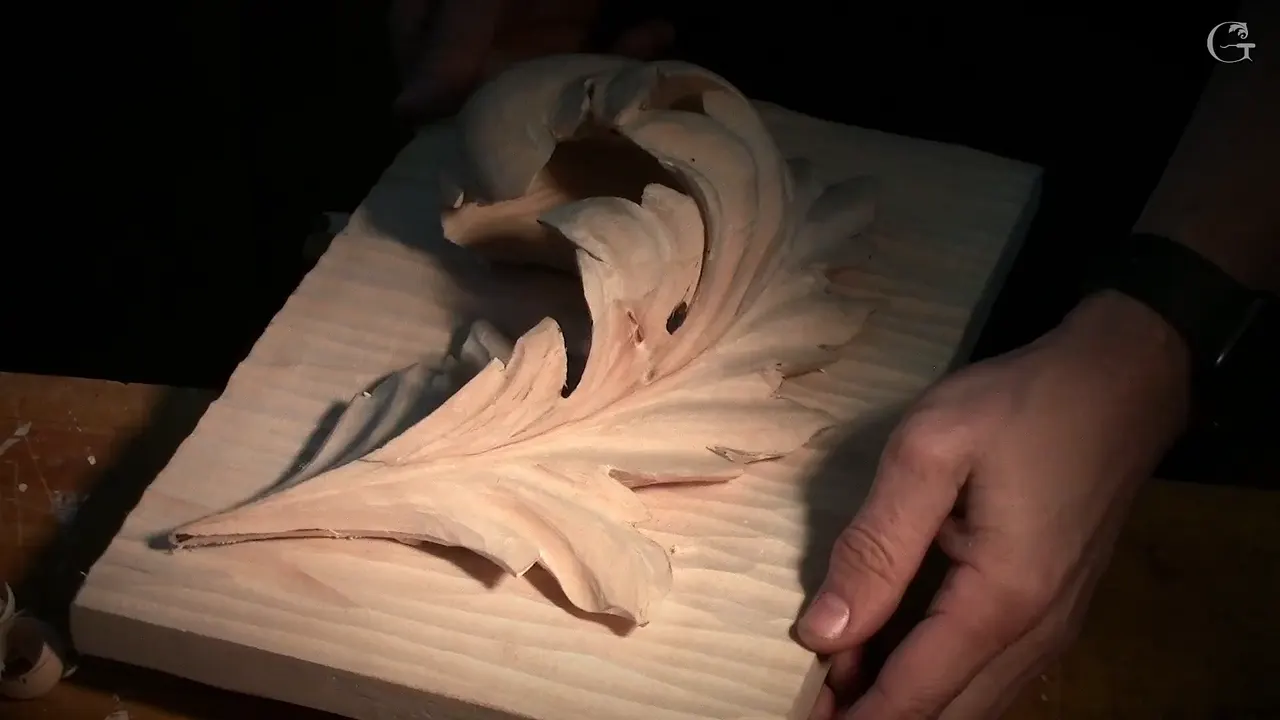
Finishing a carved acanthus leaf is two jobs in this lesson, the leaf and the board behind it. I undercut the overlaps on the leaf with a 1 mm (about 1/25 in) number 11, then brought every surface to the edge with the flatter tool, a number 2. Then the board got its texture from a number 9. I glued the leaf onto it with Titebond, and the last step was taking the facets off with a flat gouge.
My leaf was just a separate piece. I told the class it would look good on a wall somewhere, and that otherwise it was going to end up in a garage. So we took it off its board and did something with the background.
Below is lesson 10 of the Byzantine course in the order I worked it. You get the tool for each step, what I said to the class, and the spots where I slipped.
Lesson 10 in six lines
- Overlaps get a deep undercut from a one millimeter number 11, its flute turned to 3 o'clock.
- Every surface goes to the edge, or as close as you can get it.
- Late concaves stay shallow, or the leaf turns stripey.
- Before gluing, I turned the leaf upside down and cleaned the underside right to the edge with a knife.
- Only the glue spot stays flat.
- The rest of the board takes stripes from a 9, a 7 or an 8.
- Facets come off with a stropped flat gouge, and whether you sand is your call.
Why give a finished leaf a background?
To get it up on a wall, where it looks good. My details were not done yet either. I would probably work on them a little later, I said. Still, this is how it's supposed to look.
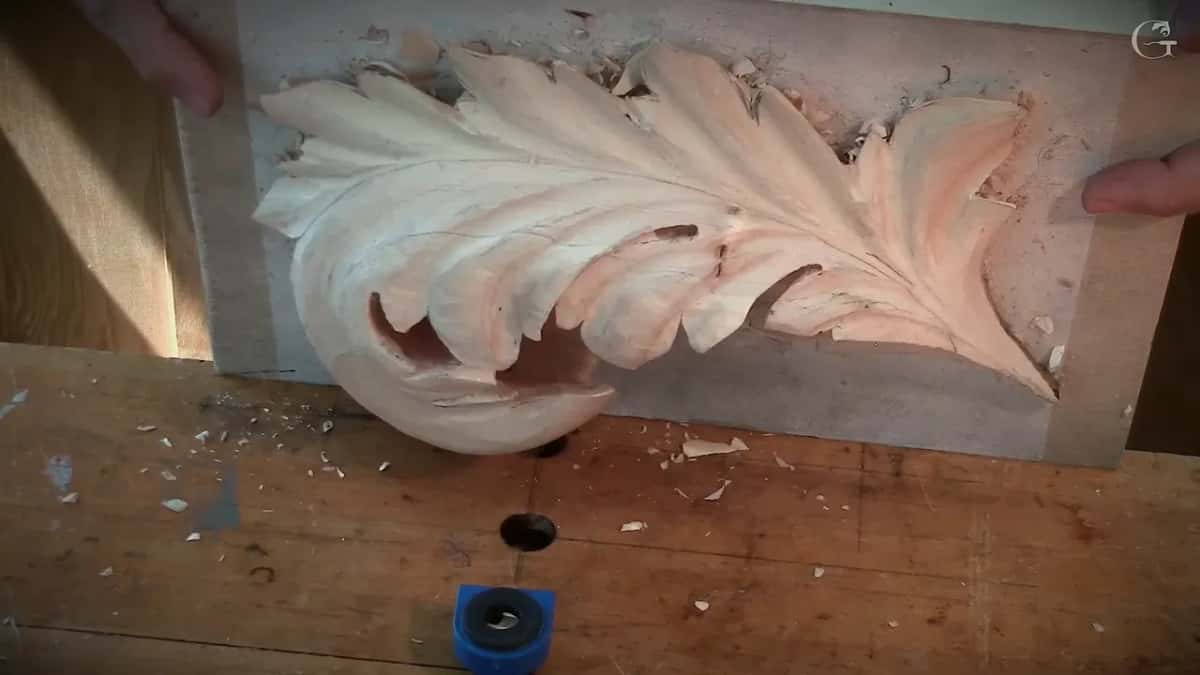
The board I used was the same one I used for the gluing, back in lesson 1. I peeled the paper off, and right beside where the paper had been, the board was dark. I asked the class why, and someone said glue. Yep, I said.
What does bringing everything to the edge mean?
Every surface runs out to its edge, and that edge is really sharp. I took the flatter tool, a number 2, and worked toward the edge with an undercut until it was really, really sharp. Or close to the edge, as close as you can get. Anywhere you see a wall, you undercut it and bring it out too.

If you have a number 12 knife, it makes this a lot easier, and you can do pretty much the whole operation with the knife. Then the leaf looks really light, paper thin, but it's solid.
Be careful at this stage. Don't place your hand on it, I said, because it's fragile now, and the more you remove, the more fragile it becomes. I called it the last operation on the leaf. Clean up everything, refine all the movements, and leave no sharp corners anywhere. Then clean, clean, clean, and clean.
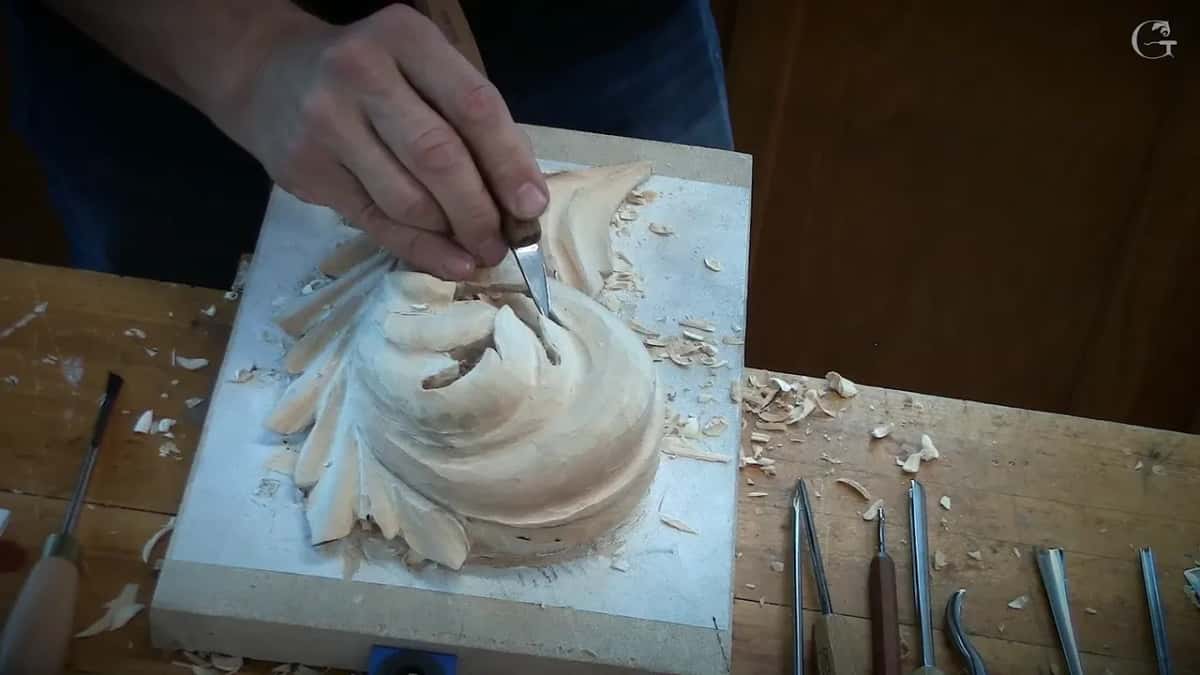
What does a 1 mm gouge do under an overlap?
That tiny gouge undercuts the leaf that passes over. Set the 1 mm number 11 under it with the flute turned to 3 o'clock, and go as deep as you wish. In one area I did not go to the line yet, since the line could change once I undercut. Afterward I changed it slightly, so it now runs right underneath.
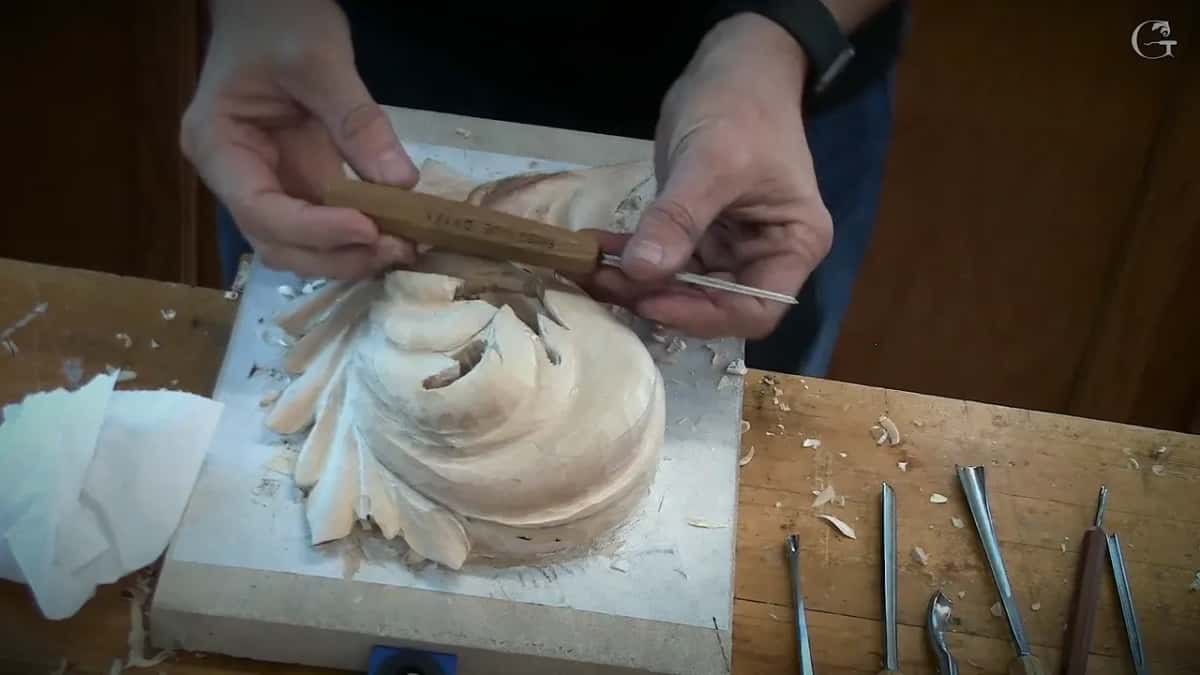
The undercut gives a beautiful overlapping effect. The area under it stays really solid and connected on the bottom, and still it looks separated. On my leaf that was a couple of spots only. The same tool also cleans the first layer a little deeper, wherever a leaf overlaps there.
In lesson 5 I undercut from the back, with the piece upside down.

Which part goes on top when two lobes meet?
The bigger part overlaps the smaller part, following the flow. On my leaf one part looked higher than the part next to it, and it felt almost like the higher one has to go on top. But that's wrong, I said. Everything just follows the flow.
I started that excavation with a number 11, 3 mm (1/8 in). It was not as deep. Then I blended it with the flat 2, or a knife, and took care of that ridge.
How much more detail goes in at the end?
Enough that the leaf changes completely. The head was huge and still under developed, so I put an extra separation right there and another one right here, and made them curly. Those separations make a huge difference.
Someone in the class asked if I would put an eye where the black marker was. We did a micro eye right there, and another one right here, and each becomes another pipe inside that big movement. Curly. And I said we can sell it to Dubai.
Before I divided the middle in three more, I put the boundary first, like the shape of a boat or the shape of the leaf. Everything flows to the same line. One division on that side is a little smaller, and that plays a really good role. It's the 60/40 rule.
How deep should the last concaves go?
Just deep enough to show there is some kind of movement, on both sides. Don't go too deep, I told them, since we don't want to lose the overall shape, otherwise it gets too stripey. And I don't like too stripey, it's no bueno.
The ridge there gets raised up. From the concave it goes up, and then it looks good. That eye has the shape of a water drop. A pipe still goes inside the concave as well, not as thick anymore, but it has to flow in the same direction, with a concave on each side. It doesn't matter which tool, I said, probably a number 9 at 10 mm (3/8 in). The big pipes went in during lesson 8.
Before a new division I relieve it first. I said I probably don't have to show that anymore, but to relieve it is really important. Right after that came an oops, and I told everyone, you ain't seen no nothing.
What do you do to the back before gluing?
Turn the leaf upside down and clean it from that side. I took it out without trying to break it, then used a knife or a gouge to bring the back to the edge too, wherever we had that curvature. I had one spot I wanted to undercut, so that was the time. The best way is a small knife or a small, flatter gouge, just to get in the corners.
Just don't break it, because that would be a big mistake.

Where does the leaf sit on its background?
Wherever its movement looks best to you. Position your piece on the board, find the best movement you want to see, and try to hit that main idea. I brought mine a little closer to one edge, because I wanted the bulk of it to come closer to the golden ratio.

Then put a pencil mark around it. That matters, since the texture goes all the way to those marks. It's going to look awesome, I said, and then added that at least I hoped so.
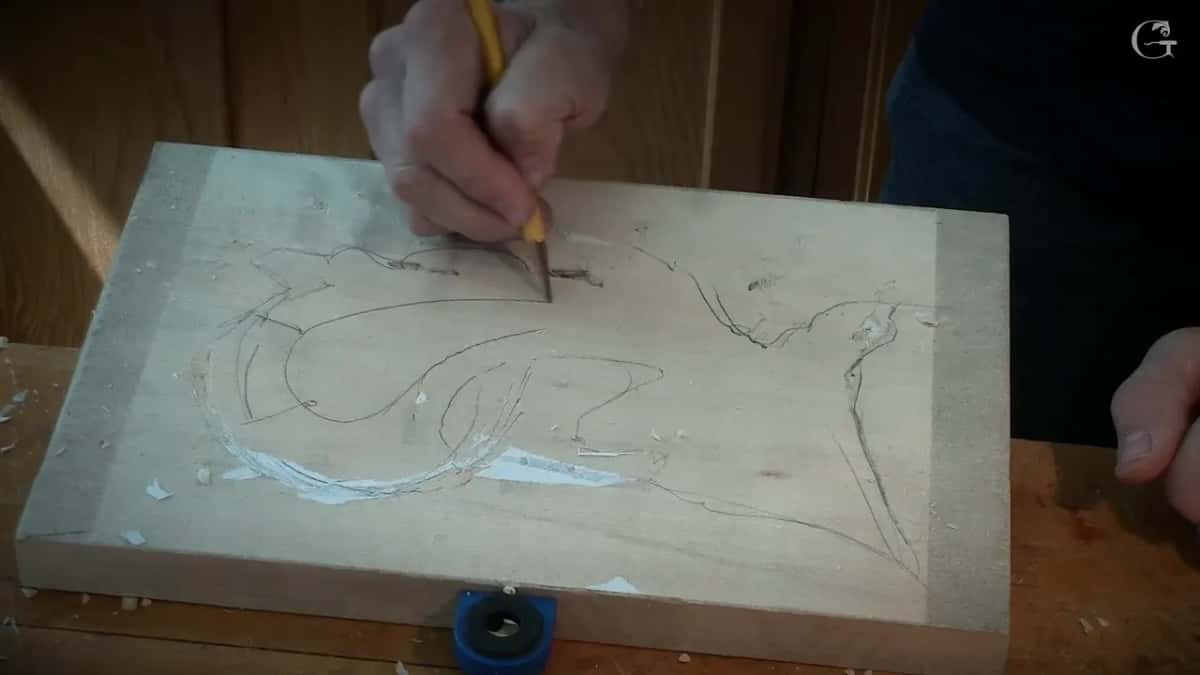
Which gouge gives the background its texture?
Mine got a number 9, and a small one or a bigger one is up to you. The number 7 gives you the same idea. Later a student asked what tool I was using. Number nine, I said, and you can use the nine, the seven or the eight.
I know where my glue goes, so I stepped inside about maybe an inch or so, 25 mm. The only part I did not touch with the tool is the middle. That part stays flat, and that is where the glue goes. The rest of the board gets a texture, just some stripes run across it.

Attack from the edge toward the inside. Otherwise the tool catches the edge, the grain, and it won't look as nice. Then rotate the board and attack from the opposite side. I also said to do it against the grain, since that gives a nicer texture, and to stay just perpendicular to the grain.

What happens then is the texture casts some shadow, and it gives a really beautiful effect.
The Chamomile and Bow Rosette got its background texture from punches instead. I showed the earlier one, which already had a textured background, and said how big a difference it creates. Huge difference.
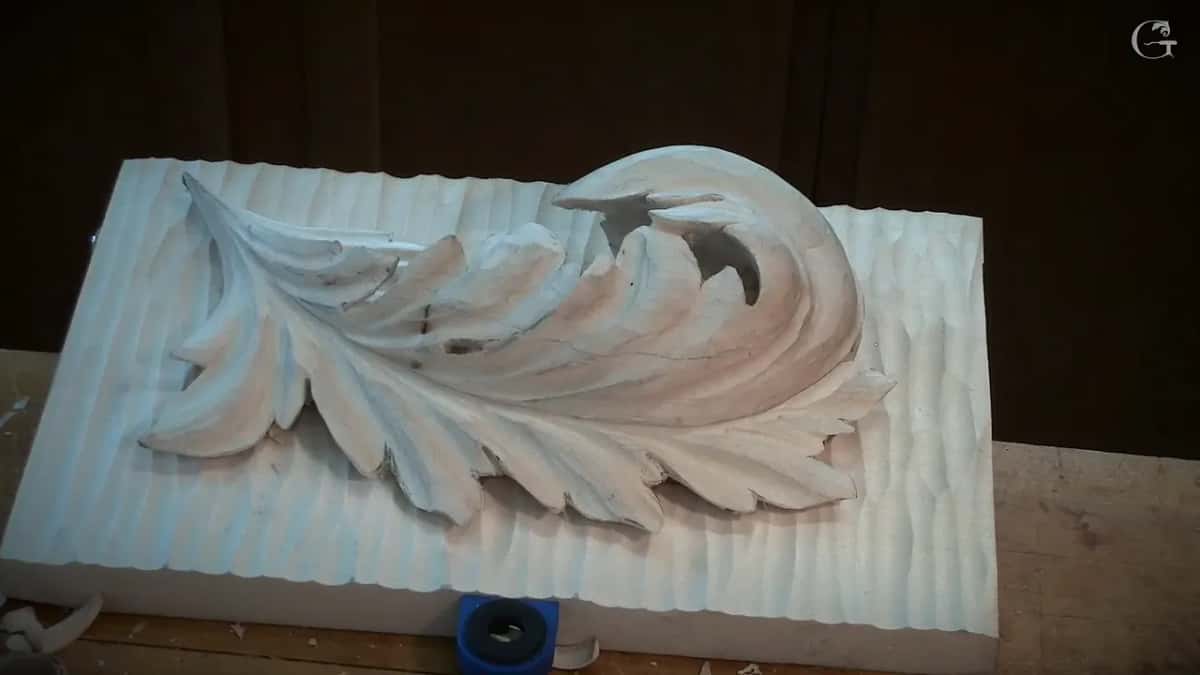
Why use oak or a darker wood behind a carving?
A darker wood gives contrast, and it is one of the techniques for a background, like oak or cherry. In class I said that Grinling Gibbons used oak backgrounds all the time for his carving.
In my Grinling Gibbons class in Maine I used walnut as the background. Gibbons would use oak, English brown oak, I said, and the darker wood gives that contrast and exaggerates all of those excavated areas.
Earlier in that class I said he most likely used oak, if you would ask me, and that I know it from books. Nobody actually had the chance to talk to the guy. I have multiple books about him, some antique ones, and most of those authors agree. Maybe I had oak in my shop, but I didn't want to dig, and I had a piece of walnut.
What glue holds the leaf on its background?
Titebond, with a slight rub and about half an hour, and I did not even clamp it. Before that you have a choice. You can leave that really strong texture just like it is, or give it a little smoother finish by riding a flatter gouge, maybe a number 3, on top of those ridges and taking some of them out. Personally, I like to keep it like that and just glue it.
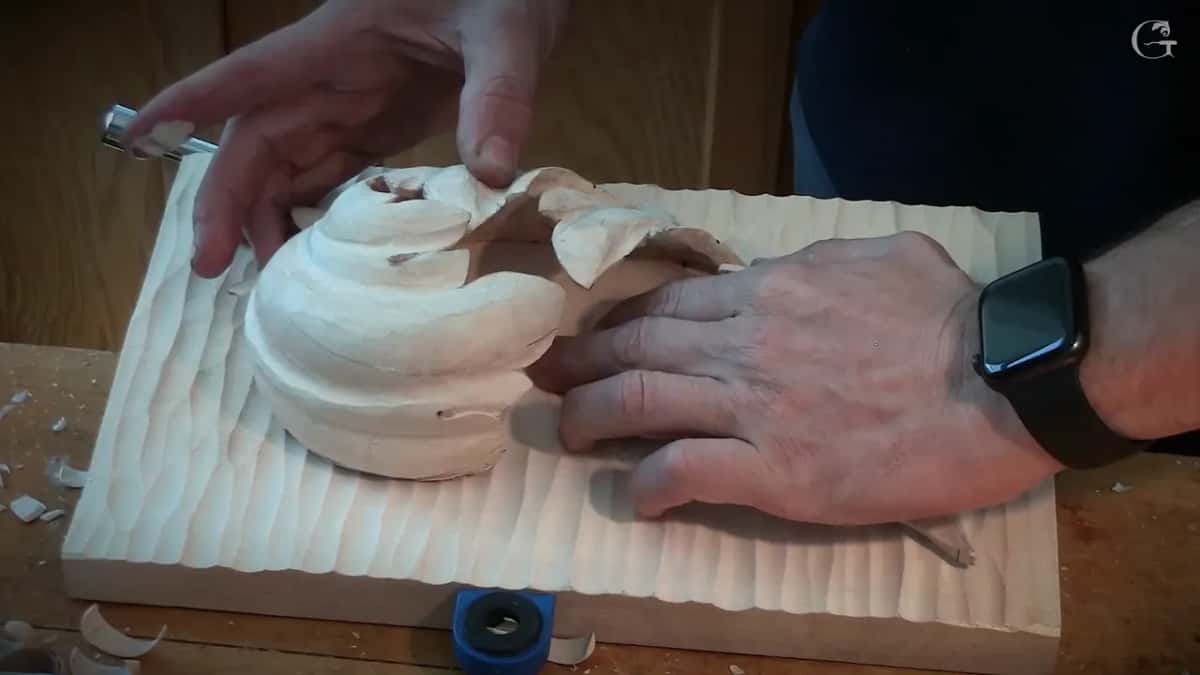
Someone asked what glue it was. Titebond, I said, one of the best glues nowadays. What I had was just the original, and I really like Titebond 2, personally. Which Titebond I keep off this project is in lesson 6.
Once the leaf is glued, you're still able to work around it and refine the form of the acanthus. Later you can put it inside a frame, and that looks really nice.
Can a gouge take facets off without sandpaper?
A flatter gouge can, a number 3 or a number 2, held at an angle so it works almost like shaving. A lot of people ask me how to leave the surface smoother, though not smooth like sandpaper. I don't really like sandpaper, which is okay, and if you like to use it, I'm absolutely okay with that. I still love the finish straight off the chisel. It's okay to have some facets left, too.
The year before this class I spent $1,000 on rasps just to try them out, since I saw other carvers use them. I still don't use them. After a rasp I have to make the surface a lot smoother anyway, so it's actually twice as long for me.
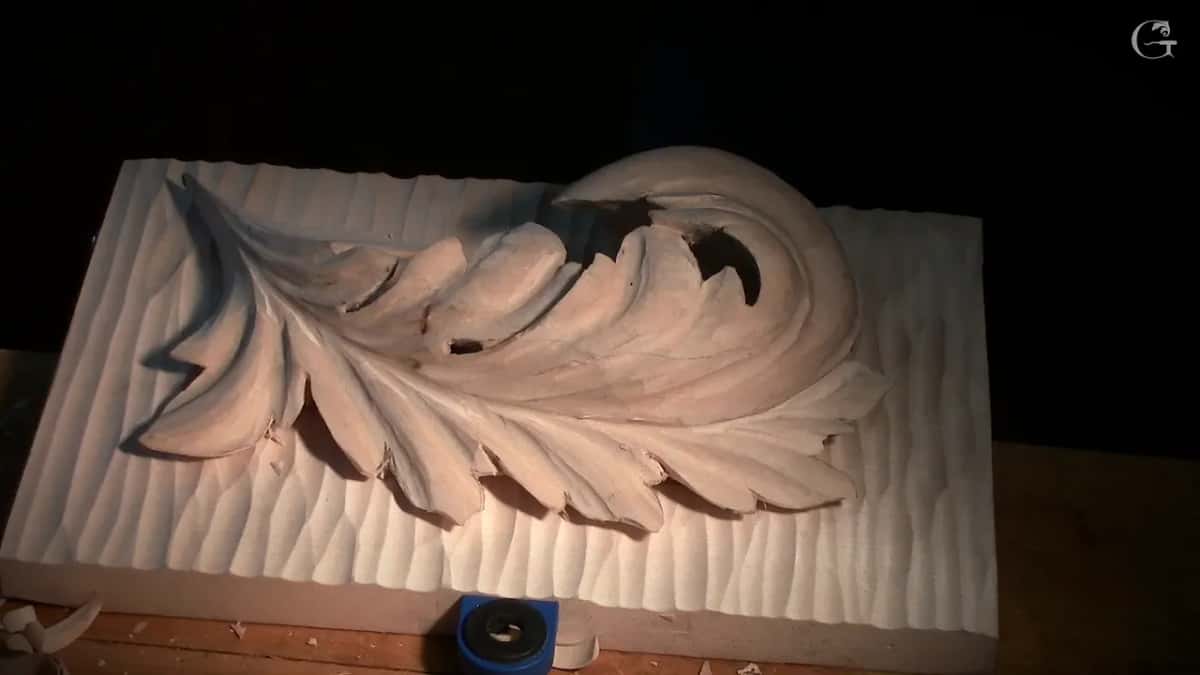
First I stropped the gouge for a second. With the lights on you can see the facets, really strong ones. Attack each one at an angle in a rotation motion, and check which direction doesn't fight back, either left to right or right to left. Then just work your way in. Sharpening and stropping have their own course.

In a concave I like a number 11, since you can use the side of it or the bottom, and it's really multiple tools in one. That's the last step, getting rid of the facets. If you can, and if you wish. Whether a leaf like this should be sanded at all is the question of lesson 4.

Can you burnish a carving with wood?
A burnisher from the same piece of wood does it. You're pushing down on the fibers, and the surface becomes really shiny, almost like you applied some finish on it. Some of the small facets disappear on their own. A big one does not, so for that I went back to the gouge.

Then I caught the grain. No bueno. I attacked it from different sides after that, just riding on top of the fibers, and said that if you spend another month, it can look sanded.
I burnished the lily box with just a piece of wood too. You're smashing those fibers in, and that gives the shiny look. Inside the concaves it showed me all the imperfections, and I said I could probably hit them again with the micro tools if I needed to.
When someone asked me in a question and answer session if I have a special burnishing tool, I said I don't use a metal burnisher. A chip from a previous carving does it, wood against the wood. I also said I usually don't burnish at all, by the way.
When is a Byzantine acanthus leaf done?
I called mine almost 100% done. I could spend a lot longer cleaning and cleaning, but for a one-week class, that is an excellent project.
And then I did one more thing. I added extra micro separations at the end of one leaf, and since I did that, I had to do it everywhere. There's no end to what you can do. It gets more fragile, so be careful not to break it, but those extra details add some curliness. I asked the class if I could say that word, curliness. It gives an extra layer of detail, and I told them they could take a picture.

Which tool did each job in lesson 10?
| Job | Tool | How |
|---|---|---|
| Undercut each overlap | Number 11, 1 mm, flute at 3 o'clock | Deep, under each crossing |
| Bring surfaces out | Flat number 2, or the number 12 knife | Sharp at every edge |
| Clean the back | A flatter small gouge, or a little knife | Upside down, into corners |
| Texture the board | Number 9, small or big, or a 7 | Rim inward, then rotate |
| Glue it down | Titebond on the middle, then a slight rub | Thirty minutes, no clamp |
| Shave the facets | Stropped flat 3, or the flat 2 instead | Angled, in a rotation |
| Burnish small facets | A chip of the same wood, rubbed on | Fibers pressed down, shiny |

All ten lessons sit on the course page, and Access to the school opens every one of them, this background included. On mine, those extra separations still had to go in everywhere.
How it's done
- Relieve, then add the last divisions. I relieve first, then add the curly separations and micro eyes. Their concaves stay shallow, only an indication of movement.
- Undercut each overlap. The 1 mm gouge goes in where one lobe crosses another, flute to 3 o'clock, as far down as I like.
- Bring the surfaces to the edge. Flat 2 or a knife, working toward the edge until it's really sharp. No sharp corners stay in the movements.
- Clean the back. Leaf off the board and upside down, then into the corners with my flatter gouge.
- Mark and texture the board. I position the leaf, pencil its outline and run a number 9 inward from the rim, leaving only the middle flat for the glue.
- Glue it with no clamp. Titebond on the flat middle, rubbed in slightly, then left about thirty minutes.
- Take off the facets. My stropped 3, or a 2, shaves each facet at a slant, then a burnisher of that wood takes the small ones.
Frequently asked questions
What tool undercuts the overlaps on a Byzantine acanthus?
I use a number 11 that is one millimeter wide, with its flute set at 3 o'clock, and slide it in where one lobe crosses another. The wood under there stays joined at the bottom, yet it looks separated. My panel needed it in only a couple of spots.
Which gouge gives a background board its texture?
The stripes on my board came off a number 9, and a 7 or an 8 does the same job. I start each pass at the rim and travel in, so the tool doesn't catch the grain, then turn the board around. The middle stays flat, since my glue goes there.
Do you clamp a carving when you glue it onto a background?
On this leaf I skipped the clamp completely. Titebond went on the flat middle, I rubbed the leaf slightly into place and left it about thirty minutes. Once it was glued, I could still work all the way round the leaf and refine its form.
What to carve next