

Alexander Grabovetskiy, woodcarver, School of Woodcarving · Published 2021
Why do carvers undercut work nobody will ever look at?
Quick answer: Undercutting the back of a Byzantine acanthus is work nobody will look at. In lesson 5 I turn the piece upside down and take the wood out right to the edge with a big number 9. It's never going to be visible, yet it creates beautiful shadow casting, and the thick leaf reads as paper thin.
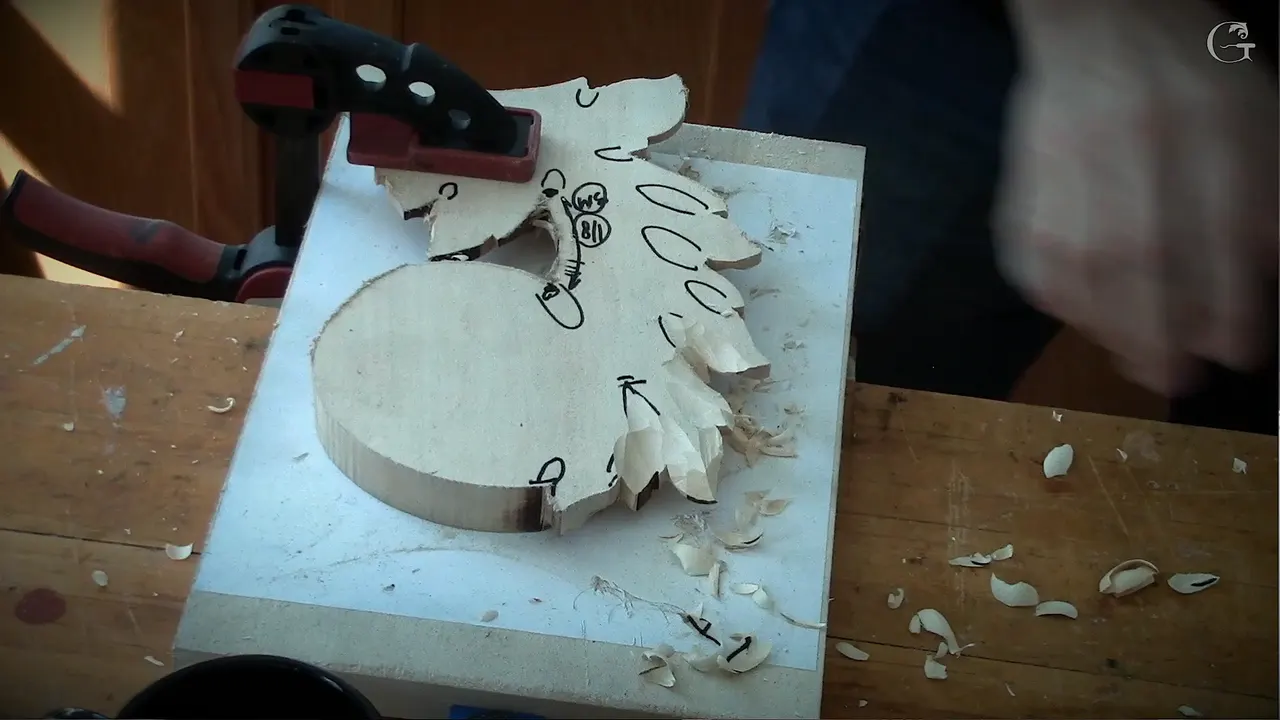
Undercutting the back of this Byzantine acanthus is work no one will ever see, and I do it for the shadow. Here I turned the piece upside down and took that material out all the way to the edge. It's never going to be visible, I told the class. People are not going to see it, but it's going to create beautiful shadow casting.

I said more with the big gouge in my hand. You really have to get to the edge if you want it to look light and almost airy. It's thick, but people will think it's just like paper thin.
Every carved leaf on this relief panel has a back, and once the piece is done, nobody gets to look at it. This page is about that back. I'll show how far I took the wood out from behind, where I stopped short on purpose, and which tool did the work. Then come my own words about the same hidden work from a few of my other projects.
What I did under the leaves in lesson 5
- The piece came off its board and went upside down, held by one clamp.
- A big number 9 took the wood out right to the edge, because the bigger you have, the better.
- At the outline I said to leave about a 16th of an inch, and later attack it from the other side for a knife cut.
- More wood should come from the sides of each leaf than from the middle.
- On one stretch I said to take about 3 mm at most, an eighth of an inch, so it can still blend with the upper piece.
- None of it will be visible.
Why undercut a part no one will ever see?
For the shadow it casts. That was the reason I gave the class while I worked, and I've given it on other pieces too.

I planned for this back in lesson 2. When I roughed out the leaves there, I said we'd leave a room for undercutting, and I said why. We'd create an even deeper effect with the shadows, and it would look light and beautiful.
My Greek acanthus, in lesson 14, raised the same question. Most of you probably wonder, I said, why I do it so deep if it's not visible. But when you put it in the light, it makes a big difference in how it looks.

The grape onlay, in lesson 12, was a really thick piece, and I flipped it over and undercut it from the backside as well. That time I gave a second reason. I'm for more undercutting than less, so there's less chance to see a crack later.
Will anyone notice how deep the undercut goes?
Working in the Venice Room, workshop 89, I said nobody will see how deep I got my undercut. Nobody will worry about it, and they probably don't even think about it. But somehow it'll be a lot more pleasant to the eye.

Right after that, I said let me create a really nice marriage line between that volute and the background, maybe even slightly undercut, not much, just a little bit.
Back in workshop 87 of that room, I said almost the same thing. Of course, it's all about shadow. Nobody will measure here, but the shadow is really important.
Even the light can hide it. Starting to undercut in workshop 53 with a number 11, I said you might not see that shadow right away, because I had a light source on the right-hand side, pointing from that direction. If I turn that light off, it'll be a really deep and nice shadow.
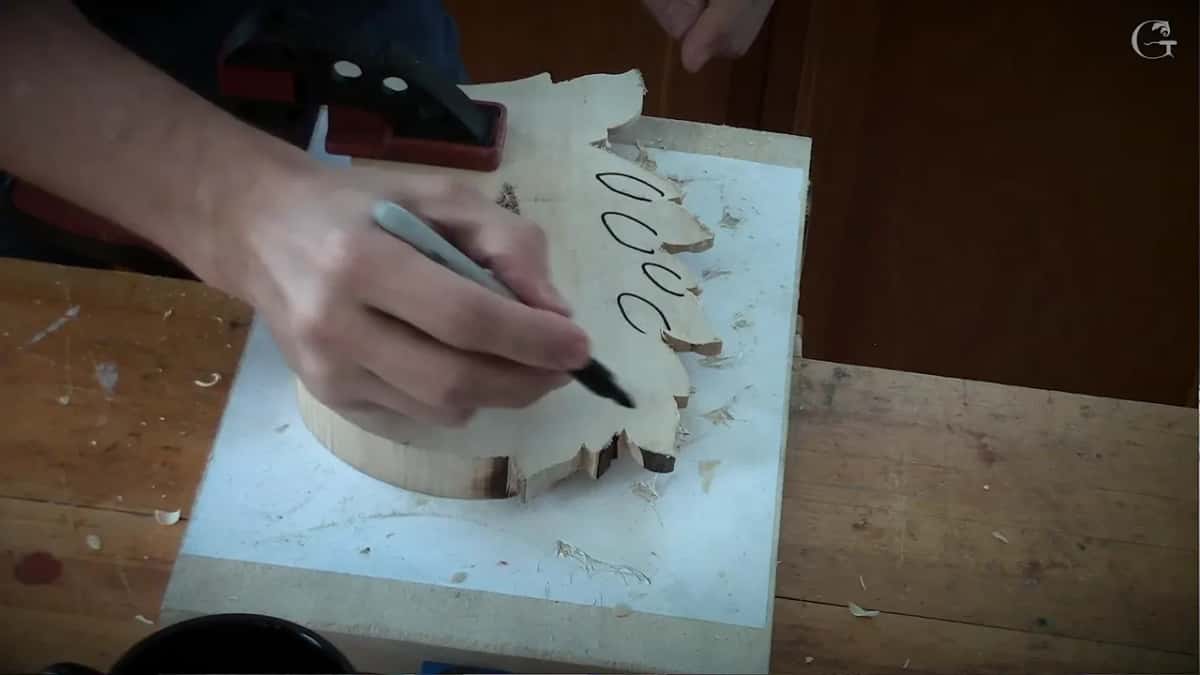
Does the hidden part ever show?
From some angles it does. In Venice Room workshop 11 I didn't want to make too much mess and trouble underneath, because it would be visible from the bottom. So I wanted that transition nice and smooth.
And in workshop 23 I said maybe I should undercut, because it'll be visible also from the sides. Maybe I should give some undercut, but I'll do it a little later.

In workshop 89 I changed my mind out loud. I'll undercut this way, I said. Not undercut, but go much deeper in this area. I really don't need to go like a true undercut, because it'll be visible only from the bottom, and I'm only doing it for shadow's sake.
On my lily box, lesson 11, I carved almost like undercutting under one piece of the flower. Even that, as a backside, will never be visible. But still, I don't want to see too much wood right there. This part is actually really important, I said. I saw some carvers completely forget about that inner part.
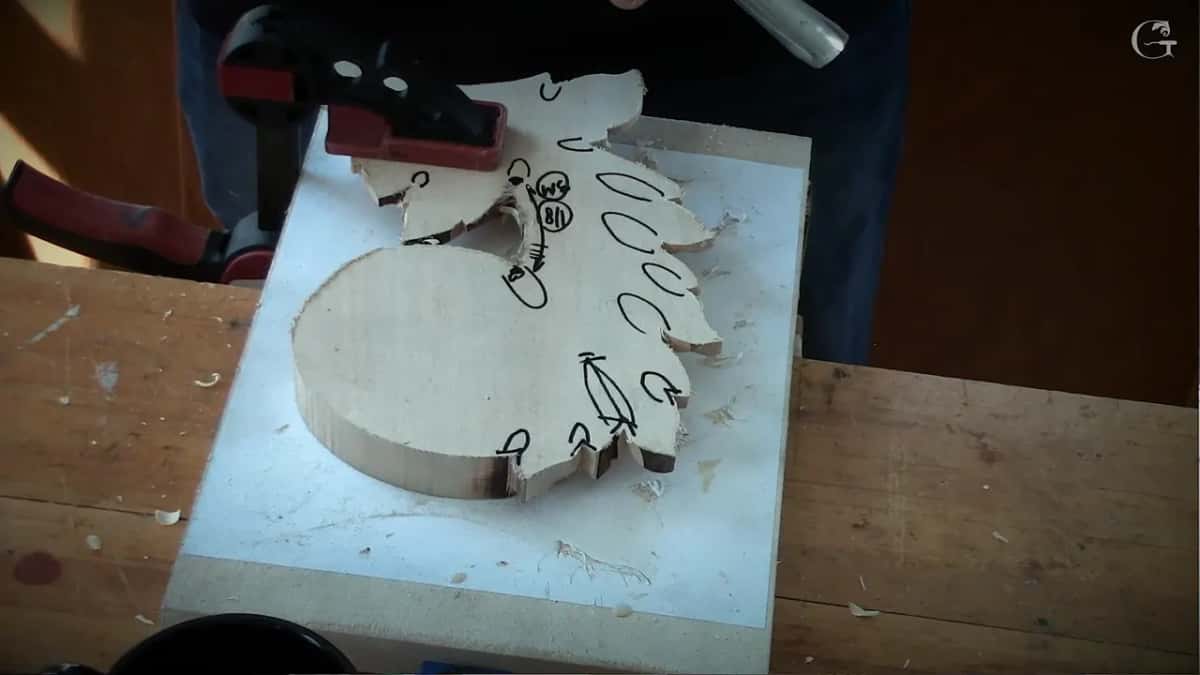
The next part of that lesson had me attack one spot from the other side and try to go through it. That's the backside, it'll never be visible, but still, let me try.
How does the piece come off its board?
With a chisel, and it doesn't need to be sharp. I borrowed a student's chisel to take the piece out, then I put it upside down. We used 77 glue on that piece of paper. You can hold the piece and carve like that, but I said it's probably a good idea not to hold it by hand. Why don't we use a clamp just to be safe?

A student asked which clamp I'd like. It doesn't matter, I said. A quick one is fine, and it doesn't have to be big.
The board under the piece did a job before this part too. Earlier in this lesson, I was going downhill on the triangles and digging into the board, and I said now you understand why we use it. Another species would work, but it's better to get plywood or basswood, whatever.
Which tool goes under the leaves?
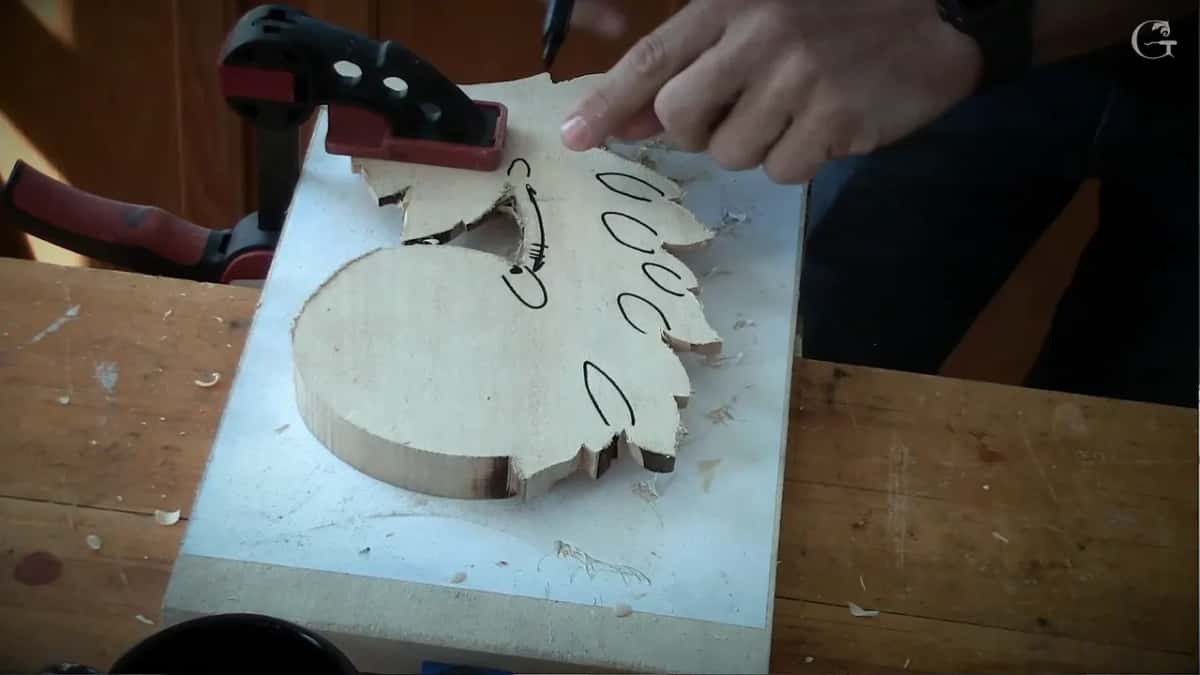
A number 9 gouge. You could use a smaller one, I said, but the bigger you have, the better, and on this piece I had the big one. Pay attention where those two leaves are meeting. Those undercuts will be much, much deeper in the body. Be careful, wonderful friends.

When you use a big tool, you can use just the one part of the tool. It becomes a really small micro tool, and you bring that to the edge. In one triangle area I said you could use a smaller tool if you have one, and get to that point.

Every cut you do, you are sweeping. I said that twice. And if the grain fights you, be careful, and keep an eye on how far you go.

How close to the edge does the undercut go?
About 1.5 mm, about a 16th of an inch. First I said you could leave about 1 or 1.5 mm, and later on we can attack that from the opposite side and make it like a knife cut, for a beautiful outline. Then I said it more clearly. When I say to the edge, it's a good idea to leave about one and a half mil.

When you get to the edge, I said, be careful not to overdo it. You just bring everything to the edge.
| Where | Amount | Note |
|---|---|---|
| At the outline | Roughly a sixteenth of an inch standing | Knife cut comes later |
| Where leaves meet | Much, much deeper, right in the body | Be careful, wonderful friends |
| One short stretch | Maybe 3 mm (1/8 in) at most | It blends in later |
| Middle of leaf | Not too much, more off the sides instead | Grain can fight you |
| Across the circle | In roughly 6 mm (1/4 in), no deeper than 1/8 in | Quicker with a skew |

Where should you hold back?
In the middle of each leaf, and on one short stretch where we need that material later. Don't take too much material in the middle, I said. It's better to get more material off the sides of the leaf, but not in the middle.

The short stretch got even less. Between two points on this side I said don't overdo it, and take maybe 3 mm, an eighth of an inch, at most. We'll attack that part later and blend it with the upper piece, so we need that material. We can undercut it a little later.
Near the end I said the only part you really don't want to overdo is this one, between the round part and this leaf.
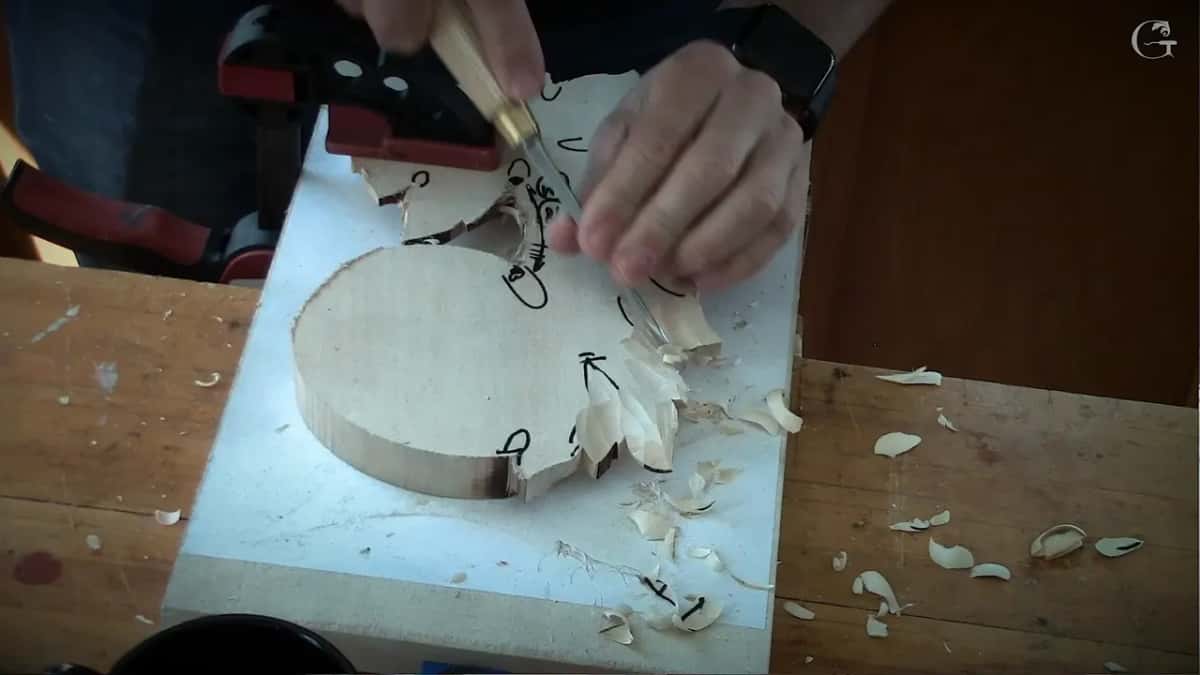
The circle got its own depth. From about 6 mm, a quarter inch, or 10 mm (3/8 in) in from the edge, we'll take it out, no deeper than one-eighth (3 mm). Now, it's easy if you do have a knife or a skew. Sometimes it's much quicker.

How far to go depends on the use. On the Greek acanthus, lesson 15, I said it's all about the lights and the shadow, and of course, the use. I did extreme undercutting on that one, but for furniture it would not be a good idea if people will touch it all the time. It'll be too fragile. But if you want to frame it and place it on the wall, it's absolutely fine.
What comes before the undercut?
Relief cuts, in every triangle. In part one I took a 3 mm (one-eighth inch) number 11 and stabbed it straight down, a few stabs in every triangle area. Someone asked about the eyes, and I said not the eyes. It's close to the eyes, but not the eyes. The end of lesson 4 shows the same relief cuts, so you can watch them there too.
I gave the reason too. Some people take a gouge and start carving right in, and just because of the grain, they break the points. That's no good. So the relief cut is really, really important.

After that first step I took a 12 or 10 mm (1/2 or 3/8 in) tool, whatever you've got, and started establishing those cuts little by little. Don't go all the way right away. A V tool is also good, I told a student, if you have one. But on the other hand, I said, authentic Byzantine carving didn't have V tools.
For an S shape, I said you can take a number 7, 14 mm (9/16 in), create the S curvature, and blend it nicely. These should stay vertical, I said, because we'll undercut them later.
Why does gold leaf keep this leaf simple?
A Byzantine acanthus leaf, I told the class, was never left as bare wood, finished wood, stained or shellacked wood. It was always gold leaf. Those cavities, those channels, created a big problem for the gold leafing back then. The gold leaf was a little thicker, I said, and nowadays you can gold leaf anything.
If you look at the books, a furniture-style, low relief acanthus often has stripes on the side, and I drew a simplified version for the class. Byzantine didn't do that. The middle of the leaf has that convex, then concaves, and it's really easy for the gold leaf, even thicker gold leaf. No details, I said, and then I fixed it to not too many details.

I tied the dome to the shadow, too. They did it on purpose, for the gold leafing, and inside, it creates the dome and the shadow effect, a really thick, heavy shadow. Just beautiful.
Is this high relief or medium relief?
High relief. Someone asked, and I said no, that is a high relief. We used just three quarters of an inch (19 mm) on top, but most of the time it would be thicker. It would be two inches (51 mm), the upper layer, and it would give a bigger head.
In this case it'll still be high, but not as high. We don't have enough time in one week to cover it, but you can take it to extreme and make openings, like scroll openings inside the head itself, so people will just look inside.
What hides inside the eye of a leaf?
A secret, sometimes. The eye is the space between two leaves. It can be overlapping, and sometimes it's not even over, it could be open, but that space is called the eye, and the Byzantine acanthus used huge eyes.
People would look inside of that eye and find some secrets, I said. They would hide some kind of hummingbird inside, or any stuff. But when you look at it, it looks solid, just like it was done from a solid piece. You won't even detect it. You can just take it apart, and like I mentioned before, Byzantine used dowels.
On a practical side, people would come to churches, and people love to touch, which is okay. We feel much better than we see. The human hand can detect one thousandth of an inch (0.025 mm), and the eye cannot. On furniture you feel it. Where is the high spot, right?
Why is the Byzantine acanthus leaf worth all this trouble?
I could go on and on about acanthus leaves, and about Byzantine especially, because it's one of the most complicated acanthus you can find. If you master Byzantine acanthus, all the others will be easy. Just like a piece of cake. Then it was more simplified, I said, except French. The French broke the rules. They still stayed in the rules, but they got some weird stuff going on.
Lesson 6 is next. The rest sit on the course page, and Access to the school is how you watch this whole undercut, start to finish. That's a number 9, a clamp, and a little wood left at the edge.
How it's done
- Lift the piece off and turn it over. I take the piece out with a borrowed chisel, which doesn't need to be sharp, and put it upside down.
- Clamp it, just to be safe. Holding it by hand works, but a clamp is safer, and it doesn't have to be big.
- Go to the edge with the biggest 9 you have. Every pass is a sweep, and the deepest work goes where two leaves meet.
- Stop a sixteenth short of the edge. That edge stays. Later on, a knife cut makes a beautiful outline.
- Hold back in the middle. Less wood comes out of the middle. On the stretch that meets the upper piece later, I keep it to about 3 mm, an eighth.
- Take the circle down 3 mm. Starting about 6 mm (1/4 in) in from its edge, and an eighth deep at most. A knife or a skew is sometimes much quicker.
Frequently asked questions
What should be left at the edge of an undercut?
Close to a sixteenth of an inch, on this Byzantine panel. In class I said one millimeter or one and a half was fine, and later we attack that edge from the opposite side and make it like a knife cut. If the grain fights you, be careful.
Which gouge do you use to undercut a relief from the back?
A number 9, and on this panel I had a big one. A smaller one works too, but bigger is better. With a big tool I use just one part of the edge, so it acts like a small micro tool, and every pass is a sweep.
Where should most of the wood come from under a leaf?
The sides of the leaf. In lesson 5 I said don't take too much material from the middle of the leaf, and to get more from its sides instead. Where two leaves meet, I said to go deeper in the body, and I asked everyone to be careful there.
What to carve next