

Alexander Grabovetskiy, woodcarver, School of Woodcarving · Published 2025
Why undercut a thick wood carving from the back?
Quick answer: Undercutting the back of a thick carving is how I break up the long pipes of grain inside the wood. Broken, they have less pull when the seasons change, so a crack is less likely later. On this grape onlay the same work also made the piece much lighter to place or glue on.
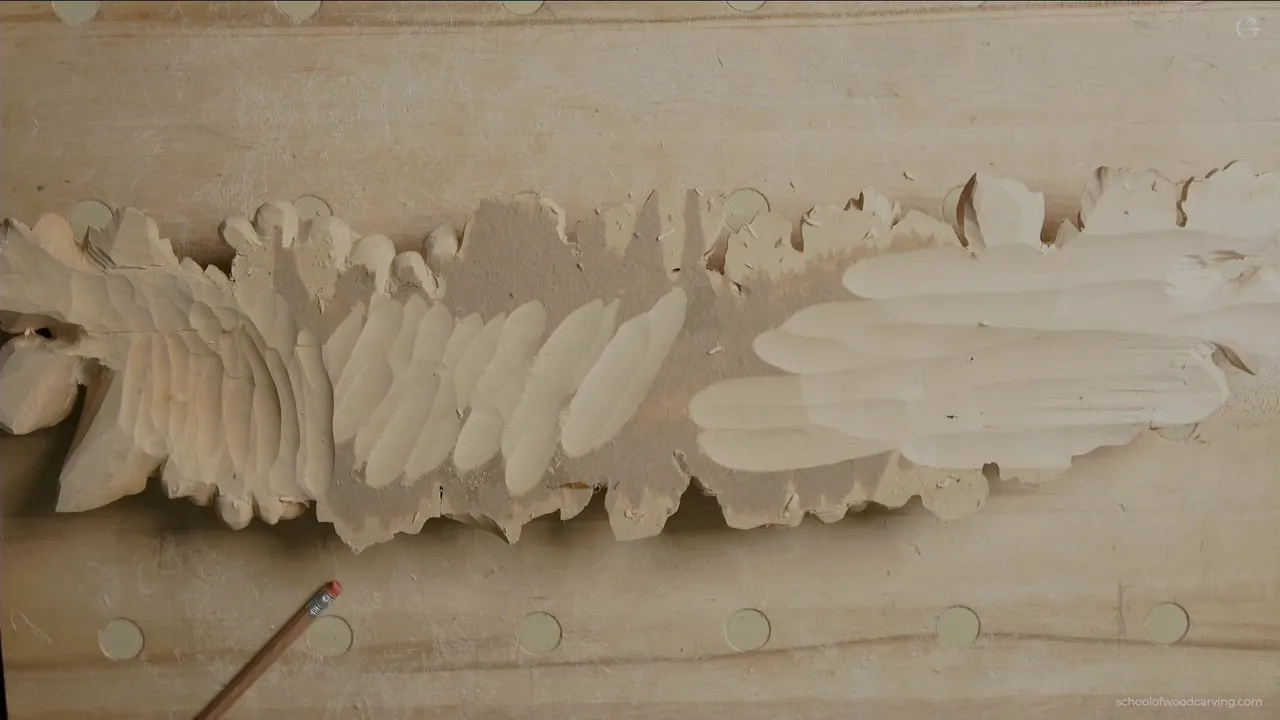
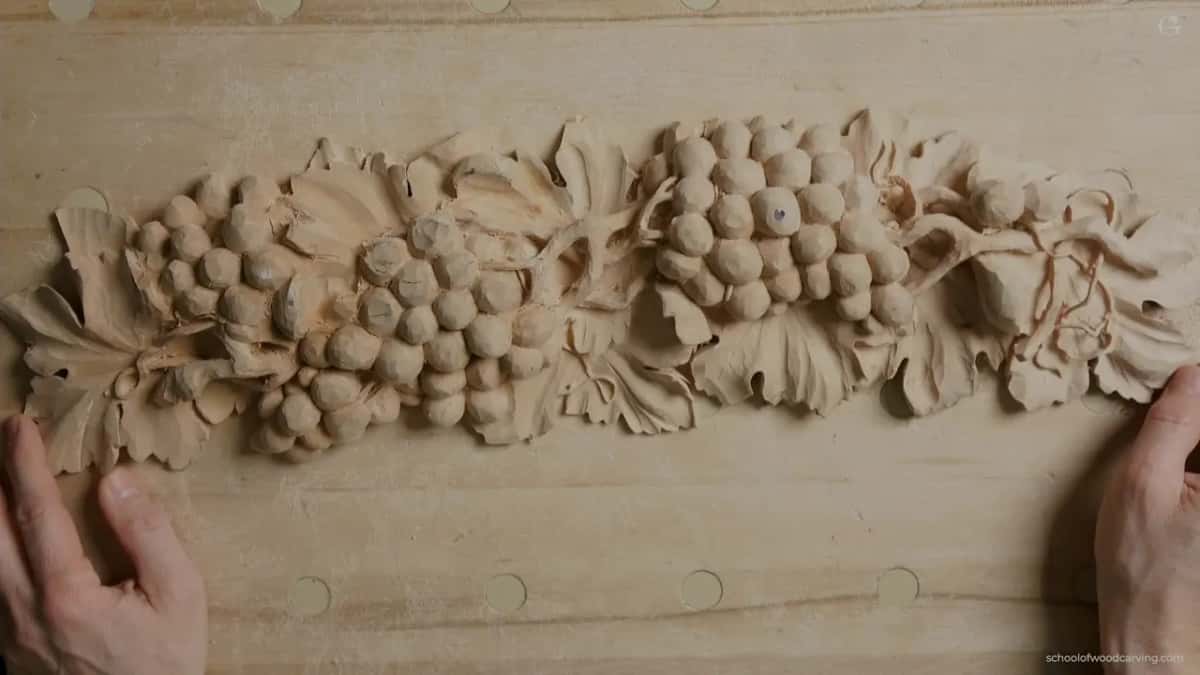
Undercutting a thick carving from the back side is how I break the long grain inside it, so the wood has less force when it moves with the seasons and a crack is less likely later. That was my first reason on this grape onlay. The second one is weight. The piece gets much lighter, so I am not afraid to place it, or even glue it on something.
Wood takes in water when the air is wet, right? And it gives that water back when the air turns dry? A thick piece of wood like my onlay keeps moving, and the back side is where I do something about it. In this lesson I flip the onlay, clamp it face down and dig into the reverse. Then I turn it face up again, take the facets off with the gouge flipped over, and undercut the lifts.
Undercutting a thick carving from behind, in five lines
- A couple of high spots keep their paper on, because the piece rests on them like legs once it is flipped.
- The eyes get excavated first, then a little bit beneath the lifts.
- A quarter inch or so, five or six millimeters, stays under the face, and at the edges it can go to a knife edge.
- A number 11 of about 7 mm does most of the digging.
- Both sides get watched.
Can undercutting keep a wood carving from cracking?
It gives you less chance to see a crack later, because thick wood moves, and this onlay has real thickness. There is such a thing as seasonal movement. Wood is going to expand, it is going to contract, it is going to shrink, and how much depends on where you live.
First of all, understand what the wood is. Pure anatomy. When you look at the direction of the grain, picture small, small pipes, like drinking straws, carrying all the juice. Wikipedia files that plumbing under xylem, the tissue that carries water up through a living plant.
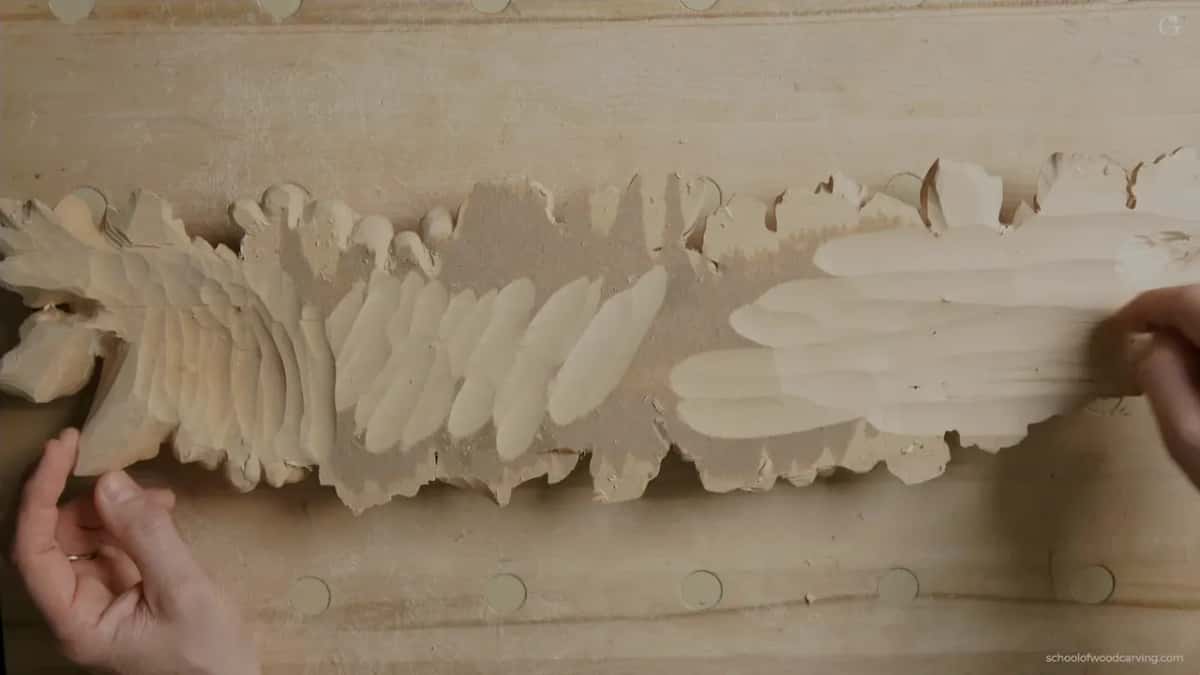
Here on the back side I excavated slightly inward, and at certain spots I could go almost through. The reason is that it's a continuous pipe, and once you break that force, you pretty much eliminate some of the movement. That is why I am advocating more undercutting than less.
I'm going to be honest with you on one point. A little later in the lesson I gave the reason again, to break those pipes, and I caught myself. Not to prevent, I said, but to make the seasonal movement as little as possible.
What did I say about wood movement in a livestream?
Much the same thing, at more length. In my April 2020 livestream someone asked if I was afraid of the wood moving and cracking on a big, thick piece I was carving. Some expansion and contraction was possible, I said, just the puffing and the shrinking.
That piece was glued up six inches thick (15 cm), but I was doing a lot of excavations, and I was breaking those fibers just by excavating. It was not a solid board anymore. So there was no strength inside of those fibers, and nothing was going to pull anymore. Between two ridges there was a cavity, and if the wood swelled or shrank in that area, I said it was not going to crack, because it was a small detail.
In that stream I said the excavations were already preventing me from cracking. On this onlay my words were less strong, as little as possible.
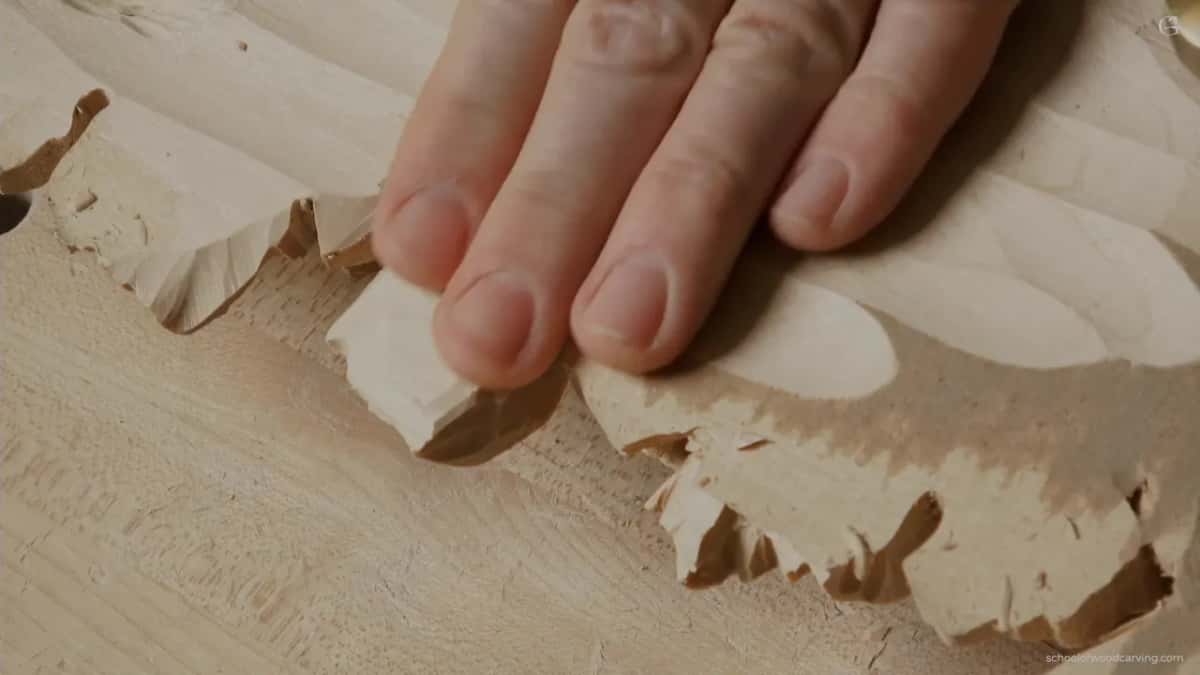
Deep excavation, less movement. Less excavation, a little more. I said wood is just like a sponge, it takes water, and a material like that is called hygroscopic. In a really humid summertime, with a lot of rain, it is going to puff, and you can't prevent that. A dry wintertime makes it shrink down.
Two more things from that stream belong here. The closer you get to the center of a log, the less movement happens, and near the outer part a lot more, which applies to basswood too. And air-dried wood was always my preferred method over kiln-dried. Right after you fell a tree those fibers are still alive and suck water much quicker. The longer ago it was harvested, the more they dry out, and some of my boards have sat in my shop for over 10 years.
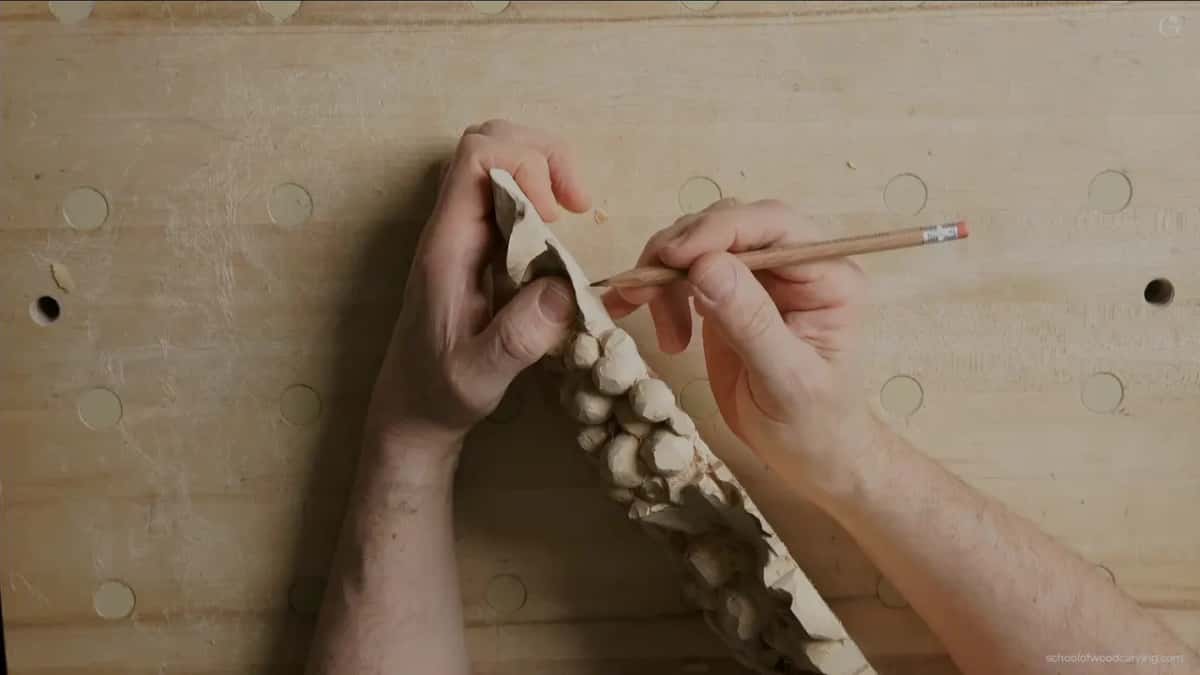
How much wood stays under the face?
About a quarter of an inch overall. Right now I could leave maybe five millimeters, and some spots are probably just about a sixteenth of an inch (about 1.6 mm). If you leave approximately a quarter inch, about six or five millimeters, you should be okay.
I don't want to take it too thin. I've made that mistake multiple times, when you pretty much go all the way through. Once in a while I also check the thickness.
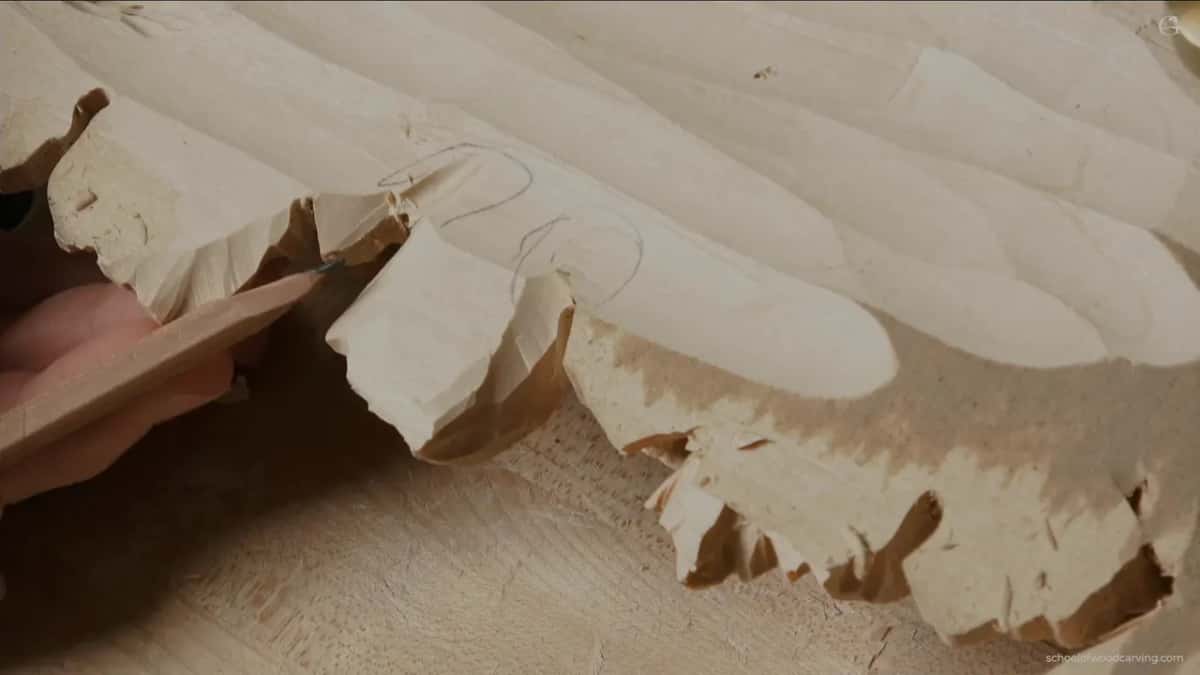
The edge is a different story. I go right to the knife edge there, a real knife edge, and I left maybe about one sixty-fourth of an inch (about 0.4 mm). Even before a leaf has its notches, nothing prevents me from undercutting it like that.
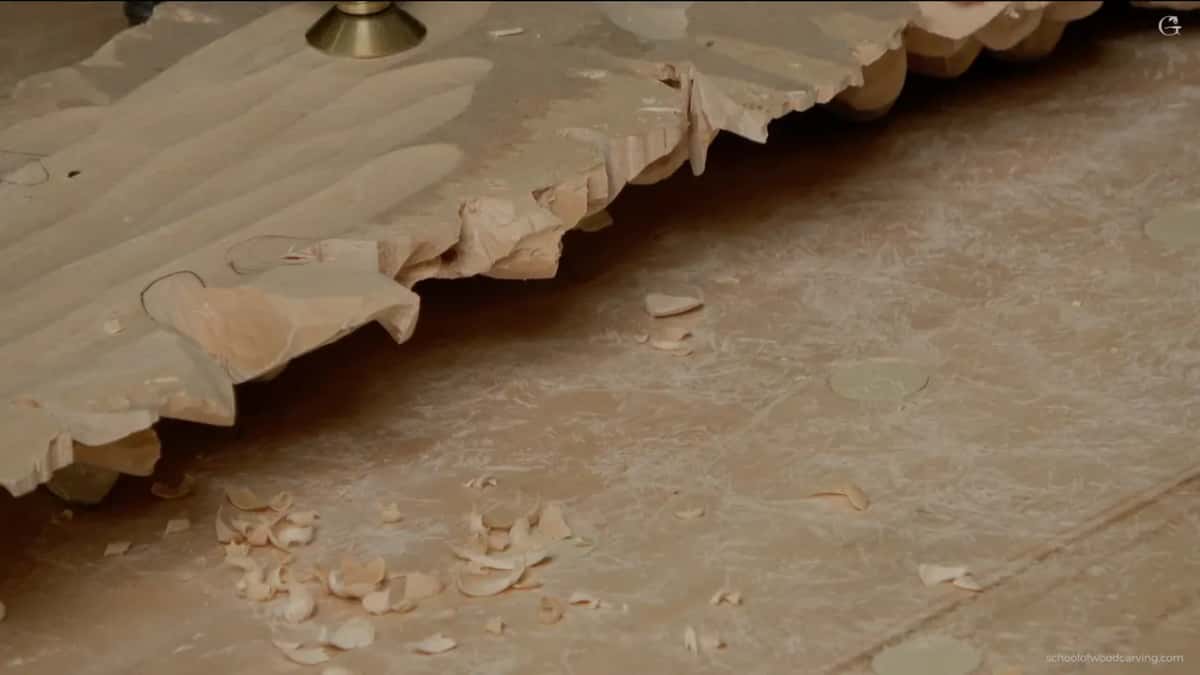
Where do I start digging on the back?
At the eyes. When I undercut, I concentrate mostly on those areas, and they were my first excavation. Step number one is to excavate wherever you see the eyes, and step number two is to excavate a little bit underneath the lifts. The reason, let me repeat, is to break that force.
I would probably take some material off one side too, where I have a really big thickness. The bunch of grapes I would probably excavate as well.
The face still looks rough, and that is on purpose. One of the main reasons I don't create the finished look from the beginning is that at the end I usually flip the piece over and start undercutting. I'm not taking care of the roughness until everything is done, and then I clean all the facets. In the first lesson I gave one more reason to wait with finished shapes, since the ones you keep touching become black.
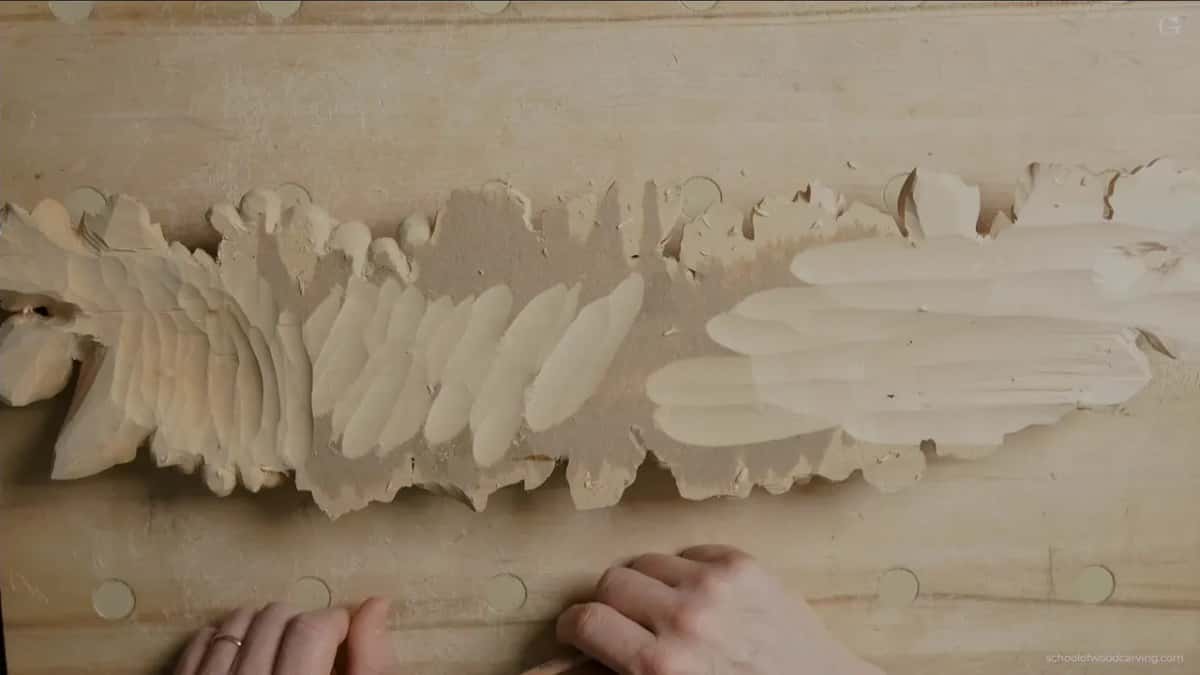
Why leave paper on a few high spots?
They are the legs. On my board you can see a piece of paper here and another one there, which means I've got at least a couple of spots I did not touch. Maybe it bugs some of you that I didn't clean them.
The reality is, I need to keep those high spots, because at some point I have to flip it, and it rests on them and stays pretty solid. They serve me like legs. Lesson 3 of this course is about why a carving can break when you carve its second side.
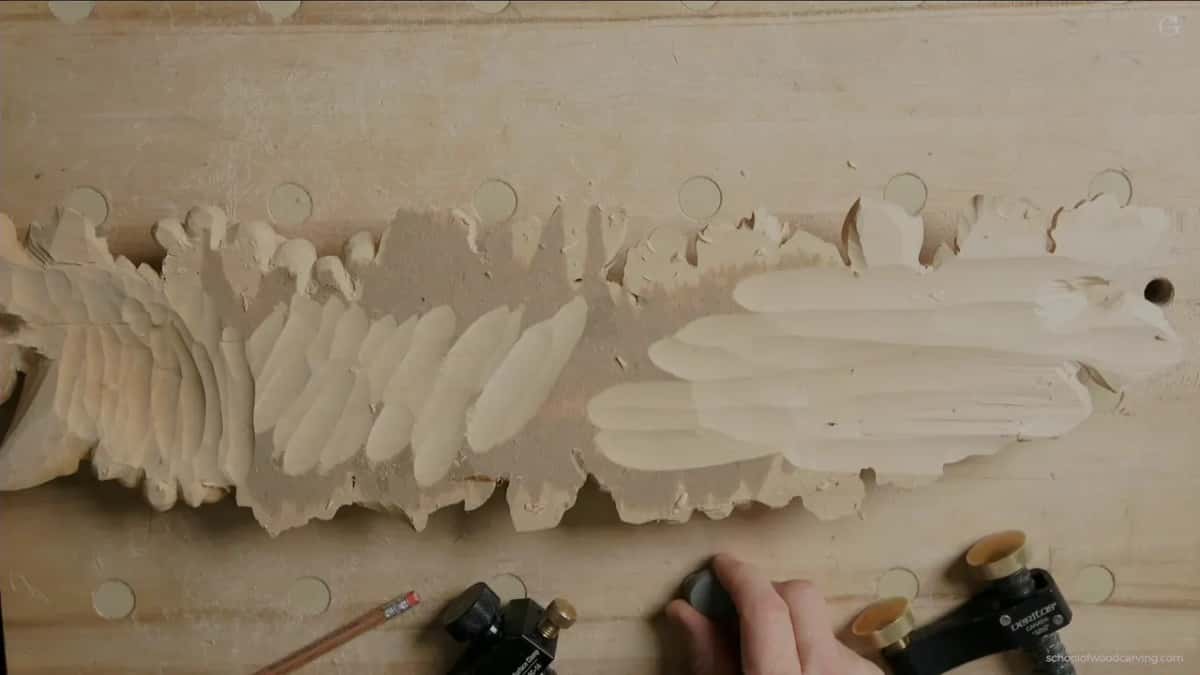
What holds the onlay face down on the bench?
A couple of clamps, and it doesn't matter what brand you use. One of mine is cheap Chinese stuff. No idea what the brand is. The other one is a Veritas from Canada, a brand Wikipedia covers under Lee Valley Tools. I like Veritas better, but you can get by with the cheap ones, or even the spring ones.
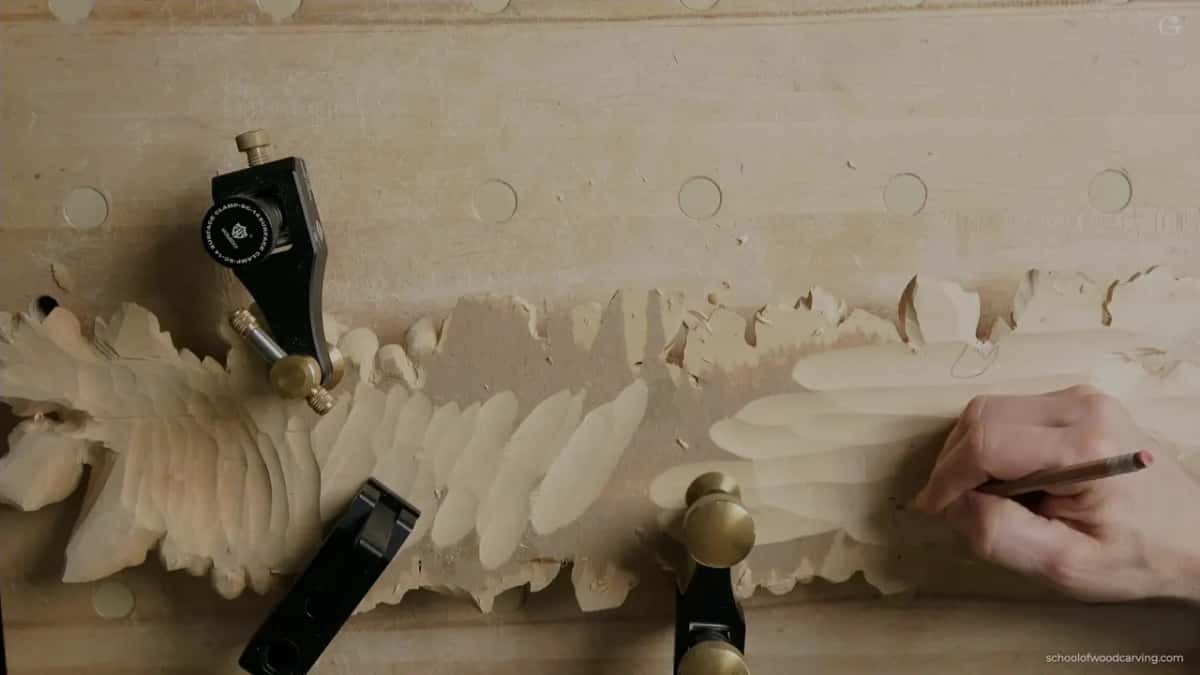
Since I know I have legs under it, I can clamp it really tight. Maybe even one clamp should be enough, but no, I don't like that wiggle, so I put another one on.
I also plugged the dog holes in my bench, because at some point it just bugs you how many chips go into them. The plugs are magnetic. Someone made them for me, a 3D print with a magnet inside and probably a metal washer, so each one pops in and pops out. In lesson 10 I showed double-sided tape as another way to hold this onlay.
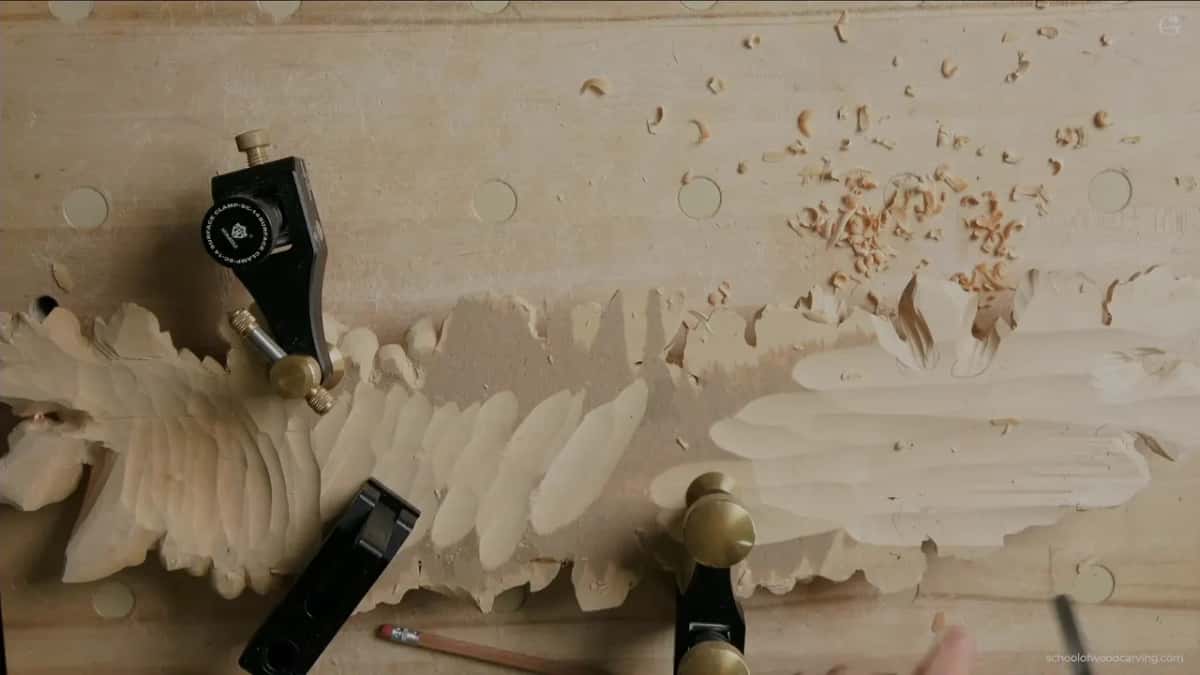
Which gouge does most of the work on the back?
My favorite tool is always going to be, probably, a number 11 veiner. Size depends on the project. Here I used about six, maybe seven millimeters, and I went with the seven.
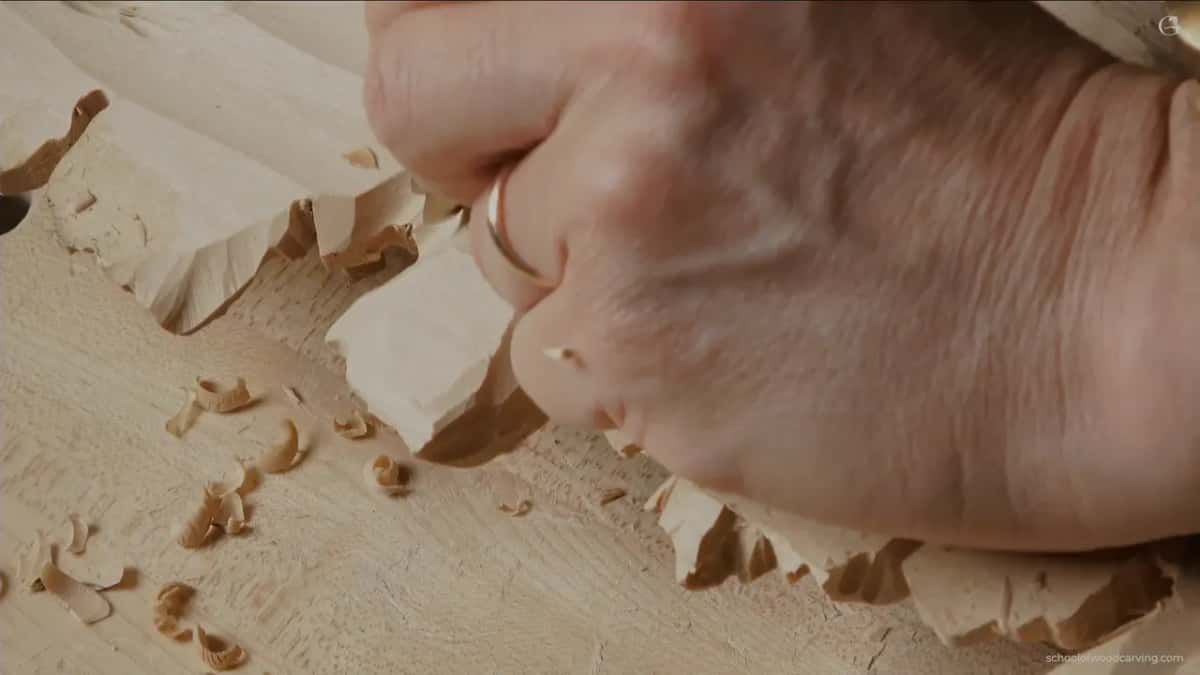
I excavate a channel and approach from the inside outward, with an eye on that side until the knife edge. Even with the number 11 I'm still doing my slicing. Keep an eye on both sides, it's really important. After it I took a number 7 and excavated a little bit inside, watching the face and the back again.
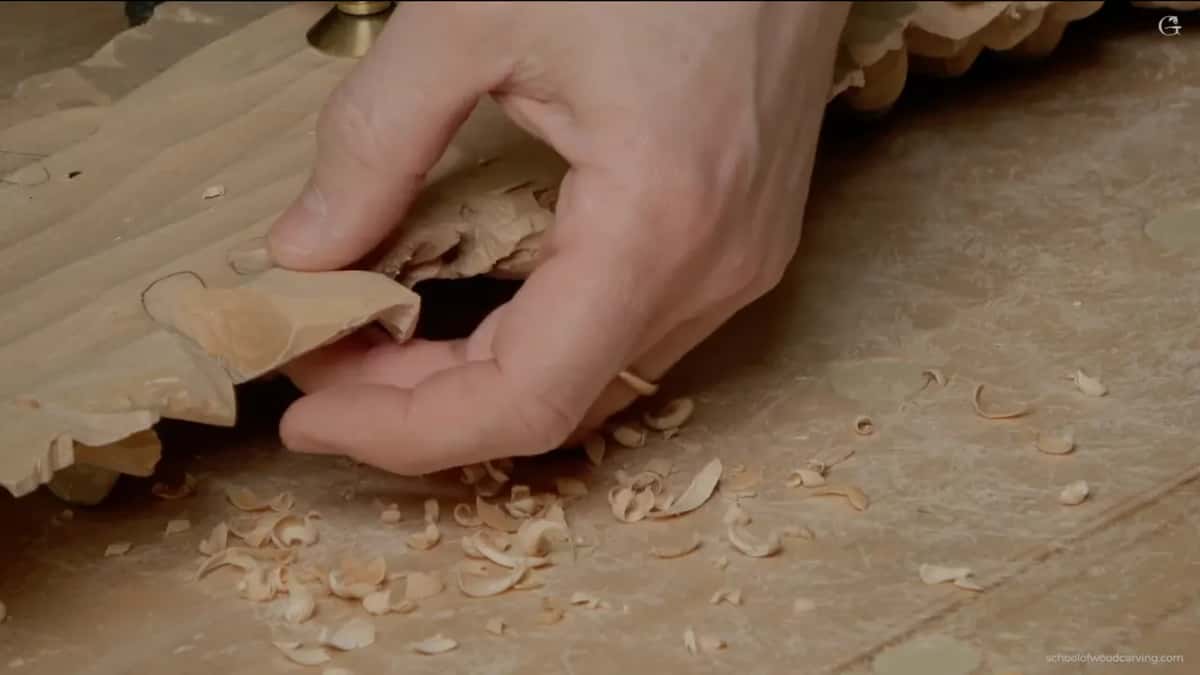
I slice because I don't want to see a choppy back. It could look rough, and I'm okay with that, but I still would like to see clean work. There is a wave on the inside, and I can mess it up if I continue digging too much. The goal is still to take it through to the edge. And the sharper the tools, the better the result.
One spot was a danger zone. A place like that needs an approach from the opposite side, or maybe a different tool in the end, like a spoon gouge. In another place I made a kind of dome. Do you have to do that? Not necessarily. A dome casts a lot more shadow, and wood carving is all about light and shadow, the same game painters call chiaroscuro.
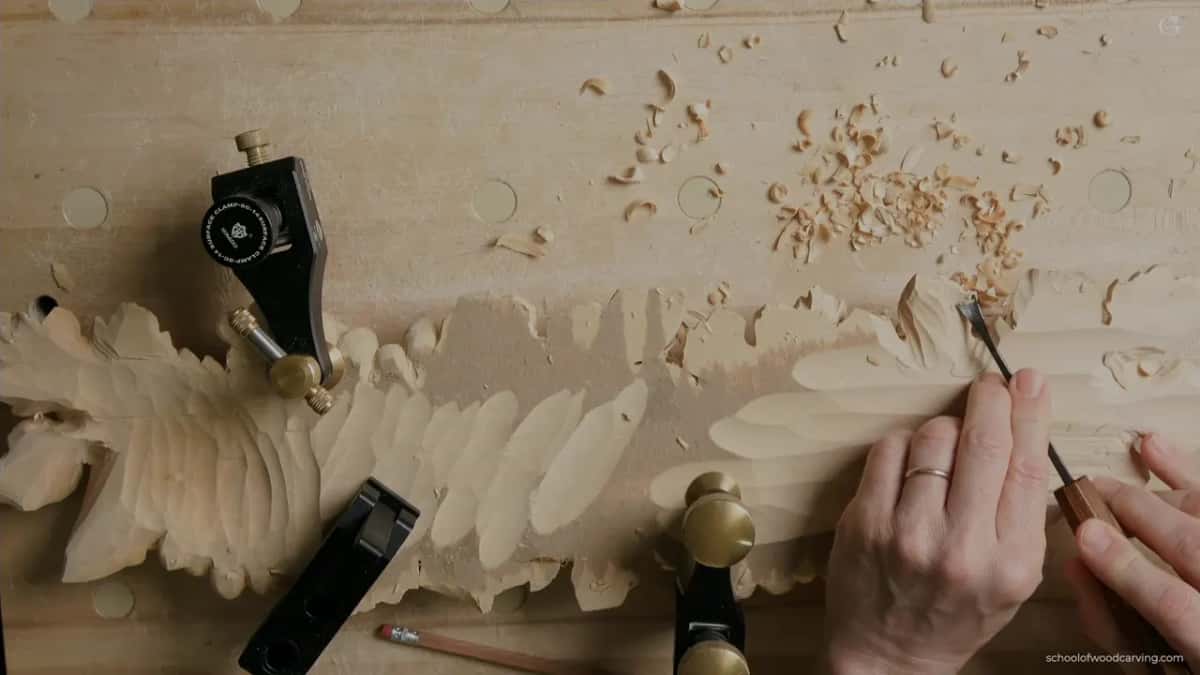
I already showed this technique in other lessons, but I'm pretty sure not every one of you watched all of them, with over 3,000 videos now, so I repeat it.
Tools for the back, the lifts and the clean-up
| Tool and size | What I did with it on this onlay | Which spot |
|---|---|---|
| My #11, 7 mm | Dug a channel, inside outward, still slicing | Behind eyes |
| A #7 next | Excavated a little inside, watching both sides | Back side |
| Small #11, 3 mm | Undercut the lifts, flute at nine o'clock | Under lifts |
| Then #11, 2 mm | Went deeper, about half an inch inside | Lifts, eyes |
| Sharp #7, 14 mm | Rode upside down over facets in circles | Faceted areas |
| Skew chisel #1 | Took leaf facets down, almost no material | Leaves, optional |
How do I strop the gouge for the clean-up?
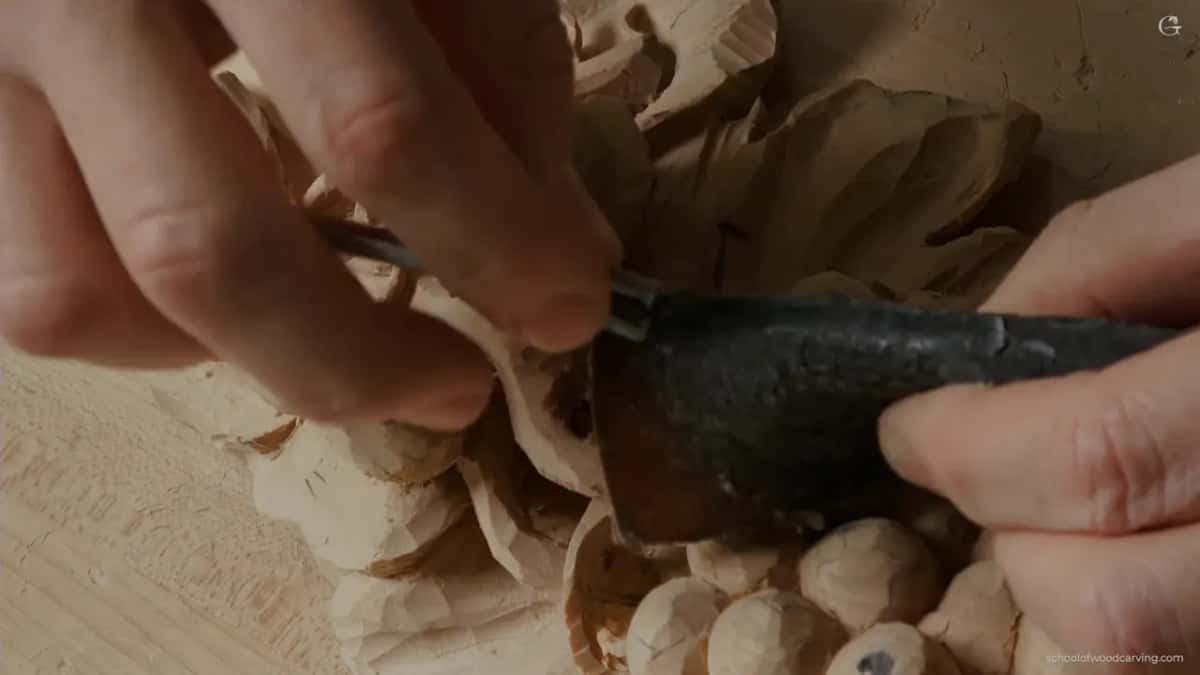
With my favorite mirror paste on a piece of leather, a strop. It comes from England, and it's a really awesome product, but make sure you don't touch it with your hands. I have no idea what's inside, but look at my piece of leather, which is pretty much equal to your skin, and see how it deteriorates. If you do touch it, clean your hands right away.
I strop the inside first before I hit the outside. Stropping still creates a rolling effect. Start on the main bevel and you create a lot more of that rolling backward. I'm okay with the backside rolling, but not with the front side too much. Please don't create a lot of pressure, because you really don't need any, and keep your tool in the same position without wiggling. Carving Tool Sharpening has a whole course of its own.
What happens to the facets once the back is done?
People differ on them. I saw some wood carvers whose work is all covered with facets, which is pretty much the mark of hand work, but not every client likes that. For this I took a number 7, 14 millimeters, and my tool has to be super sharp.
I place it upside down and make a circular motion, riding right on top of the facet. I don't dig into it. One facet just goes away. First pass, then a second pass with micro, micro movements, barely removing any material, and with that technique you can make it look completely sanded. It's not a quick process, at least for me. Maybe I'm doing it wrong, but it takes a long time, and it's tedious and kind of annoying work.
Inside the triangles you can use a knife. Any knife, as long as it is really, really sharp. You excavate on the side and inside the triangle with the point, the way you would in chip carving.
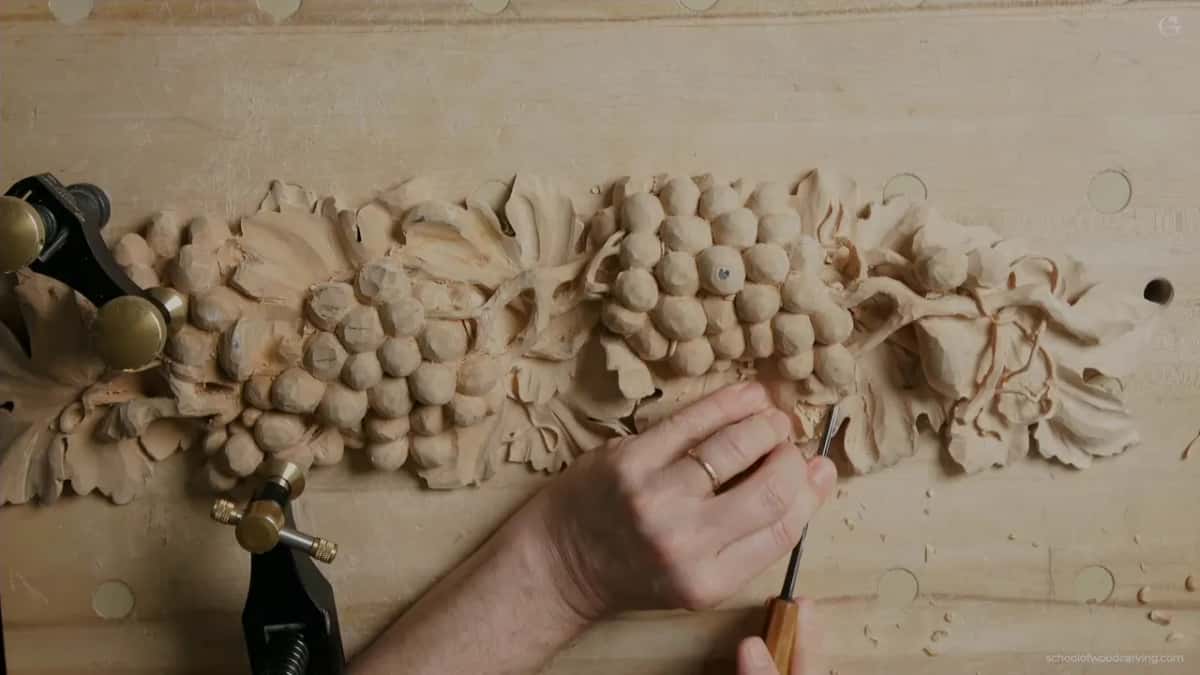
I kind of like those facets on the leaves. If they bug you, take a flatter gouge, or a skew chisel, number one, over them. Same idea, almost no material comes out. For the inside of a concave area you can even use small Dockyard tools, on a micro level. Not every spot should get this treatment, though, and in some of them a single clean pass gives a finished look on its own.
How are the lifts undercut from the face side?
With the same tool, a number 11, here a 3 mm one. I place it on one of the sides, go to about nine o'clock with my flute, and start to undercut. My goal is to get to the knife point there too, little by little. You don't have to dig really deep in one pass. Take your time, excavate, approach from two sides, and feel what the grain does.
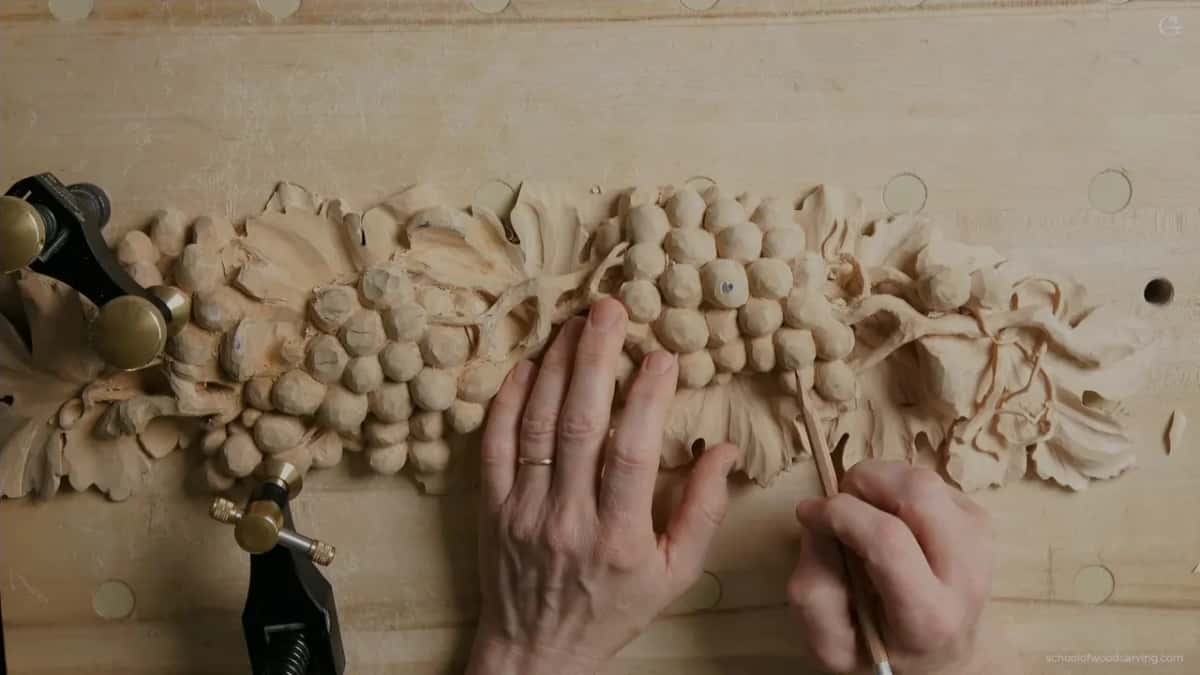
Three millimeters is good. To take it to the extreme, go to two millimeters, then one, then half a millimeter, and you still get the same result. How extreme you go is up to you, and a really good undercutting job sometimes takes a long time.
In the eyes I place my tool upside down, flute down to six o'clock, and excavate with a kind of zig. Next I pull slightly, hooking and dragging out. Cut, hook. You don't have to, but I have a tendency to do it naturally. That way the chips fly out right away, it's cleaner inside, and you see much better in there.
With a 2 mm number 11 I got about half an inch (13 mm) inside. That is more than enough for people to think it's a glued together piece, but you can say no, no, take a look inside, it's a solid piece. Lesson 6 is where I explain carving pierced work from the solid.
Following my movements is not required. In fact it's better to develop your own, and that makes it a lot easier for you. The whole Carving Grape Onlay course sits around this lesson, with lessons 11 and 13 on either side, and every part video is inside Access.
How it's done
- Leave a few high spots. I keep a couple of spots on the face untouched, paper still on, so they serve as legs once I flip it.
- Clamp it face down. Two clamps hold it on my bench. With the legs under it I can go really tight, and the second clamp goes on because I don't like the wiggle.
- Excavate the eyes first. With a number 11 of about 7 mm I dig a channel at each eye, working from the inside outward and slicing as I go.
- Go a little under the lifts. Step two takes some material from under the lifts, to break those pipes and keep the movement small.
- Check the thickness now and then. Once in a while I check what is left. A quarter inch is fine behind the face, and only at the edges do I go down to a knife edge.
- Clean the facets last. Turned over, I strop the gouge on the inside first and ride it upside down over the facets.
Frequently asked questions
How thin can you carve the back of a thick carving?
Roughly a quarter of an inch should be okay, which is five or six millimeters. On my grape onlay one section came down to roughly a sixteenth of an inch, and the real knife edge kept maybe a sixty-fourth. I keep it from going too thin, because more than once I have carved right through.
Does undercutting the back stop a carving from cracking?
My honest word for it is less. Breaking those long pipes eliminates some of the movement, so a crack later is less likely. Explaining it on this onlay, I corrected myself, and the goal I named was a small seasonal movement, not a promise that the wood will never move.
What gouge do you use to undercut the back?
Mostly a number 11, my favorite tool, at about seven millimeters on this onlay. I dig a channel from inside outward and keep slicing even with that sweep. A number 7 went in after it, and for a danger zone I might come from the opposite side or reach for a spoon gouge.
What to carve next