
Alexander Grabovetskiy, woodcarver, School of Woodcarving · Published 2022
How much wood should stay under a carved detail before gluing?
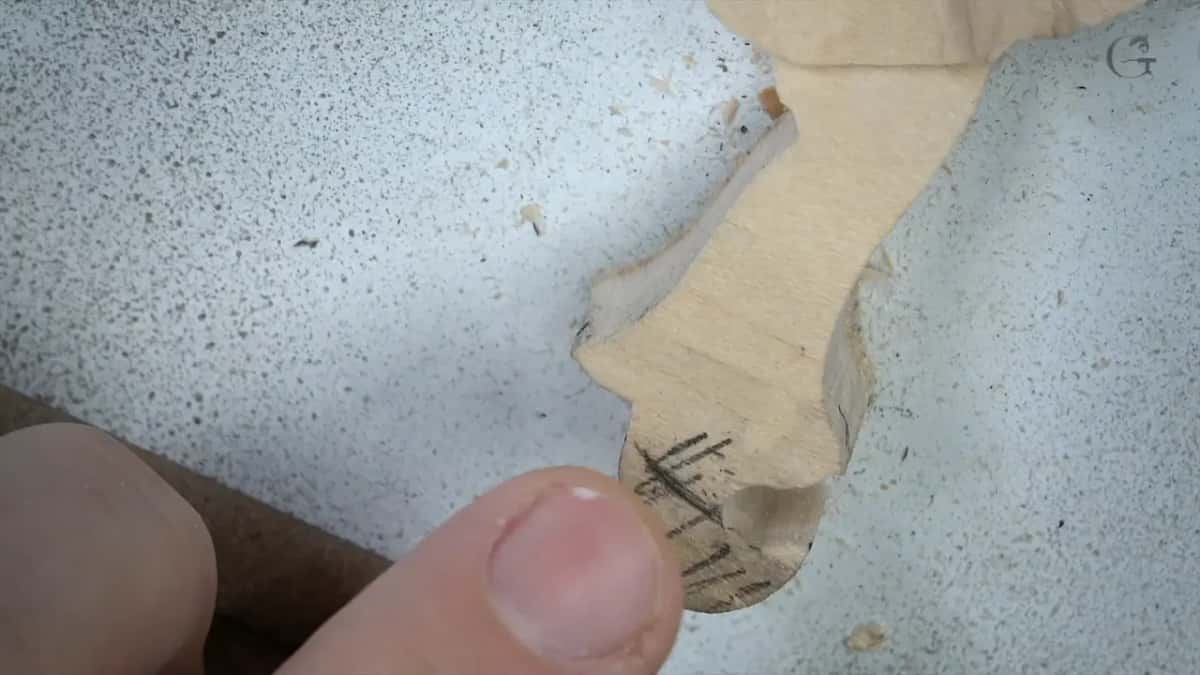
Quick answer: The wood left under a small carved piece that gets glued to a panel is about 1/16 inch (1.5 mm) at its edges, and no more. Both sides slope downhill nearly to the bottom, so the undercuts from the two sides still leave a connecting point in the middle for the glue.
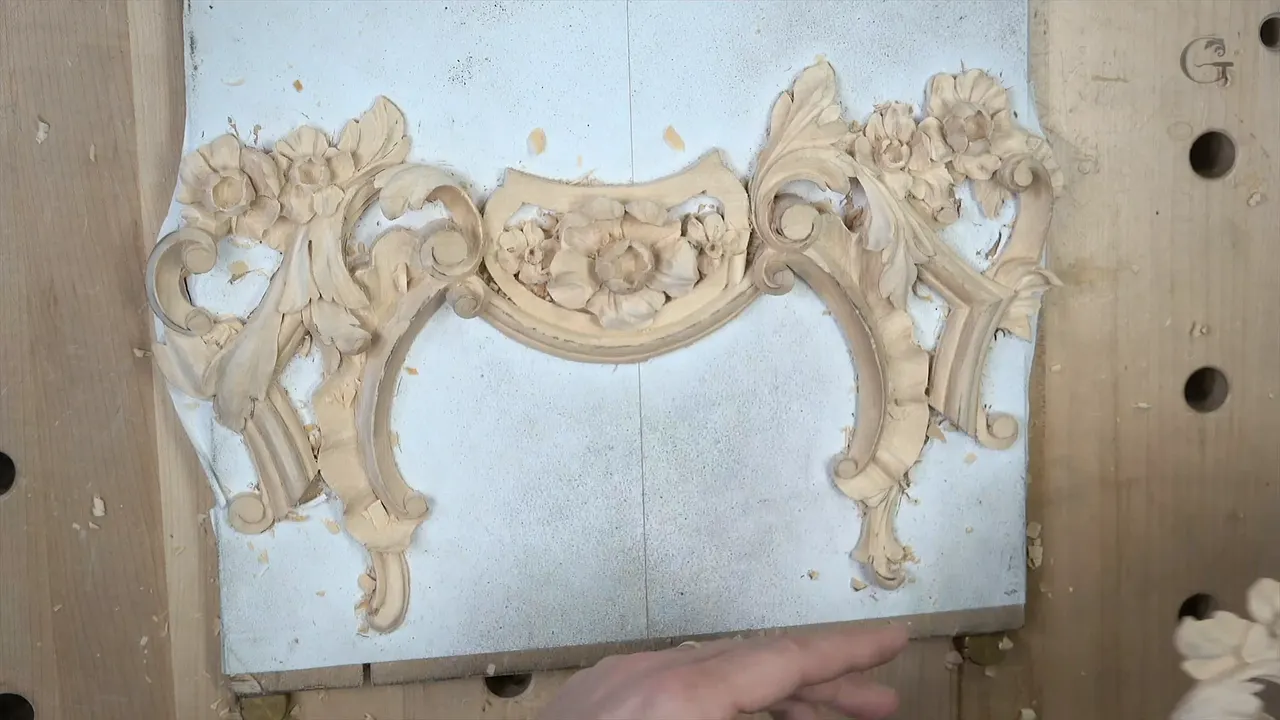
I leave about a sixteenth of an inch under the edges of a small carved piece before it is glued to a relief panel, a millimeter and a half, and no more. Each side slopes downhill to it. My reason, said in lesson 14 of the floral and molding course, fits in one line: "If I'm going to undercut all the way through, there's no way I can glue that on the panel."
Have you ever held something small and thin in your fingers? Did you feel how easily it could snap? These two little acanthus pieces are like that. "It is really easy to break," I said about the first one, and I held it with my fingers and went at it with care.
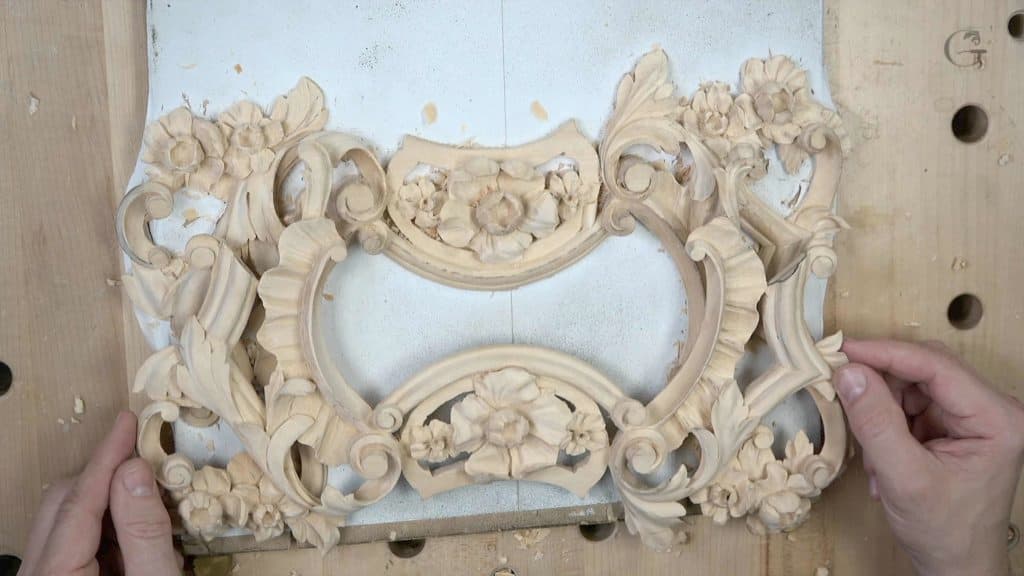
This is the last lesson of the course, and the work does not take too long. Two small pieces were left, and after them only cleanup and paint. They are simple movements, but I showed them anyway, just in case you never carved that. This page follows both pieces in the order I carved them, with the tools I named. Lines from three other courses are named and linked too.
Both small pieces in six lines
- Each piece slopes downhill on both sides until about 1/16 in is left at the edges, sometimes less.
- Where a piece meets the shell, I keep some meat, since the grain makes that spot weak.
- Smaller tools grab less wood, so a weak piece gets less stress.
- The separation line got a shallow concave from a small number 5.
- Down the center line went a convex with a concave on each side, the same idea as on another acanthus.
- Chipping started where the tool's corner dug in, and a smaller number 11, 4 mm, worked much better there.
What was left to carve in the last lesson?
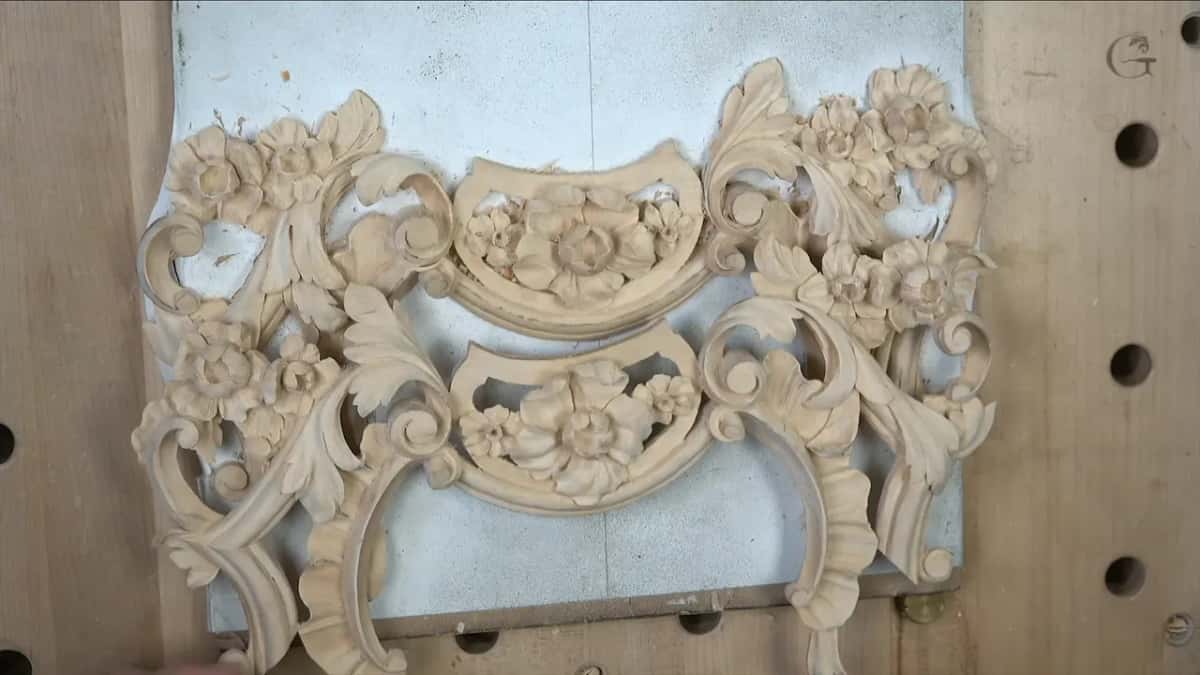
Two small pieces. I said I had "only those two guys to do," then just cleanup over and over, and of course paint.
Both are small acanthus pieces, and they had to be flipped from the piece I carved before, so one goes on one side and one goes on the other. Before them came the last two flowers, in lesson 13.
My first little acanthus was kind of loose, with a gap underneath it. "But it's okay," I said, and went on. Its movement is a twist. Flat and twist. I think I have done that multiple times, so it should be self-explanatory.
How do you know how much to take off the top?
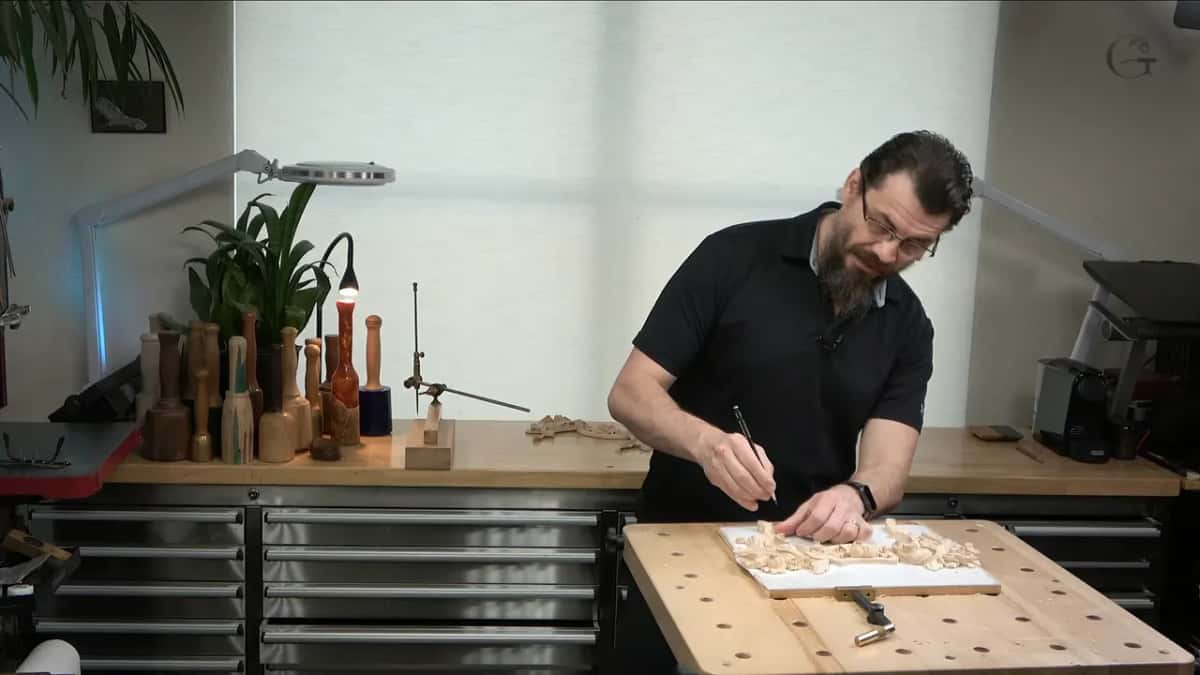
I measure it first. My pointing machine had already marked how high the first one is supposed to be. Maybe about four millimeters, I said, maybe three, one-eighth of an inch, and that was how much I had to take out.
For the left-hand piece I measured the highest spot anyway, although I already knew it. "It takes only a couple seconds, so why not?" There I had to take approximately a quarter inch, about six millimeters.
Wikipedia calls the pointing machine a measuring tool that stone sculptors and woodcarvers use to copy a model. Carving to an exact depth is the subject of lesson 4 in this course.
Why is a smaller tool safer on a weak piece?
Grain is the trouble on these little pieces. "It's really weak because the grain runs that direction," I said of the first one.
For its curl I took a smaller tool, a quarter-inch number 9 (6 mm). "Smaller tools are safer sometimes," I said. A small one does not grab as much material, so there is a lot less stress. I went in from the high point, going downhill.
Near the weak point I went closer, and I did not go too deep right underneath it. There was no need.
On the chamomile and bow rosette I said it more strongly, while I carved the back of a flimsy piece. More flexibility is what a smaller tool gives you, I said there, and yes, it takes maybe slightly longer, "but smaller tool is always better."
Can you hold a loose piece with just your fingers?
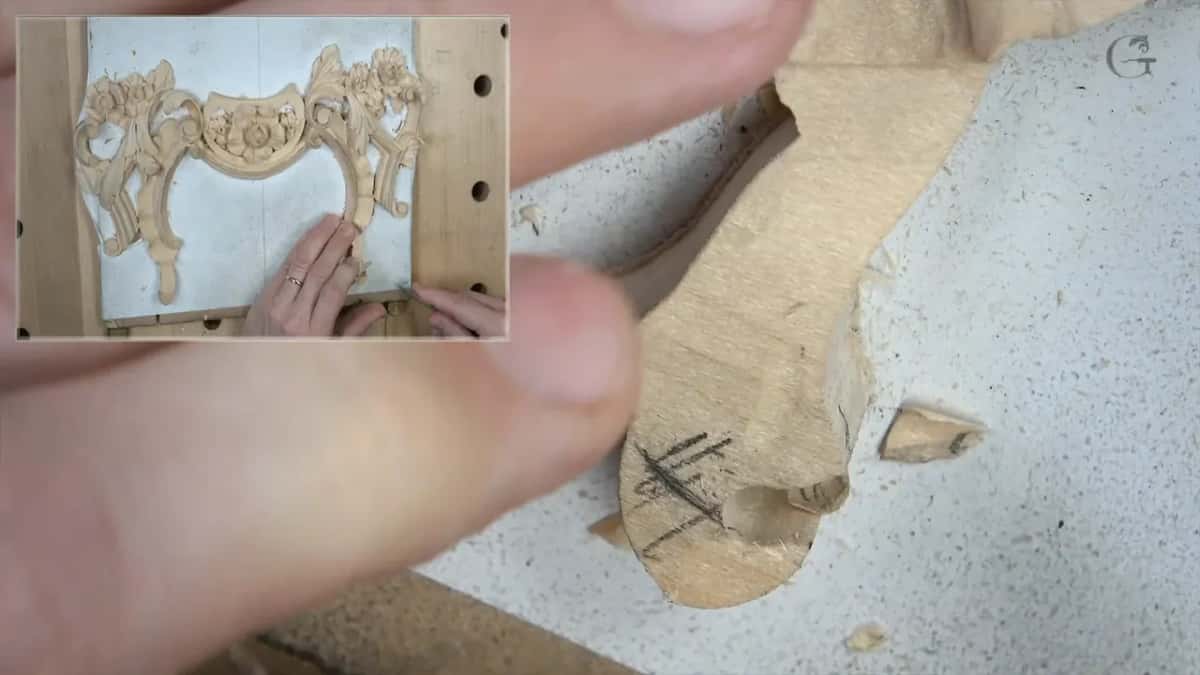
I did, on the first one. "I don't think there's any reason for me to re-glue it," I said, so I held it by the fingers. If you feel it is not safe, though, go ahead and put a drop of super glue, and that part was my advice to you.
See how I hold this finger, because I am trying to make it secure. Later, when I curled its end, my thumb did the holding, although the camera did not show it.
With that rosette I put one finger underneath, so the piece would not get even more flimsy. And I warned there never to put your hand at the front of your tool, because a tool can slip and get into the finger. Always hold it behind your tool.
What happens when you carve against the grain?
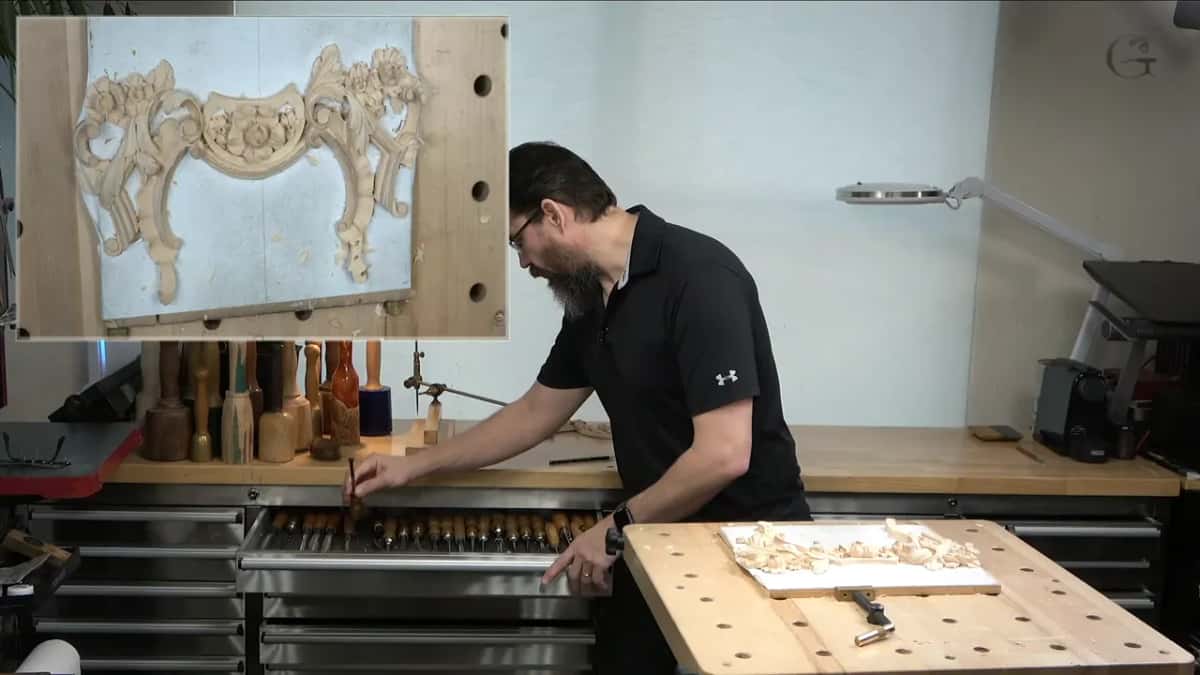
It comes out rough. This first acanthus is lower on my right-hand side, so I had to slope everything that direction. Partway in, my first tool needed changing. "This one needs to be sharpened or just stropped," I said. Sharpening gets a whole course here.
Next I knew I was going against the grain, and I said so. That is why it was really rough. "It is always better to attack that from the right position."
Which way does the high spot go?
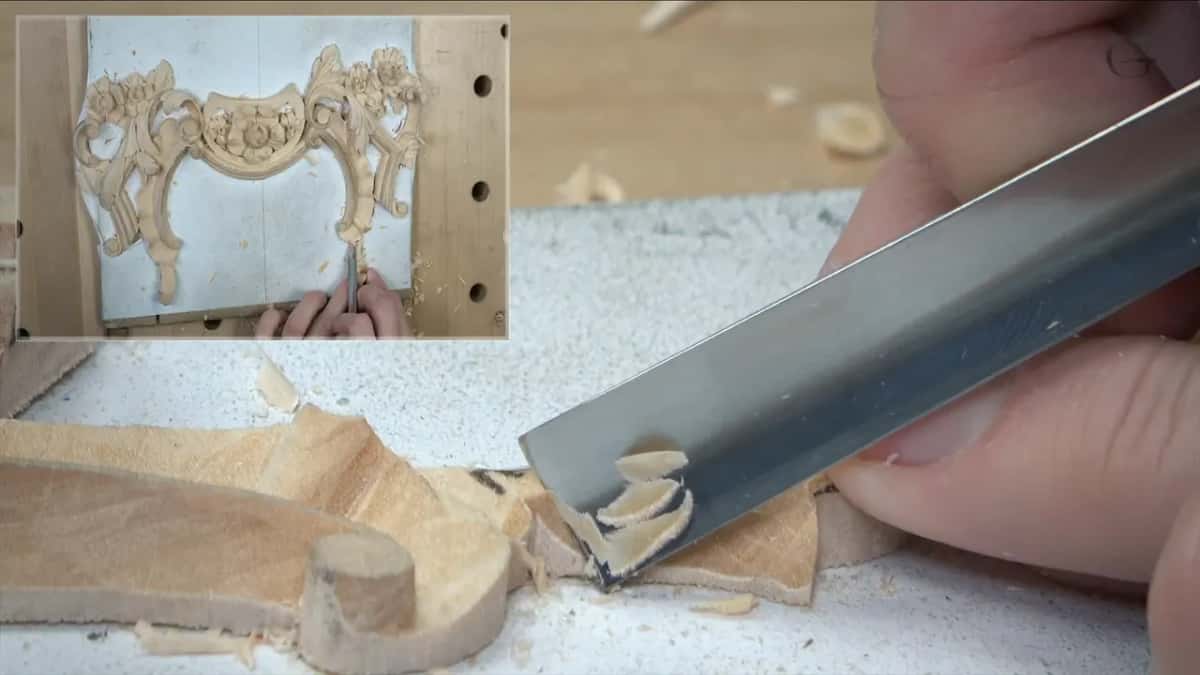
Down, with a slope. The opposite side of that movement goes downhill the other direction, so there was a high spot, and it sat a little too high. I took a number 7 at 14 mm (9/16 in). "I could use probably smaller," I said, but I used the 14 mm, lowered the whole thing and gave it a slope right away.
Later I took the pencil and showed you the line. The overall thing had to come lower, so it would feel like it goes underneath. I shaved it with the same tool, and I did not push it. I was still slicing it. That slicing cut is what lesson 1 is about.
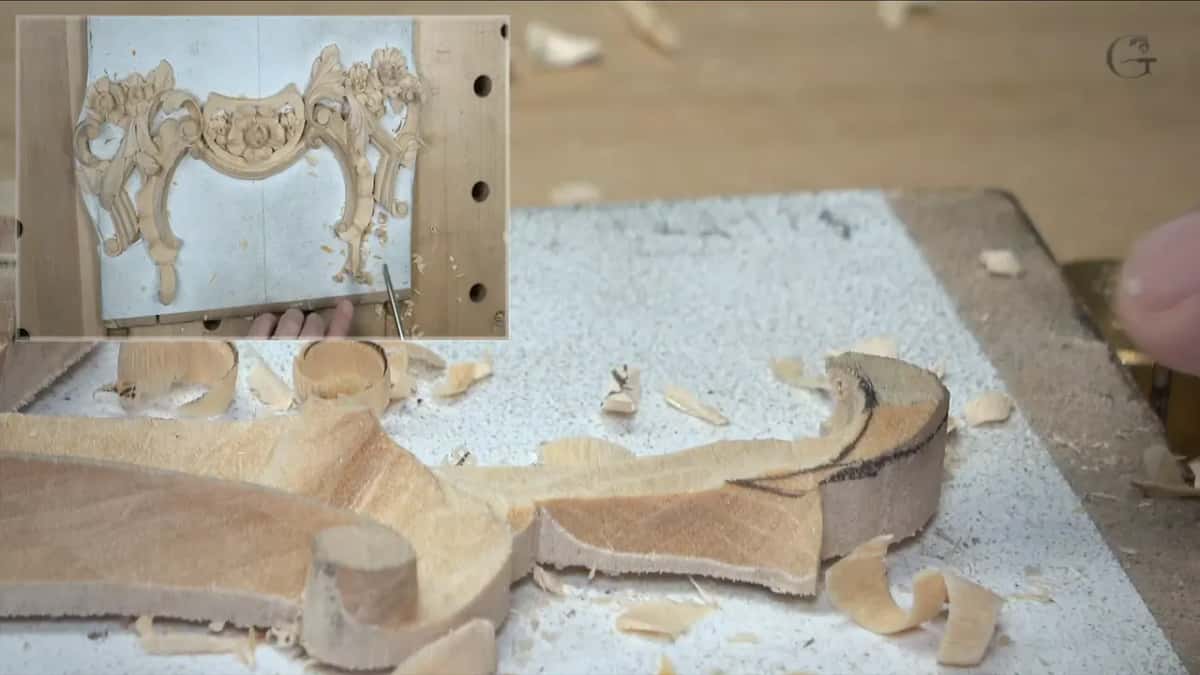
Why do both sides slope downhill?
I raised that question myself on camera, and the reason is the glue. This side gets undercut, and so does the opposite side, and I still need a connecting point underneath. So I want both sides to go as close as possible to the surface that will be glued on to the panel.
I said I would leave "no more than maybe a millimeter and a half, about 16th of an inch," on the first one, and its opposite side got exactly the same. With the left-hand piece it was about the same again, "maybe some spots less for the undercut," and the slope came down close to the bottom, just for the gluing purpose. So read that number as the most I leave at the edge, not the least.
A different glue job takes a different number. My Byzantine acanthus lesson 1 glues a second layer on top of the first. There I asked for a border of about three-quarters of an inch (19 mm), or five-eighths (16 mm), "but three-quarters is going to be giving you better gluing surface." I told students not to touch that border with any tool. "Because we need gluing surface."
Then there is the chamomile rosette piece. After I flipped it to carve the back, I still had to keep a glue line, because I was going to glue it to the panel. Other areas, I said, I can take out.
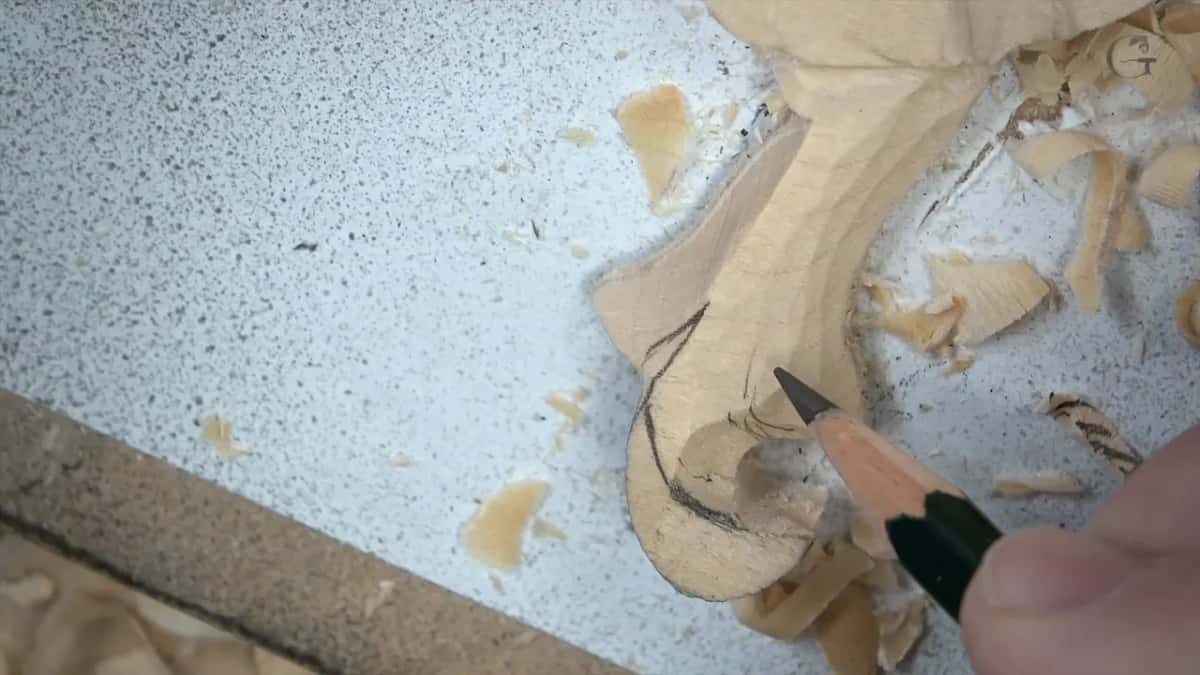
Where is a small acanthus piece weakest?
Where it connects to the shell, because the grain runs that direction there and creates a really, really weak point. I wanted "enough meat at the end right there," I said, since that connecting point to my shell has to have some meat. Otherwise it would be too weak.
So I made sure it was not too low, and I said that twice. The left-hand piece was the same, and I kept it from getting too weak where it connects to my shell.
In Venice Room lesson 31 I said nearly the same about a spot with no connecting point: "it would be not so smart to create too weak spot." I could go pretty much all the way down there, I said, but I had to be still smart and stop short of the bottom.
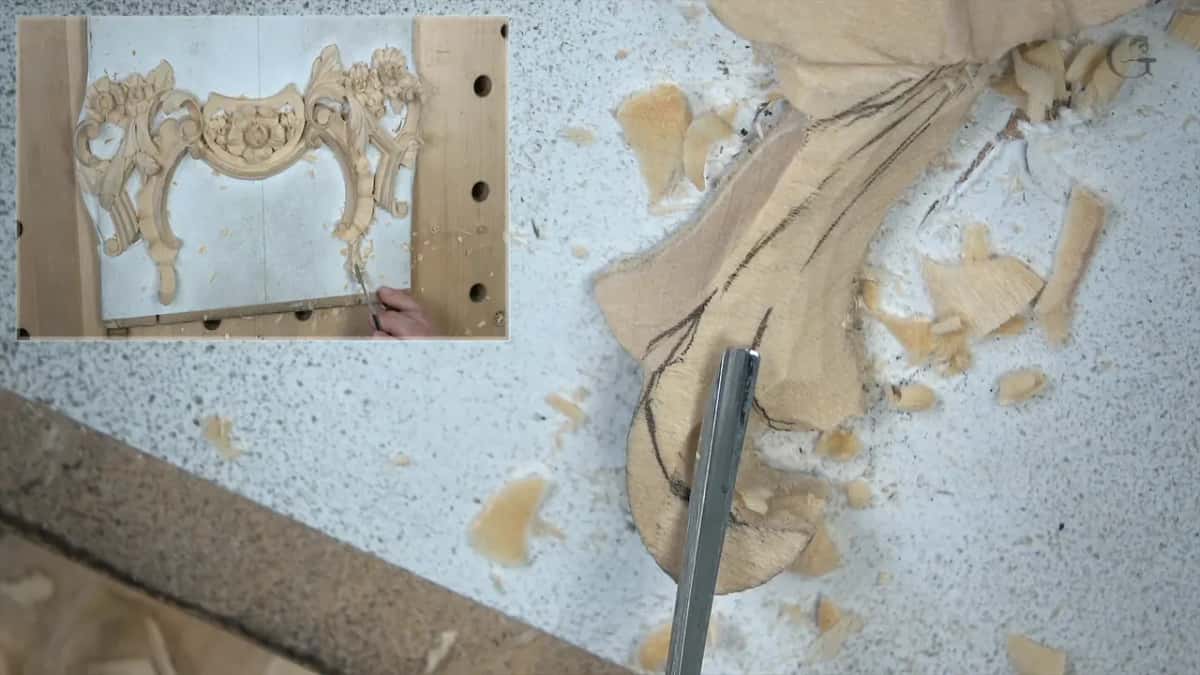
How does one part look like it lies on top of another?
With a separation line and a shallow concave along it. That first acanthus had a couple of separations to do, and one was the main one, where everything grows from one point. "I want to make it feel like this part laying on top of that section," I said.
Any number 5 will work there. I took a quarter-inch number 5 by Ashley Iles, then said it was too big and changed to 1/8 of an inch, three millimeters.
On the piece I carved before, small concave cuts ran along those lines, so I did the same. One concave went right in the middle of each line, made with the tool already in my hand, and then everything got blended. A really deep concave was not what I wanted. "It's only number five, by the way." One shape passing under another is lesson 5 on this panel.
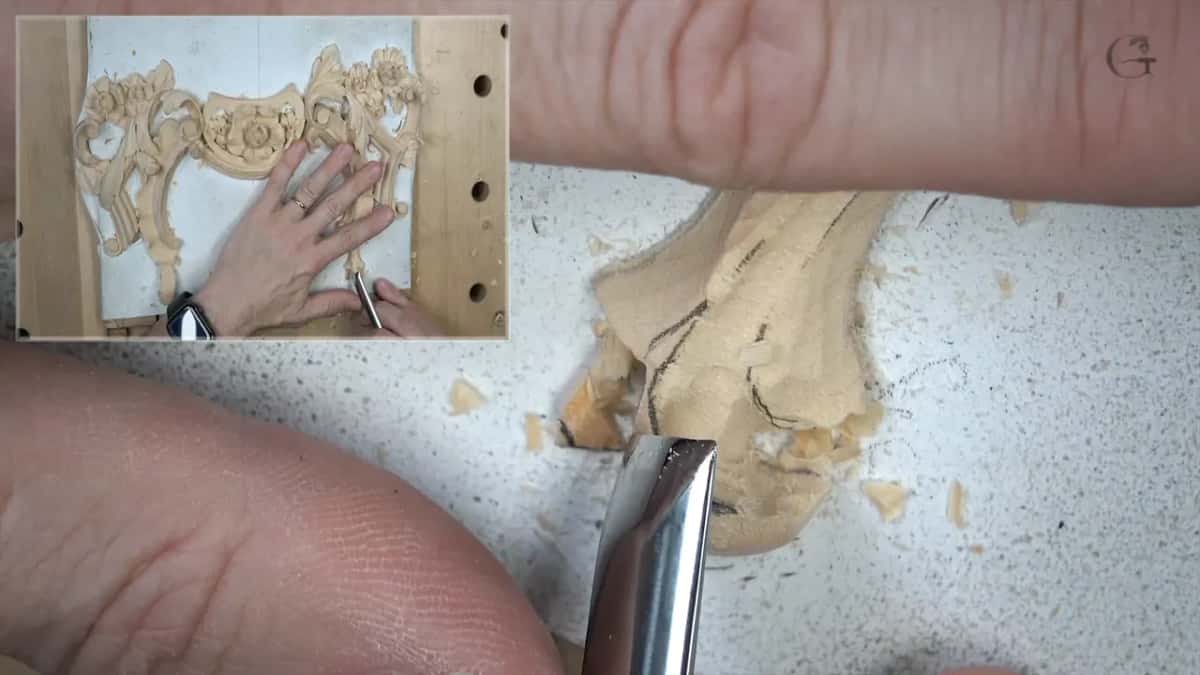
Curling the end of the first acanthus
The number 7 at 14 mm came back for the curl. I held the piece with my thumb and gave it a really nice curl.
One point there could go almost down to the bottom, so I lowered it. "That way, I don't have to undercut too much." After that I blended everything and undercut just slightly with the same tool. Looked at from above, it does look like it is curling.
It needed a little more cleaning, but I did not change the shape after that.
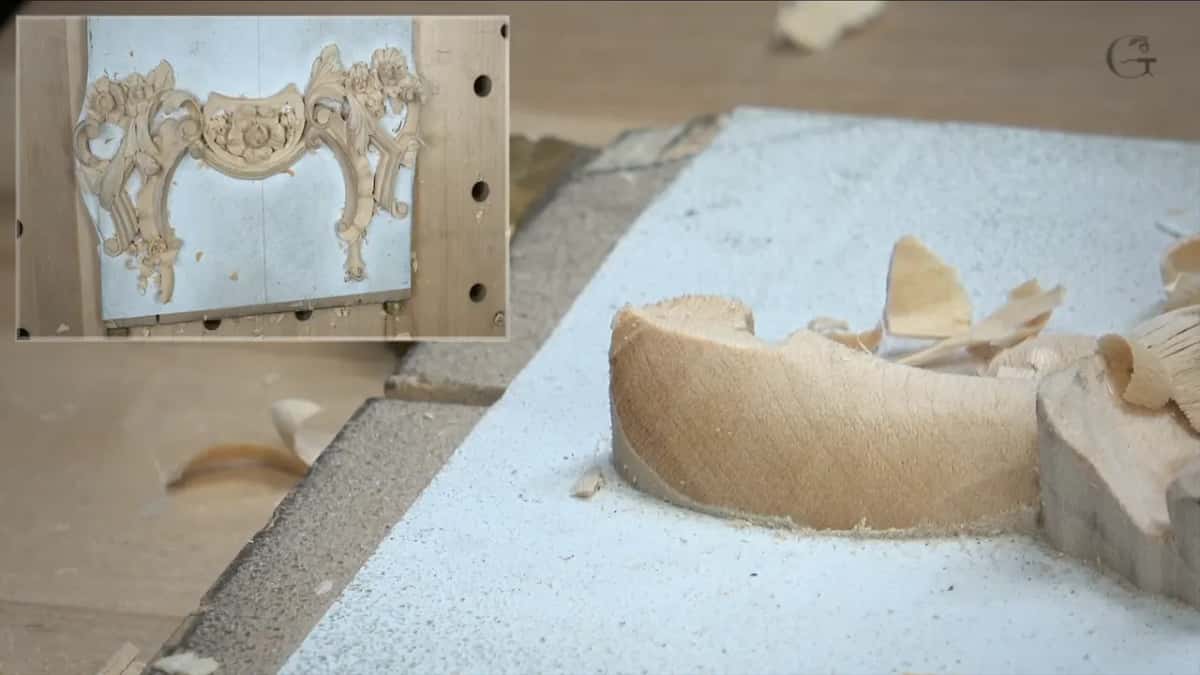
Is the left-hand piece any harder?
Even more simple, it slopes just one way. One of the ridges came out, and I made the overall slope.
My number 7 returned, the same one I used on the other side. This one was more solid, so it should be safer, I said, and I took it down to the line. With the tool flipped upside down, I made a fillet.
And then it moved. "Oops, it's already loose. It was solid, but now it's moving, so I got to be careful."
Its separation came next. I wanted that one visible as well, so it got a concave too.
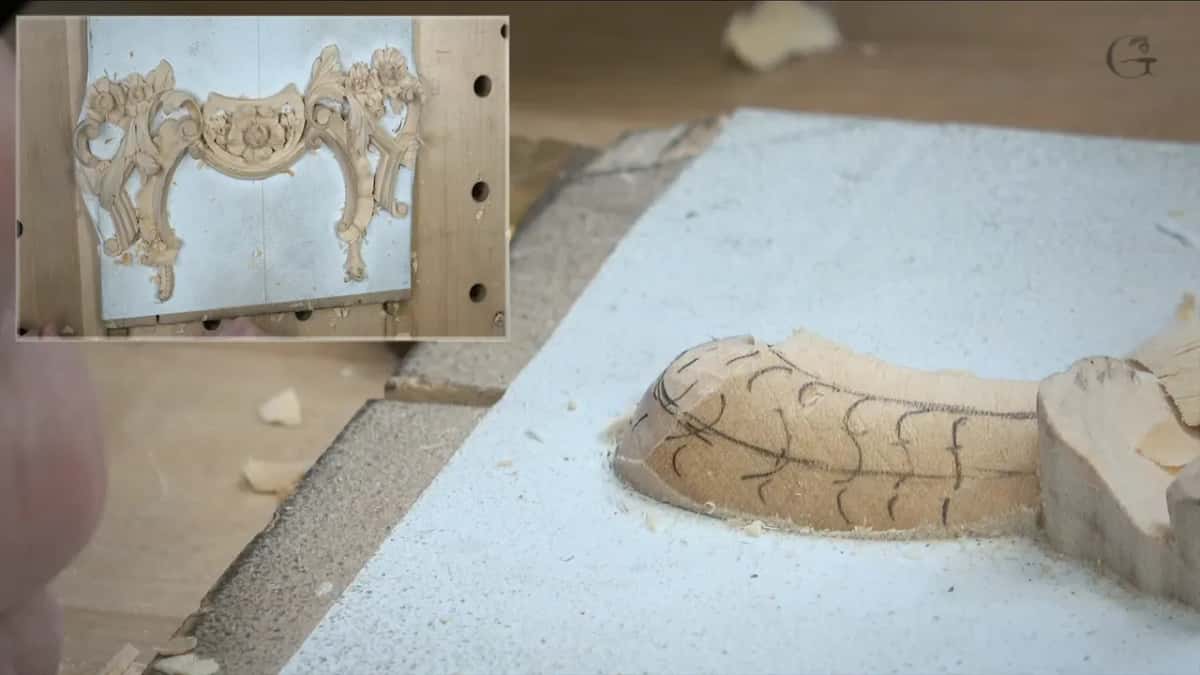
What is the convex with two concaves on the center line?
The same idea as on another acanthus. Right in the middle of that center line I carved the convex, with a concave on each side. "Even on a small detail like that, I think it's going to create beautiful look."
A number 11 at 4 or 5 mm will work for the concaves. I used the 5 mm (3/16 in), made the two concaves, and blended them into the convex. The separation line stayed untouched, because I want it visible, and I didn't want the concaves too deep. "There is absolutely no reason." A full acanthus leaf gets shaped in lesson 6 of this course.
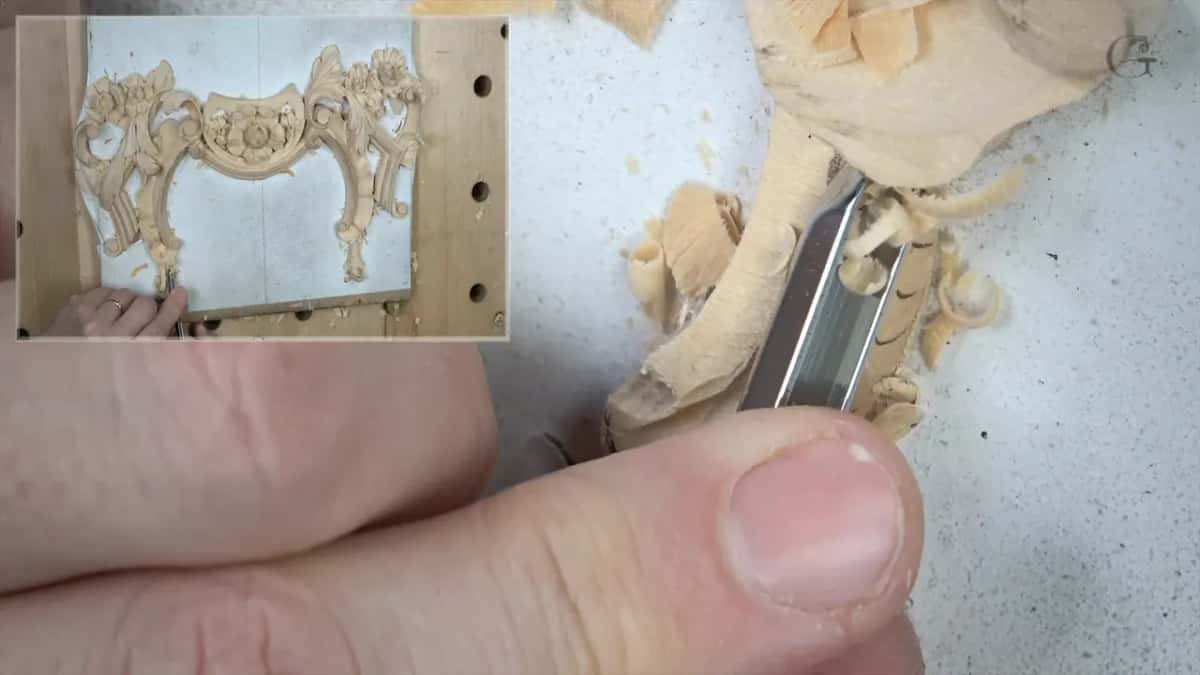
What do the clock numbers mean for the flute?
They tell you where the flute points as I look at it. For the first concave my flute was about 3:00 on a clock, and I warned you that on the screen it might not look that way. The second one had it about 1:00 or 2:00.
To blend the convex I laid the same tool down even more, still about 3:00 and then almost 4:00, from both sides. How rotating a gouge changes it is the subject of lesson 12.
One part needed to be more slopey. Any number 2 or 3 would do there, or a skew, and I took a number 2, 6 mm wide, a quarter inch. "I hope it's sharp," I said. It was super sharp, and I was okay with going a little deeper.
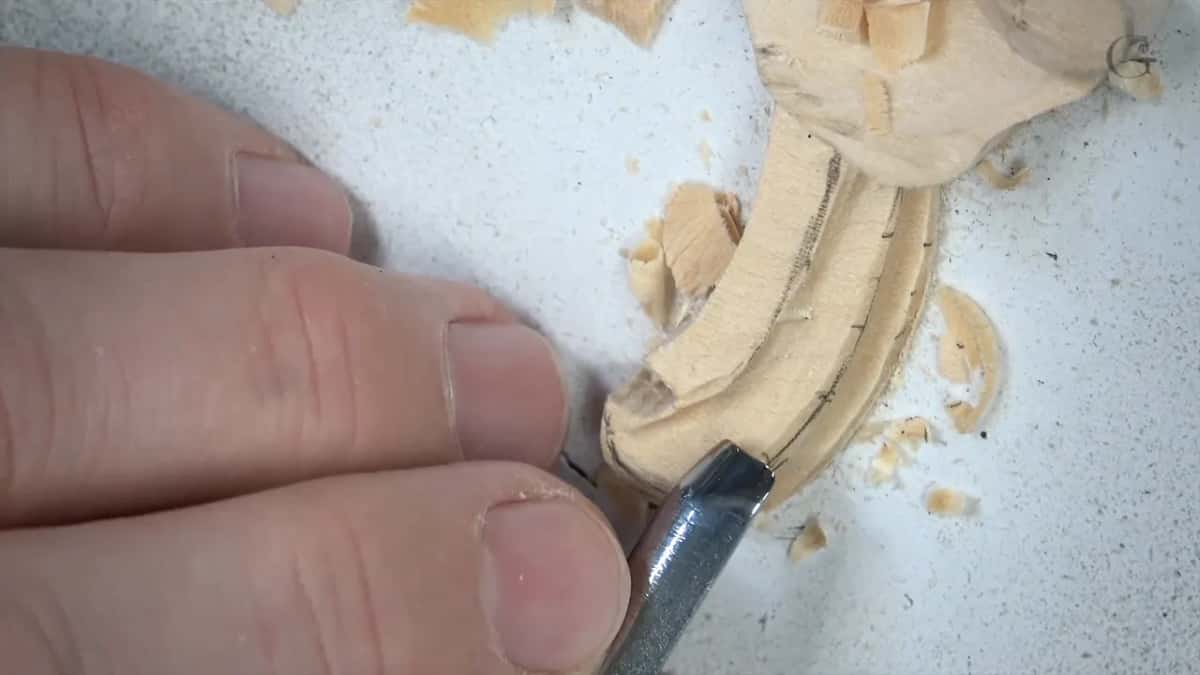
Why did the wood chip in the corner?
I had been digging with the corner of the tool inside. That has a tendency to break. You could already see it chipping when I picked up my number 11 veiner to clean that area.
One corner digs in and you make one little move, and right away it is chipping the fibers that sit close by, the grain next to it.
I cleaned it with the 5 mm number 11, and maybe that went a little too deep. I don't know. A smaller one came next, 4 mm (5/32 in), and it went even deeper. "And yes, four actually works much better."
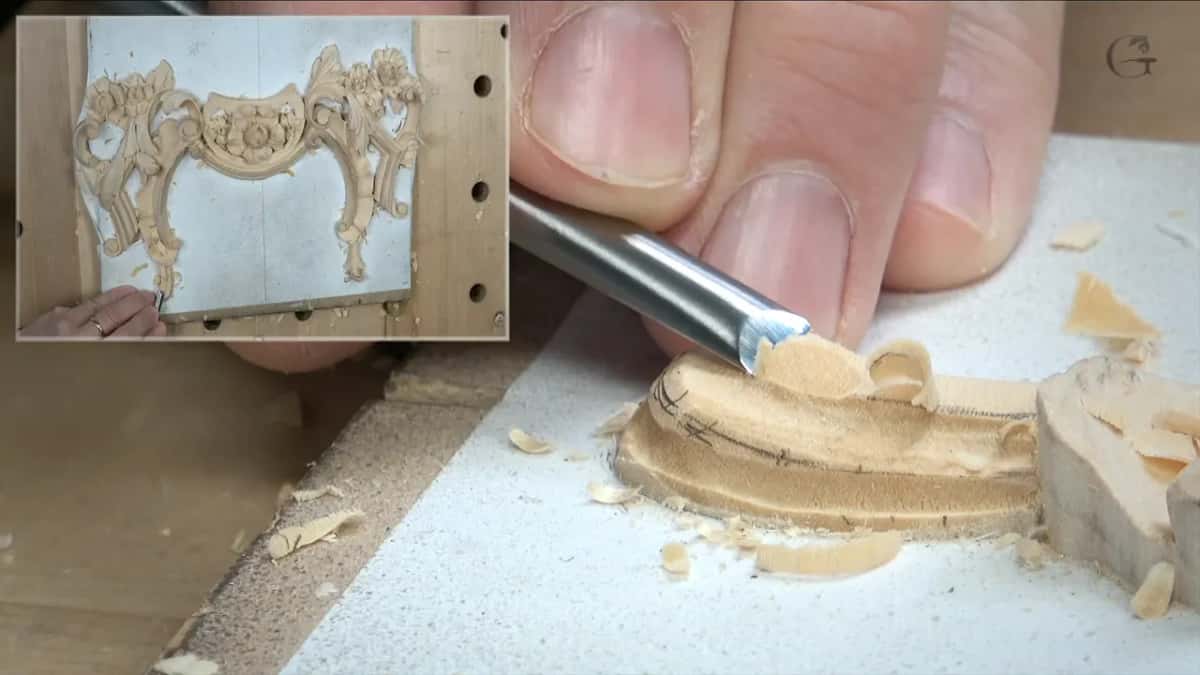
Which tool took the facets out?
The number 5 of 6 mm, a quarter inch, held upside down. Mine is a detailing tool, but a full-size one gives exactly the same result. It cleaned the facets off and made the blending nicer.
That was the shape, and I put no more details on it. The undercut all around the overall shell was still to do, and after it, cleanup and more cleanup.
The tools I named in lesson 14
Small ones, mostly. They are listed in the order they came out.
| Tool I picked up | What it did on the two little acanthus pieces | Size I said on camera |
|---|---|---|
| Number 9 gouge | Curled the first one from its high point, going downhill | A quarter inch (6 mm) |
| Then a number 7 | Lowered the high spot and sloped it right away | 14 mm (9/16 in) |
| Ashley Iles number 5 | Too big for the separation line, so it went back | Also 1/4 in (6 mm) |
| Smaller number 5 | Made the shallow concave in the middle of that line | One-eighth inch (3 mm) |
| Number 11 veiner | Made both concaves by the convex, then cleaned where it chipped | First 5 mm (3/16 in), then 4 mm (5/32 in) |
| A number 2 | Made one part more slopey, and it was super sharp | Quarter inch, 6 mm |
| Detailing number 5 | Held upside down, it cleaned off facets | Again a quarter inch |
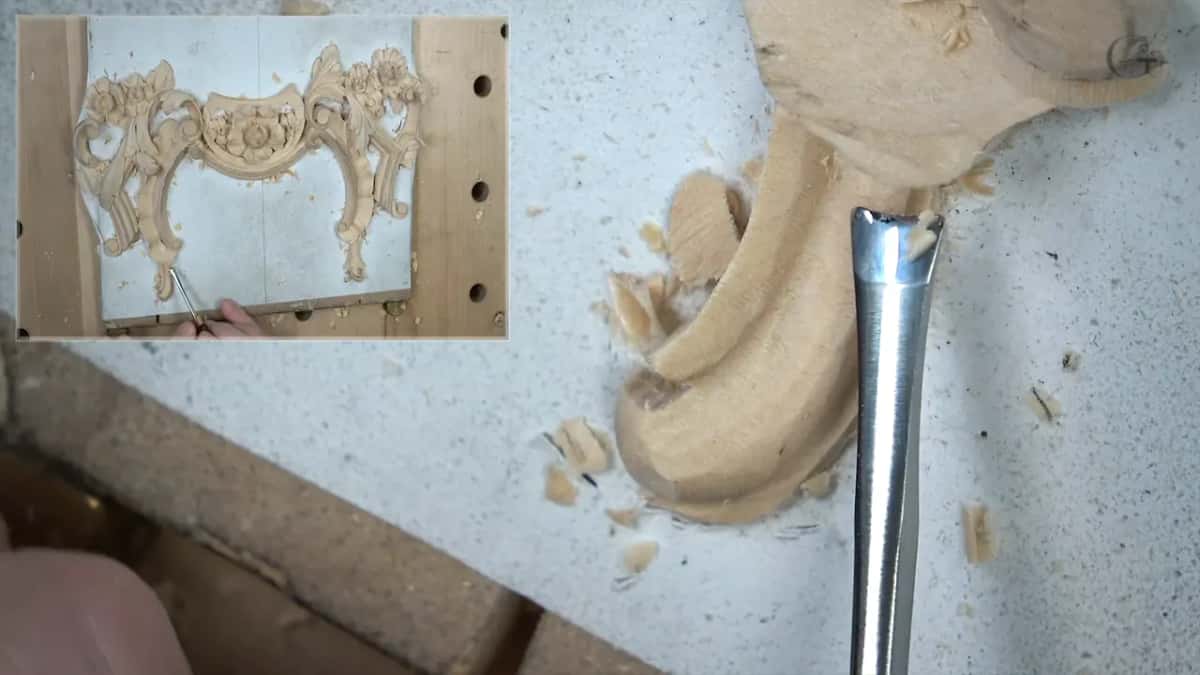
Should a paint grade carving be sanded?
Not this one. Some of it I left somewhat rough, and there is no need to take it to the extreme, because paint will cover it.
For furniture that will not be painted, I would spend a little longer and clean it. Even sandpaper, why not? If you decide to sand, my suggestion is AbraNet by Mirka.
Mesh based, not paper, it lets you see right through. Nothing clogs it. Whatever fibers you take out end up inside that mesh. I showed it on camera, although on paint grade I don't really have to, and all the dust was right inside the net.
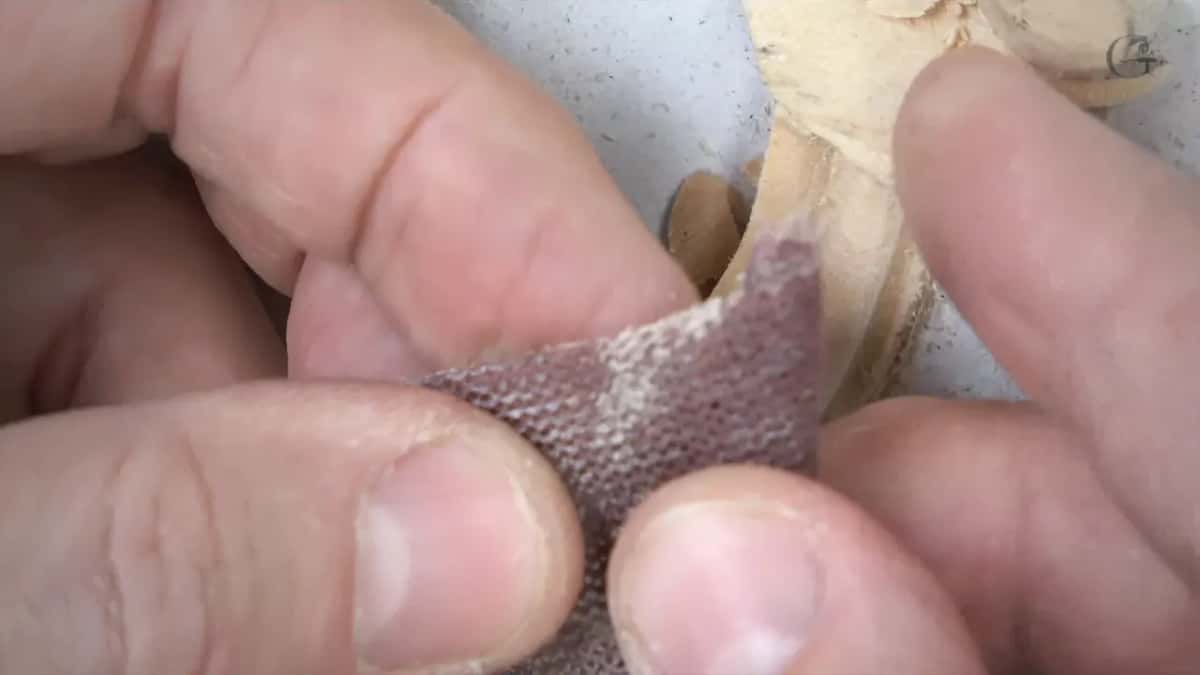
I'm not the biggest fan of sanding. I like to leave my work with the facets. But a lot of furniture makers like it really smooth, which is absolutely fine. In lesson 9 I left facets on purpose, for the shadow.
Whether the old carvers sanded is debatable, I said. Grinling Gibbons used sanding, but it wasn't sandpaper, it was reed rush, which I put at about 400 grit. The only reason they didn't sand a lot, I said, is that they didn't have sandpaper, and I think if they had it, they would sand.
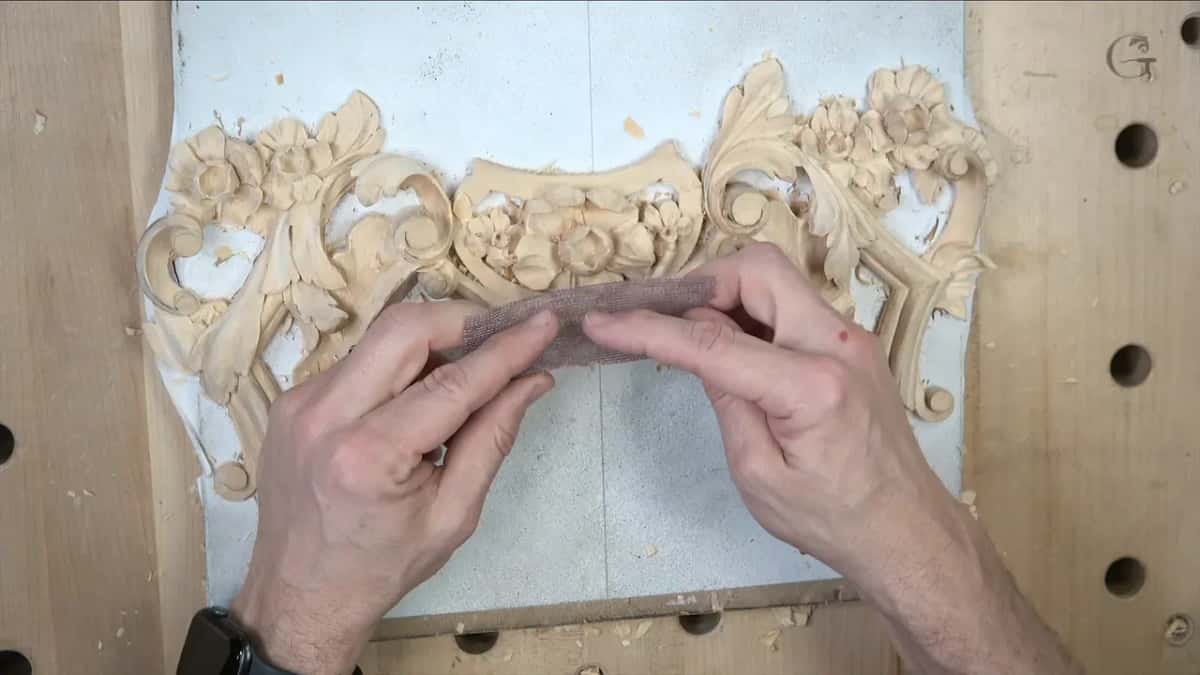
Where do these two pieces go?
Onto the panel, and the panel into a room. I made this a separate course, but that detail is just a part of a bigger Venetian, or Venice, room project, a real-life project. The Venice Room has its own course.
To close, I set the first piece and the second piece together, so you could see how they look.
After that I thanked you, the students who have watched these segments for multiple years, some of you from day one. Please comment and ask me questions below the video, because that is better than sending me emails. And if I don't like a comment, I'll just delete it.
Can you see now why I bring both sides down? Then carve your next small piece that way, with about a sixteenth at the edges and some meat where it meets the rest. Every part of this lesson opens with Access to the school.
How it's done
- Measure the height first. Mark it with a pointing machine, or measure the highest spot. I measured the left-hand piece anyway although I knew it, because it takes only a couple seconds.
- Slope both sides downhill. Bring each side down until roughly a sixteenth of an inch is left at the edge, no more, so the undercuts leave a connecting point for the glue.
- Keep meat where it meets the shell. That spot is really, really weak because of the grain, so keep it from going too low.
- Use a smaller tool and hold the piece. Pick a smaller tool, which grabs less material and puts less stress on the piece. Hold it with your fingers, behind the tool, and if it does not feel safe, glue it down with a drop.
- Make the separation a shallow concave. Put one concave down the middle of the line with a small number 5, then blend. It does not need to be deep.
- Carve a convex with two concaves on the center line. Make the two concaves with a number 11 at 4 or 5 mm, then blend them into the convex, and stay off the separation line.
Frequently asked questions
Is 1.5 mm the least or the most to leave under the edges?
The most. My words for the first little acanthus were no more than that, and the left-hand one kept roughly a sixteenth, with less in a few places. The slope runs nearly to the bottom, only so the piece can still be glued.
Should you glue a loose piece back before carving it?
Only if it feels unsafe to you. Mine was kind of loose, with a gap underneath, and I saw no reason to re-glue it. My fingers held it instead. Where it does not feel safe, I said, go ahead and put a drop of super glue.
Why does a gouge chip the wood at its corner?
The gouge digs in with one corner, a little move follows, and the fibers close by break off. I saw it on camera in lesson 14 and cleaned that spot with a 5 mm veiner, then a 4 mm one that worked much better.
What to carve next