

Alexander Grabovetskiy, woodcarver, School of Woodcarving · Published 2018
How do you draw a symmetrical acanthus leaf?
Quick answer: Drawing a symmetrical acanthus, as I do it in this lesson, starts with paper on the block divided into ten parts each way, with every line numbered. Keep about 3/8 inch (10 mm) clear at the top, place the eyes and the forward curl, then run every flow line and pipe to the center.
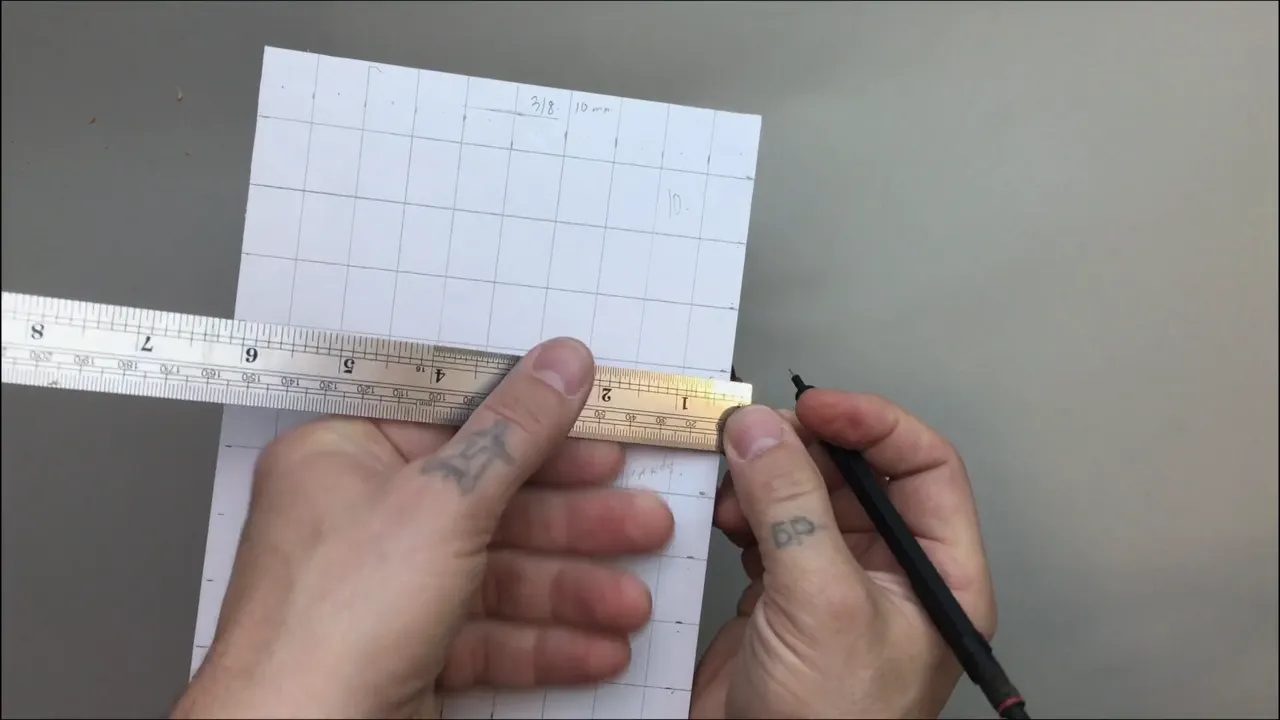
A symmetrical acanthus leaf, the way I draw it in this lesson, starts as a grid of ten parts by ten. The paper is already on my block, about six inches by eight inches (about 15 by 20 cm). I divide it in 10 equal parts vertically and 10 equal parts horizontally, then I number the lines. I call it the 10 parts division. Almost mathematical, so easy.
Can you hold a ruler flat on a sheet of paper? Can you count ten marks along it? Then you can draw this Roman leaf, both halves of it. I know it looks complicated at the beginning, I said on camera, but it's not as complicated as it looks.
The first marks and the middle line have their own page, the drawing download lesson. Everything after the grid is here, in the order I drew it, and you can follow along with a ruler and a pen.

The order I drew this leaf in
- A grid of ten by ten on the paper, and a number on every line.
- A boundary the design must not cross.
- Eyes and main points first, or sometimes the flow line, and then a curl that turns forward to make the high point.
- Flow lines and pipe lines all aimed at the middle.
- Red on the pipes.
- Angled volutes for the two ends.
- Charcoal shading, black low and white higher, if you want it.

Why number every line of the grid?
Numbers make the right space easy to find. It's going to be a lot easier for me, I said as I began numbering, to find the right space when I'm going to draw the design. Ten parts one way, ten the other, and every line gets its figure.
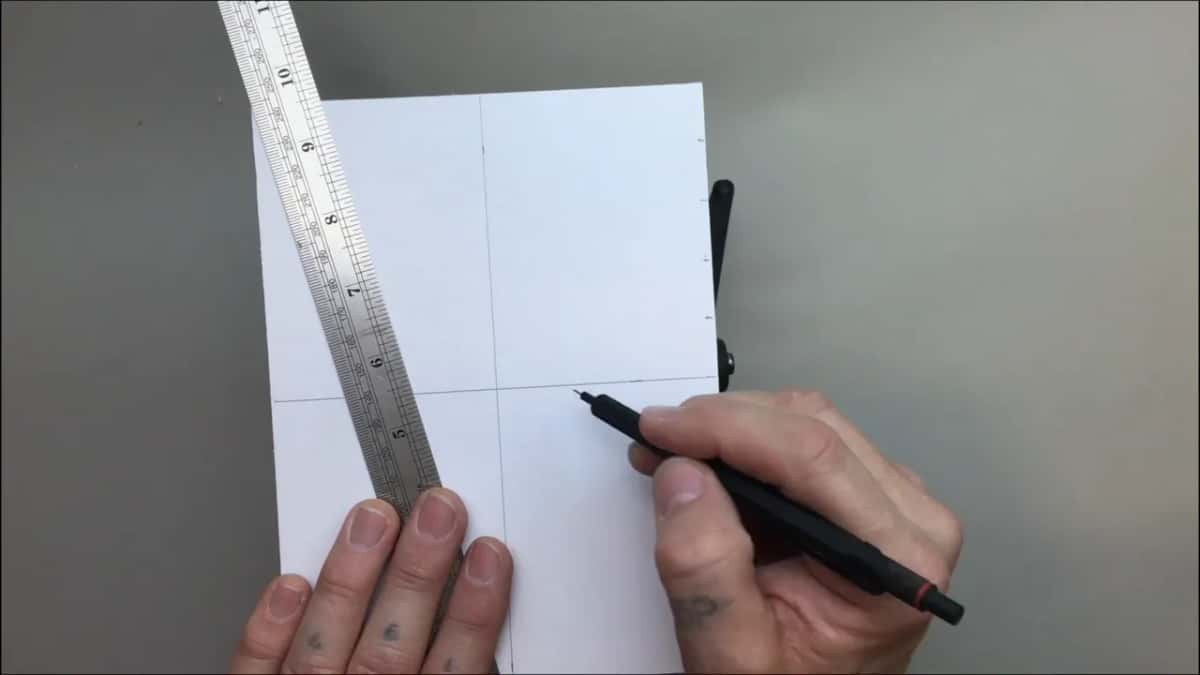
There's a couple of approaches you could take. This time I decided to draw right on the piece of wood, with the paper already applied, and that's a really nice practice, drawing two symmetrical parts right on a piece of wood.
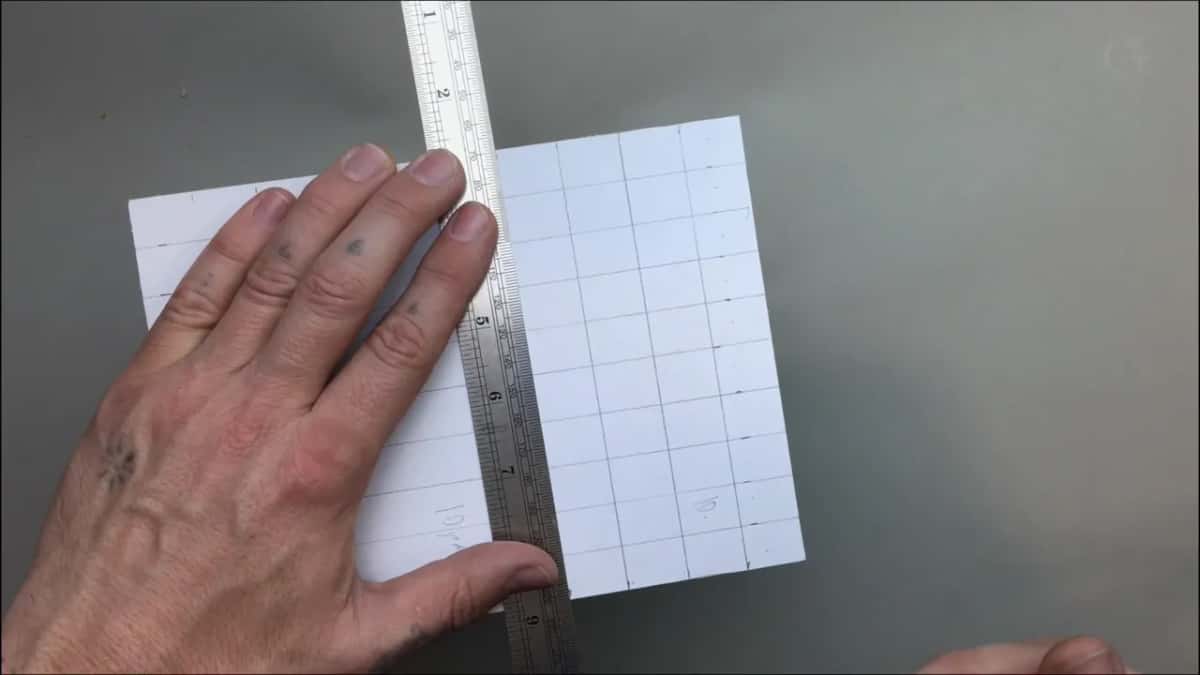
Each of those spaces I subdivide in 10 again, approximately. From those 10 I count about six and mark it, and that becomes my marking point. Just eyeballing, about six parts out of 10.

That six comes back later, in lesson 5. There I was finding the spot for an eye on the carving itself. Just before that I called it a really good representation of a golden ratio, or golden rule. Then I showed that if you take a line, divide it in 10 parts like we did before and count about six parts down, the edge of the eye will be exactly at the six. The grid was helping me to recreate the movement.
Where does the boundary go before you draw the leaf?
About three eighths of an inch, or 10 millimeters, along the top, and maybe about 1/8 of an inch (3 mm) on the sides. Those are my boundary, the line which I'm not going to cross with my design.

The base gets about three eighths too, and that comes up again with the volutes. Before them, one more line went in about one eighth of an inch (3 mm) away from the base. I told you on camera that later on you'll see exactly what those lines are, once we start carving.
Do you draw the eyes first or the flow line first?
I do it both ways. Sometimes I start with the flow line, sometimes I start with drawing eyes, and on this leaf I started with the eyes and the main points. I was trying to calculate how many eyes I'll have, based on the original Roman acanthus design, and figure out pretty much where they sit.
Then the upper part. I call it a curl part. It's going to curl forward, and that's our high point. Because the design is symmetrical, every movement gets worked out from those lines, the subdivisions we did.

Where do the flow lines go?
All of them go to the center. To do it symmetrically, I have to establish my flow lines and the main points of my leaves, and all the flow lines have to go to the center, or to the same line, to the same movement. Then I set the pipe lines, and they go all the way to the center too. And those leaves are going to overlap.
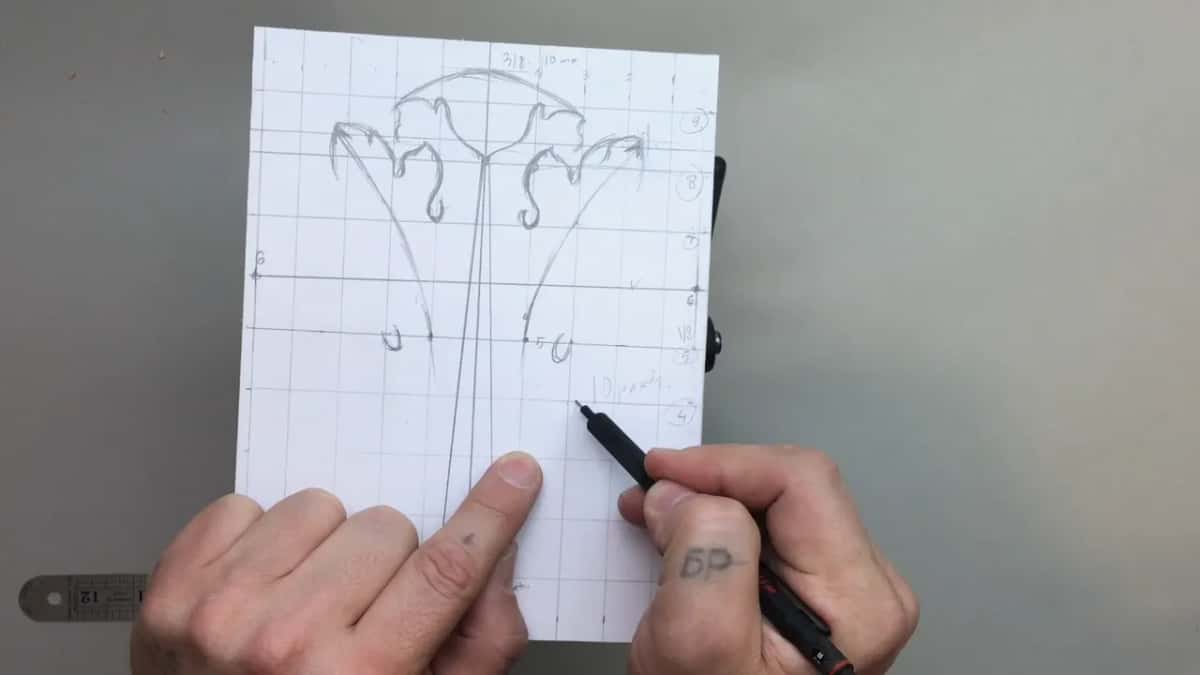
That rule does not end with the paper. Lesson 7 brings it back. Refining the pipes on the wood in that lesson, I said it again: the pipes and the eye locations, movements and flow, all symmetrical. I checked it by eye without looking at the picture. Logically I can see my movement. This pipe goes all the way to that point, I said, so the reach of this one will be about the same.
Why mark the pipes in red?
To see them. I'm using a red pen on the pipes just to make sure I see those pipes, and you can see how many of them a Roman acanthus leaf carries. Lots of pipes. You just can't go wrong with those pipes on an acanthus leaf. At one point I just said, even more pipes.

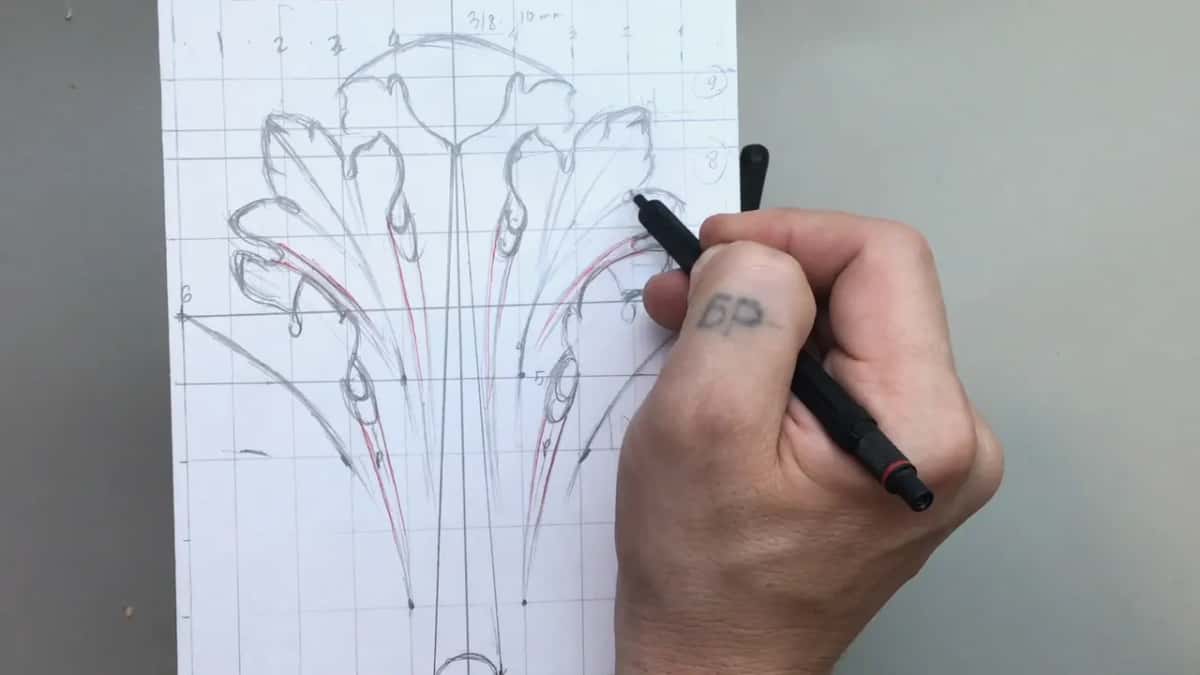
The main leaf divisions are divided in three, and the small sections are subdivided even more in threes. More pipes, more eyes.

Three shows up in my design class too. In Principles of Design 4, sketching an acanthus on camera, I asked how many usual divisions you see on these leaves. My answer was three or five, never four or six, and I tied that to the Fibonacci sequence.
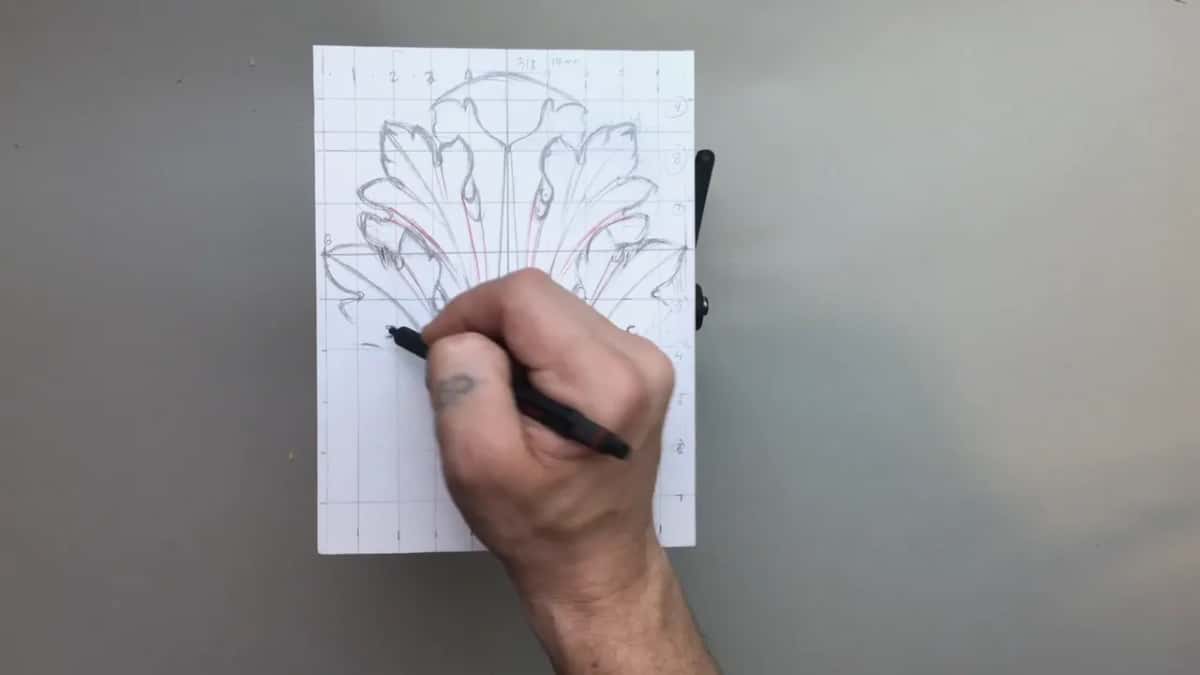
Somewhere in the middle of all that I said, let's subdivide even more. Watch it fill in.

How is a Roman acanthus different from a Greek one?
As I tell it in this lesson, the Roman leaf is the Greek one beautified, more elaborated. When I'm saying Roman style, it cannot be just the one Roman style. We have to understand the Roman Empire, I said, half a thousand years, with its own development of art and architecture, and most of the architectural details the Romans took from Greek architects.
At the beginning, before Christ, you can't even see the difference. The two would look exactly the same, just exactly the same movements, because they just copied that. Later they started to develop and beautify the existing Greek leaf. They added some movements, some subdivisions and a lot more pipes, and the leaf structure got a lot more complicated.
| What I compared | The Greek leaf, and Roman before Christ | This later Roman leaf |
|---|---|---|
| How many pipes | Fewer, the Romans added a lot more | Just lots of pipes |
| Leaf structure inside | Simpler, before the Romans added some subdivisions | Threes, then threes again |
| Movements in leaf | The same movements, the Romans just copied | More movements added later |
| Volute on ends | Straight, the older form of the volute | Angled, read straight on |
| The plant itself | Bear claw, the same plant in both | Still the same plant |
One good thing about the Roman Empire, I said: whenever they conquered new areas, they tried to learn something new and adapted that to their own culture. And the plant is still the same. It's a bear claw. The development is just fascinating. The acanthus leaf used to decorate the temples and official buildings. Just beautiful.

Which volute goes on the base of this leaf?
An angled one, not just a simple one. I wanted volutes at both ends, so I had to find exactly the spots where they start and keep them above the base.
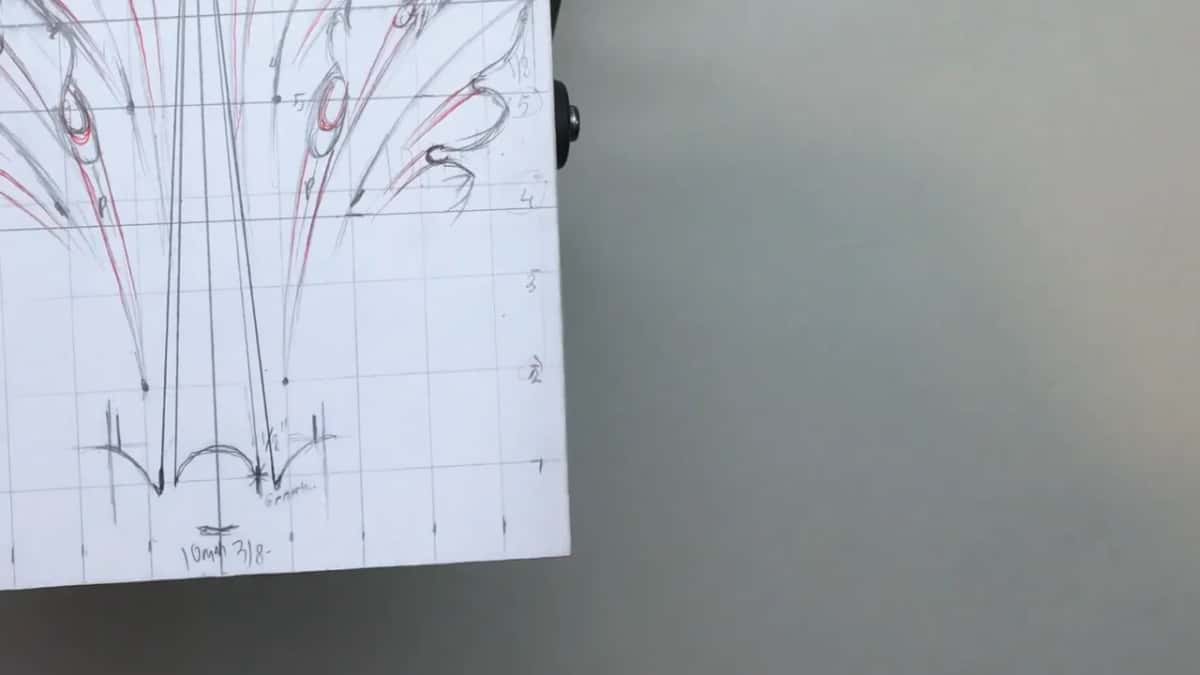
Greeks and Romans, and later on the European nations, really loved to use the volute, and there are different types. I like this one because it's one of the ancient forms. A more ancient, Greek-style volute would be straight, just straight up and down when you look at it. This style is kind of angled. It's a little more complicated than you think.
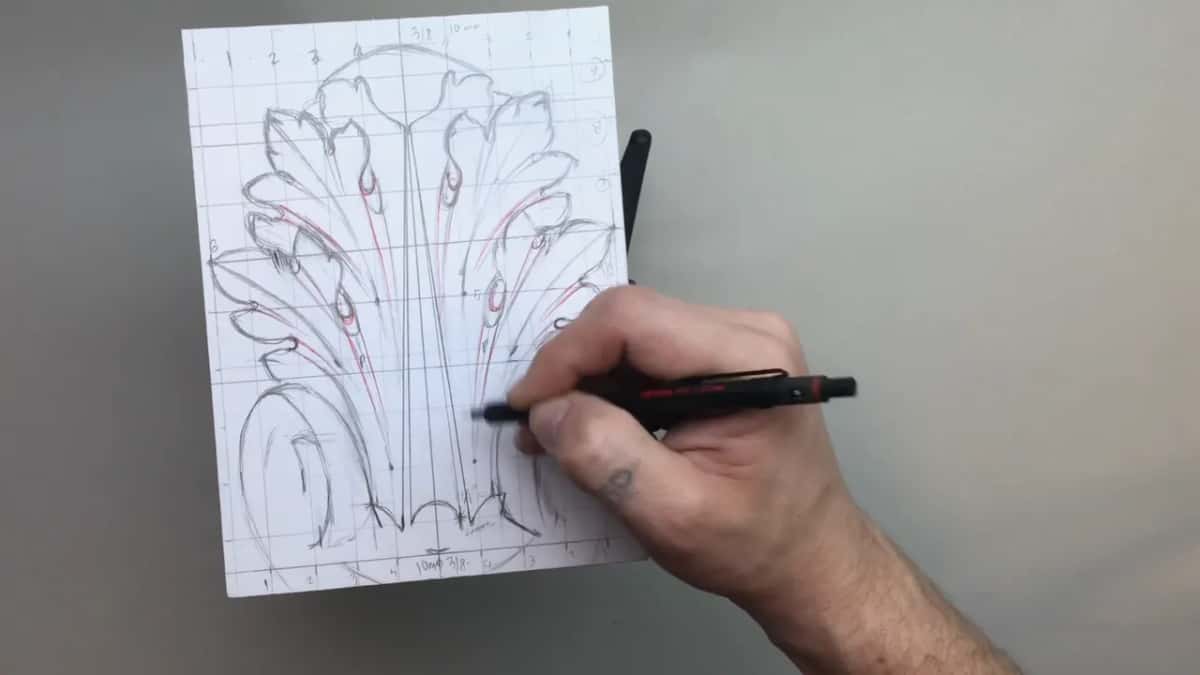
Visually, this is more like a relief carving volute than a full one. It makes sense only if you look straight at it, never from the side view, but it still has to look three-dimensional. That's why I took a little time on my lines and my movements.

Mine ended up with sticking-out centers. I think it just adds beauty to that acanthus leaf, and it's something different, although probably thousands and thousands of wood carvers and stone carvers in history have done a similar design. Over in lesson 2 the volute gets rounded because it has to go like a downhill, and then the V tool goes around that sticking-out part, the egg part, if you wish to call it an egg.

Why shade the drawing with black and white charcoal?
To see my low and my high. I used two charcoal pencils, a black one and a white one, and that's going to make it easier to identify where to carve. That is not a necessary step. You don't really have to do it, but sometimes I like to.

With the shading on, I can see what is going on. Leaves right here go one underneath of another one, and that makes the carving easier. It's an extra step I add just for myself, to identify my low spots, and not to make a more beautiful picture.
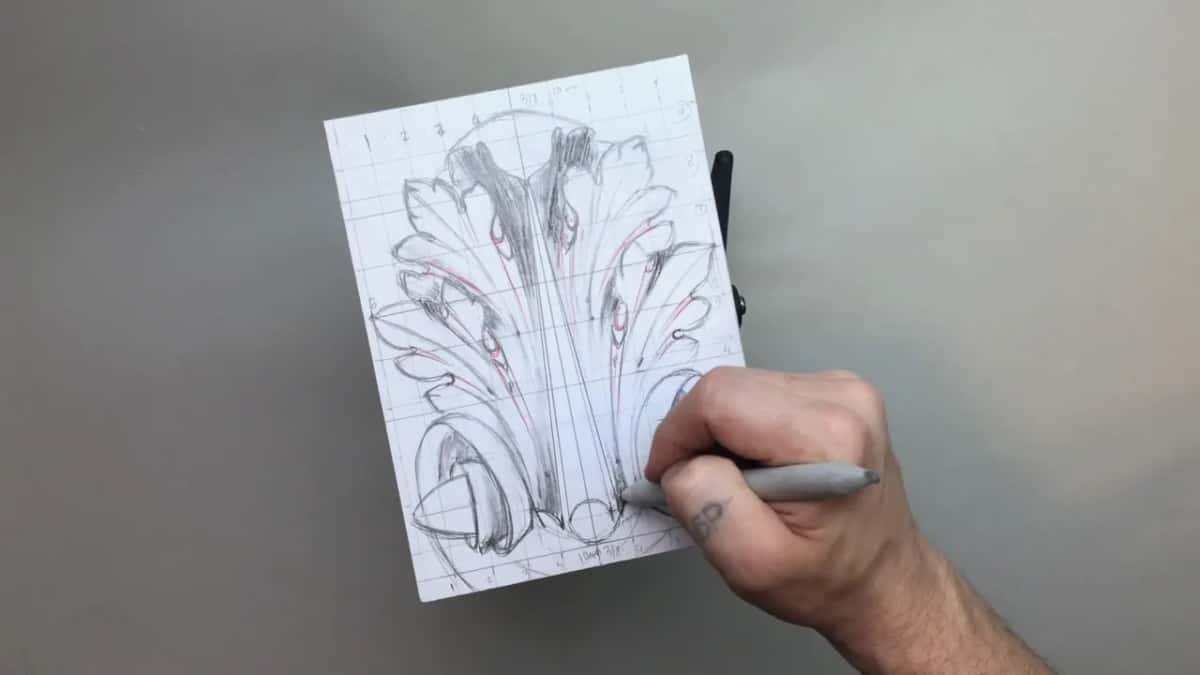
I ran the black right around the pipes as well, because especially on this acanthus there are so many pipes. The white marks the high points, meaning those leaves go above the black. Not the highest points, just higher than the black.

Charcoal turns up in my design work too. In Designing Furniture Panel 13, working on a flower, I picked up a charcoal because it's a lot easier to see the shadows that way. I didn't want to overdo it with the charcoal, just get the general idea of the movement. And in the middle of this Roman leaf you can develop some design too: something rounded, or the other shape I showed.
Should you measure every line or eyeball it?
Eyeball it, close enough. You could probably notice I'm just eyeballing everything, and I'm not that accurate, because most of that material is going to be gone anyway and I have to redraw and refigure all my movements. Approximately, visually really close.
And I would suggest you draw this leaf rather than just glue my sheet onto the block, although you could. The download page covers that sheet. Subdivide it in 10 parts and draw it. Even if it does not look exactly like mine, that's absolutely no problem.
Once the wood starts coming off, the checking goes on. In lesson 6 I kept checking and rechecking both sides, because they have to be symmetrical, and I took a pencil to fix some of the lines. I was eyeballing again, and I said you don't have to. You can refer to the original drawings.
With the piece in the vise in lesson 7, I rotated it to look straight down and saw one side was not really symmetrical yet. Not a big deal, I said, but I would like to see it close to the original design. And lesson 2 is where I said to always watch both sides at once, and when you carve one side, don't forget about the other side. If there is some imperfection, don't worry about it. A human being is doing this carving, and you have to have some imperfections.
Where does a symmetrical acanthus get used?
On capitals a lot of times, and on furniture. You can find it on capitals and so on, I said in this lesson, and it's really useful for furniture.
I added in lesson 2 that I love that type of acanthus leaf. Greek and Roman and Byzantine, and also European later carvers, they all used the symmetrical design, some more beautiful, some less, but the idea is the same. Even nowadays lots of furniture makers still decorate furniture with it. It just looks beautiful on the sides of a table leg, or pretty much anywhere.
Why does this school work like an apprentice and a master?
I learned that way myself. While I was drawing this leaf, I talked about it. I would like to see this school as more like an apprentice and a master approach, so you watch me work. I don't want to entertain you. I would like you to do what I'm doing, the same as you would 300 years ago in any woodcarving shop.
While carving an antique style rosette I called it doing my school the European way, the apprentice watching over the shoulder of his master. You almost can't find that approach in Europe anymore. My own teacher taught me on a personal level, in the European part of Russia where I was born, and I was his only student.
I called it a virtual apprenticeship while designing a furniture panel. I'm working, you're watching, and you pick up what you like and develop your own style. Every lesson of this Roman acanthus course is open with tuition.
So subdivide your paper in 10 parts and draw it.
How it's done
- Rule the grid. Split the paper on the block ten ways across and ten ways down, then draw the lines.
- Number the lines. Give every line a figure so the right space is easy to find while you draw. Inside each space, count roughly six of its ten and mark that point.
- Set the boundary. Mark the line the leaf must not cross along the top and down both sides, before you draw the leaf itself.
- Find the eyes, then the curl. Work out how many eyes the leaf carries and where they sit, then draw the top curl, which turns forward and becomes the high point.
- Run the flows to the center. Bring each flow and each pipe in to the middle line, and let the leaves overlap.
- Add pipes and volutes. Mark the pipes in red, divide the main sections in three and the small ones in threes again, then finish both ends with angled volutes that never pass the base line.
- Shade with charcoal. If you like, shade the deep parts black and the raised parts white.
Frequently asked questions
What size is the block for the Roman acanthus?
About six inches by eight inches, roughly 15 by 20 centimeters, with paper applied before any drawing starts. Inside it I marked a border, about 10 mm along the upper edge, and those are lines I'm not going to cross with the design.
Do Roman and Greek acanthus leaves look different?
Before Christ there was no difference, as I explain it, because the Romans copied the Greek movements. Later the Romans beautified the leaf with more movements, more subdivisions and far more pipes. The plant behind both, the bear claw, never changed.
Which colors go on an acanthus drawing?
Red pen goes on the pipes, so both of us can see how many there are. For depth I add two charcoal pencils, black for whatever sits low and around the pipes, white for leaves sitting higher than the black. Both charcoal colors are an extra step I take for myself, and you can skip them.
What to carve next