
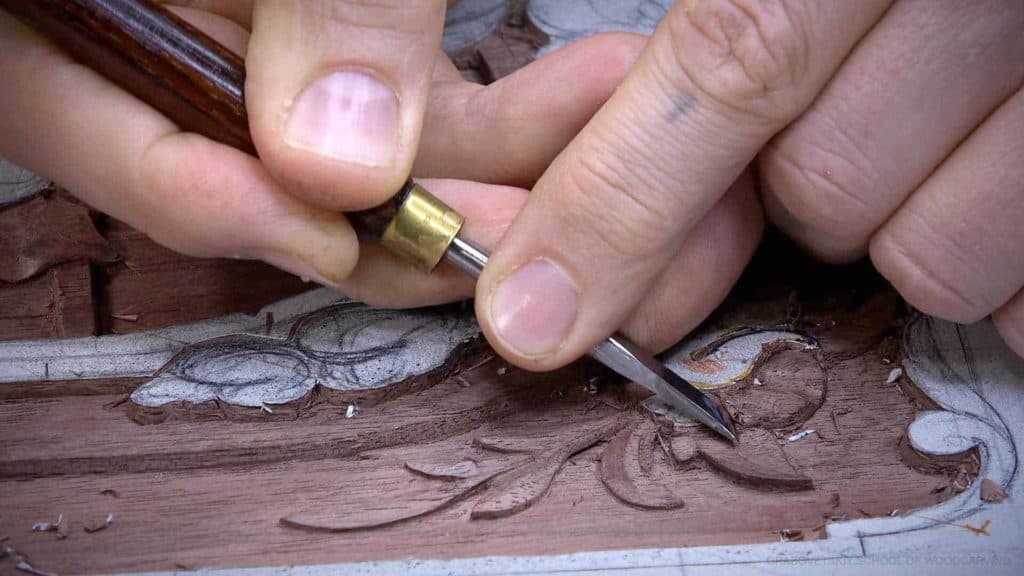
Alexander Grabovetskiy, woodcarver, School of Woodcarving · Published 2019
How do you make low relief carving look three dimensional?
Quick answer: Low relief carving is made to look three dimensional with shape and shadow, because the wood gives you very little depth. On my walnut panel I split each petal into small hollows and rounded parts, leaned the volute, kept the paper on the high spots to the end, and undercut a little all around for dark lines.
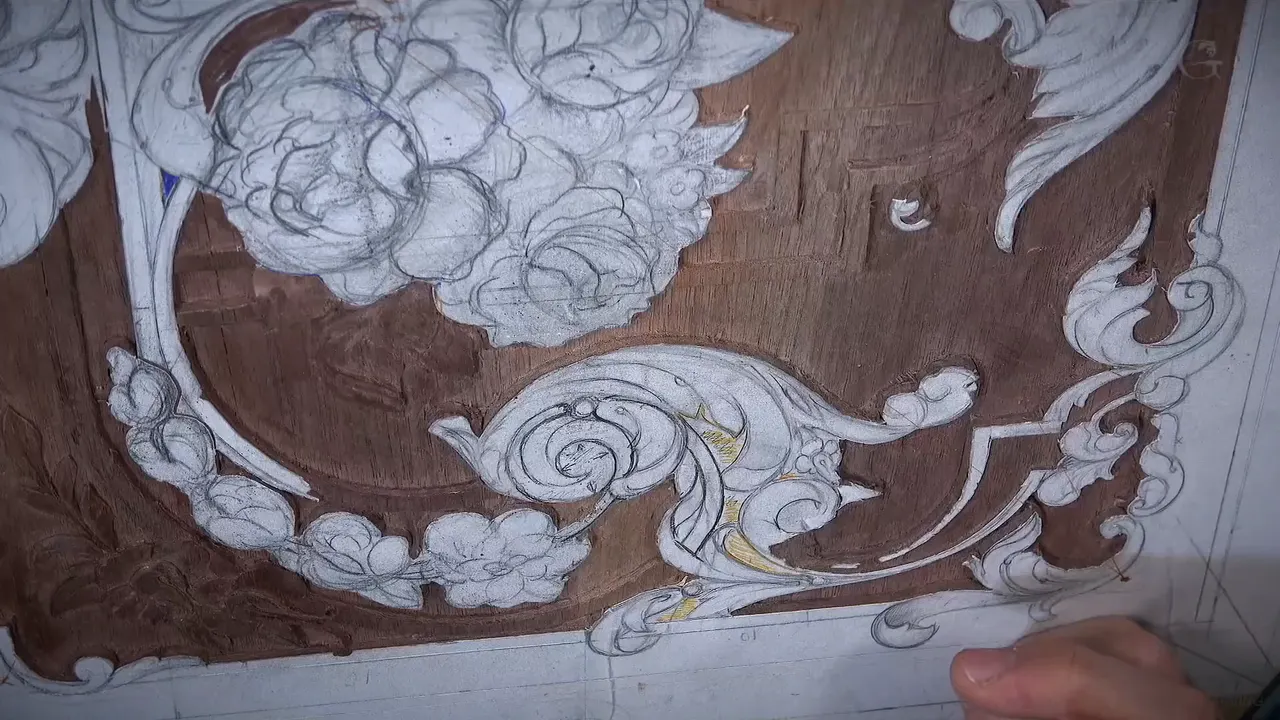
A shallow carving gets its depth from shape and shadow, since the board itself has almost none to give. On this walnut panel there is one spot where, by my estimate, less than a sixteenth of an inch (about 1.5 mm) separates the high point from the lowest point, and it still throws a deep shadow. Lesson 20 covers a small flower in the upper right corner, then a volute and the parts that flip over the molding.
Do you want a carved flower to look round? Do you want it to throw a dark shadow, even on a thin board? Then the depth has to come from an illusion, and the tricks I used for it in this corner are below.
My board is only 10 mm (3/8 inch) thick, as I said in lesson 18. I'll start with the depths I named on camera.
The short version for a low relief flower
- A petal got split into convex and concave sections, four of them, taking turns across it.
- I chose which petal goes underneath before shaping.
- Paper stayed on the high spots almost to the end, so the height held.
- The volute leans to one side, because you look straight at the upper part of this panel, though a flat top would still have looked nice.
- Even half a millimeter (0.02 inch) of undercut still threw a shadow for me.
- On screen, filming lights hide the true level of those shadows.
How much depth is there in this corner?
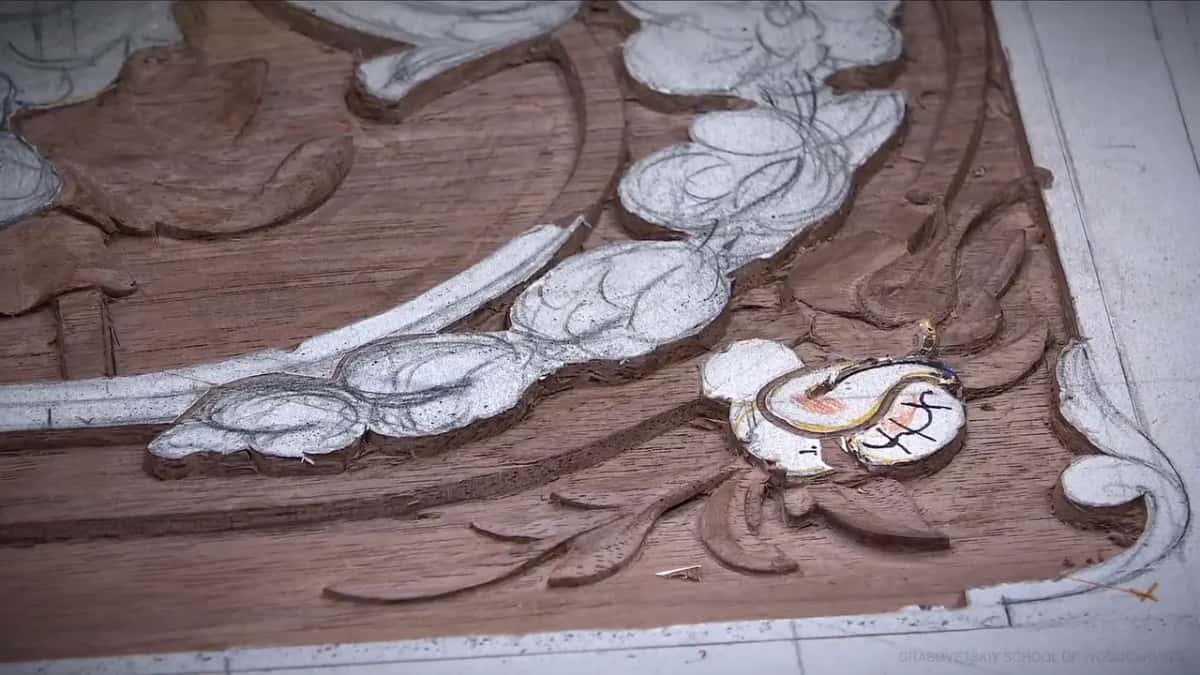
Very little. For this course I uploaded a depth map that shows in colors how deep I went with the background. Light blue is a sixteenth, yellow an eighth, and bright red three sixteenths of an inch, the deepest. You can find it in the downloads at the start of the course, on the pattern and depth map page, and I hope it helps you.
Inside the small flower the numbers got smaller. At its petals I had about an eighth of an inch (3 mm) to play with, enough for some waviness. Its first outline went about a thirty-second of an inch (0.8 mm) deep, no more. There was not much space, and pushing too hard could damage that tiny detail.
Wikipedia's page on relief sorts carving into high, mid, low and shallow relief, and in this lesson I simply call mine shallow carving. The background lessons, starting with lesson 15 and lesson 16, are where those depths were carved. Here are the ones I named in lesson 20.
| Spot on this corner | Its depth in my words on camera | Other unit |
|---|---|---|
| Light blue ground | One sixteenth of an inch, on the map | 1.5 mm |
| Yellow map ground | Three millimeters, the depth of my triangles | 1/8 inch |
| Bright red pockets | Five millimeters, the deepest color on it | 3/16 inch |
| Concave over molding | Less than a sixty-fourth of an inch at first | 0.4 mm |
| Stem above ground | Roughly one millimeter left above the background | 0.04 inch |
Which petal goes underneath which?
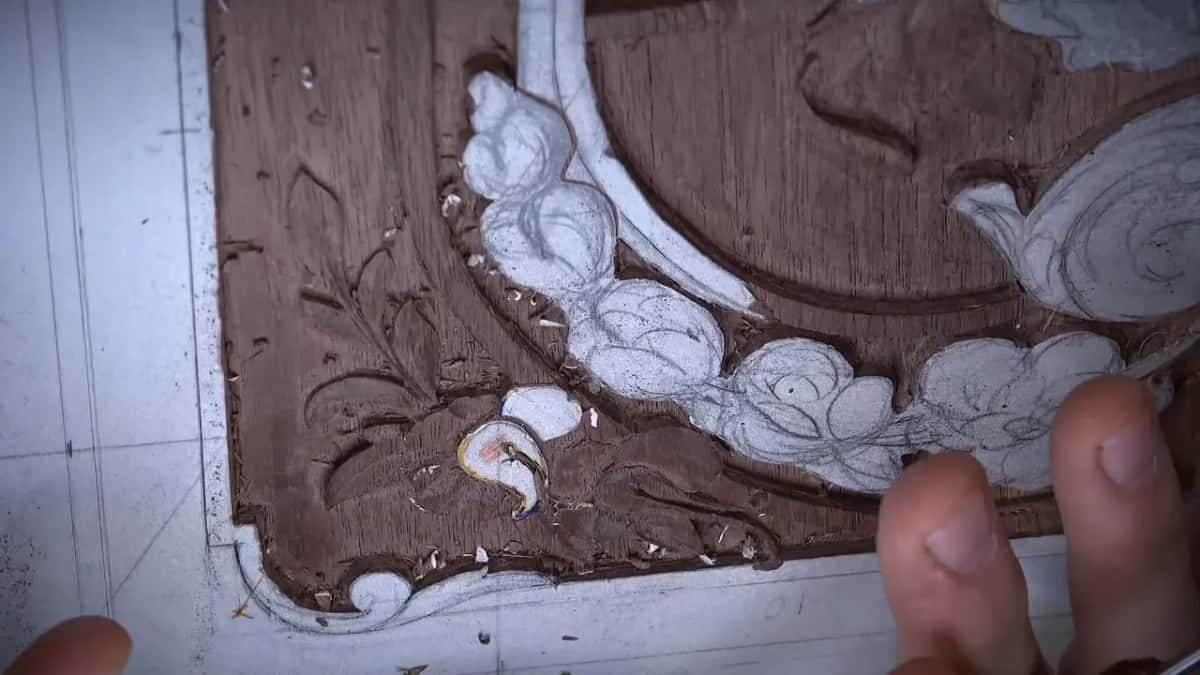
I settled that before any shaping, since the answer sets the high spot. For the small flower I made a separation cut and let one petal go underneath the other, which made the edge of the top one the high spot.
Even before that I took a marker and refined the details, because when I drew with the pencil, I did not place the final line. The flowers themselves were drawn in design lesson 12 and shaded in lesson 13 of the design course, so I won't repeat that here.
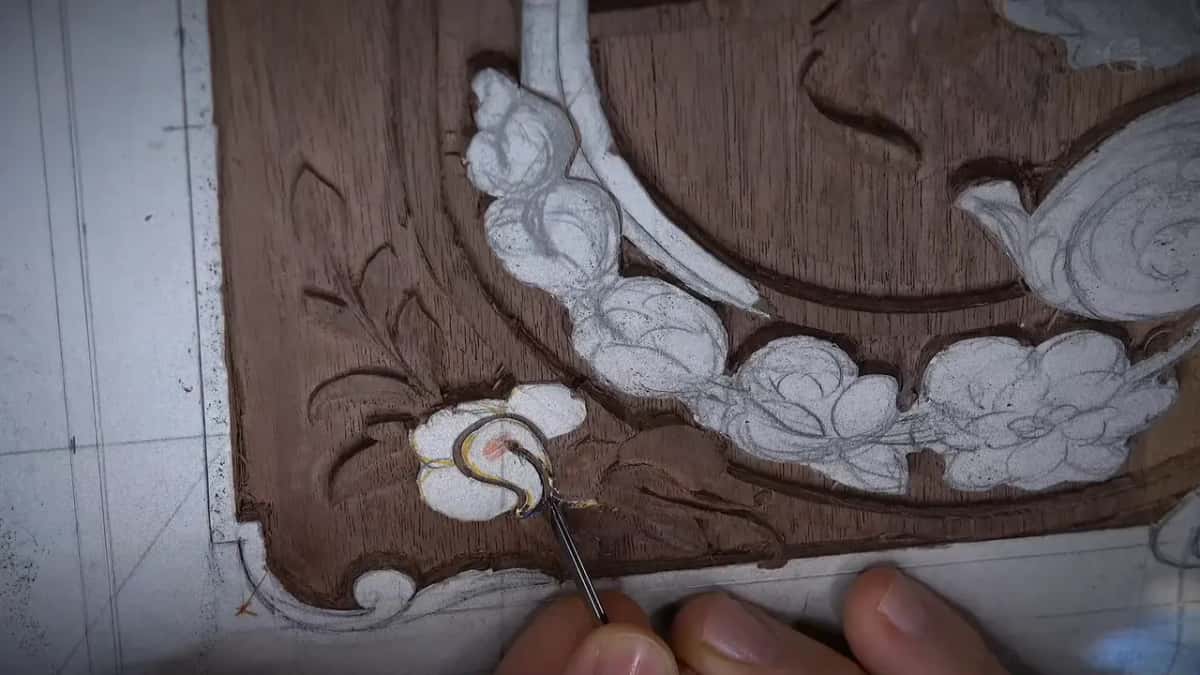
Why split a petal into hollows and bumps?
A flat petal lets the grain take over. In the lesson I said that if you look really close at the grain and the surface is too flat, the grain strikes the eye and the movement does not look right. Make the right movements with concave cuts, and your eye is drawn by the shadow they create.
So on the small flower I planned sections, convex this way, concave that way, then a small convex and a concave again. I used my number 7 for them, the one called a quarter inch. It even shows six millimeters, but it is not really a quarter inch.
The big convex got that same tool upside down, and I twisted my cut a little toward the center. Digging in did not worry me, since I make extra cuts on both sides. A small number 8 by Dockyard, one-eighth inch, then cleaned its side.
It is big, I know, but it's going to look really good, and carrying the concave right to the edge would make it more twisty. And yes, I do like curly flowers.
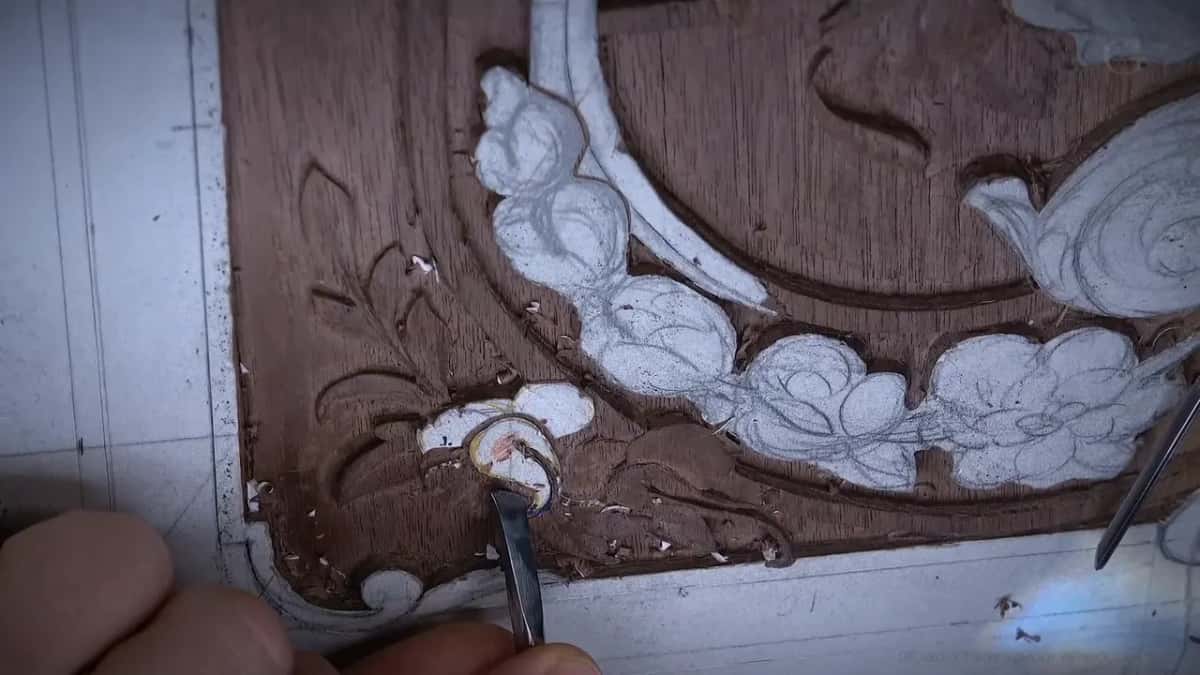
What rounds a flower body without one big sweep?
With many small chamfers. For the main body I used what I call the multi-chamfer technique. The first chamfer is almost flat and not big, then I move down, and so on all the way in, and I blend it with the heel of the knife, because all that mess has to sit lower than the paper.
Later, working a concave near the volute, I said I don't want to make it in one cut. That is probably a mistake every carver makes when they want quick results, and maybe I'm not that good, but I never had really great results with just a single cut.
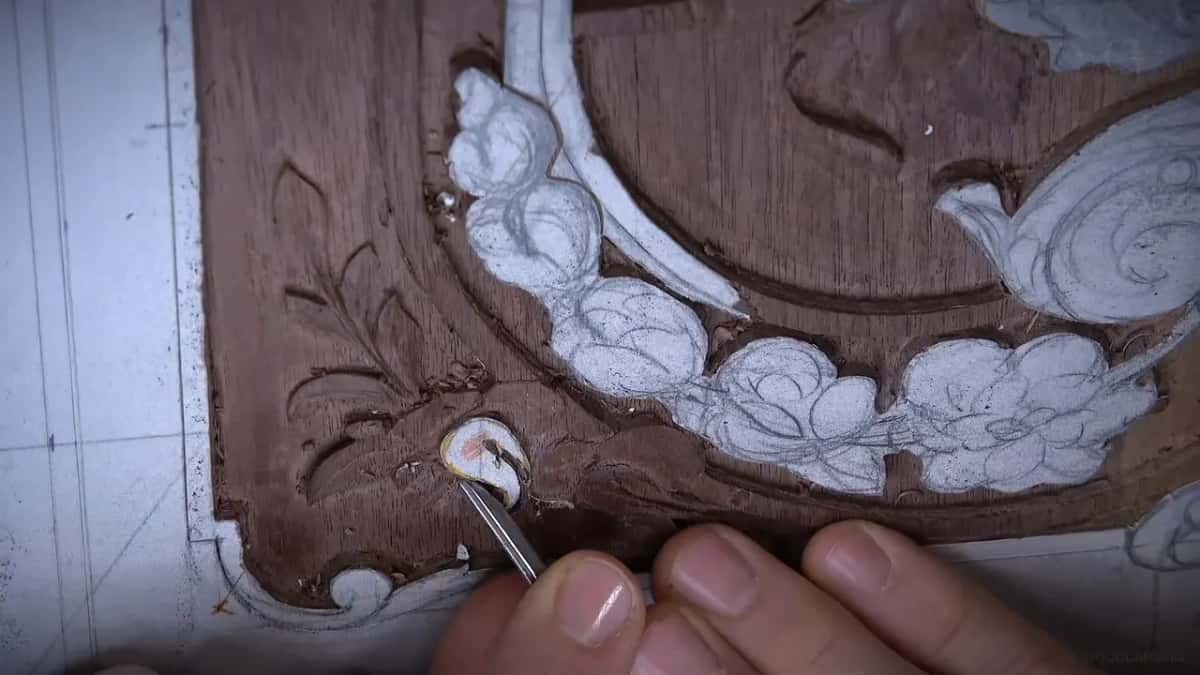
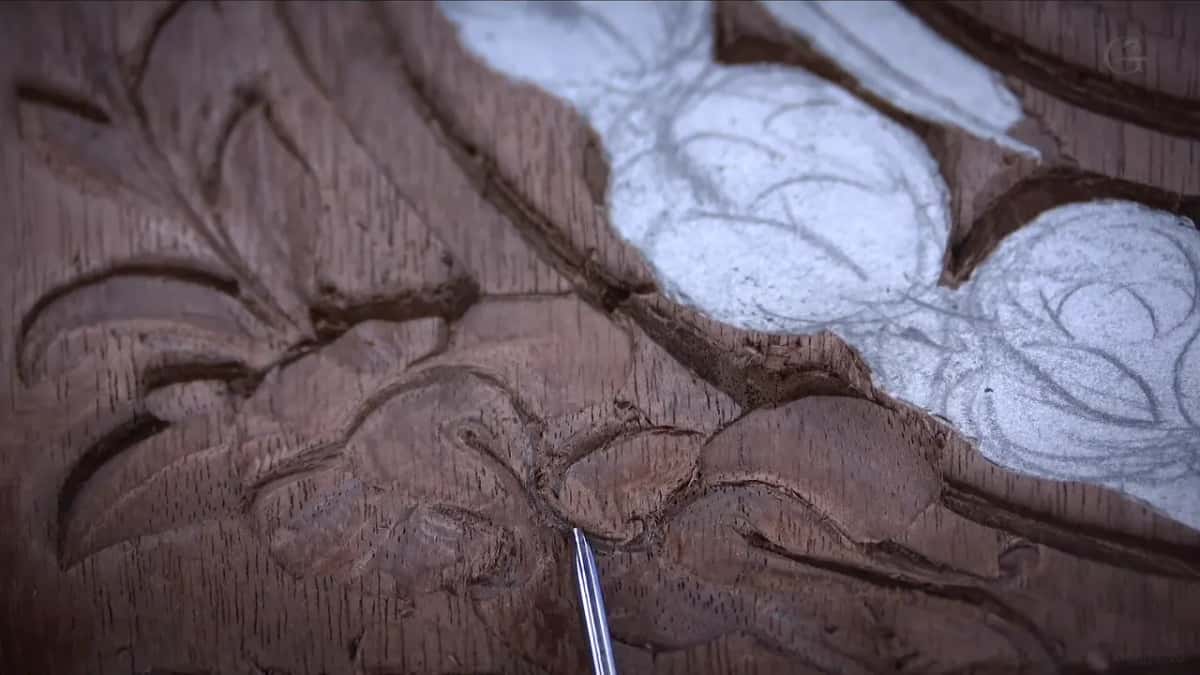
What does the paper left on top tell you?
Height. The paper I left on one petal marks the highest spot of that flower, so it is a good indication that I kept my height there. With the last element of the lesson, I kept it to the very end, and because of that I could refine every movement late and still keep the same high point.
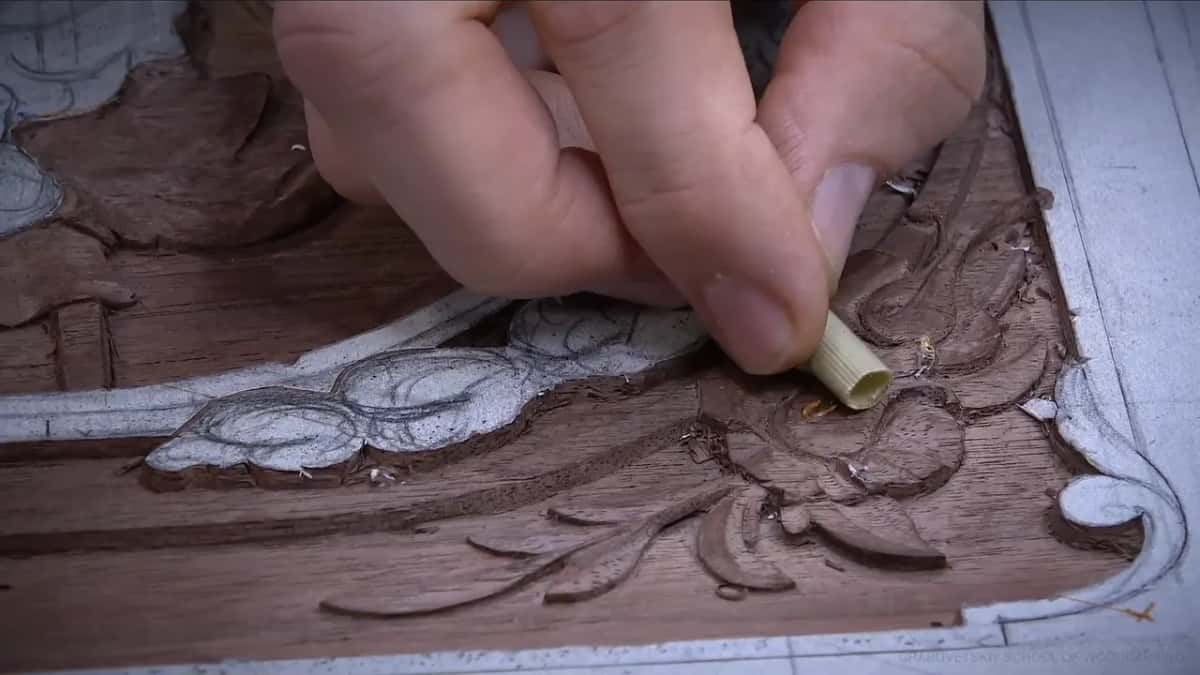
Later in the lesson I took it off with reed rush, or Dutch reeds, as I called it. Paper itself is not authentic, since the old carvers did not glue one on, but the rush takes it off a high ridge quickly without much wood and leaves no abrasive. I put it at about 400 grit, maybe a little higher. I rubbed it over the volute in a kind of rotation instead of with the grain, which gives a duller look, and that dull look lets me see a ridge under my full-blown light.
Wikipedia lists the plant, Equisetum hyemale, as scouring rush and says that boiled and dried it is used in Japan as a polishing material like fine sandpaper. More on the rush is in Beginner Workshop 10.
How did the volute get its lean?
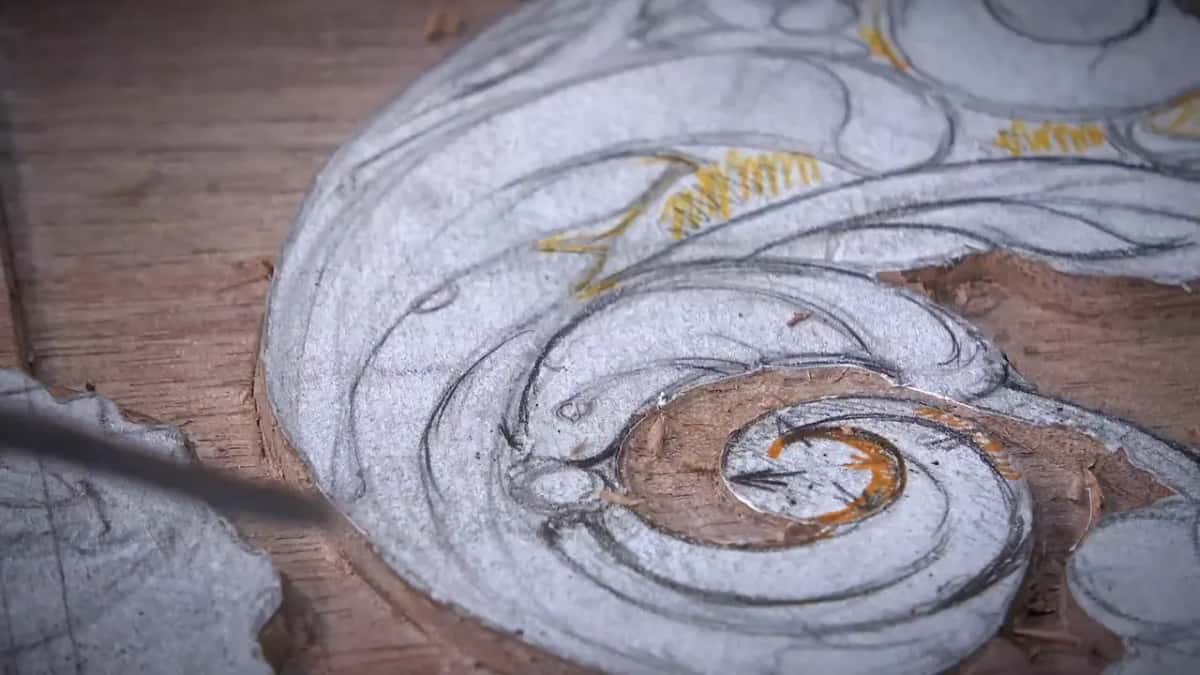
I picked one of five options and leaned it toward one side. A volute can keep a flat top, or it can lean over any one of four sides. This one also curls a little inside, which means drawing a secondary line, and that line decides how it is going to look.
My reason was its place. This is the upper part of the panel, and you look straight at it, so to get a more three-dimensional look I leaned the whole move in one direction, with a wall going downhill.
The lean also decided the ground beside it, though I did not see that at first. First I said I could not go deeper than 1/16 inch (1.6 mm), even less. A line there is supposed to die somewhere underneath the element. A few minutes later I said my bad, I cannot do a really shallow background, because we are leaning a little and I need a little depth. Once the slope was smooth, I said I really didn't have to do it, since it would still look nice even with just a flat, but I think it's just something different.
Volutes on a shallow carving are a little different from full three-dimensional carving, and sometimes you just create an indication of concaves and convexes. After I knocked one area deeper with a number 3, I said it was even more three-dimensional in my opinion, yet there is not much depth there. We just create the illusion that it is really deep, and it's not.
In one place I worked no more than 1/32 inch (0.8 mm) down and could still see my volute. For a slope like that, I said, in the 18th and 19th century they would sometimes create a micro concave on the inside, which makes a lot more shadow, and we would probably try it later.
How far under can an undercut go on a thin panel?
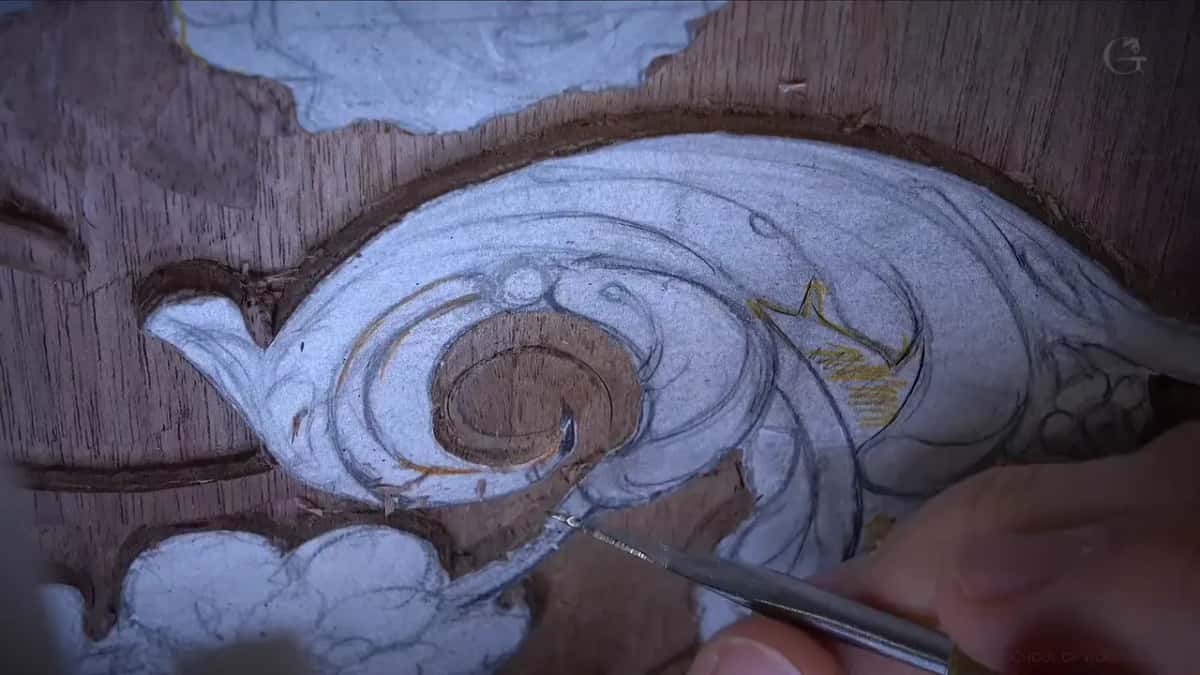
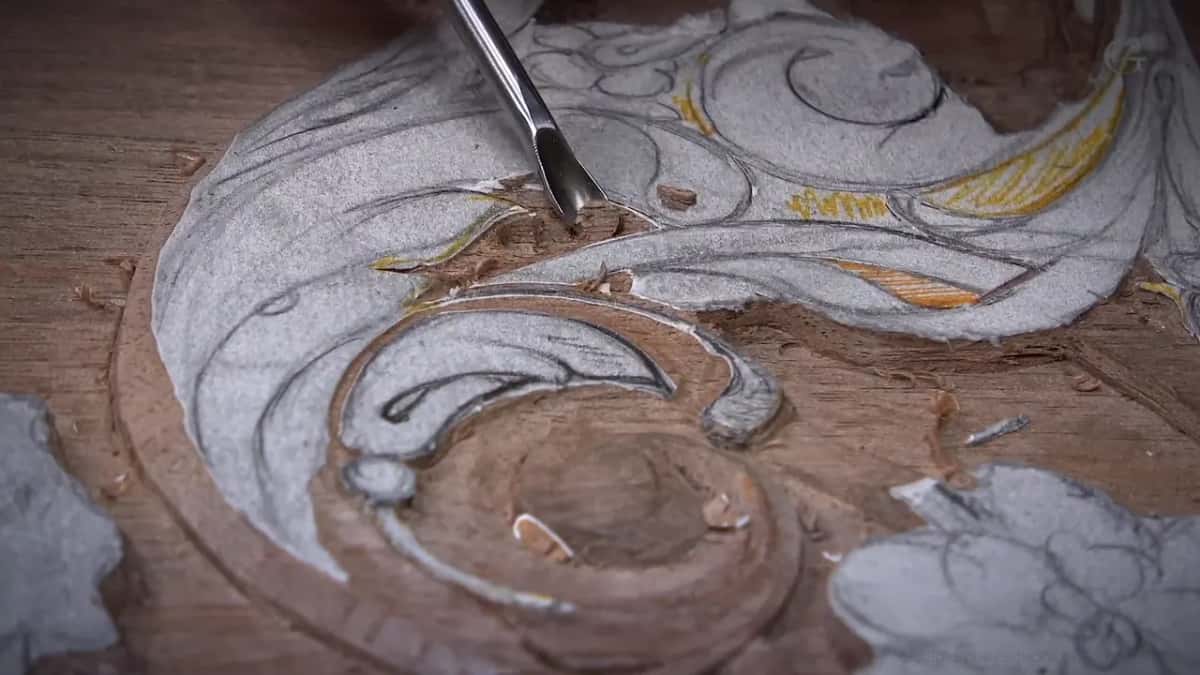
Roughly 3 mm (1/8 in) at the deepest spots I showed, and you get there slowly. Under one petal I was about three millimeters in and said I could dig even deeper for shadow, but be really careful, because you still could break it.
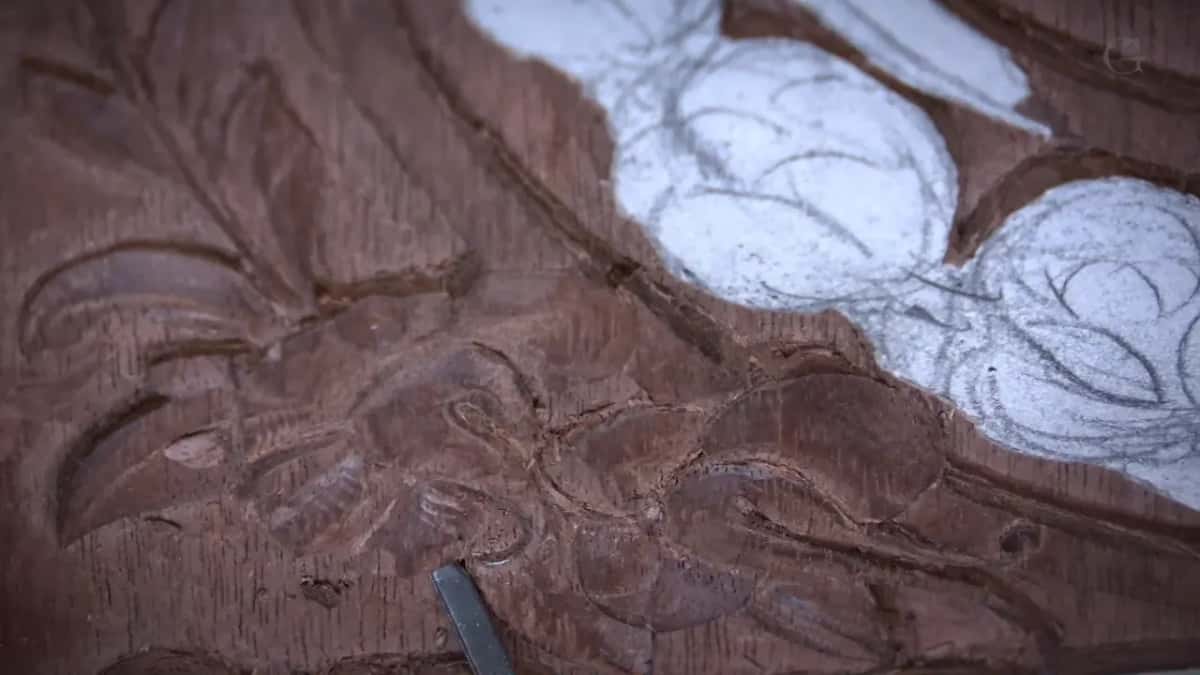
The last element of the lesson went about a really good three millimeters in, maybe two and a half in places, and that is the spot from the top of this page. Barely my 0.5 mm veiner goes in there.
Even a tiny undercut counts. Where one element sits on top of the molding the undercut went maybe half a millimeter in, and I said it still gives me a really beautiful shadow. Every little bit helps.
Around the volute I started with no undercut and worked up to a full one, the tool leaned, and if you ask me whether that makes a difference, it absolutely does. To get under an overlap I place the tool straight down, then start a rotation, and the rotation makes the cut underneath. Then I remove the waste, and the shadow is there.
Two rules kept me out of trouble. Near the end I knew I would take a little more from a second spot, and I did not want those two cuts to meet, which would be a big mistake. And don't crank the tool too much, or you hit that edge and destroy it. Lesson 19, the one before this, has undercutting in it too.
What keeps a tiny tool from slipping?
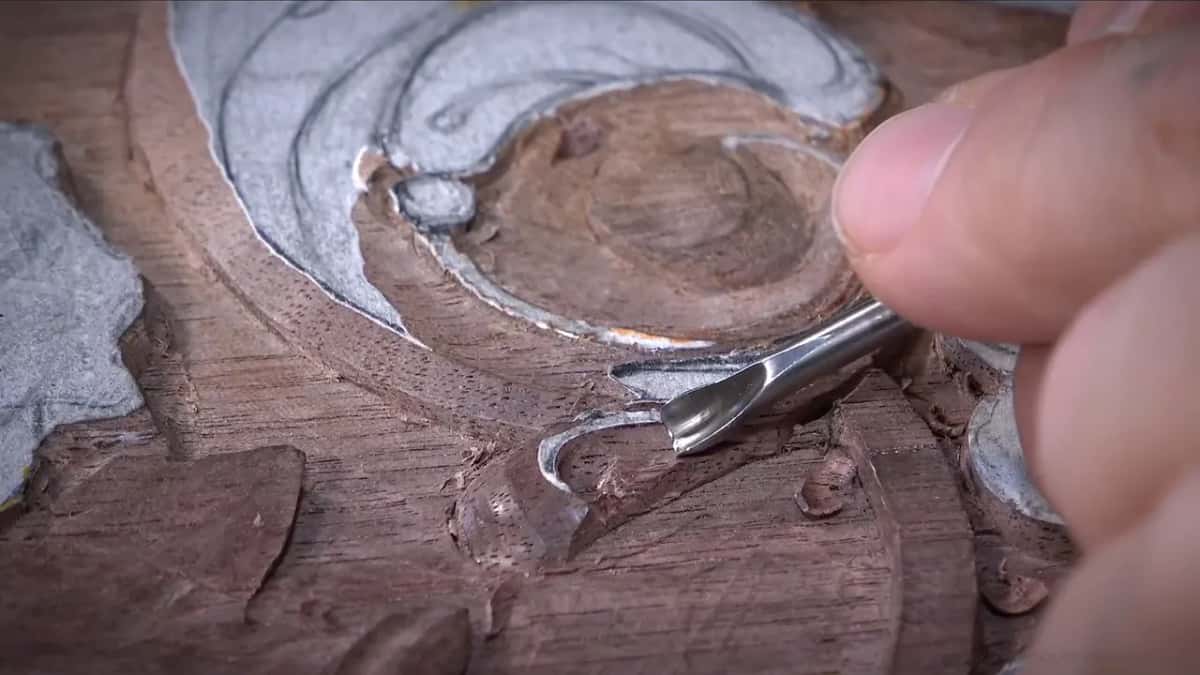
My pinky. To prevent slipping I hold my finger really tightly and block my movement with the pinky, which does not move at all, so only the finger holding the tool moves. I did it again where a detail was only 1 mm (0.04 inch) wide.
For deeper cuts I moved my whole body instead of pushing on the tool. A mallet gives even better control for deep undercuts, and I said I probably should have used it earlier. I also wiggle a little, which helps me make a nicer cut, though not every wood carver would approve.
I still made a couple of mistakes. Once I hooked a little part and the fibers flew out, because I wasn't too careful, so I blended it with a small knife. Another time I took a background out too early and almost lost a part. I saw the movement and kept it, but that was not too wise.
Why reach for a knife where a gouge would work?
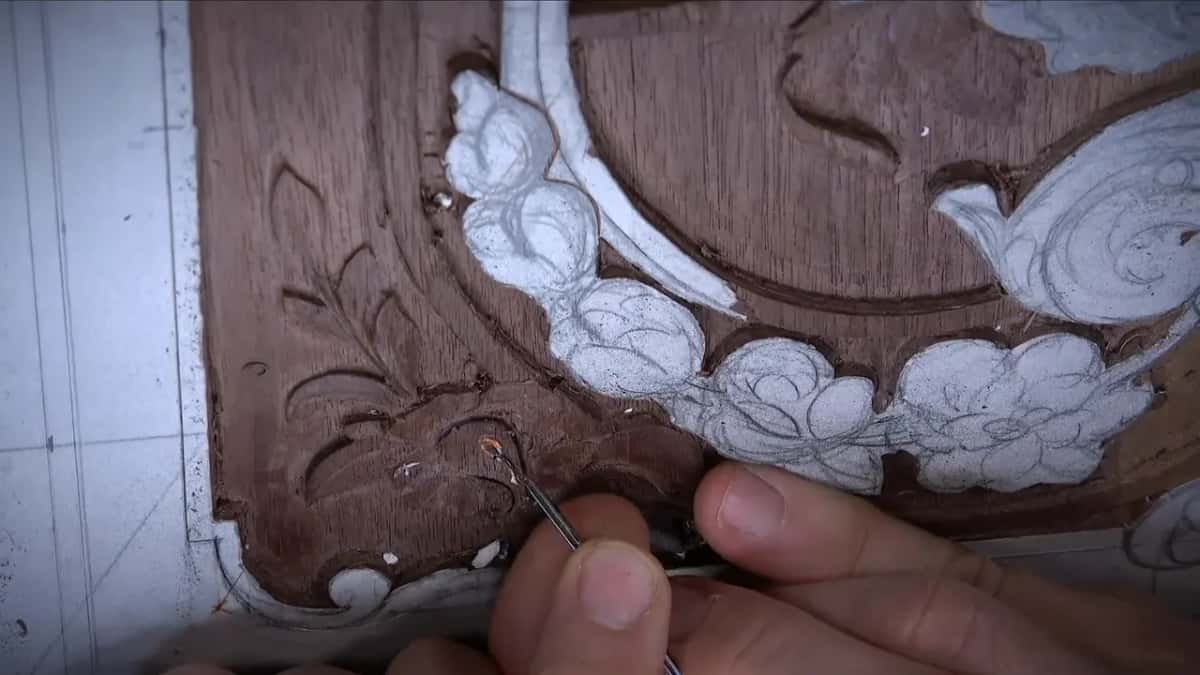
Partly to show you the process, and partly for a change. I use gouges a lot and knives a lot, and there is nothing wrong with gouges, but sometimes you are just tired of the same tool every day and want to get the same result with another one.
And yes, I like knives a lot. The small one I used for blending is by Ashley Iles, from the Peter Benson collection, and I reshaped one knife so I can press with its back part, almost a heel. The tool I picked up again and again, though, was the number 11 veiner at 1 mm, which I called one of the most useful tools for furniture style carving.
A student asked me why I didn't use a 90 degree V tool for those walls. The number 23 is one I use a lot, a specialty tool most of you probably don't have, and a 90 degree V tool would do the job, nothing wrong with that. Brands mark their V tools with numbers between 12 and 17, even 18, and with different angles. I just really want to be authentic.
Two carvers I really admire are Grinling Gibbons and Tilman Riemenschneider, the German carver who worked, as I put it, just before the Reformation. More tools and more specialty tools let you do more sophisticated work, I said, but real art is still possible with just the basic tools.
Where does the law of flow come in?
Everywhere, even on small flowers. A curve should flow like a river, never a really sharp movement, and I call it the law of flow.
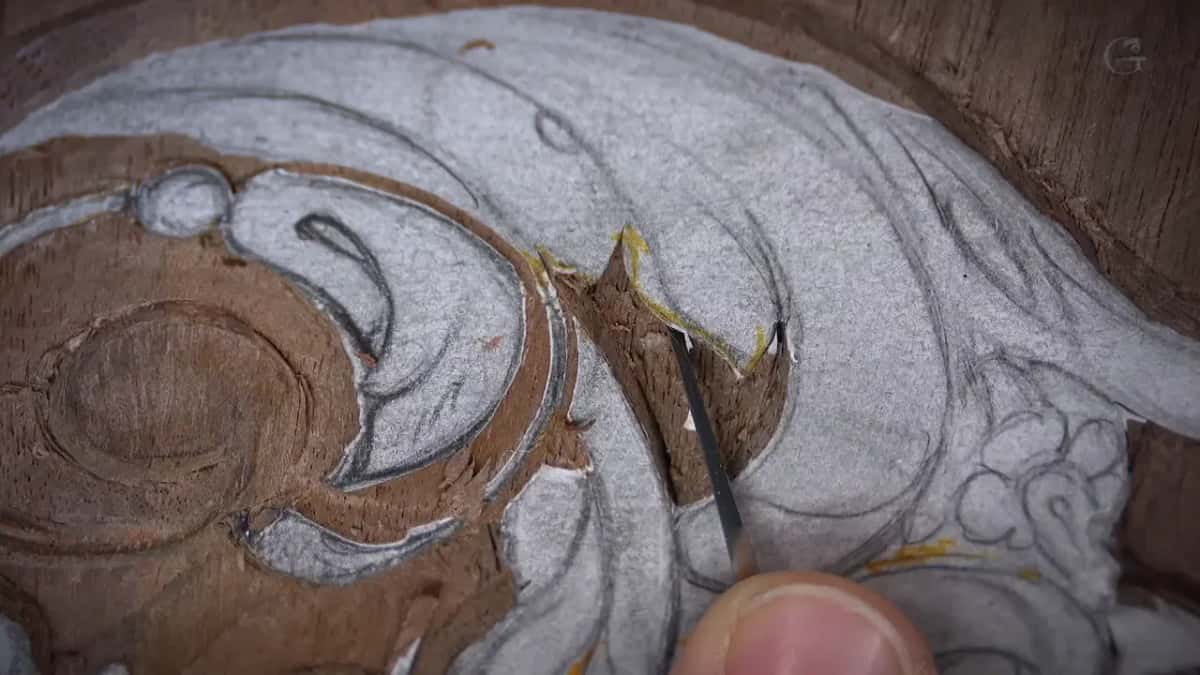
One flower had a small tail whose line was a little too straight. It repeated one movement when I wanted it to repeat another, so I outlined it, cleaned it, and made a fresh canvas. A pencil line down the middle with a little twist turned into a really nice S shape, and that part is only about a millimeter wide.
It happens a lot, actually, that I have to look at my work and decide if it looks good or not, and the same moment is quoted in Designing Furniture Panel 5. When I drew one part I had one thing in mind, and when I carved it I saw I could develop it further, but first you have to decide what is going to be nicer.
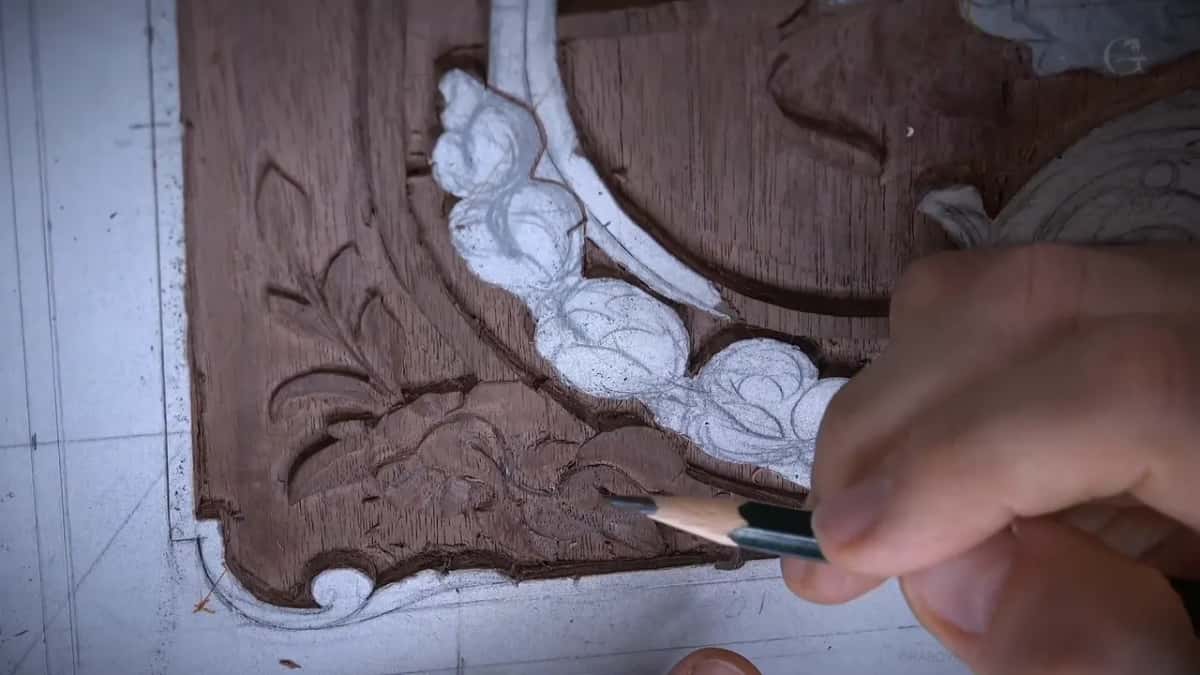
Why do these shadows look weaker on video?
Filming needs lots of light, and with it you sometimes cannot see the true level of the shadows I am creating. In a natural setting, once it is done, you will see beautiful shadows. This is dark wood too, and really hard to see sometimes, so I used my magnifier lamp.
On a phone or a computer the carving also looks huge, and you may ask why I am so careful there. These are tiny spots with very little wood in real life. On this scale it is a little more challenging than on bigger carving, and it is easy to mess up.
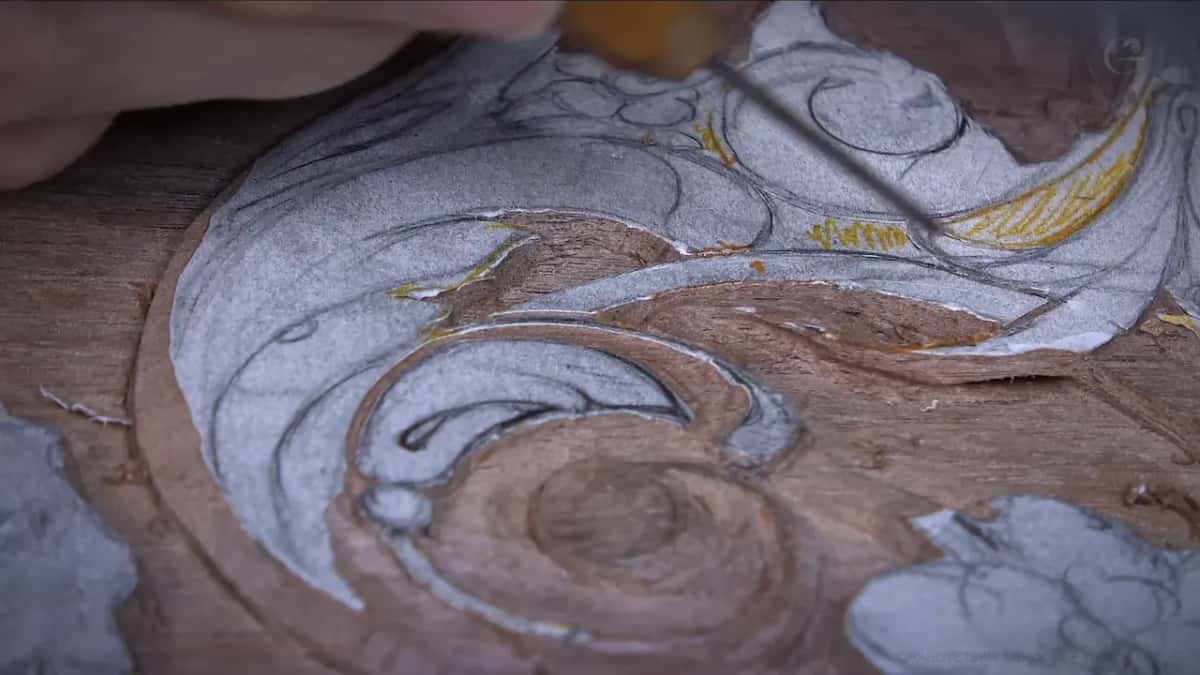
If you say it takes too long, yep, that's true, and that is exactly the time previous generations took on furniture, with real attention on the quality of the cut. Near the end of this lesson I showed one undercut, said it already cast a deep shadow, and repeated what I have said many times: wood carving is all about the shadows.
I left the next element for next time, and lesson 21 moves on to the acanthus in the upper part. The whole course is on the Part 2 page, and if you want someone beside you while your own corner comes together, that is what the school is for.
How it's done
- Put the final line on the flower. Refine the drawing with a marker where the pencil never got its last line.
- Outline with the 1 mm number 11. Go close to the line, about 1/32 inch deep (under 1 mm), no more. Then lean a half millimeter number 11 toward one side for a slight undercut, which gives a little bit of shadow even if it is not a real undercut.
- Choose the petal on top. Make a separation cut and let one petal pass under the next, so its top edge is your high spot.
- Shape convex and concave sections. Work a number 7, sometimes upside down, and then a 3 mm number 8, across a petal in turns.
- Round the body with several chamfers. Begin almost flat, step lower each time, and blend with the heel of a small knife while the paper still marks the top.
- Undercut all around the petals. Lay a veiner on its side and go around every petal. To reach under an overlap, set the tool straight down, rotate it, lift the waste, and keep two undercuts from meeting.
Frequently asked questions
Can you check background depth without a ruler?
I eyeballed it against the close walls, then laid in my small number 3. Its edge is 1/8 inch, roughly 3 mm corner to corner, and the ground was right on the money. A grounding tool would work for that job too, but I did not think I needed one.
Does scraping with a knife ruin the edge?
Scraping makes a knife a little dull, but it does not destroy the tool, and from one petal you won't dull it much. I checked mine on camera and it was still really sharp. Some woods are not forgiving about scraping, and you have to scrape a little and see which direction is best.
What clears a small patch of background fast?
Small plugs. I place an eighth-inch number 8 straight down, rotate it, crank it a little and take it out, and right away the cut was about 1/16 inch (1.6 mm) deep. That trick gets used a lot on my carvings, especially on big carvings, but don't overdo it, because you can go too deep.
What to carve next