

Alexander Grabovetskiy, woodcarver, School of Woodcarving · Published 2024
Why does a mallet give you more control than your hand?
Quick answer: A carving mallet is what gave me more control than pushing by hand under the leaf in this lesson, and I didn't have to leverage on anything. When you just push, your whole body goes into the tool, and its momentum can slice on into the next detail.
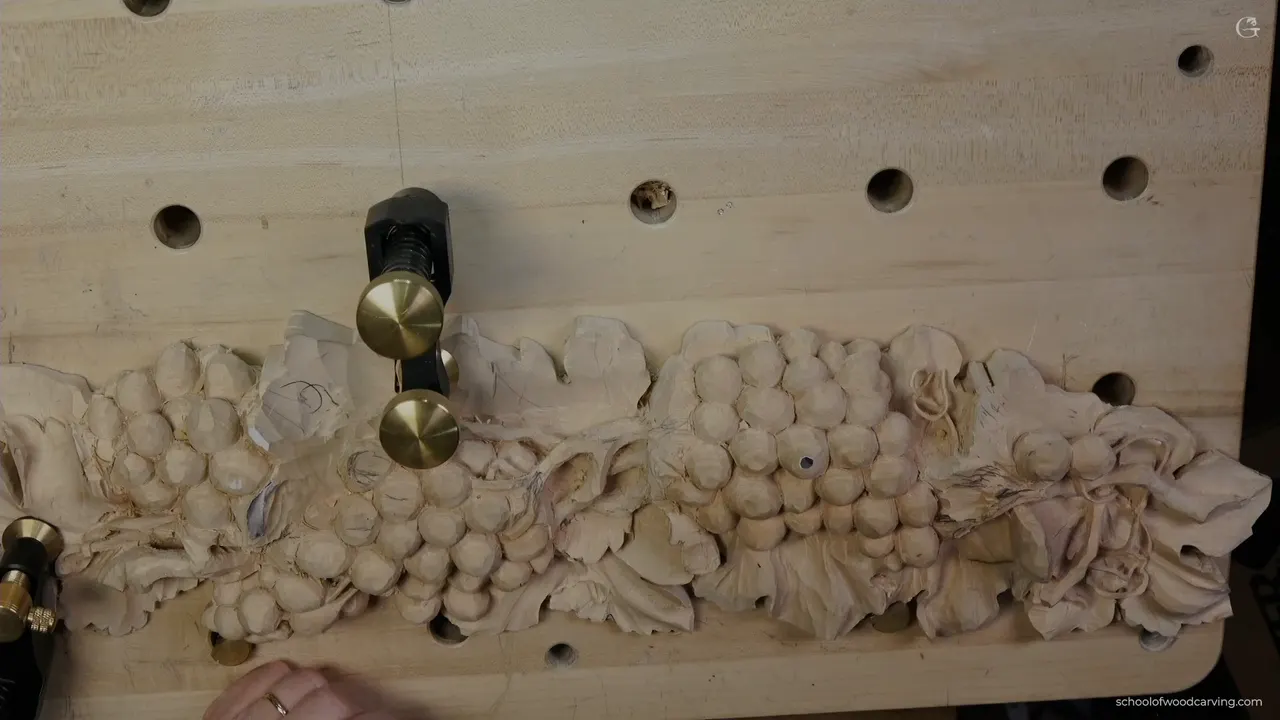
A mallet is what I picked up for one spot in lesson 7 of the grape panel, right under a leaf, and control was the reason. If you would ask me why I'm using a mallet there, it gives me more control, much better control, and I don't have to leverage on anything.
Have you ever pushed on a stuck drawer until it gave all at once? Did your hand keep going after it? A gouge you push by hand can do the same thing inside your carving, and that's one reason I reach for a mallet.
Below is the whole stretch of lesson 7 around that moment, in the order I did it. I also put in what I said about the mallet in other courses, with links, because in this lesson I say it in one breath and move on to the next pass.
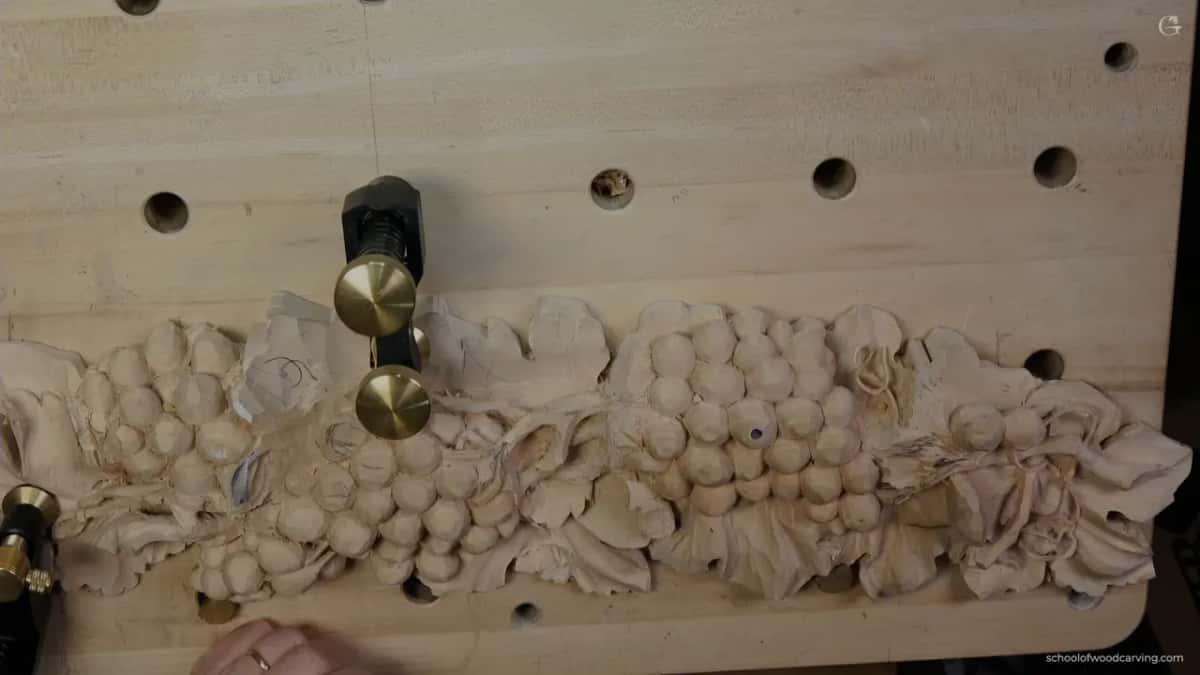
What I did under the grape leaf
- Under the leaf I tapped a four millimeter (about 5/32 inch) number 11 in, for control, with nothing to lever on.
- The hole was opened through the panel first, by a number 9 only an eighth of an inch (3 mm) wide.
- No back bend? You keep drilling; I used two by Henry Taylor.
- I widened first: approximately a quarter inch (6 mm), three eighths (10 mm) at the widest spot.
- With a spoon gouge going in under, my finger was the leverage point.
- Pushing has its place too, and at some point a piece gets too weak for any mallet at all.
What does a mallet do that a push by hand can't?
Pushing puts your weight behind the tool, and the weight keeps moving. When you just push with your tool, you force your whole body into it, and there is still momentum, so the edge can slice on and destroy the next detail. I said that on a livestream about mallets. And I'll be honest with you, I didn't use my own mallets for a long time, because I thought pushing would be enough for me.
I found, for me personally, that a mallet gave a lot more control. You also get a lot more tired doing it all by hand.
In workshop 74 of the Venice Room I had a number 9, 20 millimeters, about 3/4 of an inch, and I said, you know what, I could use some force and use a mallet. Working across the grain there is always safer. The mallet gave me a lot more control, because by hand I could slip and damage whatever carving was already done. Not the best idea.
The first antique style rosette workshop was the same story. I told you I could push it, and I have no problem with that. Still, I found the mallet lets me control it better, and right there I wanted no damage on the edge of my line.
The Lily Box, first layer, had a stubborn area that was almost impossible to control by hand. The mallet helped, and especially on the harder woods.
Where did the mallet come out on the grape panel?
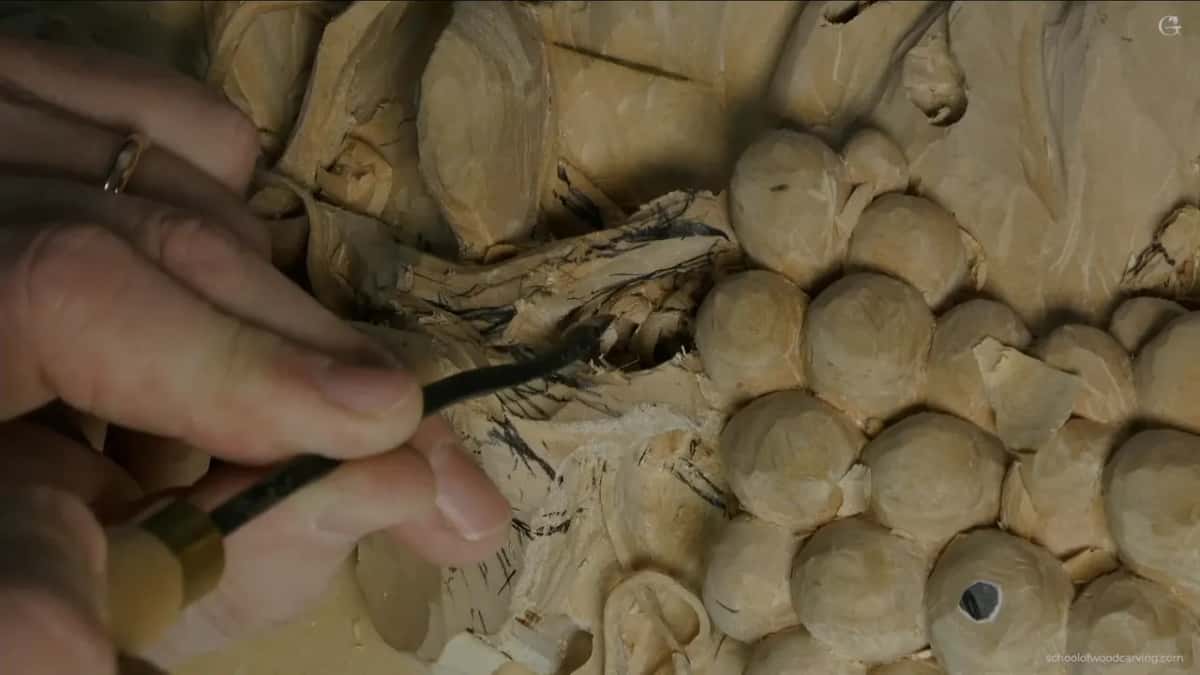
Right under that leaf, on my right-hand side, in the second video of lesson 7, once I had access to the material in that spot. I took a number 11, four millimeters, Swiss made, to get underneath. I know it's kind of hard to understand what I'm doing on camera, but I'm right there.
That is the leaf. I undercut slightly right under it, with my flute at about nine o'clock. And I said, you know what, I could actually use a mallet in this case.
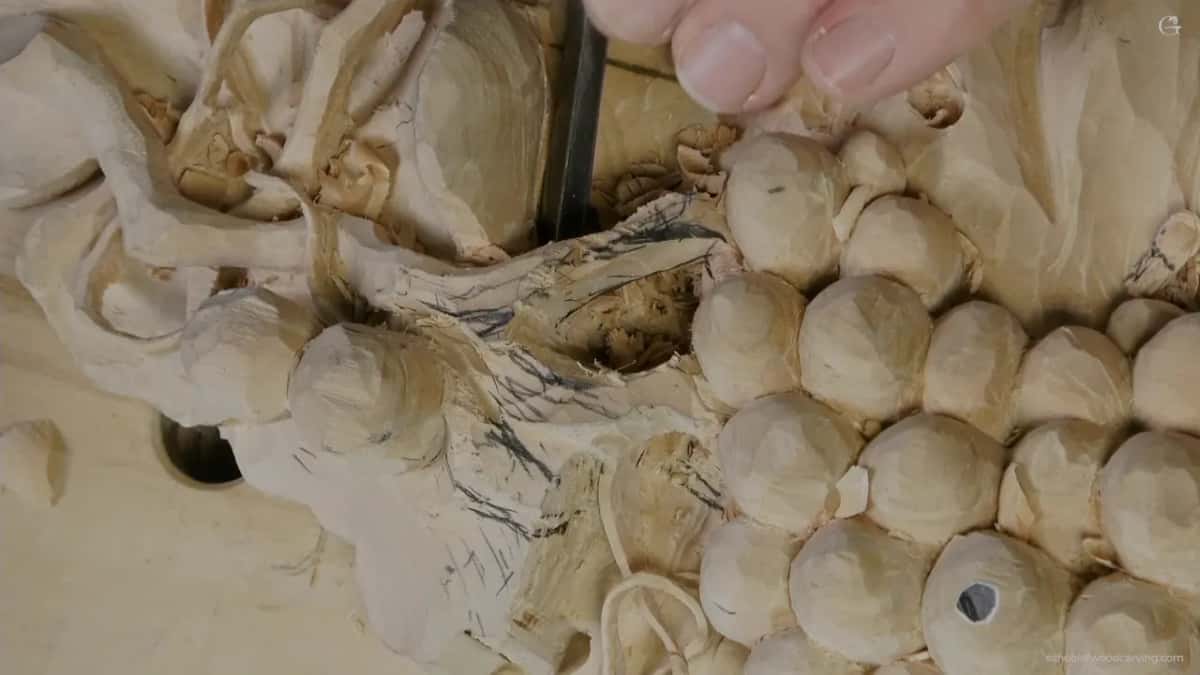
Over on the left-hand side I went at it the same way, same tool, maybe tapping again, but with the flute turned the opposite way. Maybe it was a little too tight a space. Maybe yes, maybe no. I took a little more material out, went smaller to a two and a half millimeter number 11 (about 3/32 inch), and wiggled it a little bit.
How did I open the hole first?
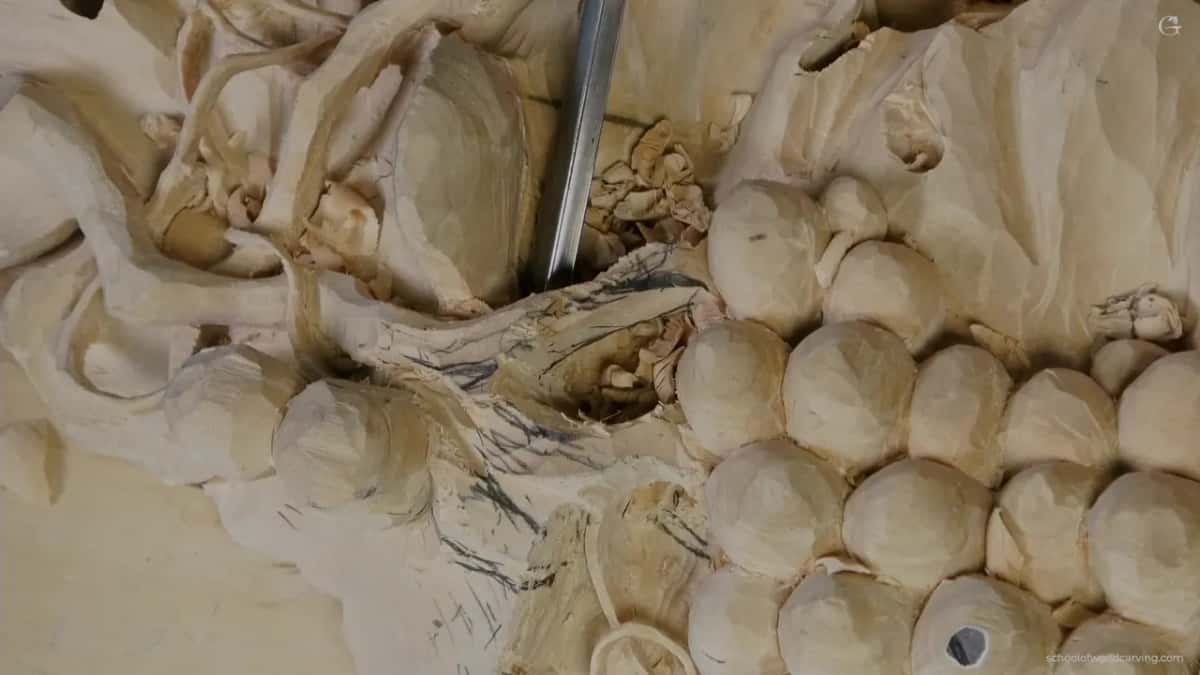
I excavated it with that same Swiss made number 11, and later a small number 9 gouge went all the way through. I could have done a plug cut. That would probably be enough too, but I thought I could manage without it.
At about 13 mm (half an inch) deep, I attacked from one side, with the flute at about two and a half o'clock. It doesn't matter which side, and that one was more convenient for me. Keep the thickness right there. It is important. The piece was moving on me, so I had to tighten it a little more.

Next a number 7, 14 millimeters, a little bigger than a half inch, took out the excess. The board is basswood, as I said in lesson 1, and here I have almost two inches (5 cm) of it, so there's no reason to keep some of the spots too high. It will still look full 3D. I went about another half inch deeper, which gave me one inch (25 mm) from that point down.
For the drilling I used a number 9, one eighth of an inch, three millimeters, by Ashley Iles. I picked one that small because I had some stuff on my way, and a small one lets me go higher or lower without damaging it. A bigger gouge would limit me, and I could take out too much material. I attacked the same hole from the left and from the right, drilled from above again, and I was through.

| Tool and size | What I did with it in lesson 7 | Which video |
|---|---|---|
| A 4 mm number 11, Swiss made | Excavated first, later tapped in by mallet beside the leaf | Videos one and two |
| An eighth inch number 9 | Went through the panel, small enough to steer higher or lower | Videos one and three |
| Back bend number 7, Henry Taylor | Took out material once the hole was through, about 5 mm wide | Video one |
| Henry Taylor back bend, number 3 | Quarter inch, no pressure, rounding the side so it looks like a vine | Videos two and three |
| Ashley Iles number 3, half inch | Cleaned inside, which made the lines easier to see and place | Video two |
| Spoon number 11, 4 mm or so | Excavated underneath, with a finger as my leverage point | End of video two |
Do you need a back bend gouge for this?
Logically I could remove some of the material with a back bend, and if you don't have one, you would just continue to drill. Mine was a Henry Taylor number 7, about five millimeters or so (about 3/16 inch). I attacked from one side, then from the other, same back bend.

The second video has me going in with that number 7 again, and I wanted no real pressure downward, because I didn't want to destroy the material underneath. That would be a really bad idea. Then I switched to another Henry Taylor back bend, a number 3, a quarter inch, about six millimeters, which I thought would be much better for this case. No pressure. All the sharpness of the tool.
The same number 3 back bend rounds the side of the motion, so it looks like a vine. I don't make it completely roundy, though, because then it won't look natural.

Why widen the hole before going in deeper?
Widening made that section much easier to reach, and it let you see the lower movement. Before going too much underneath, I widened my hole: no more than about a quarter inch in that section, the widest spot 10 mm (3/8 inch), and a quarter inch again at another spot. The rest had to go.
For that I used a number 7 fishtail, 14 millimeters. I had to be careful, because I didn't want too much force there. Maybe it was a little too big, and I could probably use a smaller one. It's all right. I made the hole wider so you can see the lower movement much better, because otherwise there's no reason to do that lower movement if you can't see it.

Later a flatter tool, a number 3 from Ashley Iles, about a half inch, went right inside. It just fit, and it was easier for me to see and to place the lines.
Is a stabbing cut ever all right?
In lesson 7 I said a stabbing cut with some kind of flat gouge is doable, though I'm not the biggest fan. Maybe in that spot it was even right to clean with the number 7. But I really don't like those cuts, because you're just spreading the fibers to the sides, so I prefer to use a number 11, but sometimes it's all right to use it.

After that came a flatter, smaller gouge, a quarter inch or so, number 4, which would be equal to a number 3 if it's a European one. This one was an Ashley Iles. I needed at least three eighths of an inch (10 mm) of material there. Next I chose a different tool, number 11 again but 2.5 millimeters, for my outlining work. That is my preferred method.
From the high spot down I had six millimeters (about 1/4 inch) at that point, and I could go about three more millimeters or so. Furniture Panel 39 goes further into outlining without the stab.

What takes the pressure in a tight space?
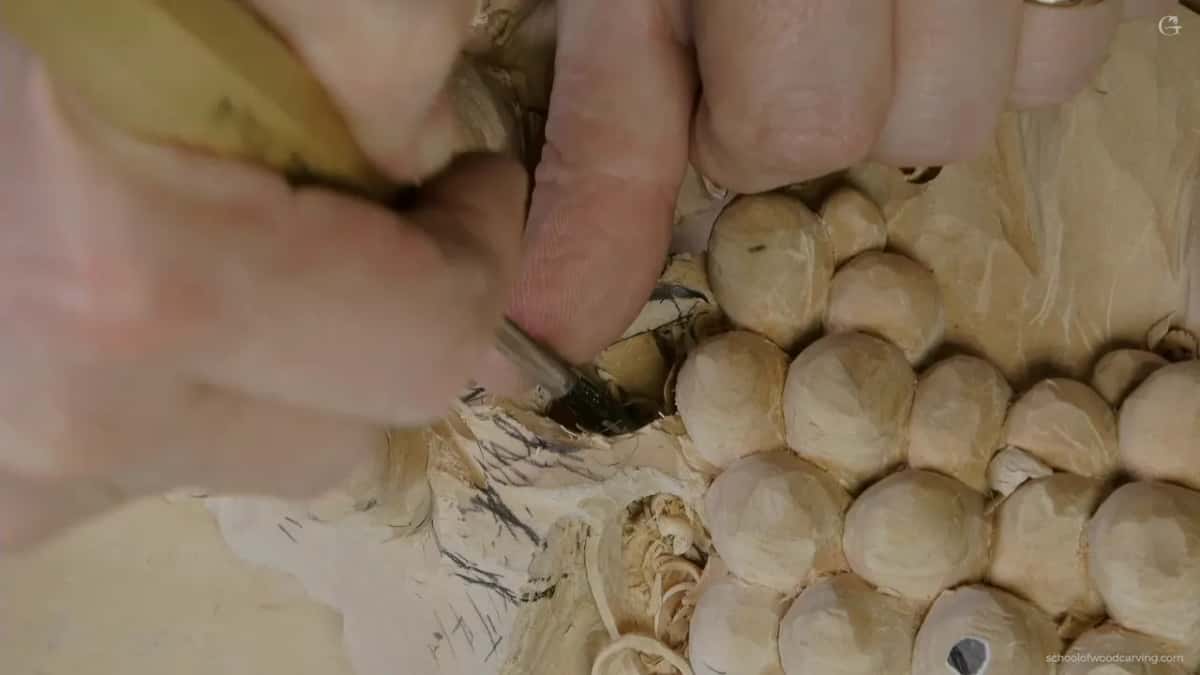
My finger did. That was at the end of the second video, where I had lots of stuff to remove between two movements, and I said maybe I should use a spoon. So I took a spoon number 11, maybe four millimeters, and excavated right underneath, carefully, as much as possible. I was after about the same depth as on the left-hand side.
I would not crank on that part. That's why I placed a finger right there and used it as a leverage point.

Is tapping with a mallet still real carving?
Of course it is. In Venice Room 55, outlining with a number 11, 12 millimeters, I told you about a comment from one of the livestreams. A carver said you're not supposed to use the mallet, you're supposed to just push, and banging away is not the real carving. It's not true.
With it you control the tool better, and that's why you're using it. And the outlining I was doing in that Venice Room workshop has a name, the Outlining Cut, or Setting In if you are in England.

When should you put the mallet down?
When the piece gets weak, and when you can't feel the wood. In Hashemi Flowers 5 I said you can control a lot nicer with the mallet, but the more material you take out, the weaker it becomes, and it's easier to break. At some point I'm not going to be able to use any mallet.
Carving the second layer of the Lily Box, I found the mallet helped a lot. But on a crunchy wood like that you really can't feel the movement of the wood, so I put the mallet down and carved by hand.

And on the Greek acroterion, with an Ashley Iles number 8, about 3/8 of an inch, I called the mallet one of my favorite tools, because I can easily control it and take little by little. Before I knock the last time, I have to be really careful, because I can damage it, so I finish by hand with a small rotation and exit.
Here on the grape panel I had already opened that area right through when the mallet came out beside the leaf, using just a 4 mm tool.
What did I do with the extra thickness?
I turned it into another movement. Partway through video two I noticed I could do something else. Those two grapes sat kind of high, and a leaf stuck out from under the big leaf, a little too high, so I could take advantage of that material and make another movement. Keep that a little higher, lower that part of the leaf, kind of slope it.
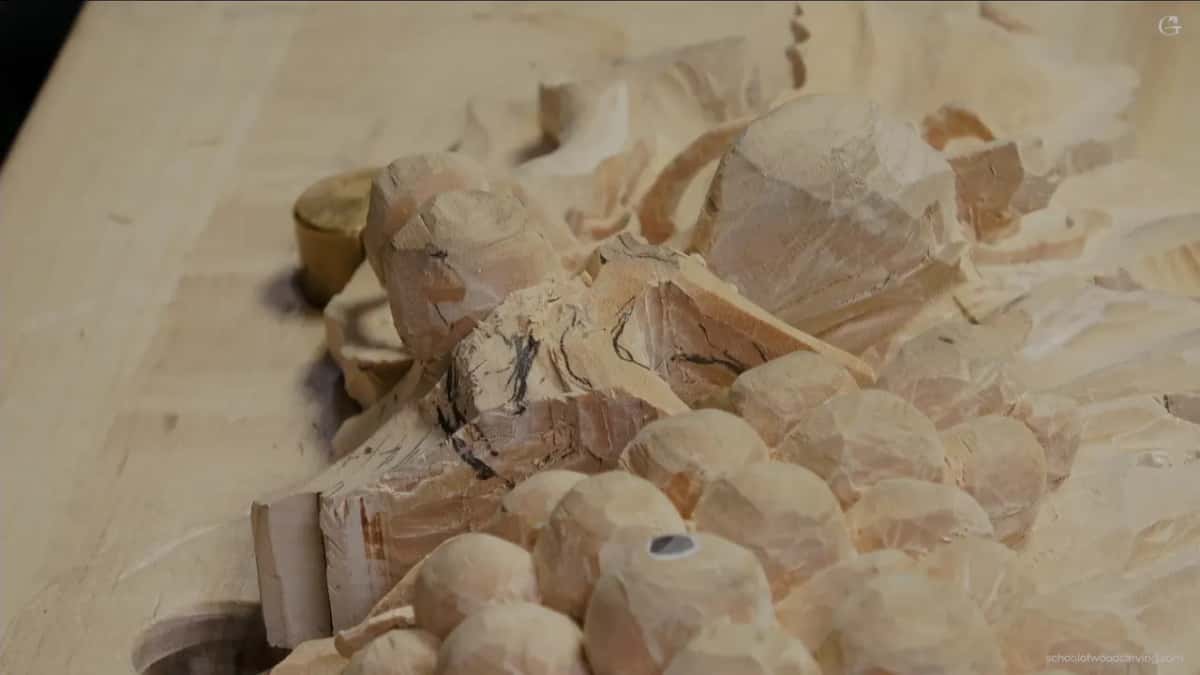
Video three is where I flipped the piece to work from the opposite side and used all that thickness to my advantage. First came a number 9, 10 millimeters, three eighths of an inch, careful going from the outside toward my movement. That movement goes right under the other one. It's going to be really good weaving.
Then a big flat tool, a number 3 at about three quarters of an inch by Henry Taylor. It doesn't have to be that big, but I think it's a good idea to get as much material out as possible with a bigger tool. I wanted a slope without losing the idea of the leaf, and I excavated about three quarters of an inch (19 mm) for now. I'm after a full three-dimensional feel all the time.
I held off drilling right through under the tendril at first, because it's a kind of fragile part. Pretty soon, I said, I'll do it. You really don't have to do this, like I said more than once, and it's just if you wish, to challenge yourself, and I think it's a good idea. It's going to look really good without it, but even better with it.
What happened to the piece I broke?
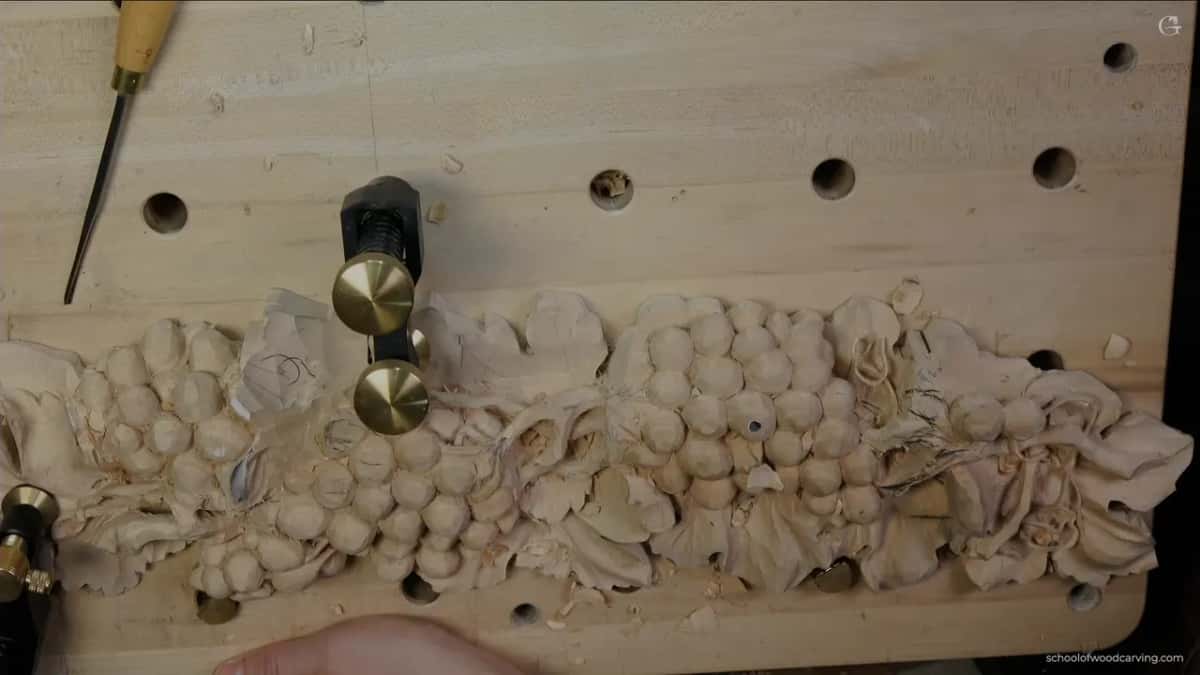
I lost it, so I glued in a new one and recarved it. Back in the first video I showed you that section. It's matching really good, but you can probably detect a couple of spots. Hide glue is what I like to use there, because it's easier to blend. It happens sometimes. I just wasn't too careful.
Lesson 3 of this course is about why a carving breaks when you carve the second side.
Have you ever pushed on something harder than you meant to? Then you already know what my mallet is for. All three videos of lesson 7 are in the Carving Grape Onlay course, and you can watch them with Access to the school.
How it's done
- Drill through with a small gouge. I opened the spot with a 4 mm number 11, then a 3 mm number 9 went through from the left, from the right, and once more from above.
- Back bend after the drilling. My Henry Taylor number 7 back bend came at it from both sides.
- Make room to see. I widened the hole to no more than a quarter inch or so there, three eighths at its widest spot, so the lower movement would show.
- Tap beneath the leaf. Flute turned to about nine o'clock, then the mallet.
- Go smaller in a tight space. On the left the space was maybe too tight, so I removed a little more and wiggled a smaller one, 2.5 mm.
- Lean on a finger. Between two movements, with the spoon gouge doing the excavating, I placed one finger as my leverage point so I didn't crank on that part.
Frequently asked questions
Do you need a heavy mallet for small gouges?
A light one serves me better there. In the Lily Box course I said any mallet will do, but with small tools a bronze one is overkill, so I could use just a rubber one, lighter and easier to control. Most of the time I reach for a 12 ounce mallet (about 340 g) or one near 30 ounces (850 g).
Should a carving mallet have a finish on it?
Better without. On my mallets livestream I showed one with a slick finish, and when you hit the tool it tries to jump out instead of grabbing. If you plan to turn your own, leave it bare, like the tiger maple mallet I held up with no finish at all.
How do you hold a mallet so your arm doesn't get tired?
Hanging free, just inside your palm. In Venice Room 55 I showed how a lot of people bang with the mallet and get pain in the shoulder, while one hanging free in the palm keeps the hand from getting really tired. For the Lily Box undercuts I held mine just by its head, not by the handle.
What to carve next