
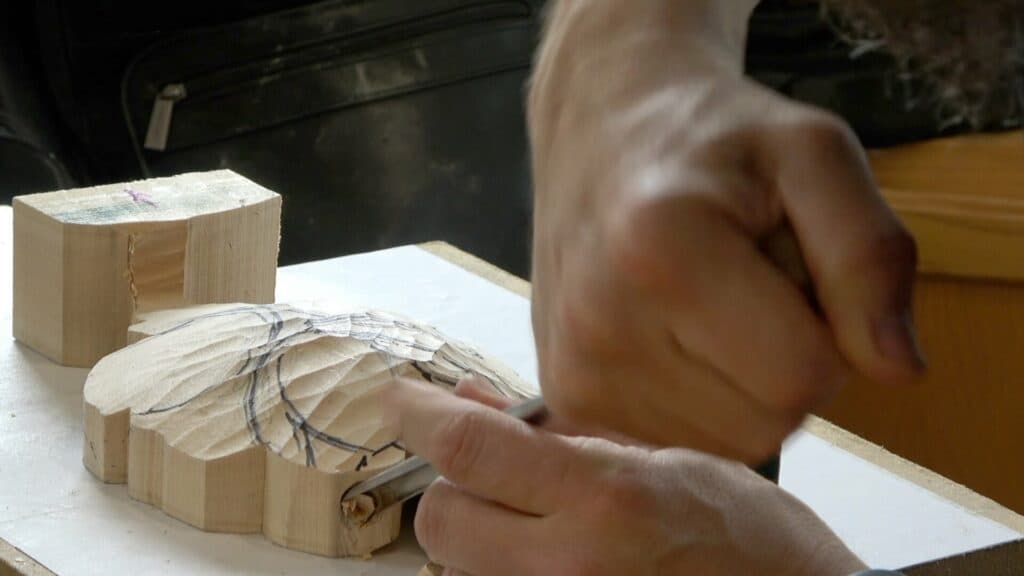
Alexander Grabovetskiy, woodcarver, School of Woodcarving · Published 2022
Why is one spot on the back of a carving left uncarved?
Quick answer: The uncarved spot on a carving's back is the glue spot. In class 6 of my Grinling Gibbons panel, the goal was to bring everything on the back side to the knife edge, except one area in the center, which I called untouchable. The carving gets glued to its background board there, and that one spot is enough.
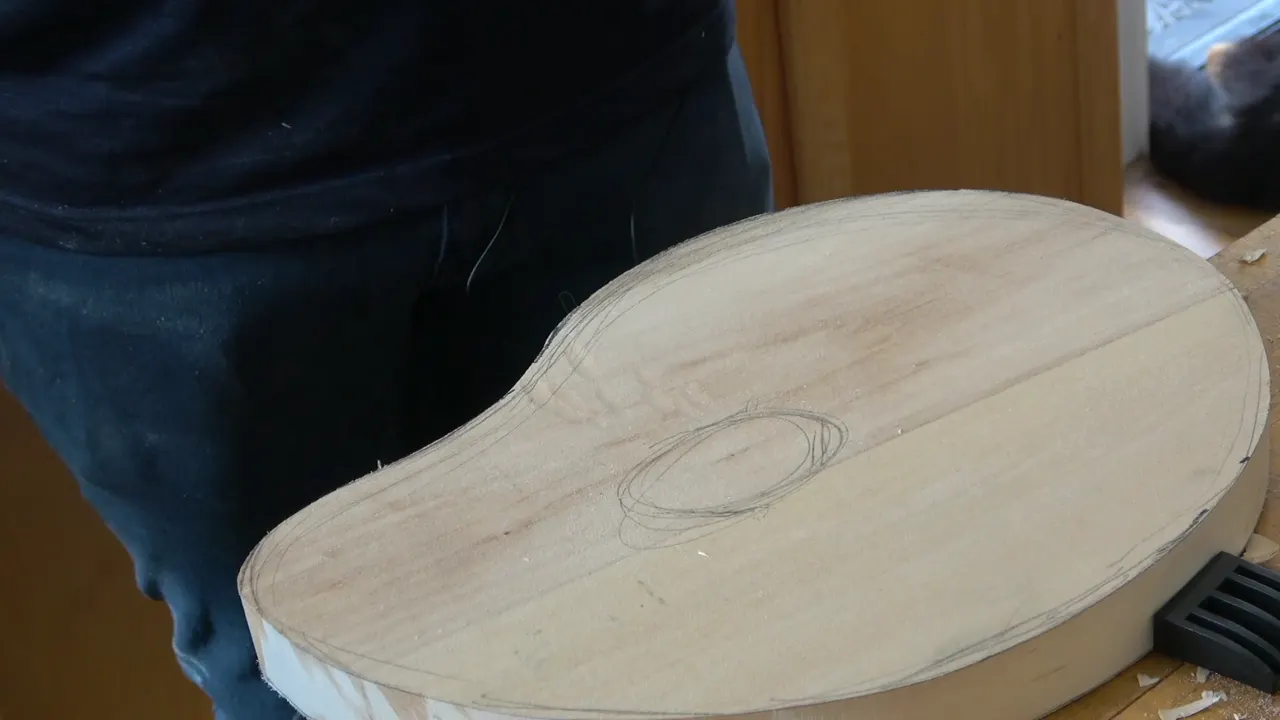
The uncarved spot on the back of a carving is the glue spot. On my Grinling Gibbons panel in Maine, the goal in class 6 was to bring everything on the back side to the knife edge. One area right in the center stayed untouchable. The carving gets glued to the board behind it right there, and I said it would be plenty for the glue. Solid, too.
Ever worked a carving from behind and felt it get thinner and thinner under your hands? Then you know the worry. Where would the glue even go when nearly everything back there is down to an edge? That day I answered it right at the bench, and the answer was one spot in the middle that stays.
You'll see each step here with the tools and sizes I used that day in Maine, and the lines I said to the room while I worked.
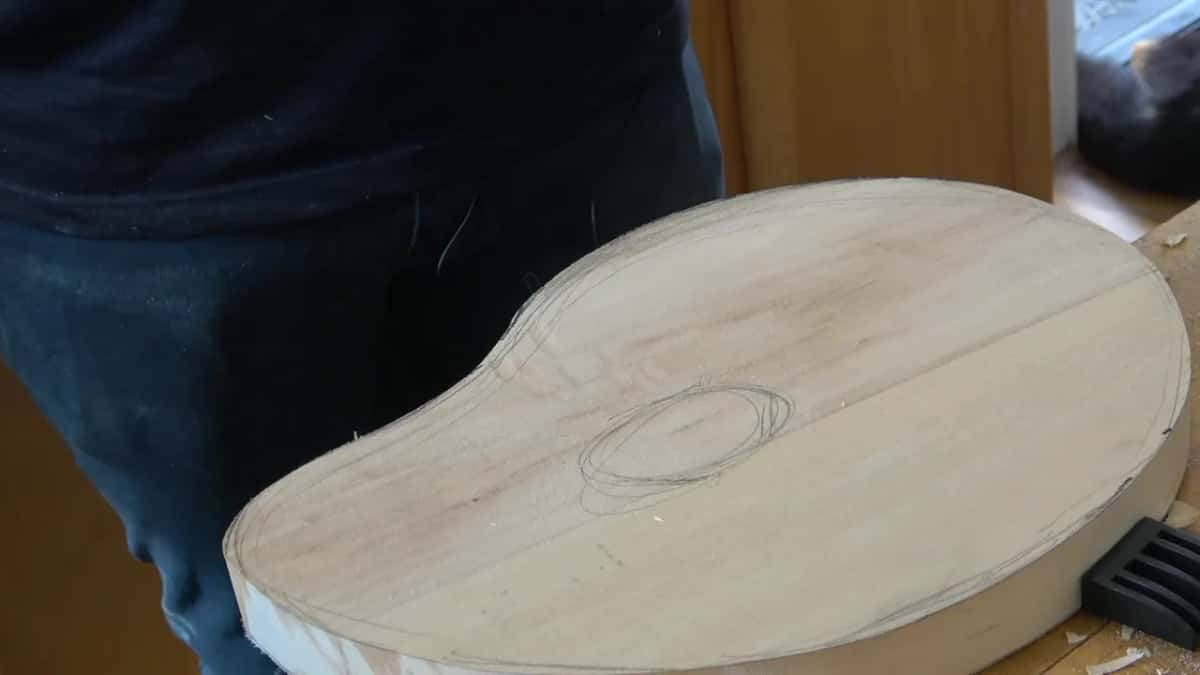
Class 6 in seven short lines
- The whole back side goes to the knife edge, flowers excepted.
- One spot in the center stays untouchable, because that is where the glue goes.
- Stems under the holes keep about a quarter inch.
- Walls on the back come off, and a smaller tool helps.
- A pencil marks that same area on the background board, and it stays clean.
- The rest of that board gets a number 7 texture, then a stipple from a nail.
- No clamp touched the glue up.
Why does one area of the back stay untouched?
The glue goes there. While I was working the back, I showed the room one area in the center, right there, and said it was going to be untouchable. I said it three times in half a minute.
The reason is the board we have for the back, the one we glue the carving onto, and I said that area will be enough for it and solid. Everything around it goes thin. That area doesn't.
The same idea runs through the whole panel. Back in class 2 I told the class we don't really need a huge gluing spot. Later, in class 18, some flowers stand up above the parsley leaves, and from the side they reach right down to the background. There's a gluing spot right underneath, and that makes them really stable.
How did the first layer come off its board?
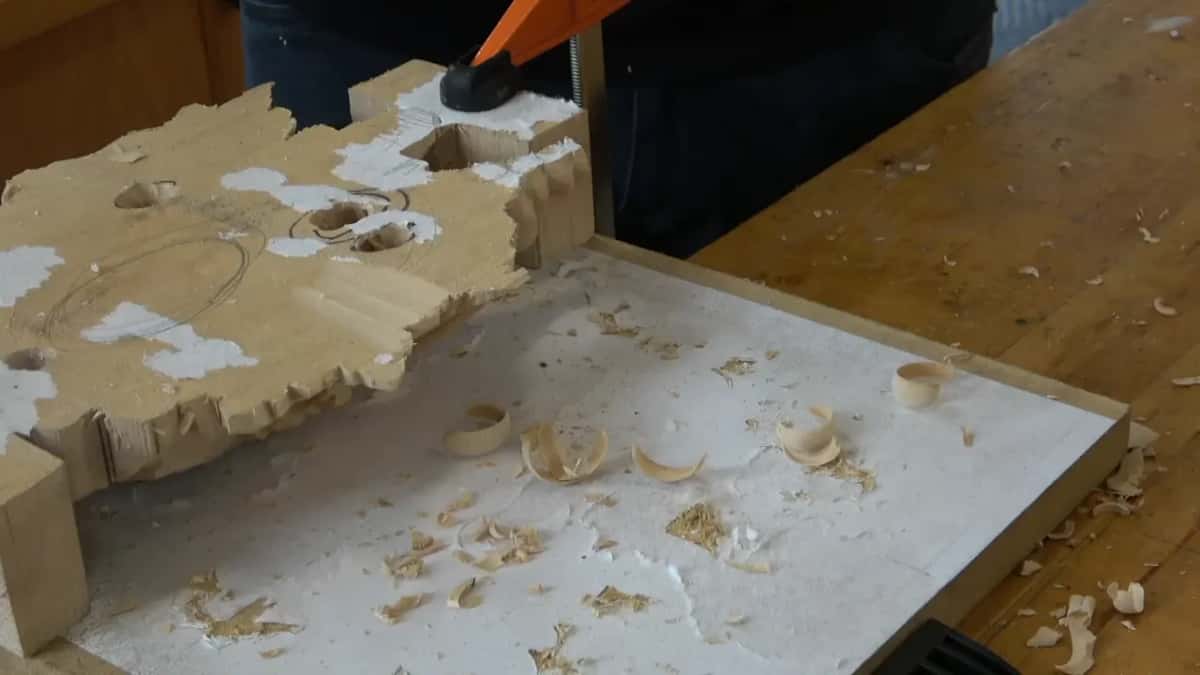
With a chisel, placed carefully. Put a smile on your face, I told the class. You need some rest, so here is what we do now. We take that first layer out.
Even if it's not done yet, don't worry about it, and please don't stress over it. It stays reachable. I set the chisel with the force going with the grain, and I had it upside down at first. Once it started, I could turn it back over. Even the number 2 works for this, and you should not have any problem.
Then keep that board. Clamp the piece to it upside down, and the back side is easier to work. You can do it both ways, and use the edge if you wanted to, but I just clamp that board so I can get at it.
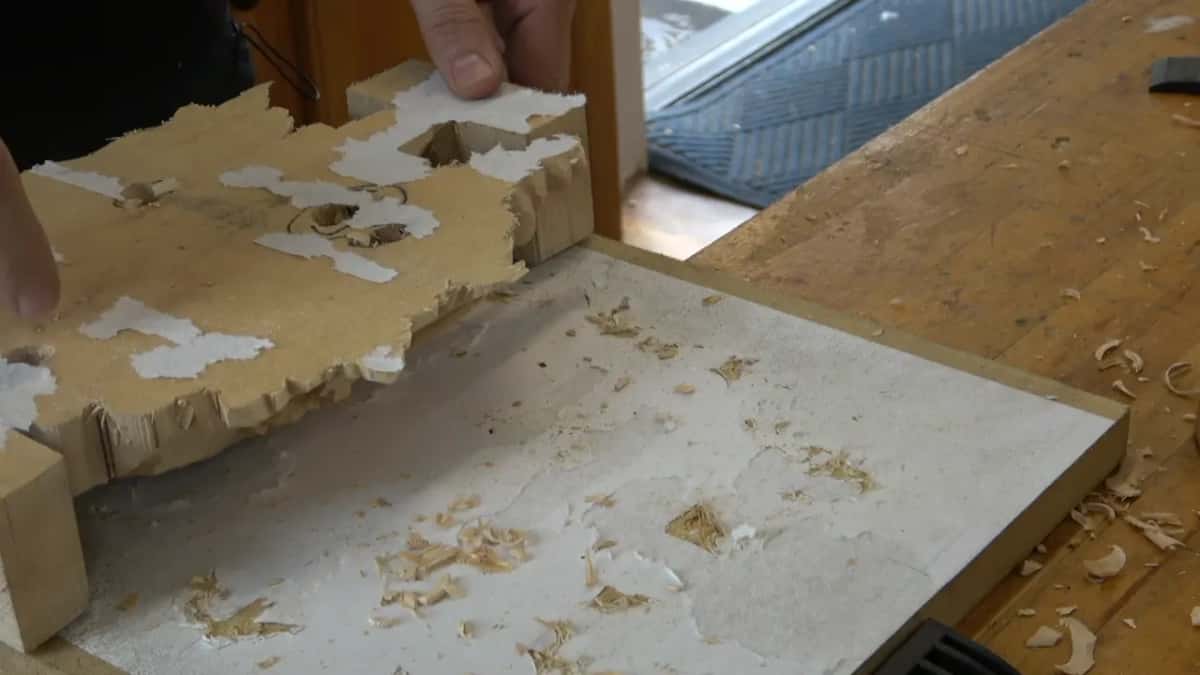
How thin does the back side go?
Down to the edge point. The goal, I told the room, is to bring everything there. Those leaves, everything.
The flowers are different. They aren't supposed to go to the edge but have to come around the back side. Some areas you can't take that far yet. Later we take so much material out that we get there anyway. The parts we already worked on, we can do now.
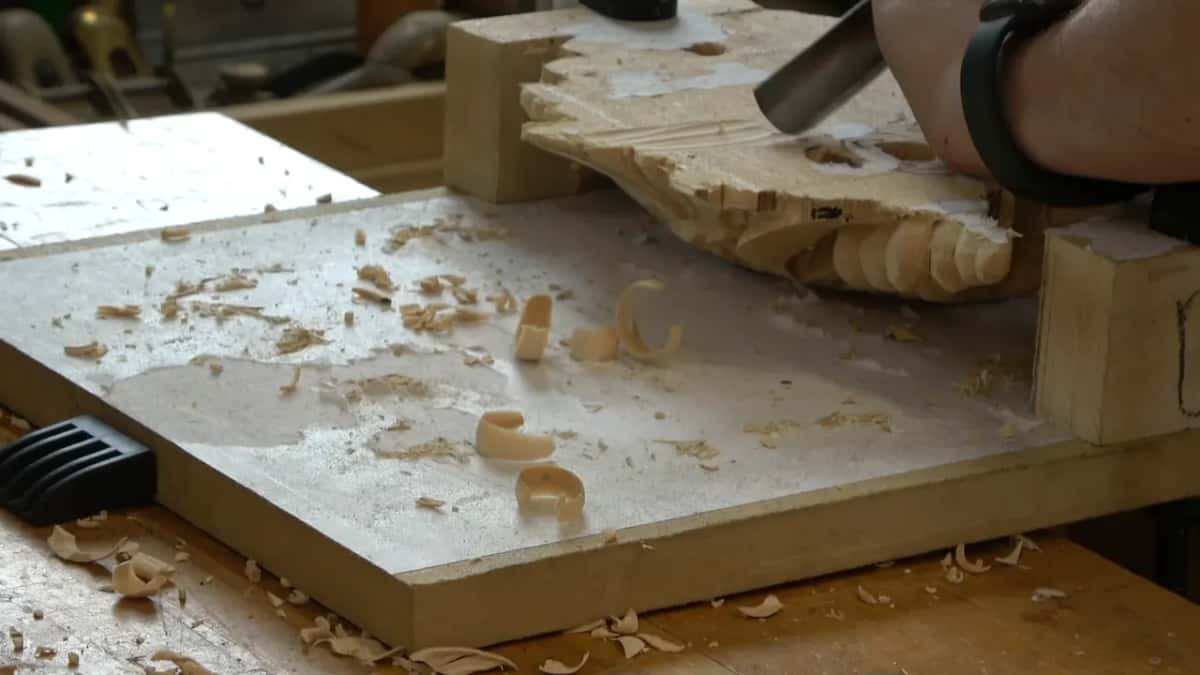
For that first step my tool was a number 9, three quarters of an inch, which is 20 mm, and a number 7 would work too. I carve across the grain, which is always the best, with the slicing motion. See how nice the chips come out.
Then look at the holes. Behind them a lot of material has to come out to expose the stems right underneath. Not to the edge point there, and don't overdo it. Those stems have to stay about a quarter inch, roughly 6 mm.
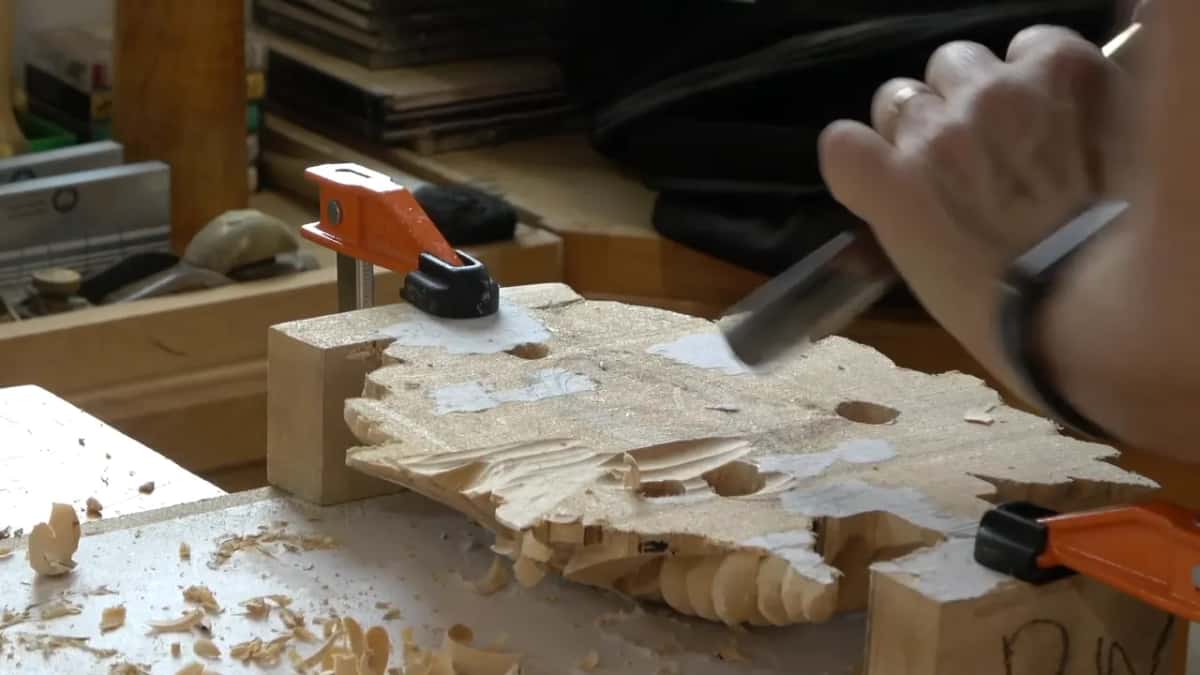
Check the front as you go. You can always flip it and see how it looks from the front, so you don't overdo it. Don't be lazy, people. It takes only a couple of seconds. Looking at my own piece right then, I said I still had a lot of stuff to excavate.
Another panel got the same advice, my Modern Acanthus lesson 8. When you forget what the other side looks like, take it out of the clamps and look, then clamp it again. It's better not to rush it.
| Area | Treatment | Depth | Note |
|---|---|---|---|
| Leaves and petals | Taken to the edge point all over | Knife edge | Number nine gouge, twenty millimeters wide |
| Flowers from behind | Taken around behind, not to the edge | Around behind | Some areas wait for later work |
| Stems under holes | Exposed from behind with a lot removed | Quarter inch | Kept short of the edge point |
| Walls left standing | Removed to get everything to knife edge | All gone | Use a smaller one if needed |
| The center spot | Left untouchable as the spot for glue | Full thickness | Enough for the glue, and solid |
What counts as a wall on the back side?
I spelled the word out for the room, W-A-L-L, and said I don't want to see any walls. Taking them off makes it look really nice.
Remove those walls, with the smaller tool if you need to, and get everything to the knife edge. That was step number one.
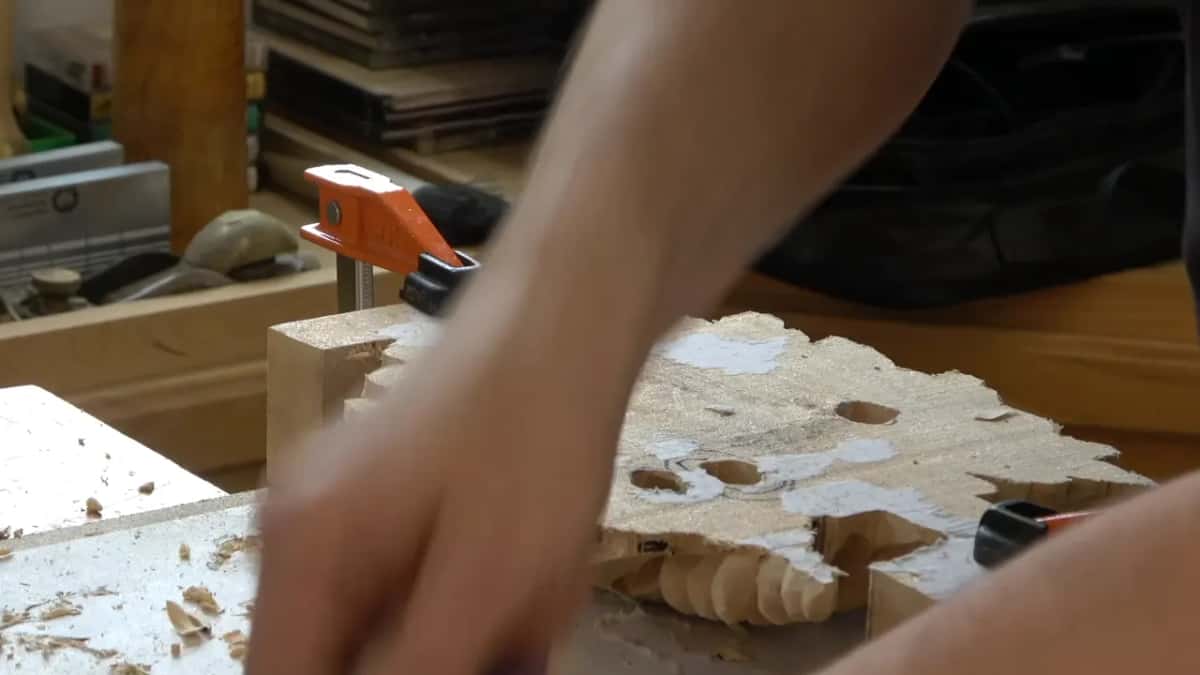
I put it another way on the Modern Acanthus panel. Wherever you see a wall, you either blend it into the previous undercut and make it really rolling, or you completely eliminate it. My words there were plain. I see the wall. You don't see it, but I do.
The tool matters as well. With the number 9 there, I told them to slice it, slice it, slice it, and not push. Push it and you catch, and you can break it.
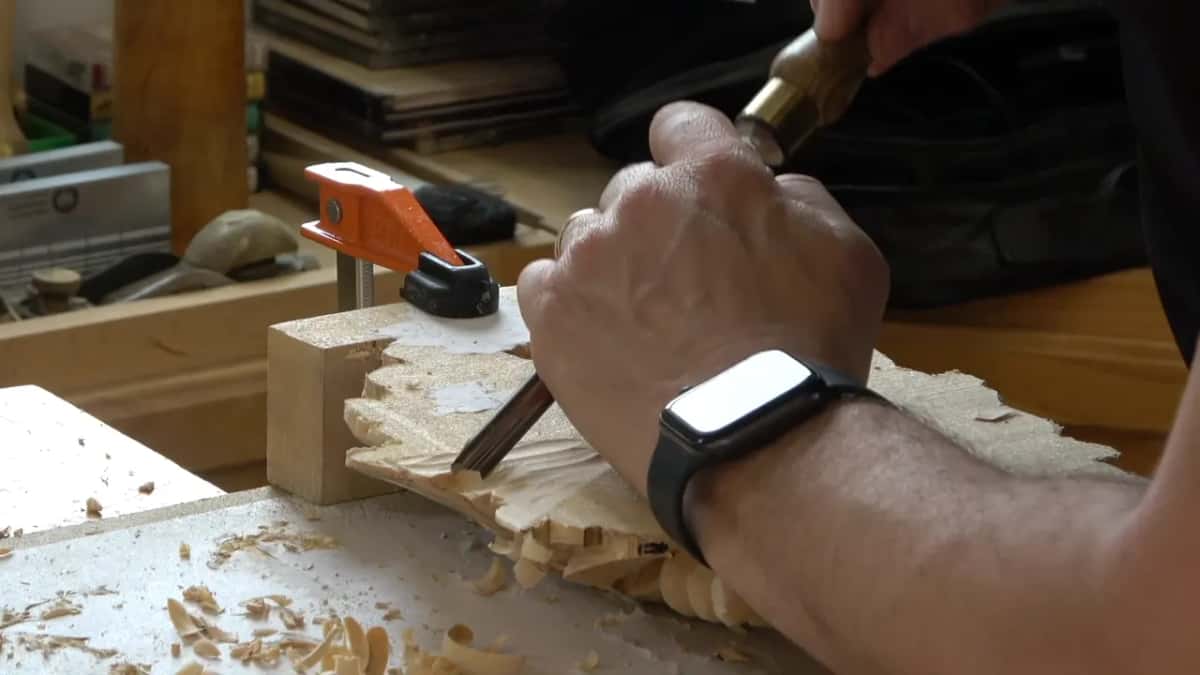
Holding a carving with nothing left to grip
Next come the handles. The plan was to take them out on both sides at the band saw. A scroll saw works too, but be careful, because now it's becoming more fragile and you can just break it. Don't do that.
Pay attention to the design first. One of the movements runs right inside the handle, and that part will be a leaf. The handles stayed untouched since class 1, and this is the class where they come out.
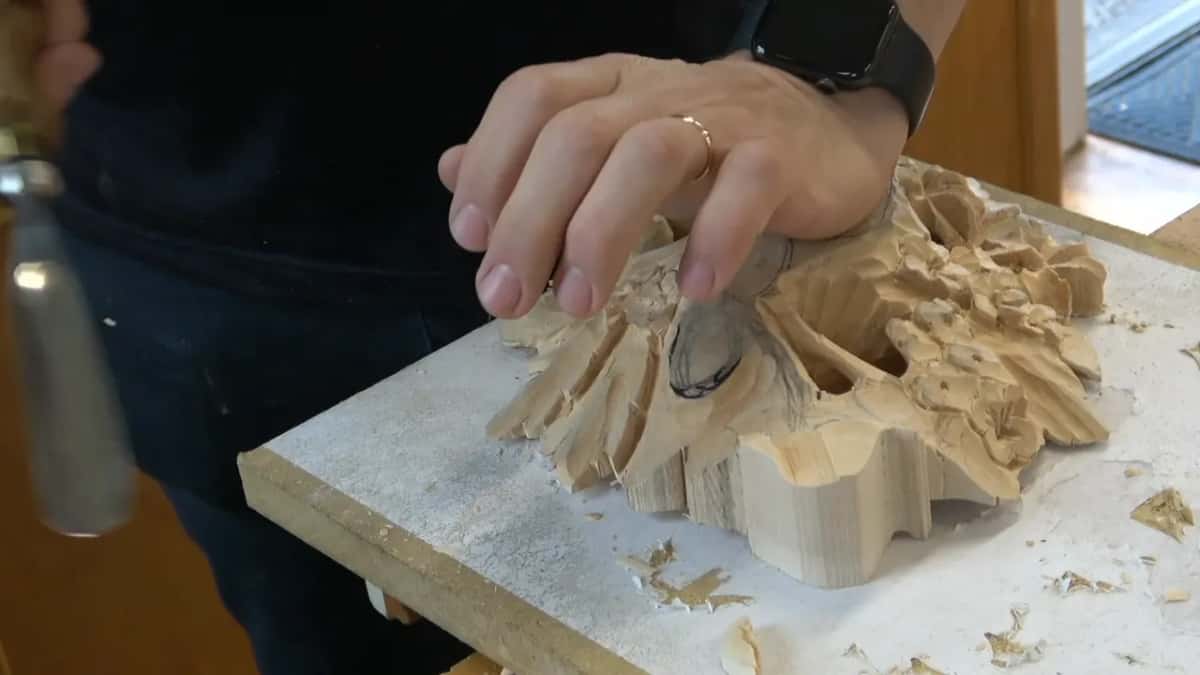
Holding it is the next question. In the second part of class 6 I placed my hands solidly right in the middle, and that way I could pretty much hold it without the clamp.
Working the acanthus, I showed where my pinky goes. It's a supporting point. I can't press with my hand on that part or I'll break it, but I know the middle part is kind of solid, and there I can press.
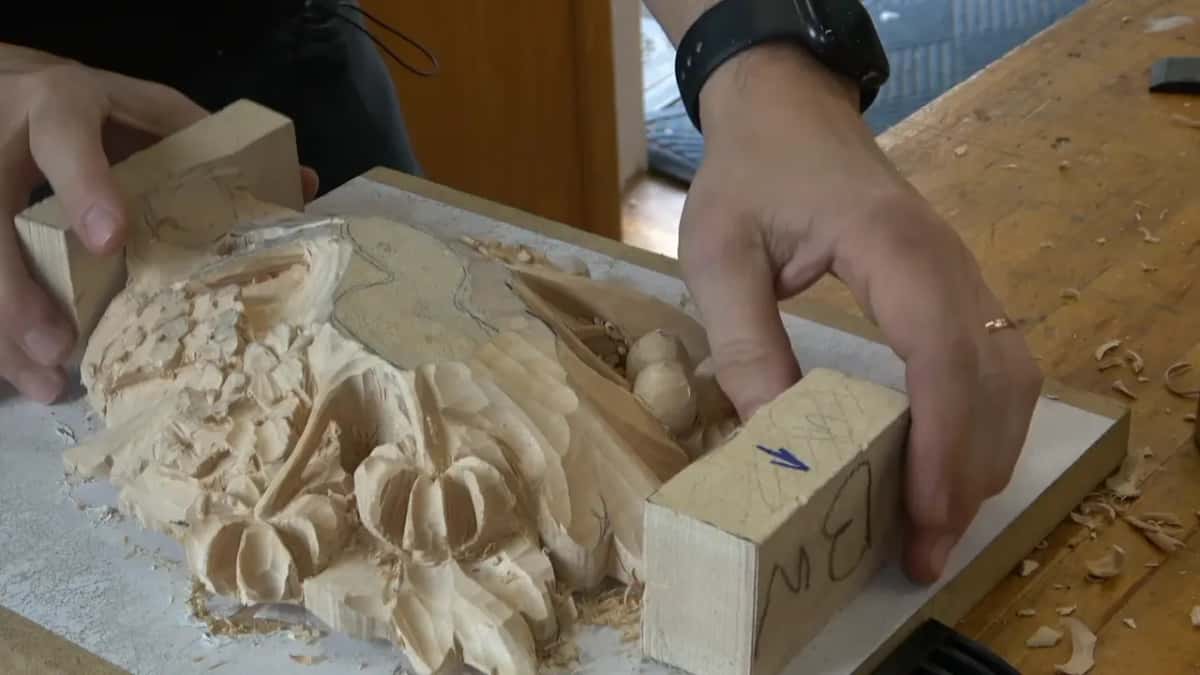
Fit the upper layer before you develop it
With the second piece I still had my arrow, so I could fit it much better, and I kept at it until it sat nicely. Fit it first and you'll see what's left. Then you don't overdo what will be covered completely.
One part still had to be chopped down slightly before it would fit, and the bigger tool you have, the quicker it goes. It's always better. I planned to go down maybe about half an inch there, around 13 mm.
You just fit. Excavate, fit, excavate, fit, until it feels like it locks in place, and then we develop the upper part. How two glued layers come to read as one carving is the question on the class 9 page.
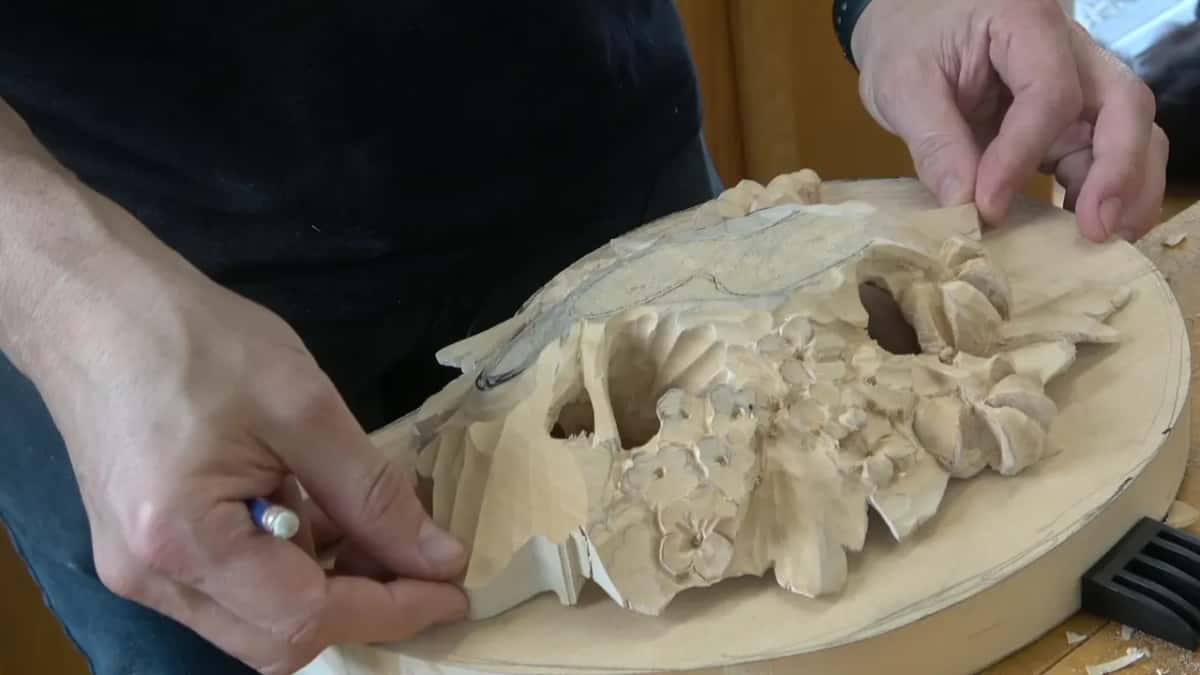
Where does glue go on the background board?
One area, marked in pencil and then left alone while the rest of that board gets textured and stippled. The background is shaped like a French curve. I placed the carving right on that board, and it overhangs slightly.
With an opening big enough, you can get in there with the pencil and mark approximately the spot for the glue. That one becomes my untouchable spot there too.
The acanthus panel had gluing spots too, and some glue probably needed cleaning with sandpaper first, I said, or the glue won't stick. Then, I said, place the piece where it's supposed to lay and trace approximately where it will touch.
What texture goes around the glue spot?
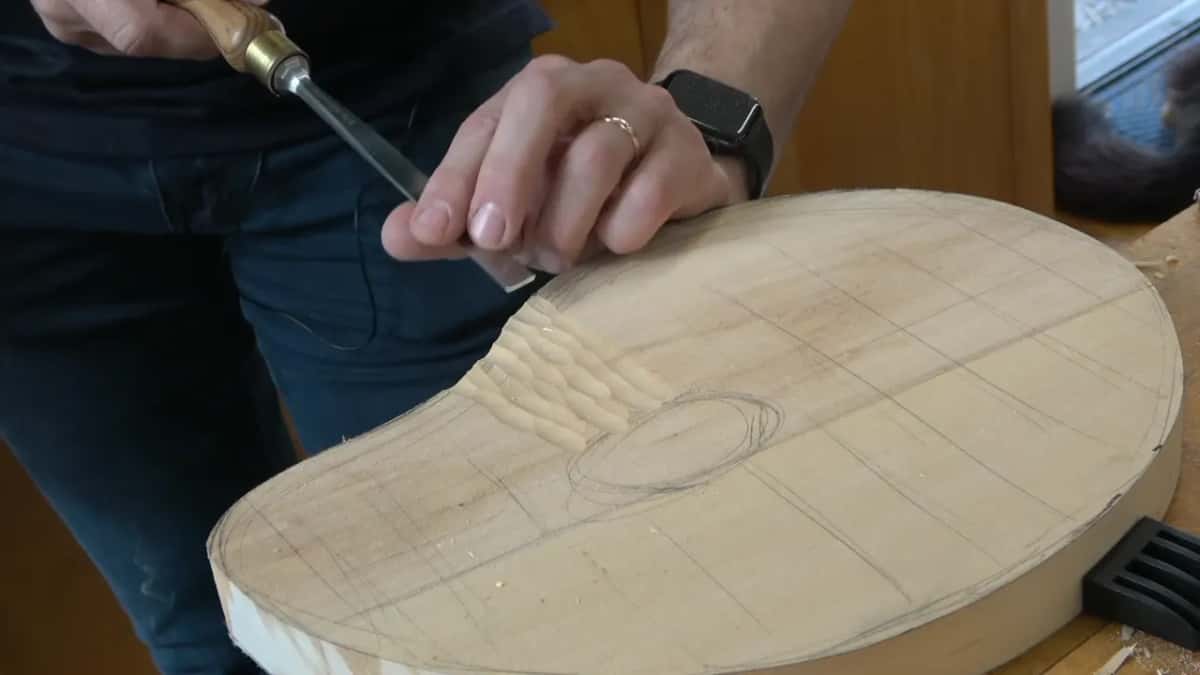
A gouge texture, and I didn't go too crazy with it. My gouge was a number 7 at 14 mm, about 9/16 inch, and the texture was not as deep as what we did last year.
First I looked at the grain direction. On my board I could really see the line. Every stroke goes across it, at about 90 degrees to the grain, and a few pencil lines help.
Not deep, and not long. Each one is about three quarters of an inch or 5/8 of an inch long, roughly 16 to 19 mm, and no more than a quarter inch wide. For the next stroke, divide the one before it in three. The new one falls right on the third.
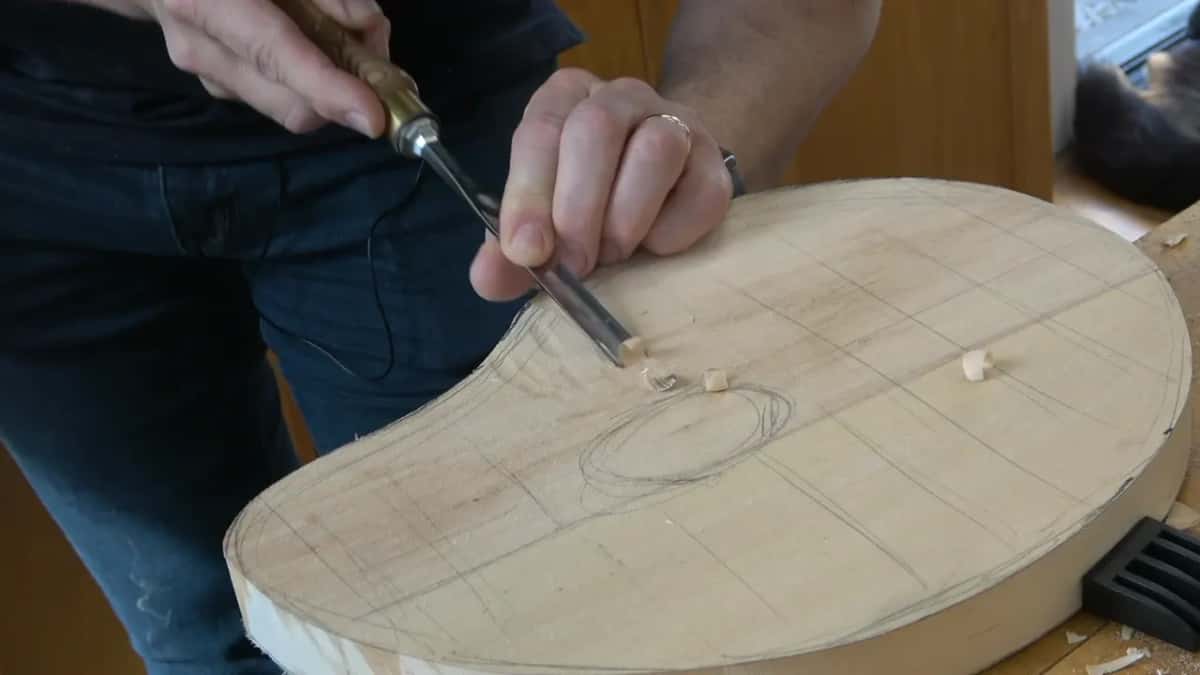
My acanthus background got the same number 7, and I said all the strokes go pretty much across the grain. And I warned them about really long strokes. I have a tendency, and I love to do that, just go all the way, because it feels cool. For a background it won't look good. Shorter strokes are better, and I don't want any flat areas except the gluing spots.
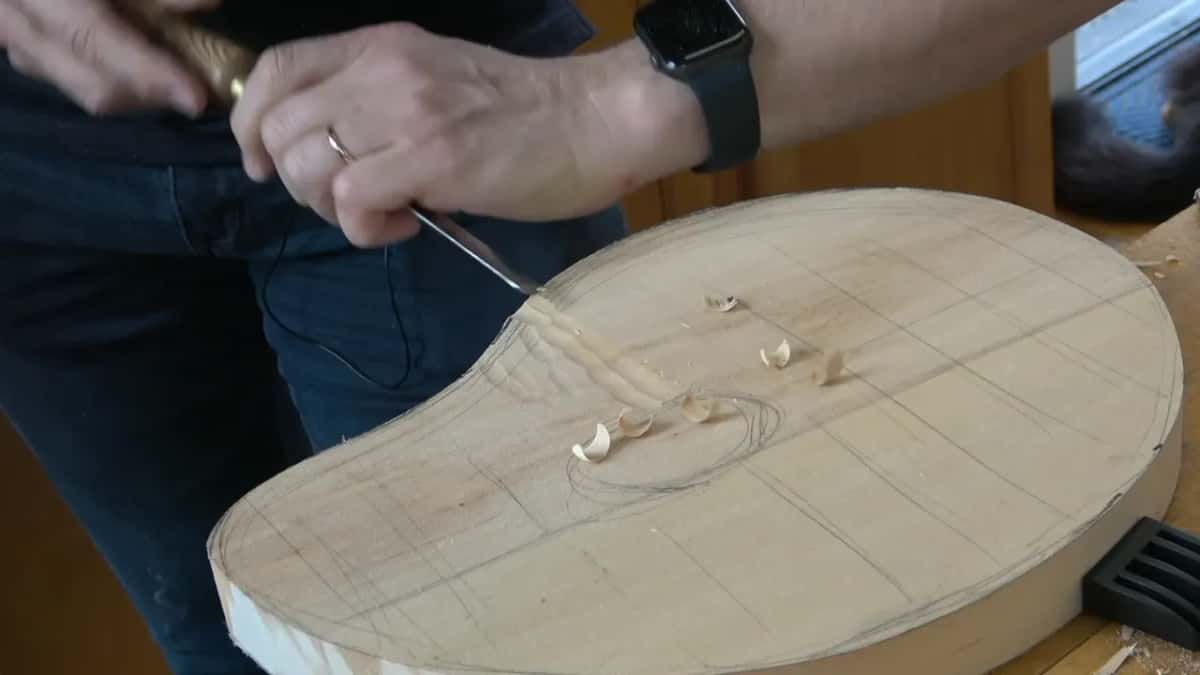
Then soften it, if you like how it looks. If you don't like it, you don't have to. I took a number 2, and pay attention here, because it's a really important technique. The tool doesn't go straight. It rides right on top of those ridges in a circular motion, really slowly.
I still see some of the stuff, but it isn't as pronounced, and it doesn't look as busy. I can make it almost flat, and it still shows the tool marks, so you can tell it was done by hand. Once the carving sits on it, I said, the texture still shows some, and it looks nice. I kind of like it.
A background punch from a hard nail
Then we made a background punch the old way, and the nail I used was a hard one. One way is to file multiple lines for a grid look. Or you can file crossing lines.
That nail gets hot. Make your own tools, I said, and a little later I had my background punch.
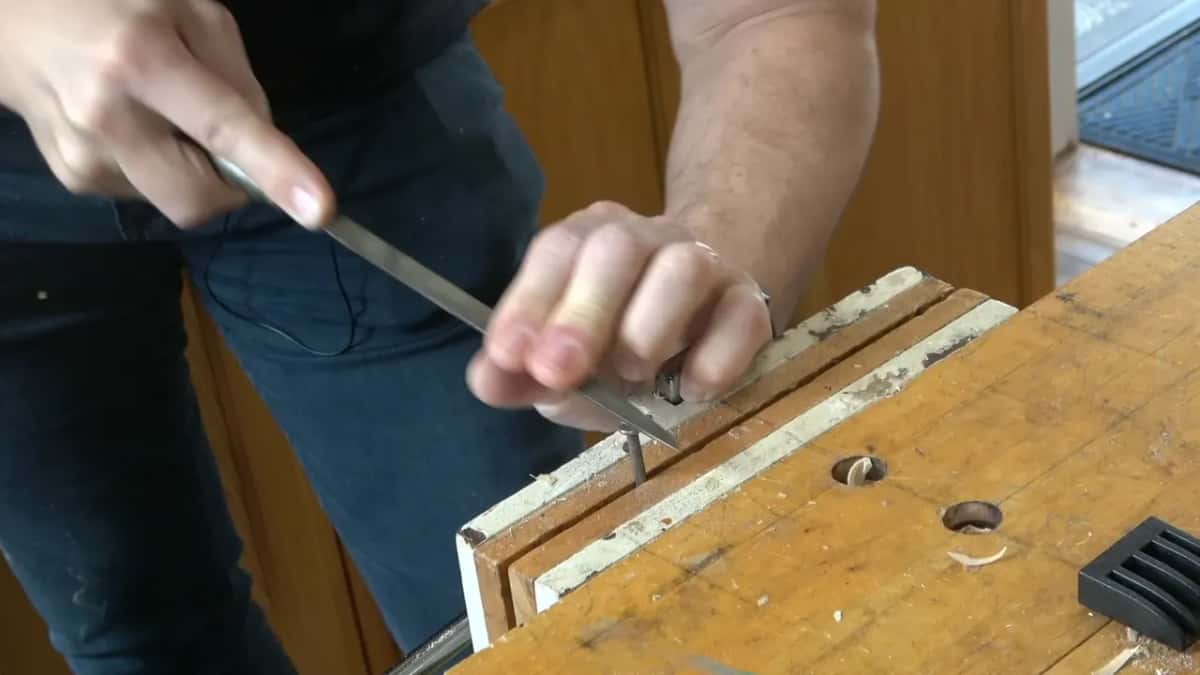
I've done it before, too. Back on the flower rosette, lesson 7, I said you can make up your own designs. Just take an ordinary framing nail, use a file, and make the different designs. It gives some interest to your carving.
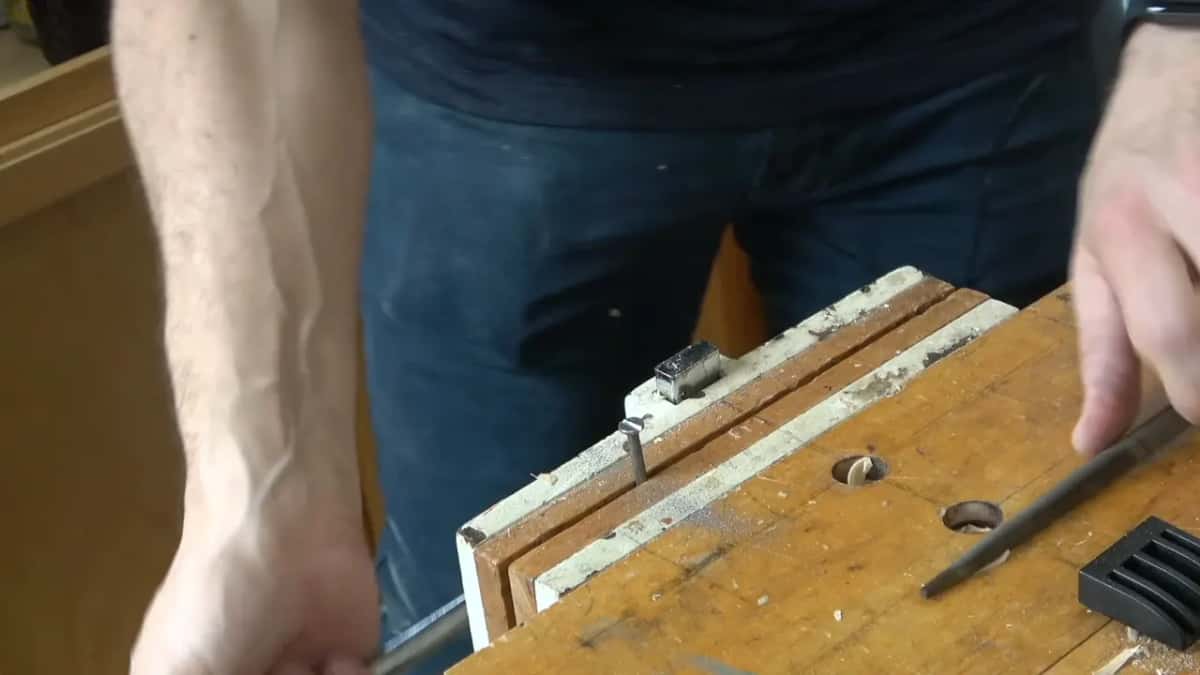
How high should the nail sit when you stipple?
About 3/8 of an inch above the board, 10 mm, and you hold it there instead of placing it on the wood. First I placed the carving on the background to see what would fall where. Trace only approximately, not a lot.
The stipple fades from inside out, and it won't be as pronounced. I asked the room for a hammer. Hold the nail a little higher than the board itself, and you create stippling.
Do it randomly. That's the furniture style, I told them, and then it will be the true 17th century, and 18th century. They did that stuff a lot. The background gives the whole thing a little different look.
In the flower rosette course I said punched backgrounds were a really common technique in the previous generations. If a carver made a mistake, or the background was not even, they would use the background punch. In some European cultures, using one meant you were not a professional carver. That was the case, I said, but I don't see why you wouldn't use something like that, because it gives you really good results.
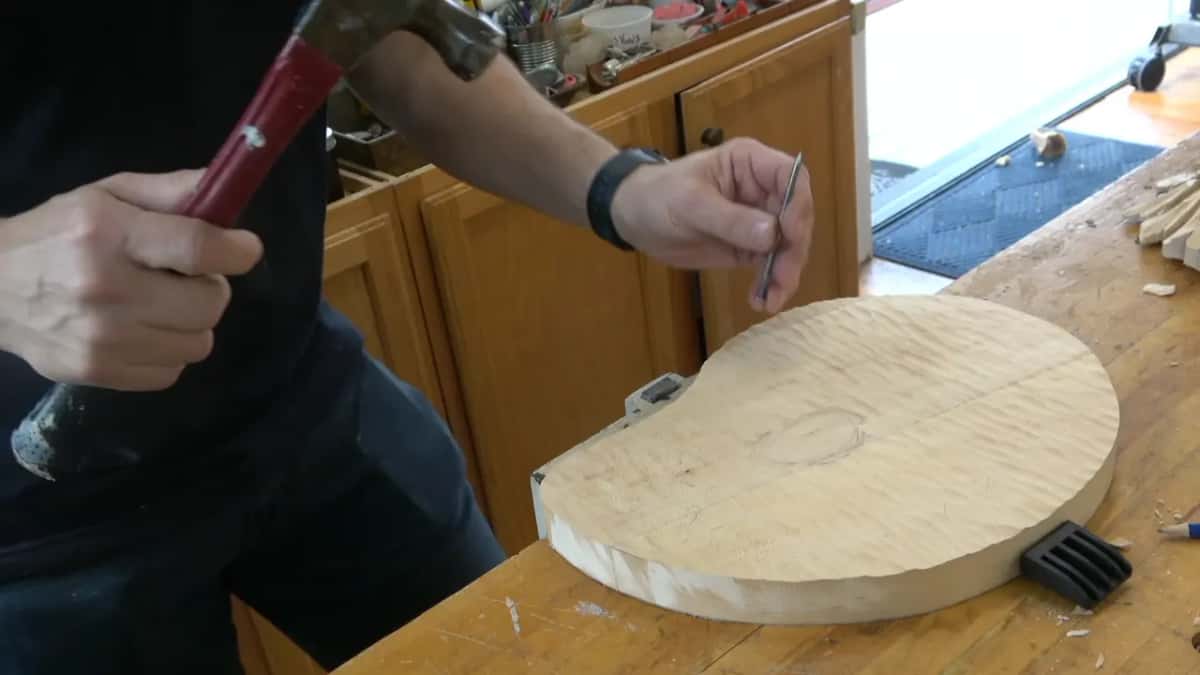
Should you clamp the carving to glue it down?
I didn't. I'm not going to clamp the thing, I told them. My glue was still kind of thick, but that was okay, I said. It would work.
And the best glue spreader is your finger. You glue just that middle part and that's it, no need to go big, all around. It will be enough.
You could also drill a small hole in the gluing spot and put a screw in from the back side, and that will be stable. But honestly, I never had any problem with just the glue. The glue nowadays is really excellent.
I said I'd wiggle it a couple of times instead, because that creates a vacuum effect, and it pretty much sucks it down. Make sure it's positioned somewhat nicely on the board, then leave it for about half an hour or so, and it should be okay.
My acanthus panel kept only a couple of spots for the glue, and I said they'd be plenty. Screws could go in there too. It would look completely floating in the air, I said, and impossible for people to understand.
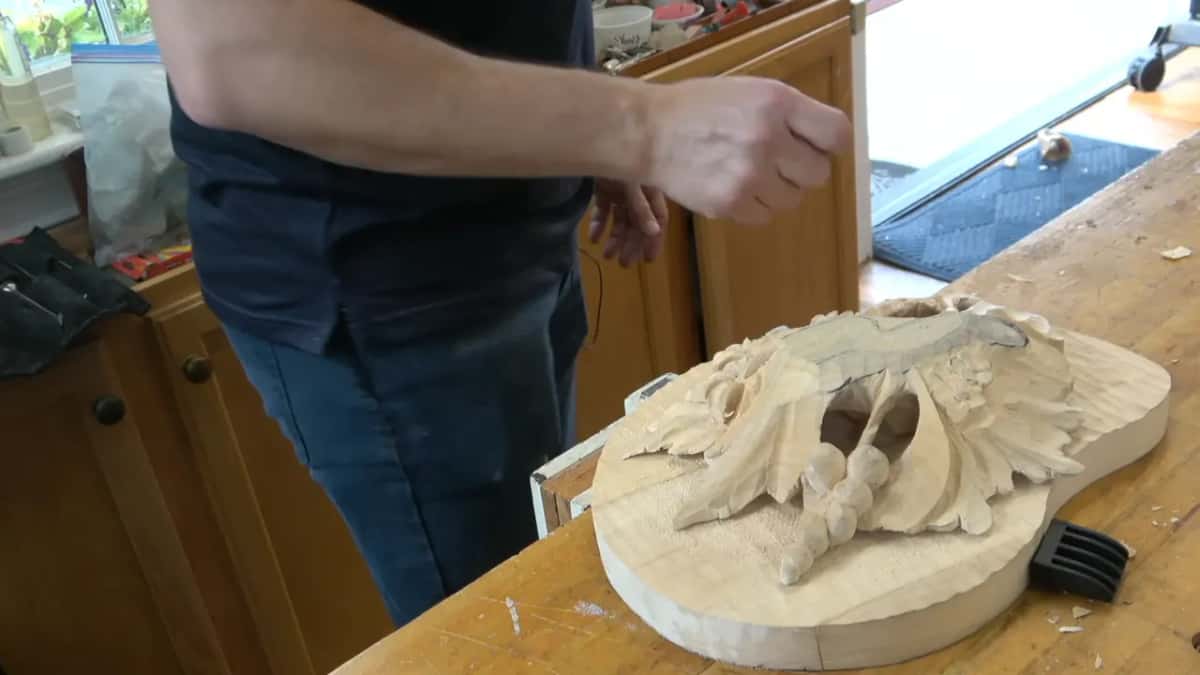
What the hollow back means for the tulip
Right after the glue up I started the second piece. The picture shows a tulip and another flower that doesn't look like anything, but it's some kind of flower. I started with the tulip, and the tulip itself is not that complicated a thing.
The only thing with it is that you really have to see it going around like a barrel. But we have a limitation. Think about it. We excavated from the back side.
So the plug cut, a number 9 at 3/8 inch, about 10 mm, goes inside the tulip at about halfway into whatever wall you have. In my case I had at least a full inch there, 25 mm. I turned the piece for the camera, which was not really convenient for me, so you would understand what I was doing. Point it slightly uphill and not too much down, because we excavated that back.
It's end grain, so don't expect it to go the same as a plug cut straight down. I'd go at least 3/4 inch in, or even one inch if it's possible. Keep an eye out for an area showing through, because there's the dome inside. And it doesn't go right through. It's a tulip.
Why there is a tulip in a Gibbons panel at all is the question on the class 7 page. The stem work from the class before this one is on the class 5 page. The same dome comes up again on the class 8 page, where the petals overlap.
Two steps at a time
I told the room I'd give them two steps at a time, no more than that, because it's already kind of intensive. If you don't understand something, come to my piece and take a picture, please.
And if you worry about not finishing, you still get to it later. Even after the second layer is glued, you can keep working on it until it's done. Some of the areas get more challenging, but it's still possible.
I don't want to do simple projects. It's boring for me, and there's no reason to travel all the way from the beautiful state of Florida to the beautiful state of Maine to do just a scratching. It's ambitious. It's hard. Like I said in the beginning, for the future you know what to expect.
All eighteen classes of the Grinling Gibbons course open with Tuition, the back side and the nail punch included.
How it's done
- Take the first layer out. Place a chisel carefully, with the force going with the grain. Mine started upside down, then I turned it back over.
- Clamp it upside down. Keep the old board and clamp the piece to it upside down, so the back side faces you. Using the edge works too.
- Carve the back to the edge point. Use a number 9 at 20 mm, or a number 7, slicing crosswise. Leave the center untouchable for the glue, and keep the stems near a quarter inch.
- Mark the gluing area. Set the carving on the background, reach in through an opening, and pencil approximately where the glue goes.
- Texture and stipple the background. Number 7 strokes at 14 mm, about 90 degrees to the grain, softened with a number 2 if you like it. Then stipple with a filed nail held about 3/8 inch above the board.
- Glue only the middle. Spread the glue on the middle part with your finger, give the carving a little wiggle, and leave it for half an hour without a clamp.
Frequently asked questions
Does the gluing area get any texture?
Leave it clean. I marked it in pencil through an opening in the carving and called it my untouchable spot, then gave the rest of the board its number 7 texture and stippled it with a nail. For the acanthus I said I wasn't going to touch the gluing spot either.
Do you need screws to hold a glued carving?
One is fine if you want it. Drill a small hole in the gluing spot and drive a screw in from behind, and that is stable. Honestly, though, I never had any problem with just the glue. Screws work on the acanthus too, I said, if you have plenty of material.
Which gouge did you use on the back?
My number 9, 20 millimeters wide, though the 7 works as well. I worked crosswise to the grain with a slicing motion, and walls come off with a smaller tool if you need one. The center stayed untouchable for the glue.
What to carve next