
Alexander Grabovetskiy, woodcarver, School of Woodcarving · Published 2022
Should you paint a wood carving?
Quick answer: Painting a wood carving is a choice you make before the deep cuts. My acanthus panel will be painted white, so I keep asking where a brush can reach, and that sets how deep my undercut goes. On flowers, any color stays a slight shade, so the wood still shows.
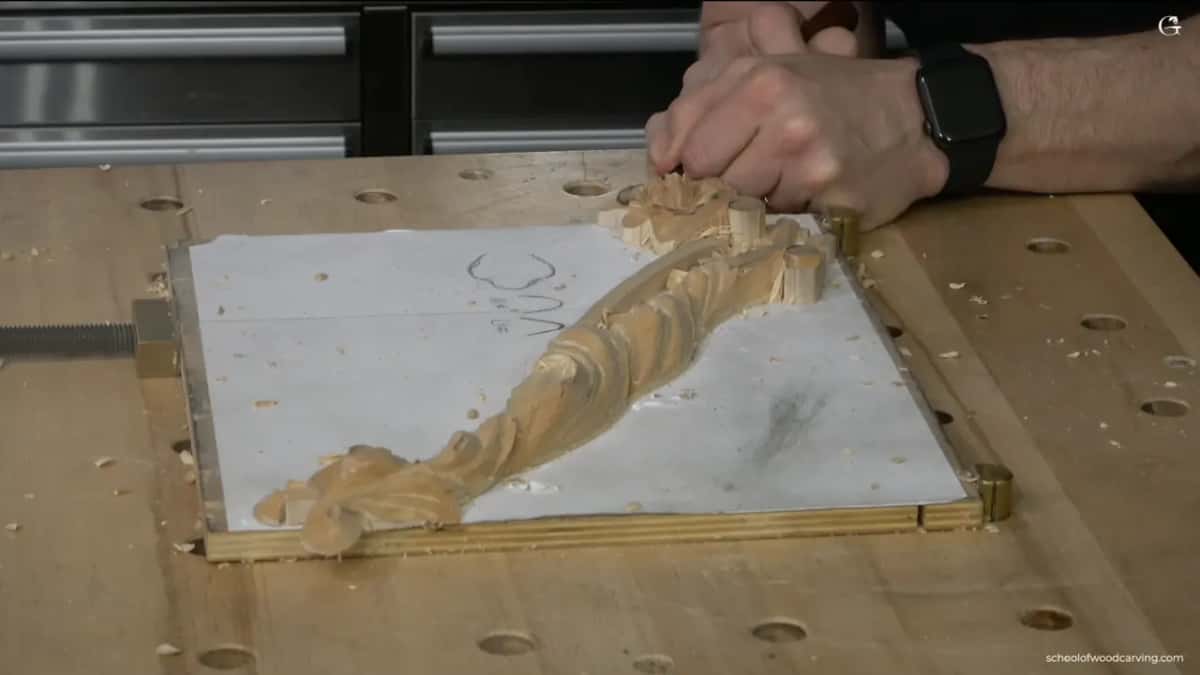
Painting a wood carving is a choice you make before you carve deep, because the brush has to reach every hollow you open. This acanthus panel of mine gets white paint. So while I carve the flower, I keep asking how the brush will get under each petal. That one question sets how deep I undercut.
A deep, dark undercut looks great. On another piece I did go extreme, and I could here too if I wanted.
But on this one I have to keep in mind it will be painted, and below I'll show you the depth where I stop, the tool I like for it, and the little bit of color I would put on a flower.
What paint changes on this flower
- White paint is coming.
- A painted piece can't take the extreme undercut that the stained one in my shop could take.
- I like a number 11 under the edge.
- Color on the flowers stays a slight shade, with the wood still showing through it, like almost no stain.
- Olive plus some brown beats bright green.
Should you paint a wood carving at all?
It depends on the piece. This one is a panel for paint, carved in basswood like the rest of this course, and the paint is white. That was plain in the lesson, and so was what it means for me: before I go deep, I have to understand how I'll get in there with a brush.
People did some coloring on furniture too. It was still wood, but with greenish colors, bluish colors and rose colors, and I think in some areas that looks awesome. Painted and colored carving has a long name in the books, polychrome, and Wikipedia's page on it covers statues and buildings done in many colors.
Behind me in the shop is a different piece. On that one I could go really, really extreme with the undercutting, because I didn't want to paint it. It just has stain on it. So one carver, two pieces, and two answers. For the longer story of the two finishes, read the page on paint grade and stain grade from the Venice Room.
How does paint change how deep you undercut?
It puts a limit on it. If you have to get underneath with a brush, think about how deep you can undercut, and what kind of movement you want to see inside.
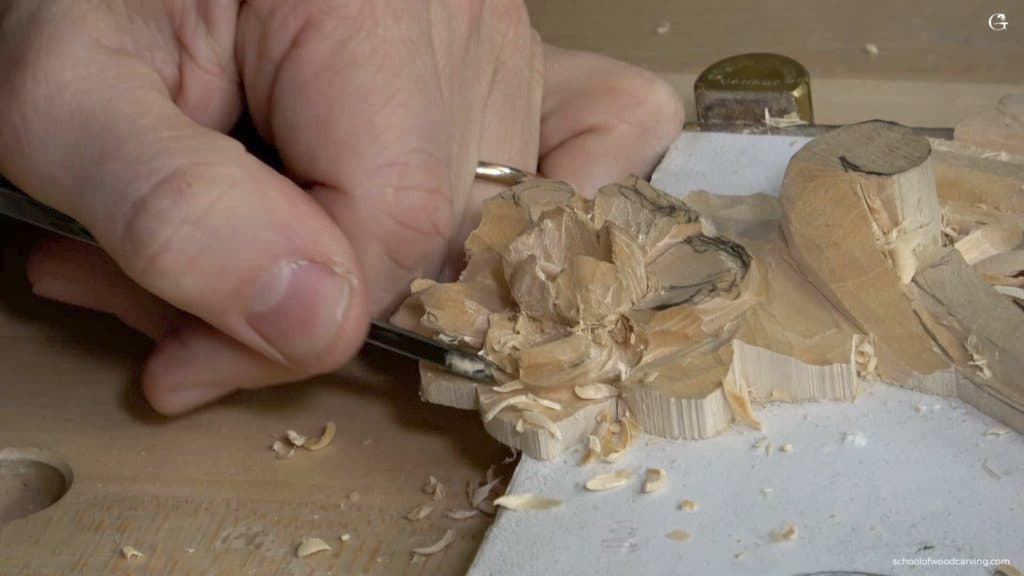
I like a number 11 here. It gives me a really smooth undercut with no sharp line underneath, and it also limits how deep I'm going to go, which I think is a really good idea. Just think ahead of time.
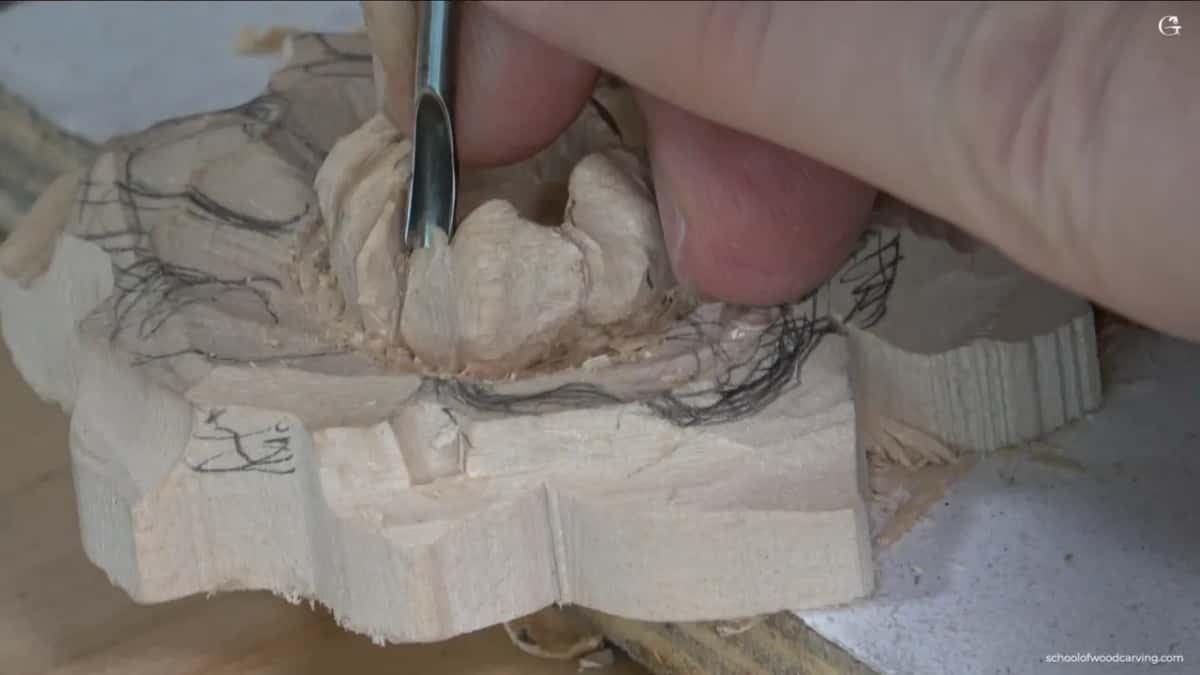
My first pass under the petal is an initial undercut only. I take the number 11 at 2.5 mm (3/32 in), the tool sits on its side with the flute facing out, and I have to pay real attention to what the grain of the wood does. One more reason sits at the end of the lesson. You can go really extreme, I said, but in this case I would not. This flower will be on a panel, and if a petal is too fragile you can knock it, and then it won't look as nice. A Venice Room page goes further into carving a panel for paint or gilding.
What color should go on a carved flower?
A shade, not a coat of bright color. Color is fine on the flowers especially, but I wouldn't go too extreme, because then it won't look as natural.
When I say colorize, I mean you just get a shade. It does not have to be bright red or bright yellow. A really slight reddish shading works, and you still want to see the wood, almost like no stain at all.
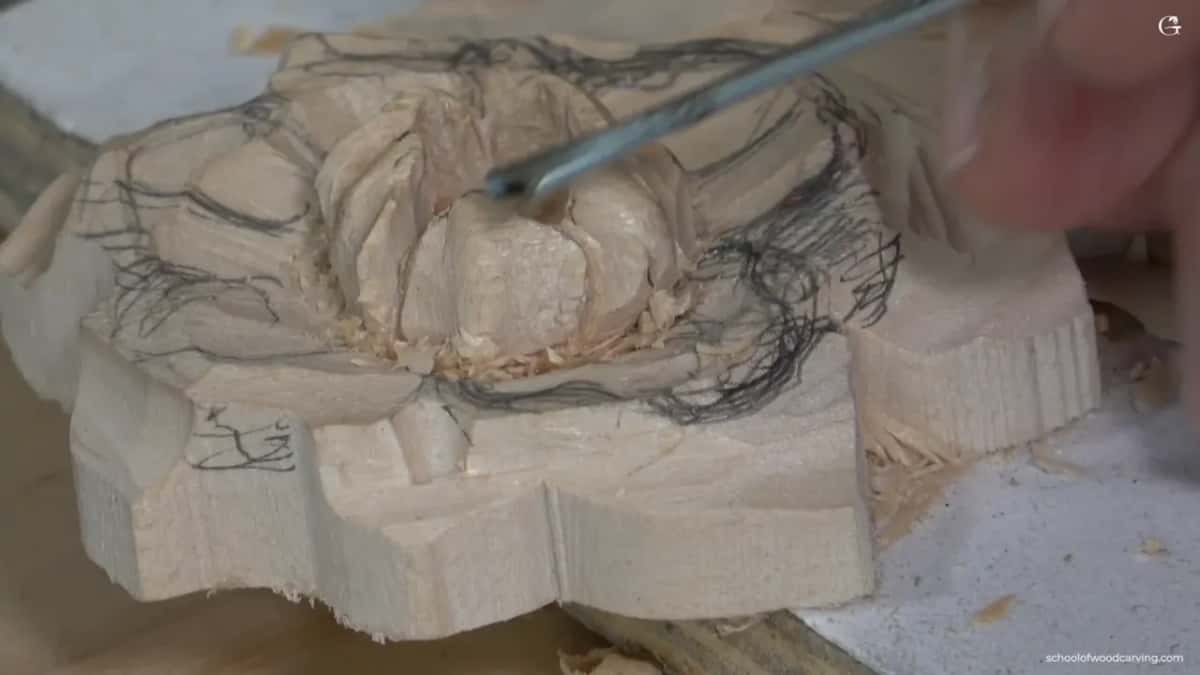
Around it you can do something green. I wouldn't do bright green. I'd do more like olive mixed with a brownish color, and that looks better on wood. Why was I saying all of this in a carving lesson? I told the camera I didn't quite know, and that I guess I was just developing an idea out loud, the way you do at the bench.
Which tools did the work on these petals?
| Tool | Job | Note |
|---|---|---|
| #11, 2.5 mm | separation cuts between the petals, flute up | about a millimeter deep, maybe more |
| #11, 7 mm | lowering a leaf before any small tool | gives a cleaner cut and canvas |
| #5, 6 mm | raising the middle with a concave beside | quarter inch, the one from before |
| Skew, 1/8 in | finer details and a paper thin edge | England calls it two, Europe one |
| Fishtail, about 5mm | concave cuts on each side of center | number 9 gives the same result |
| Spoon, small #3 | blending the harsh hard edges all together | still a spoon gouge, tiny one |
Why start with a bigger gouge than the detail needs?
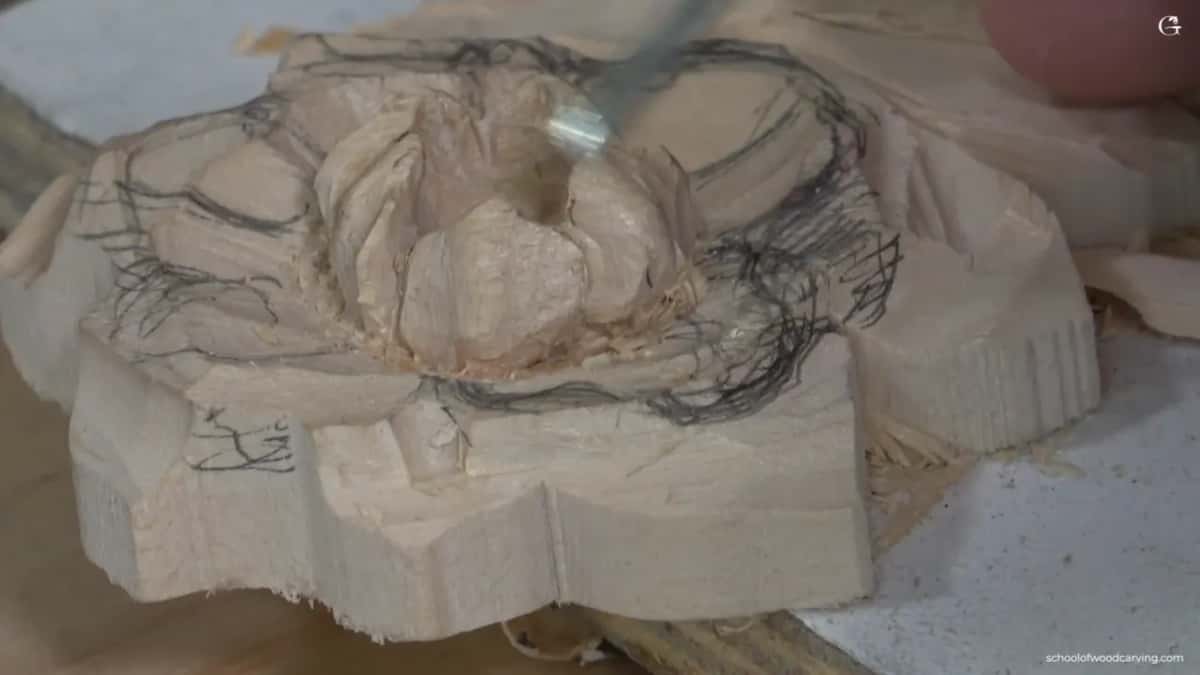
A bigger gouge leaves a cleaner cut. Partway through one petal I stopped: I could actually use a bigger tool, so I took the number 11 at 7 mm and lowered the leaf. A cleaner cut, a cleaner canvas, and you can see how clean that cut is. It's a good idea to have bigger tools first.
Later I did it again. I said I should probably use the 7 mm there, a little bigger than a quarter inch, because I didn't want to spend too much time, and I had lots of material to remove.
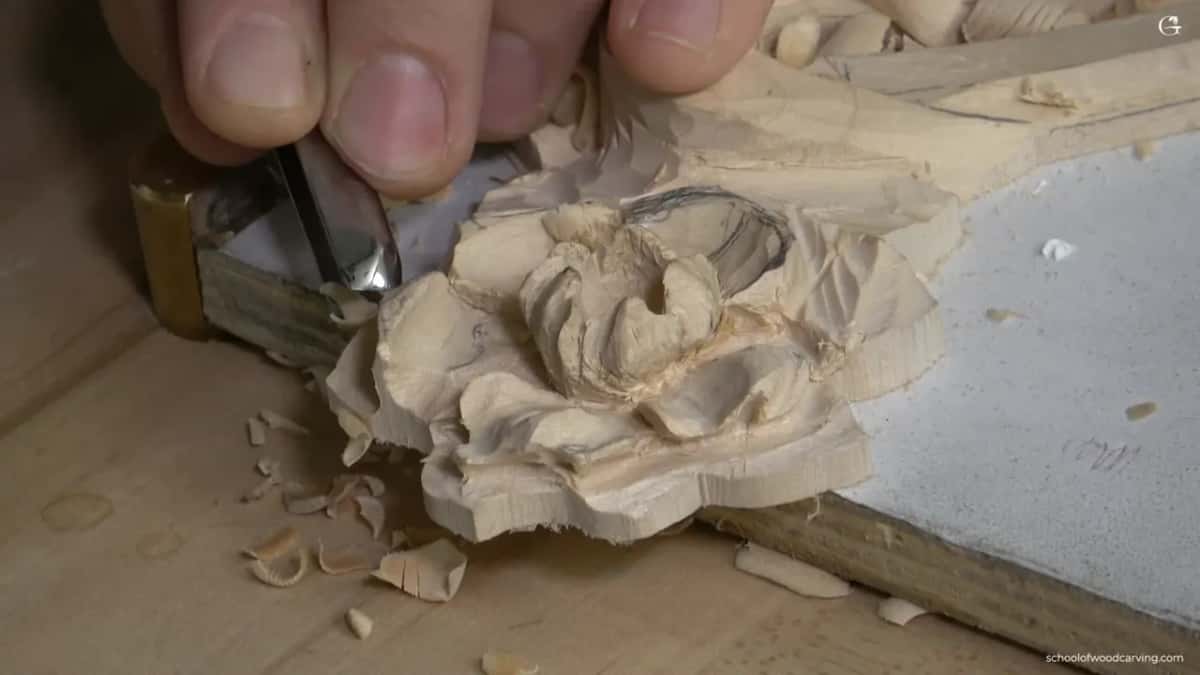
Small tools leave facets, which is fine at this stage. I almost don't create any clean cuts at first. I'm always able to get a bigger tool later and do a cleanup job on the faucets I made. Facets, I should say, not faucets.
At one point I just had too many tools out on the bench, and I said I needed to clean up, or I'd get lost really quickly. Keep only about three tools on the bench, I'd say.
What do you do when you cannot carve with the grain?
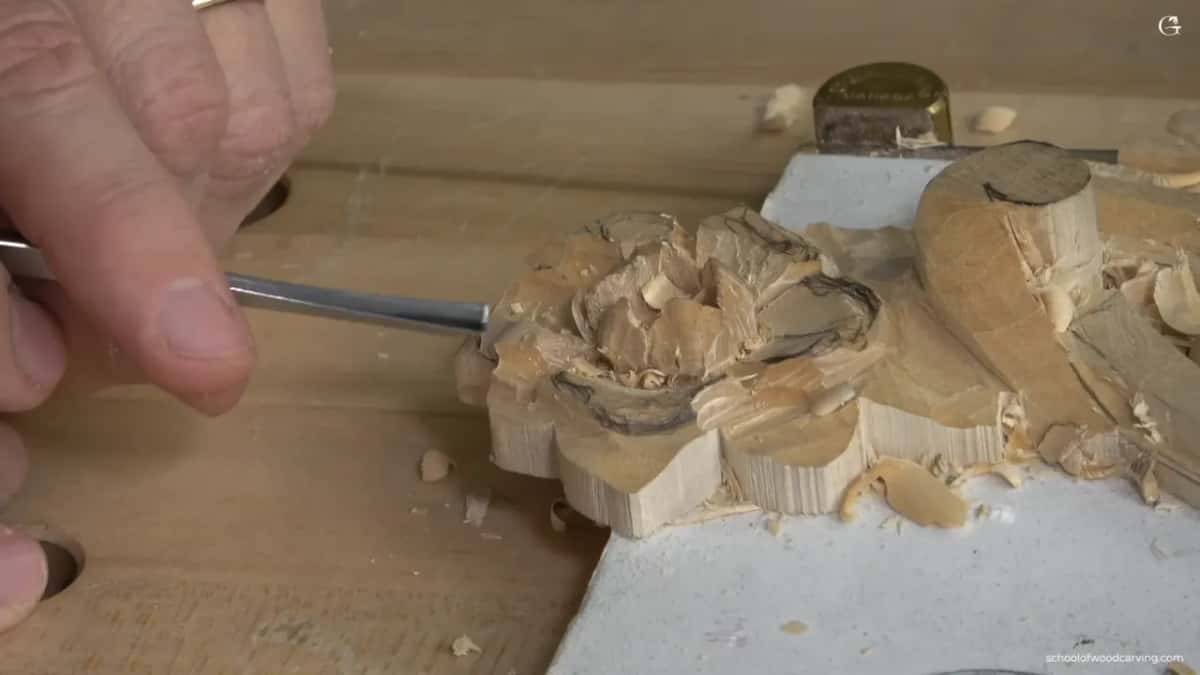
Keep your tools sharp. It's not always possible to carve with the grain, and on one side of this flower I was going against it, so I gave the whole solution in one short line, twice: just keep your tools sharp.
A small habit comes before the tool goes in. I almost barely make the cut, and once I get the feel of where the grain goes, I can go a little deeper and put on a little more pressure.
Two other lessons in this course carry the rest of this. In lesson 2 one side of a cut comes out clean and the other rough, and in lesson 4 I check the edge on the strop.
Is it worth forcing a stubborn chip out?
Not to me. When a few bits would not come out of a concave, I said I'm not going to force those guys out. It's always better to use a different tool. So I took a number 3 at 1/8 inch, 3 mm, and cleaned it.
Early in the lesson there was a mess under the center part too. I didn't worry about it, because if I forced it right away I could chop those petals. Later, deep under a petal with a 1 mm (about 1/32 in) number 11, I said it out loud while working: see, I'm not forcing it.
What makes a fishtail gouge worth owning?
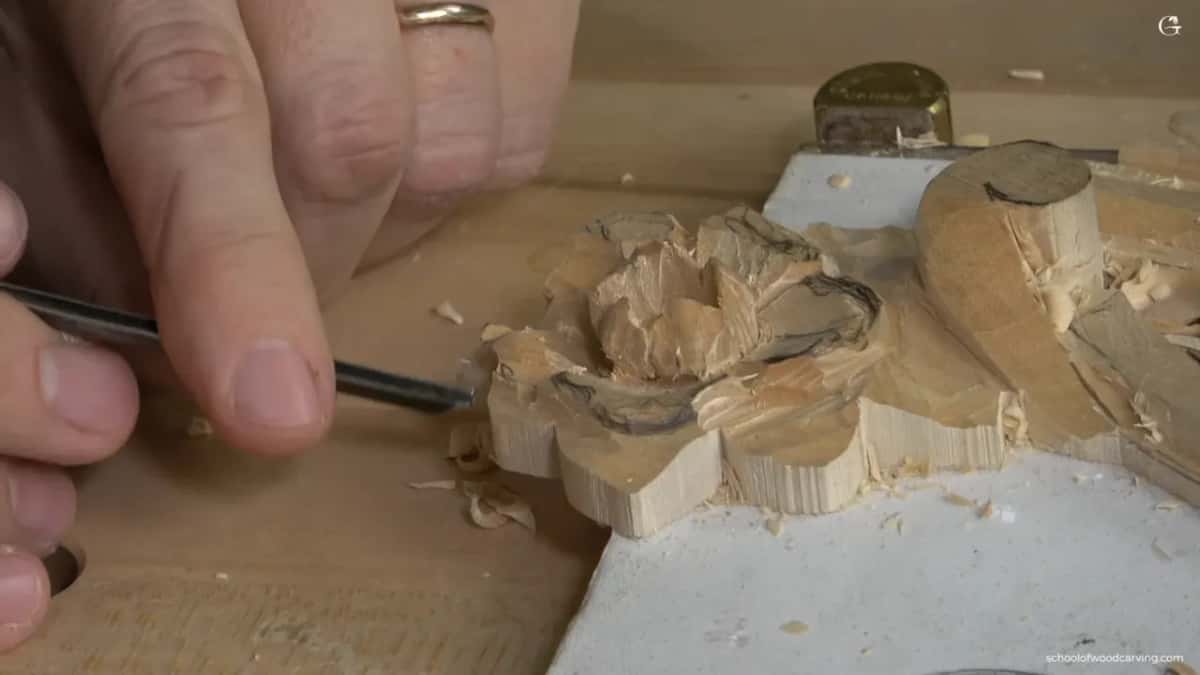
The corner. With a fishtail I get one corner right underneath. That makes it much, much easier, and I can grab like half a millimeter right away and remove the stuff I don't want. Later, on another petal, I used just the side of one.
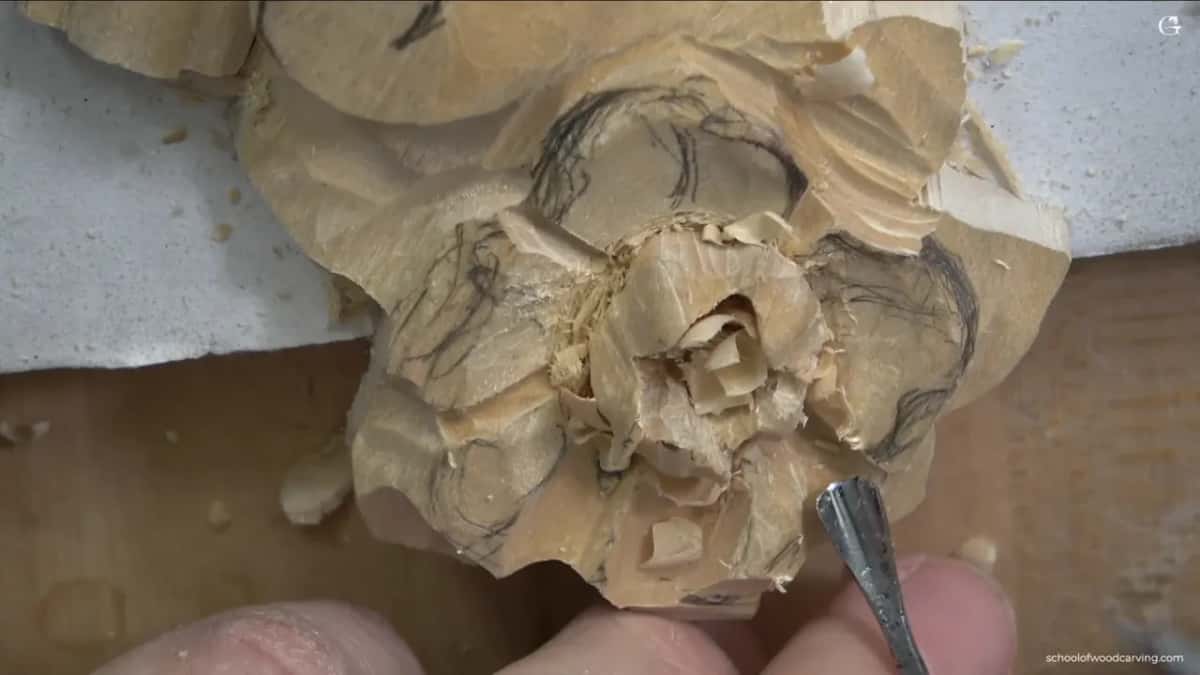
One of mine is a number 7 at 1/8 inch, by Marples and Sons. The old Marples and Sons, the antique ones, and I really like the quality of the tools they made. When I bought it, it was already used. One of the corners is eaten, and I did not want to sacrifice the tool and just straighten it. That's okay. It's still going to work for me.
Different brands have certain tools they specialize in and make better. I'm not a fan of just one brand. Yes, I prefer some brands more, but even in brands I don't prefer, I still find some unique tools that other brands don't make.
Why does one skew have two numbers?
England and Europe count it differently. I reached for a small chisel, 1/8 of an inch, and I could use a skew, I said, or a normal chisel number 1. I took the skew. In England it's a number 2, in Europe a number 1. It's still a chisel, just a small one.
Later I came back with that same number 1 skew for finer details. I hit the edge and made it really, really sharp, a paper thin look, and you could see a beautiful shape already coming in.
Is a carved petal meant to be symmetrical?
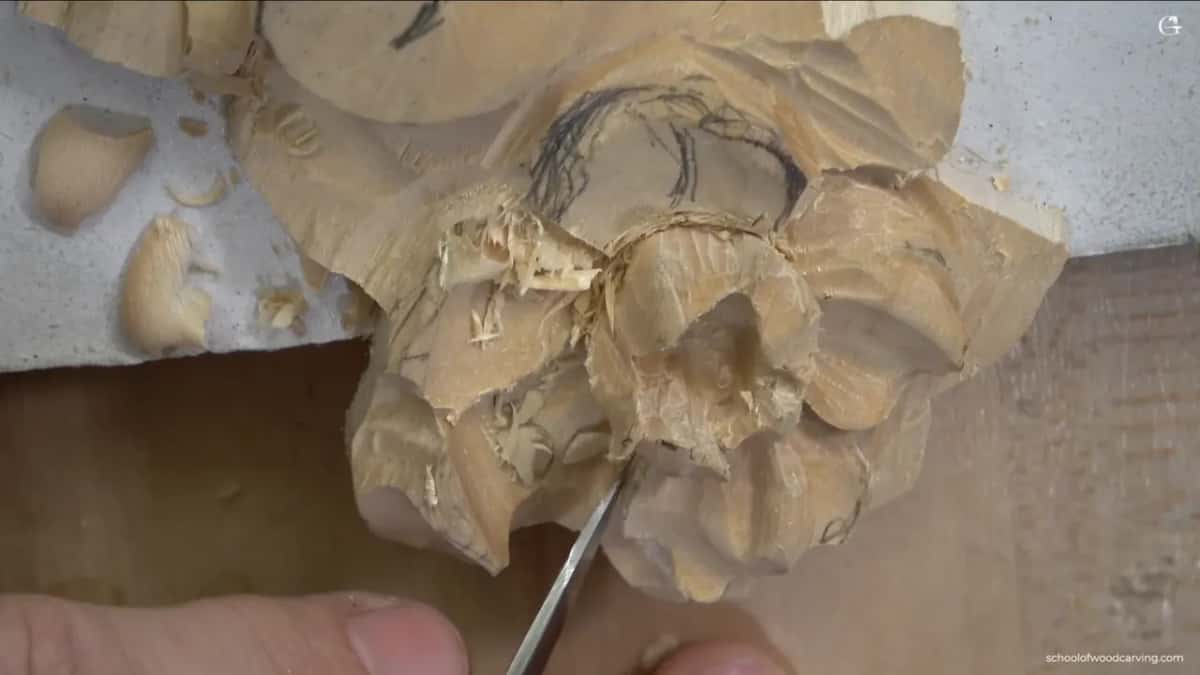
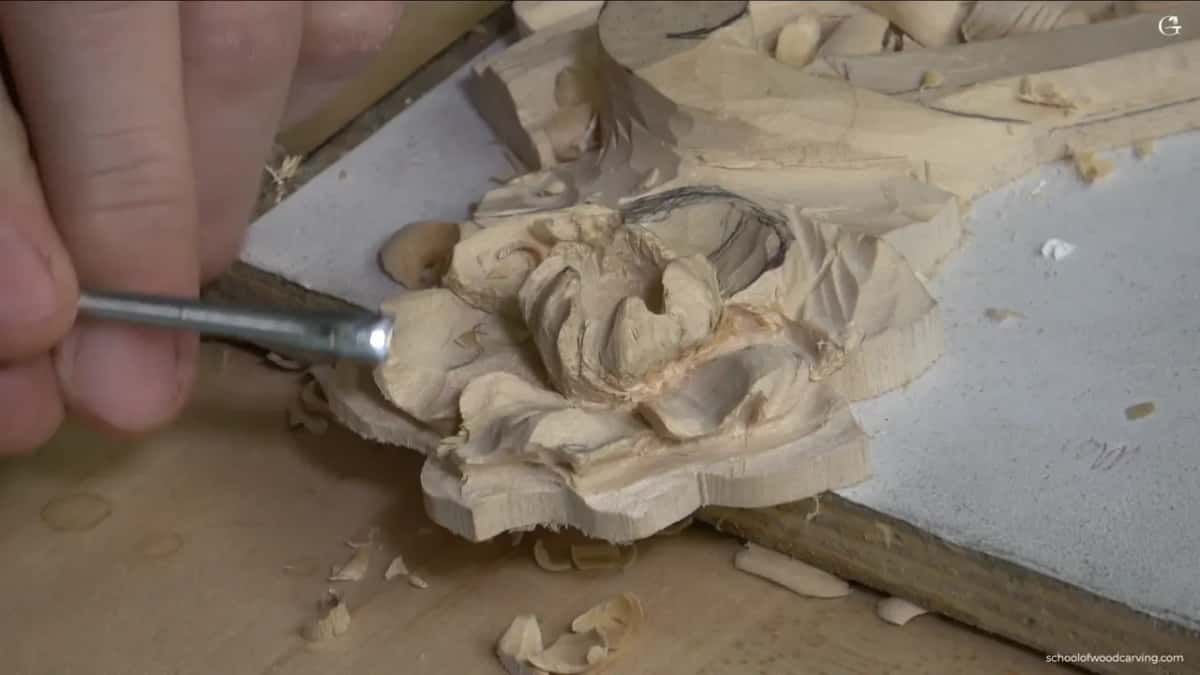
No. It should not be perfect, and it should not be exactly the same on both sides. On this petal it's almost like a golden ratio: about 61% on one side and about 38% on the other. Not that I measured it. It just happened. The golden ratio itself splits a whole at about 61.8 and 38.2 percent.
On the edge I can play. The edge can roll in, or it can flip out, and there are a lot of possibilities. This time I rolled the whole thing a little inward. On another petal I made two curls, a concave, then up into a convex, then down to the center, and elsewhere the edge goes up and then rolls backward.
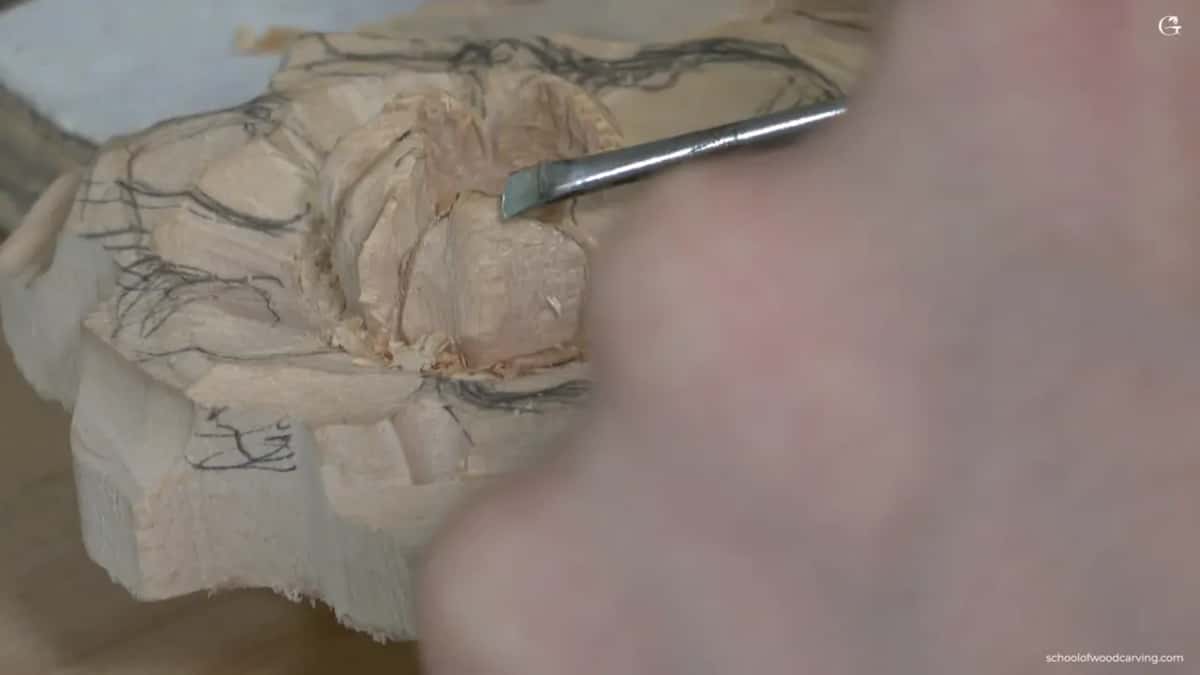
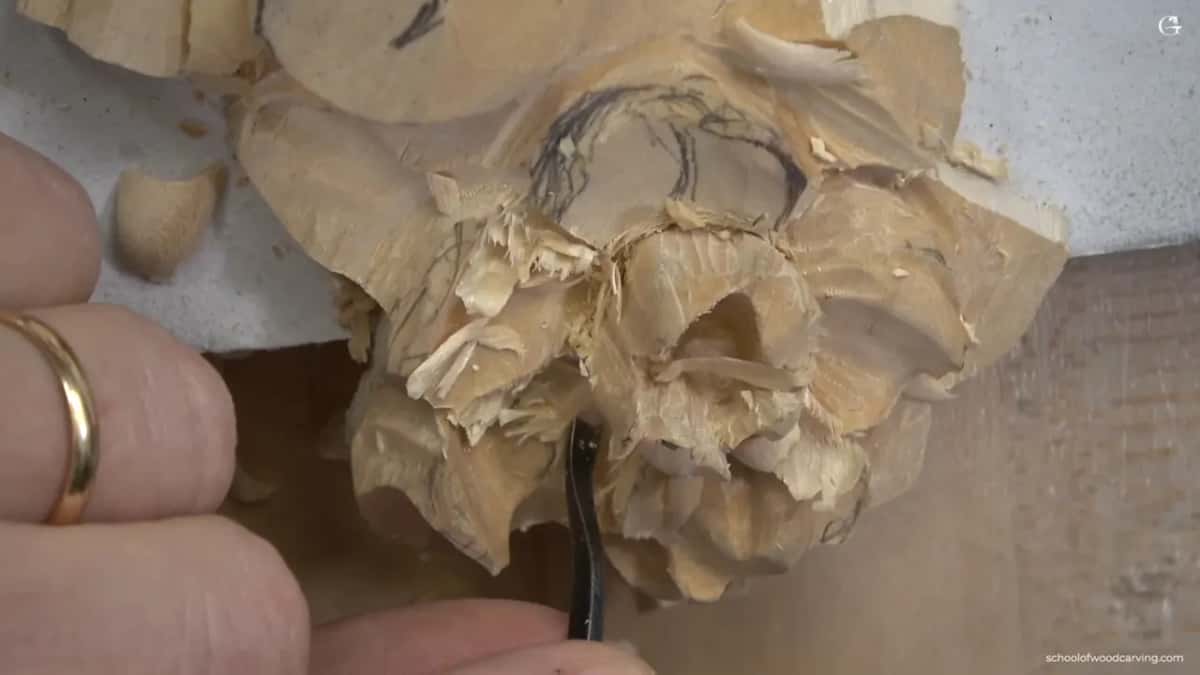
Here is the rule I keep. If you look from above, the petal still has to be about the same shape overall, but inside that shape you can be more creative. In nature the middle of a flower repeats the same pattern as it opens, but once the petals open, they can make all kinds of different movements. That's why I like to carve flowers. You can be really crazy with them, and no matter how you try, every flower still comes out different.
Why do the petals drop to one level at the center?
All of them meet there. I turned the panel for the camera to show it. Under one petal the line ran into the center almost straight, and that's not good. I want it flowing, and really low closer to the center.
Near the middle everything goes to about the same level, and whatever you see, it still goes to that same level. Hope it makes sense, I told the camera, and then I answered myself: of course it makes sense.
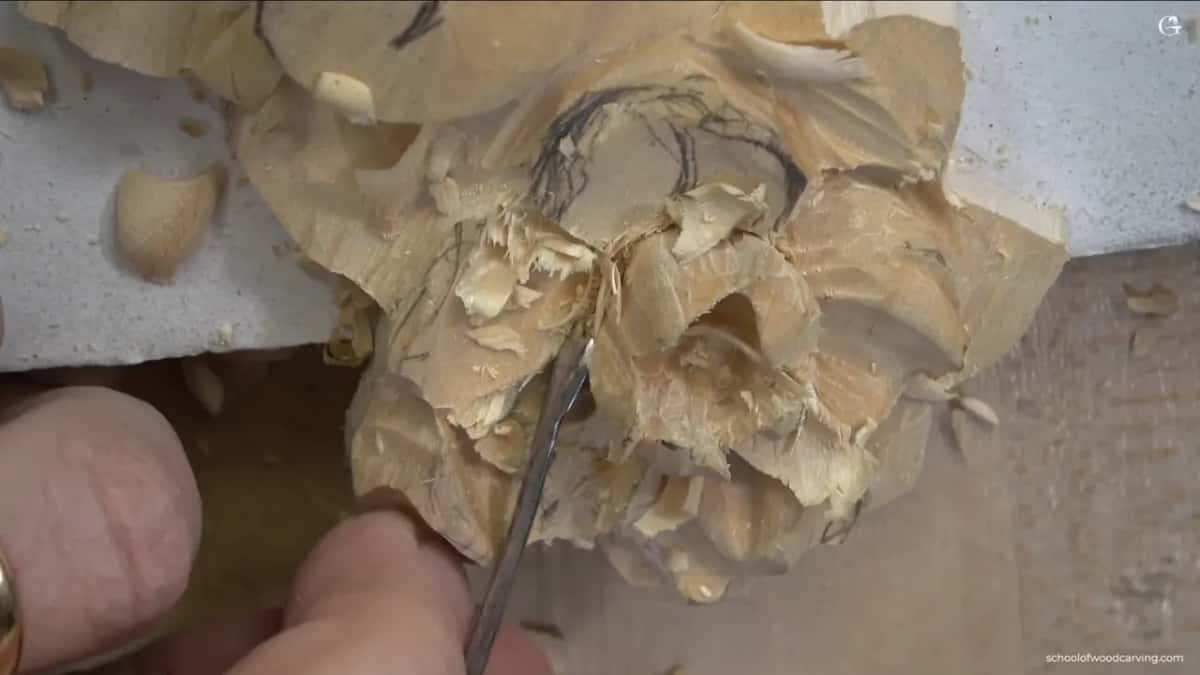
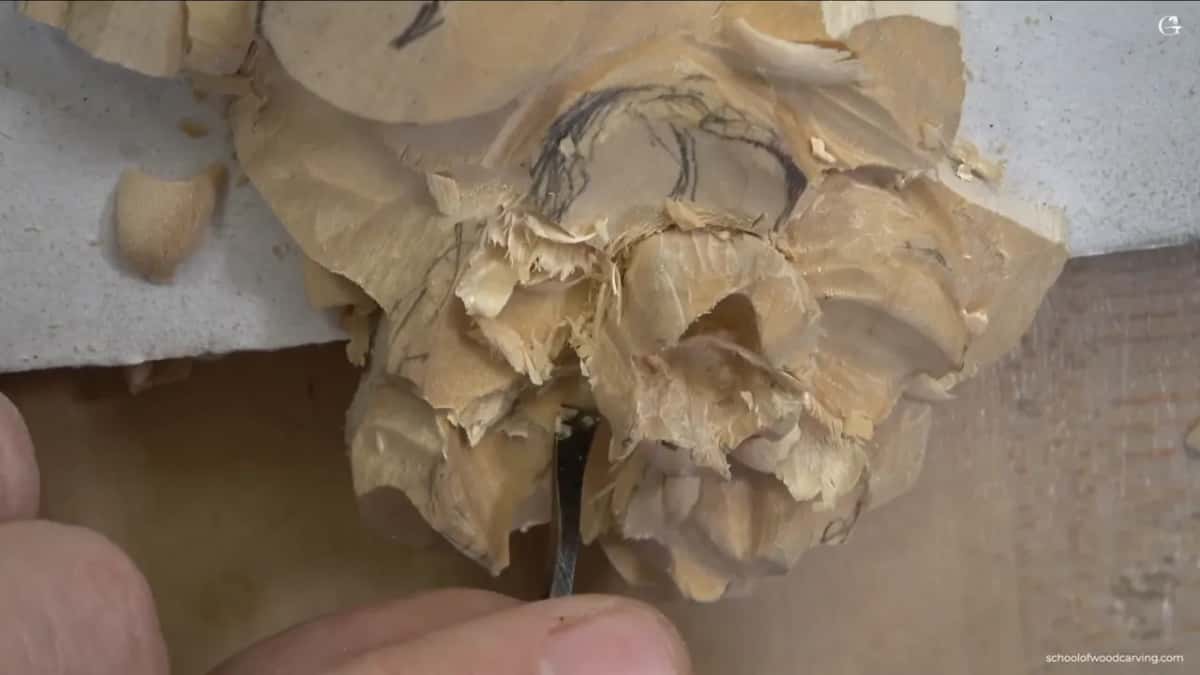
The concave inside a petal works the same way. Right in the middle I start it from almost no cut, and near the center I go really deep. Keeping two sides of the panel even is a different job, covered in lesson 5.
Is the shadow on your bench telling the truth?
Not always. One spot looked a little too sharp to me, and it wasn't really sharp. That was the shadows from how I had the lighting, everything at the front, shooting toward me.
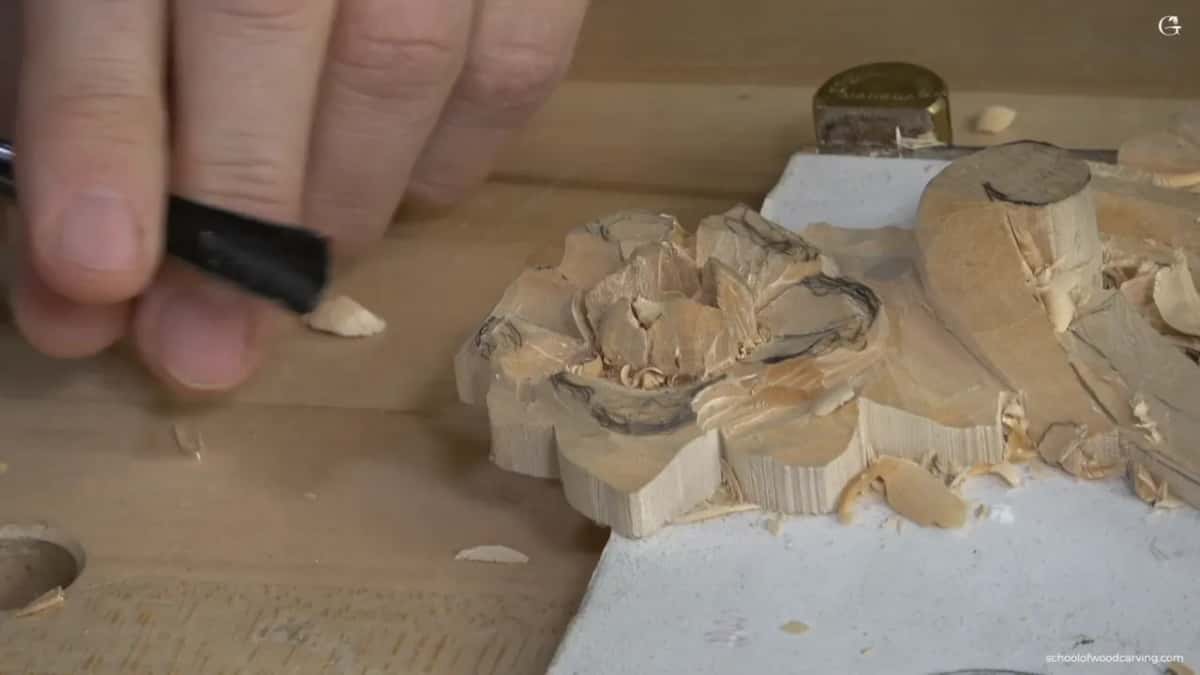
Old woodworkers would place a bench by the window, because they got their light from the window. Wikipedia's page on daylighting is about bringing that window light into a room. In my case the window is behind me, and a bunch of lights are in front of me. The shadows still show, but really I don't have that sharp of a line. So what you see on camera is an exaggeration of the shadows.
When do you stop undercutting a painted petal?
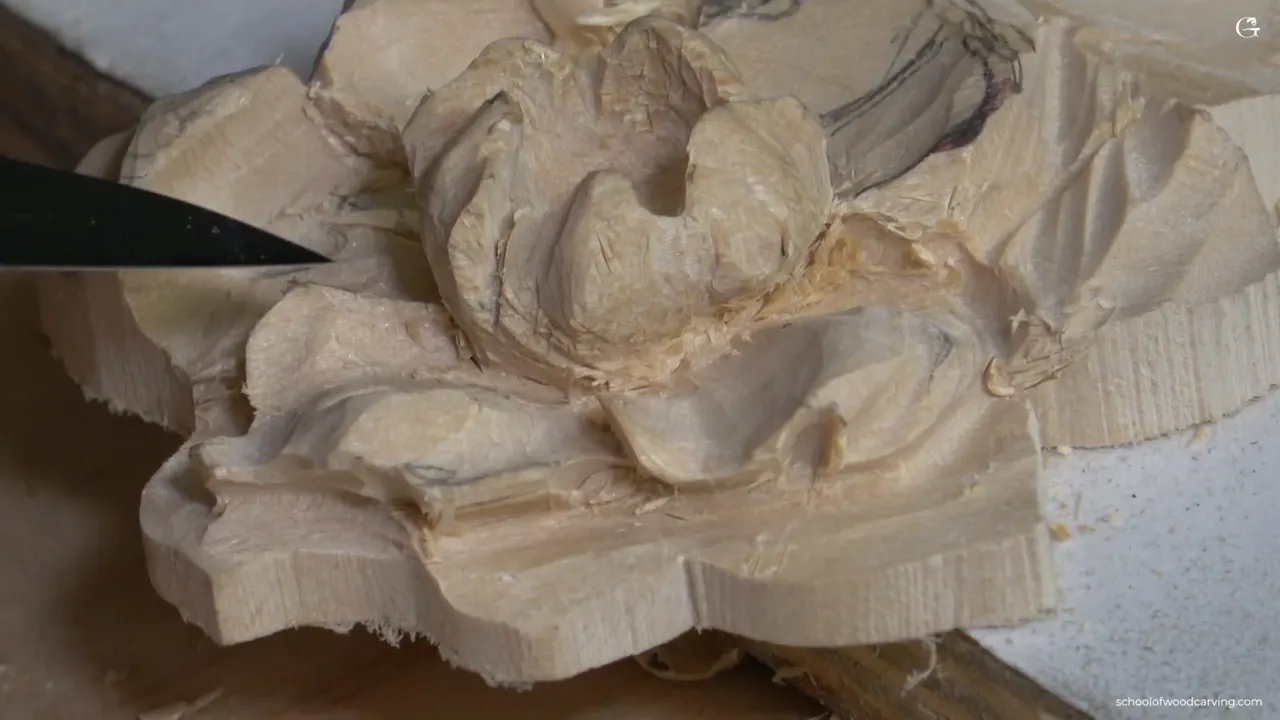
Before the leaves underneath are carved. Those future leaves grow from underneath the petals, almost hidden, but they make a huge difference in how it will look. So I work around carefully and still keep some meat, some material, because those leaves come later.
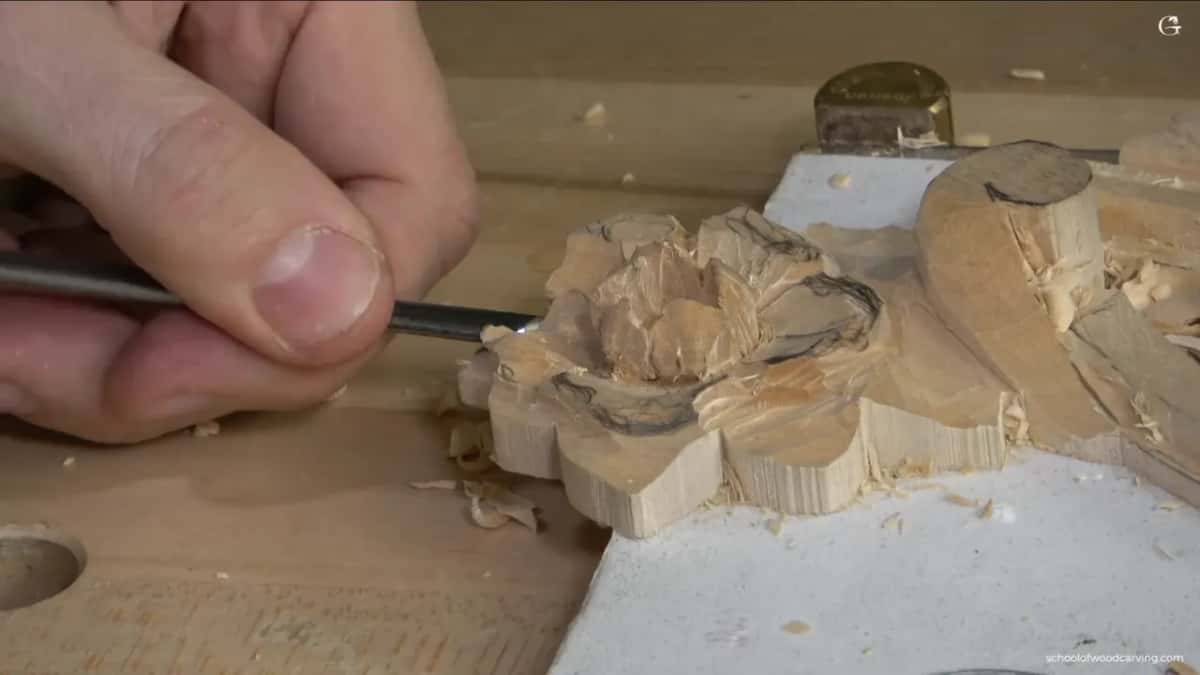
With the little number 9 at 1 mm I got the mess out, and then I stopped. That is enough. I don't want to go too deep. That would be a big mistake.
Under the next petal I could probably undercut right away, somewhat, I said, but not a final undercut yet, because I still have to work on those leaves. You could use a 2 mm or 3 mm number 11 there instead of 2.5. The look changes just slightly, since the distance between the undercut and the edge gets bigger or smaller, which is okay.
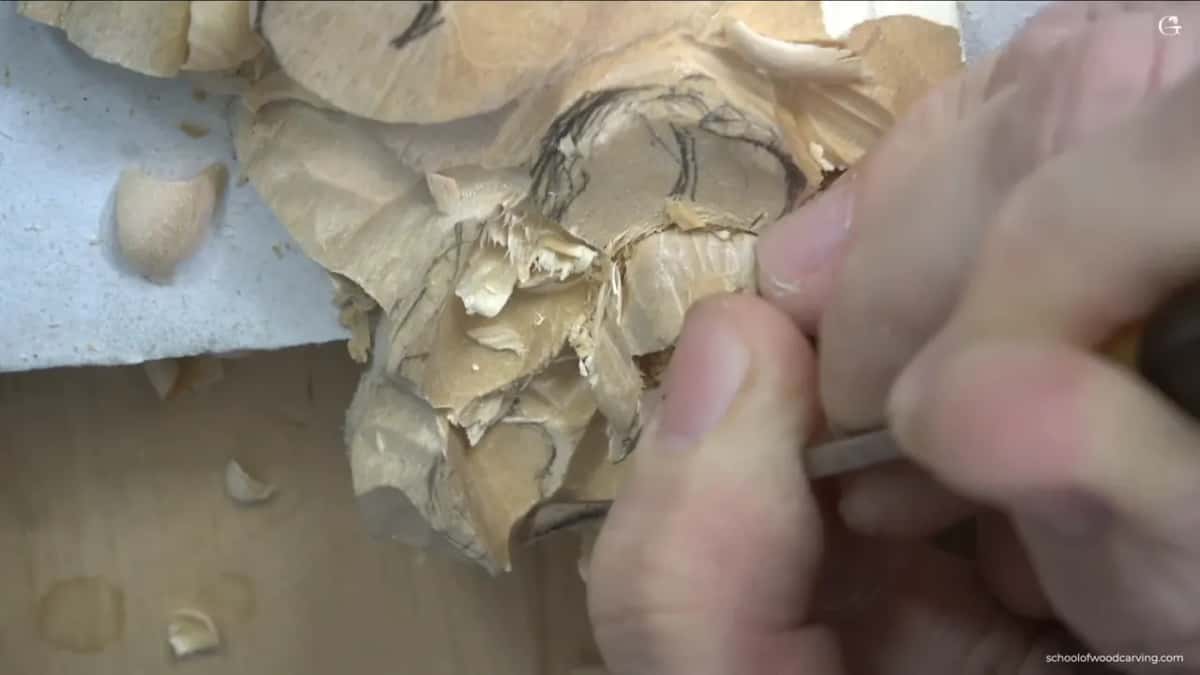
By the end I had three petals ready. The next two waited for the next workshop, which is lesson 8. Lesson 6 comes just before this one, the molding's own depth limit comes from lesson 3, and the course page shows the whole relief. I asked people not to be shy. I get a lot of emails, but I'd rather you comment right under the video, so I know exactly which part you're asking about.
If carving this way, with the finish already in your head, is how you want to work, come and carve with us.
How it's done
- Decide on paint or stain first. I know the finish is white before the first deep cut, and I plan where a brush can reach.
- Take the initial undercut with a number 11. Tool on its side and flute out, I watch the fibers and keep it preliminary.
- Lower the leaf with a wide number 11. A 7 mm number 11 gives me a cleaner cut, a cleaner canvas for the small tools.
- Feel the grain before you push. I barely start the cut, get the feel of the fibers, then put on more pressure.
- Change tools instead of forcing. When chips won't come out of a concave, I don't force them. A number 3 at 3 mm cleans it.
- Bring every petal down to one level at the center. Near the middle each petal flows low, never a straight line, down to one shared level.
- Keep material for the leaves below. I stop short and leave meat, since the leaves under the petals get carved later, with the final undercut after them.
Frequently asked questions
Does a painted carving need a shallower undercut?
On this panel, yes. A brush must get underneath, so I think about the depth before I start, and the number 11 keeps me from going too far. A stained piece of mine went really extreme, because nothing on that one gets painted.
What color should a carved flower get?
Just a shade. I wouldn't use bright red or bright yellow, and the wood should still show through, almost like no stain. For green I'd take olive mixed toward brown, because bright green on a flower doesn't look as natural on wood as that softer color does.
Why use a number 11 gouge under a painted petal?
My number 11 leaves the hollow smooth, with no sharp line underneath. It also stops me from going too far, and on a painted panel I think that's a good idea. I used it at the start, for the first and initial undercut under each petal.
What to carve next