
Alexander Grabovetskiy, woodcarver, School of Woodcarving · Published 2022
How do you carve a petal that curls backward?
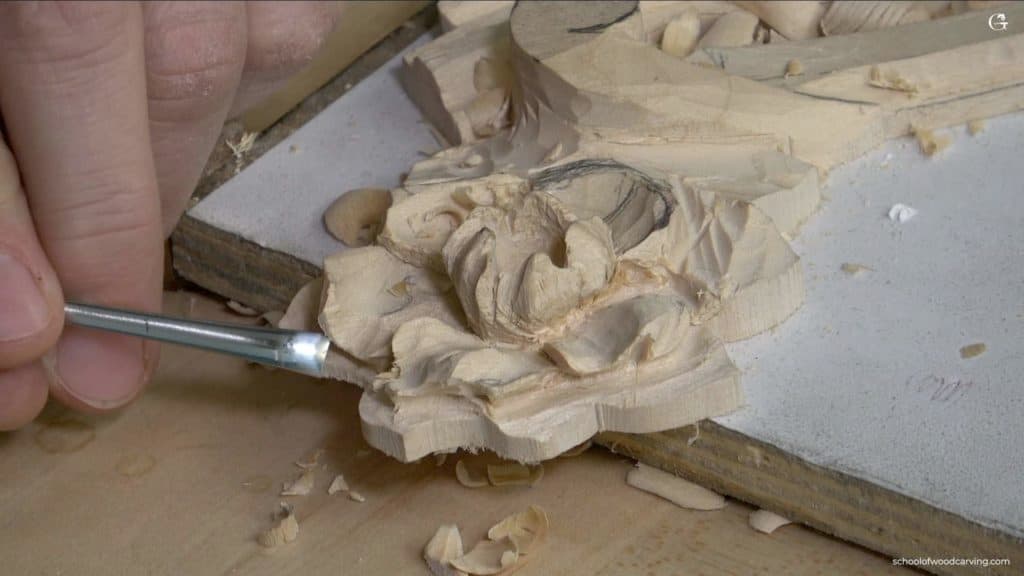
Quick answer: Carving a petal that curls backward is mostly about the wood you take out under the tip. On my flower a gouge used upside down eased the end over, slightly. Next, a small #9 went in beneath it, and that missing section gives the roll its shadow.
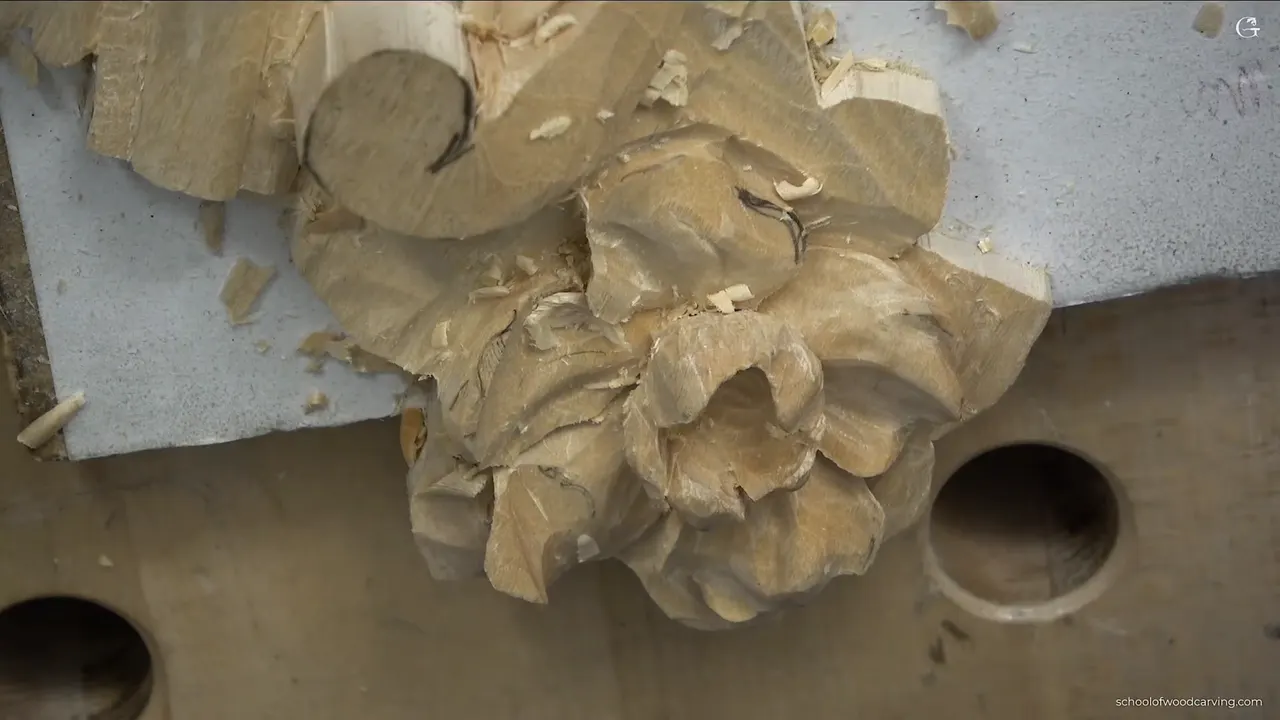
A backward curl on a carved petal is mostly wood taken away under the tip. On the last petal of the flower on this acanthus panel, I rounded the end a little. Not much. Next I took out the section inside it and went under it with a small #9, so the edge seems to roll away from you.
You have seen carved flowers where one petal end seems to turn back. And you know wood can't really bend.
So the roll comes from a few small moves, and below I'll go through each one the way I made it on this flower, with the slip I made on the way and how I fixed it.
What the backward roll came down to on this flower
- A flipped number 5 eased the tip.
- Taking out the section inside gave the feel of the roll.
- My small #9 then went right inside the curl and dug the wood out from under it.
- On a piece that only hangs on a wall, you could go paper thin, but on a panel I can't.
- Concave cuts make the shadow.
How do you make a petal look like it rolls backward?
Round the tip slightly, then take wood away under it. While I did it I said the petal rolls back and you almost don't see it. But by removing that section, it gives you that feel.
First came a number 5. Turned upside down, it dug enough to give the petal some overall shape. With that same gouge I made the curl back, rounding the tip little by little, and I said it out loud as I went, not much, but a little. I wanted it to look like it was rolling backward.
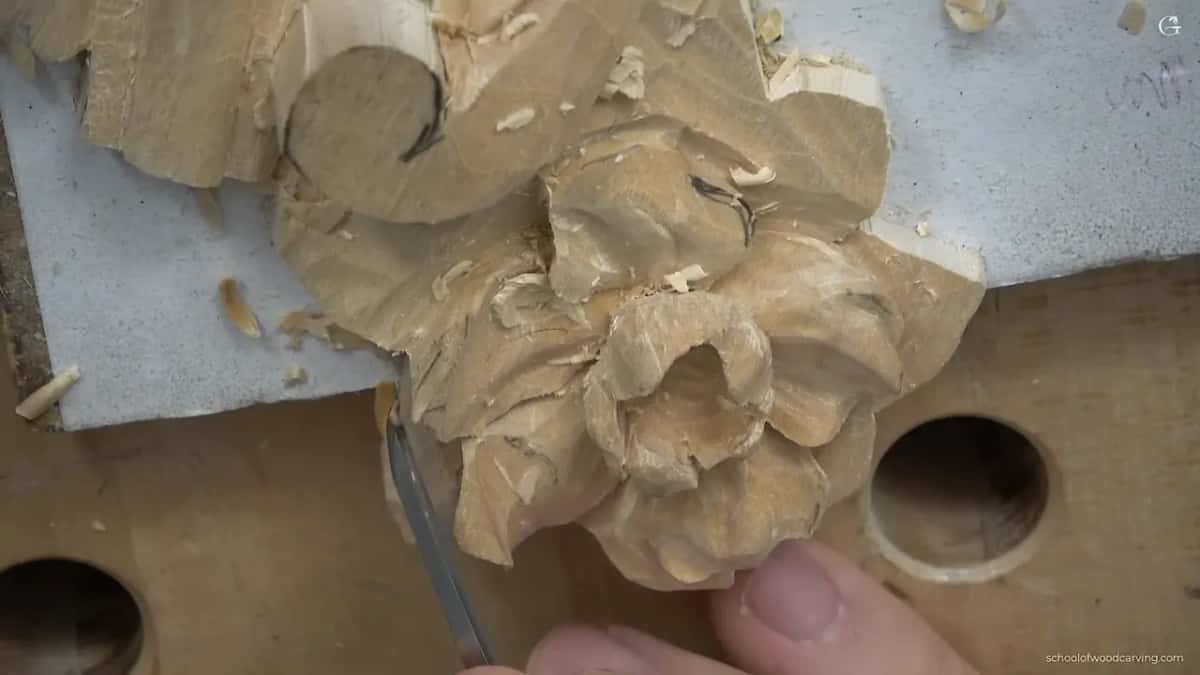
The other side got the same treatment. A small movement there, and the part inside it came out, exactly the same. Every petal is supposed to have an overall movement, and on this one the movement rolls back.
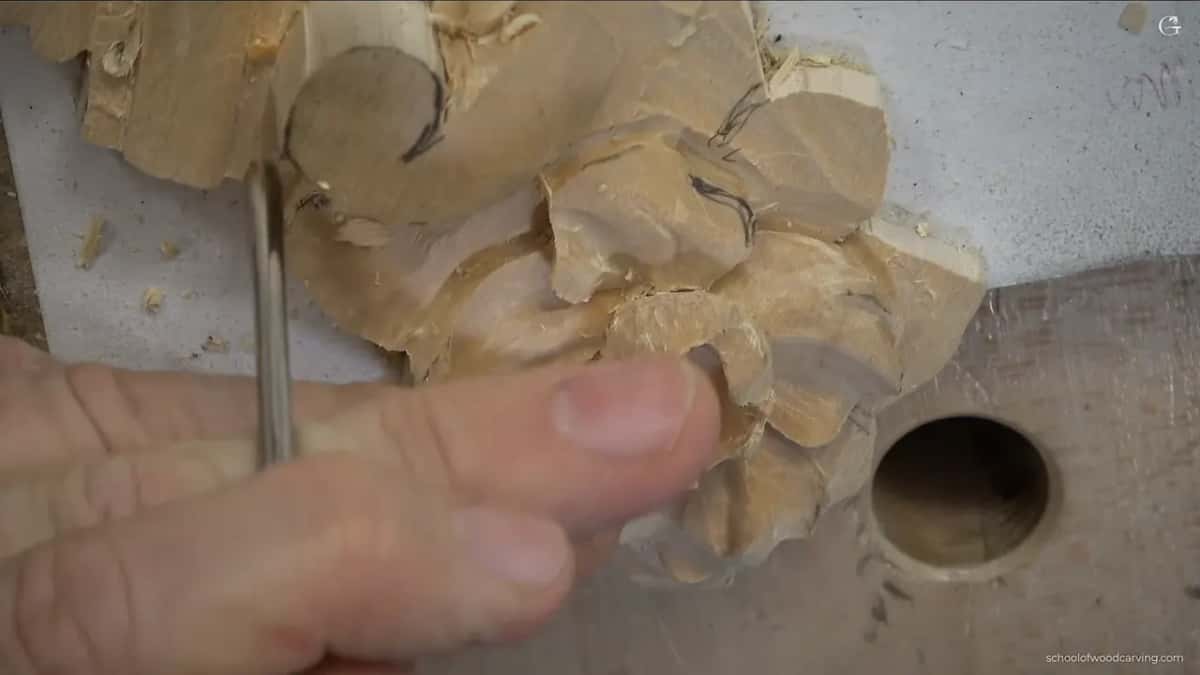
After that came the undercut, though I wanted it more like a curl than a plain undercut. I went right inside the curling petal with my little #9 again. Carefully, carefully, I dug out the wood underneath it, so it would read as rolling, or curling, backward.
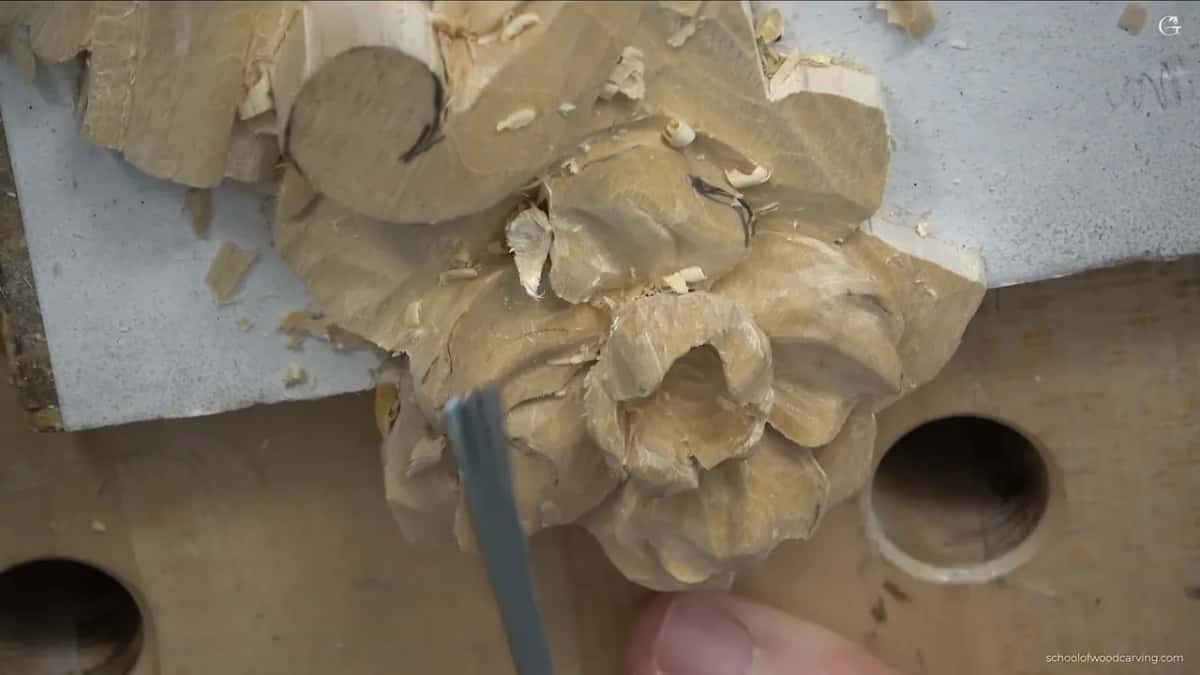
All the concave cuts on this petal give me that shadow.
How thin can a curled edge get?
Paper thin, if the carving is only a decoration piece for a wall. I said you could take it to the extreme then. If it goes on furniture or a panel, I can't do that, and this flower is part of a panel.
What can happen to a fragile part on a panel is in lesson 7, so I won't repeat it here.
Where does the shape of a petal start?
With an outline and a wall. The last two petals of this flower are not as complicated as the first three, but they still get some shape. Each one has a convex part in the middle and two concaves on the sides.
An 11 went around the drawn line to give the overall outline. The brand doesn't matter. Next came a half inch #9, the same one I used before, digging a little deeper beside the line. That left a wall standing for the petal. With a wall there I can carve a good concave, so the movement looks more natural.
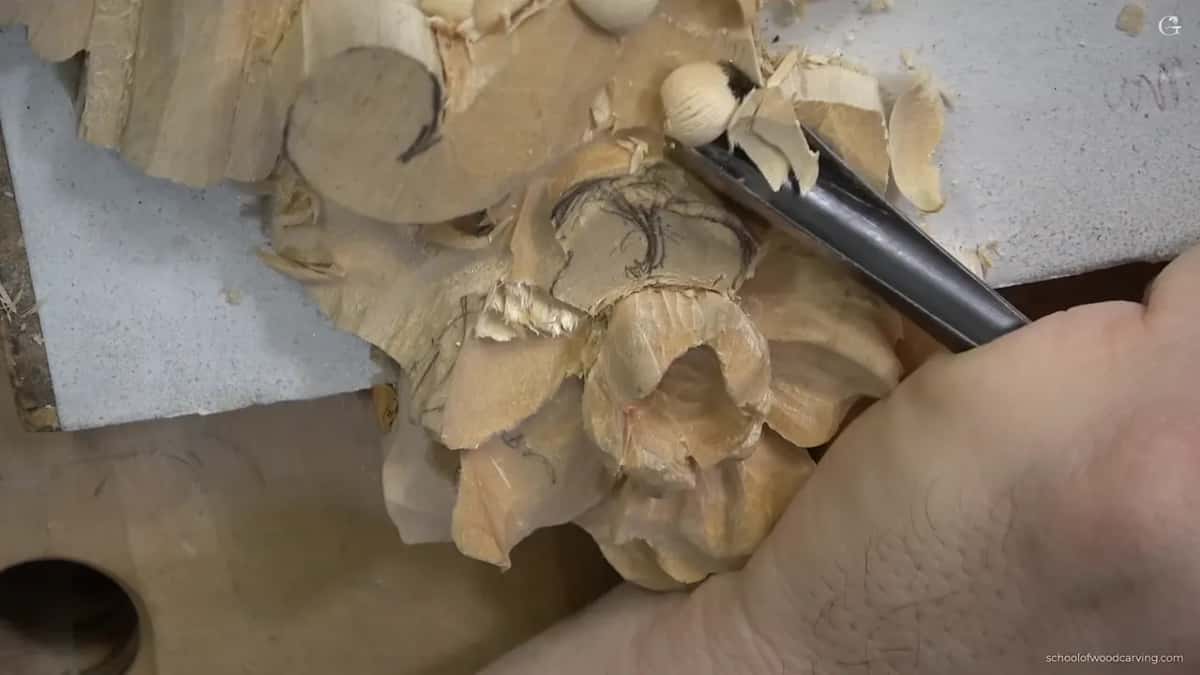
Seen from the side, the petal was too big, and I didn't like that. So I dropped that side much lower and raised the middle part, still with the half inch gouge. Some of my outline got lost doing it, and I said I don't worry about that.
That gouge was a little too big for one separation. A number 1, double bevel, an eighth of an inch (about 3 mm), came in at it and cleaned it.
What was left was maybe a couple of millimeters of wall. Still deep enough, I said, to give a really nice shadow, and better than what was there before. With the pencil I drew the outline again and went around it once more with an 11, 2.5 mm (about 3/32 in).
Why carve each hollow both ways?
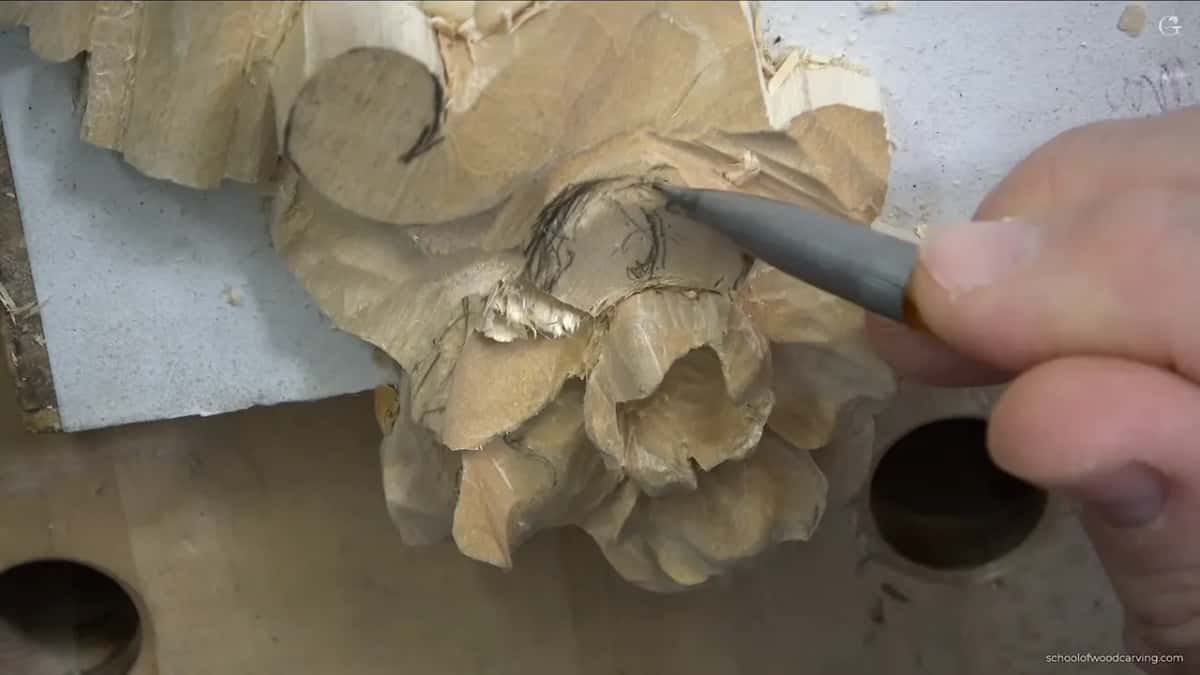
One side of any gouge cut comes out clean and the other comes out rough. The left concave made me think of a spoon gouge first, and I picked a small 4 mm spoon #9. To get both sides clean you really have to attack it from two directions, so I did.
The very first passes of this panel, in lesson 2, show the same thing with the reason, so I'll leave it there.
How smooth should the blending be?
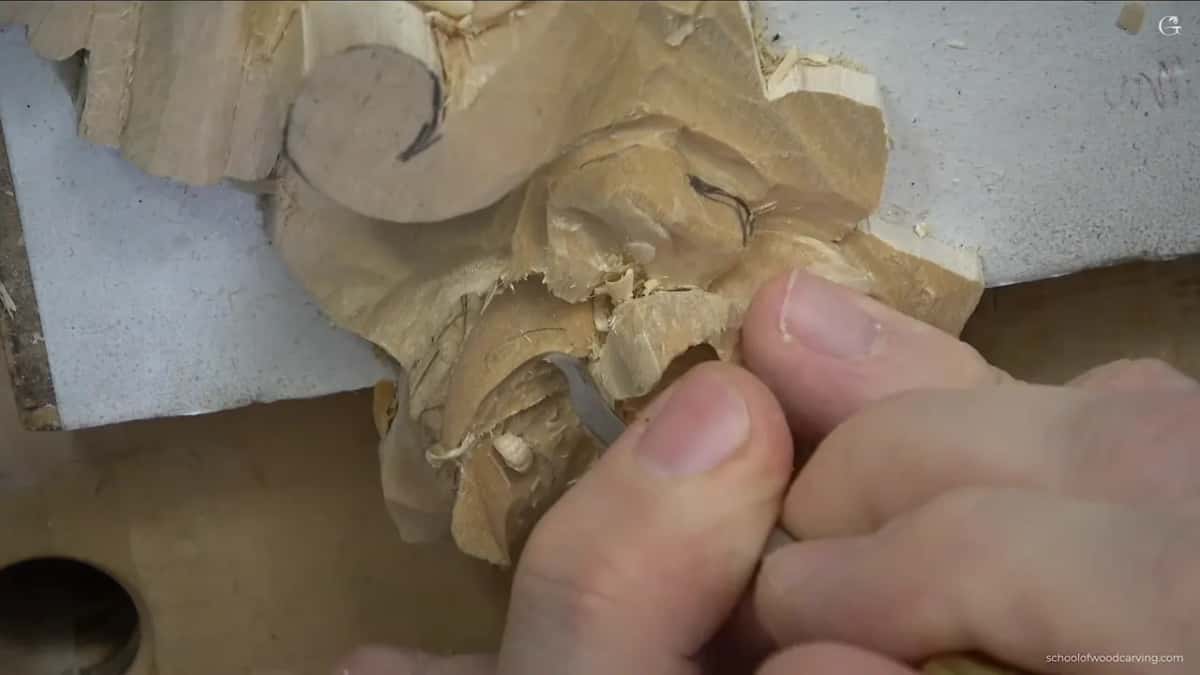
Smooth, but small movement may still show. For this petal I picked up the backbent I used before, a quarter inch number 3 (about 6 mm). I said it might be a little too big for this job, and I worked my way with it to blend the whole thing.
Viewed sideways, I wanted the middle raised a bit, with a convex feel at the end of the movement. The backbent made that easy. Petals like these don't always have to be complicated.
Later a tiny spoon, also a 3, blended it some more. My goal was a smooth change all the way to the edge, and I said it's okay to detect small movement like that. It's absolutely fine. Hard edges on a ridge are what I don't want. There's more on working a backbent over a sharp ridge in lesson 4.
Why does the movement vanish when you look close?
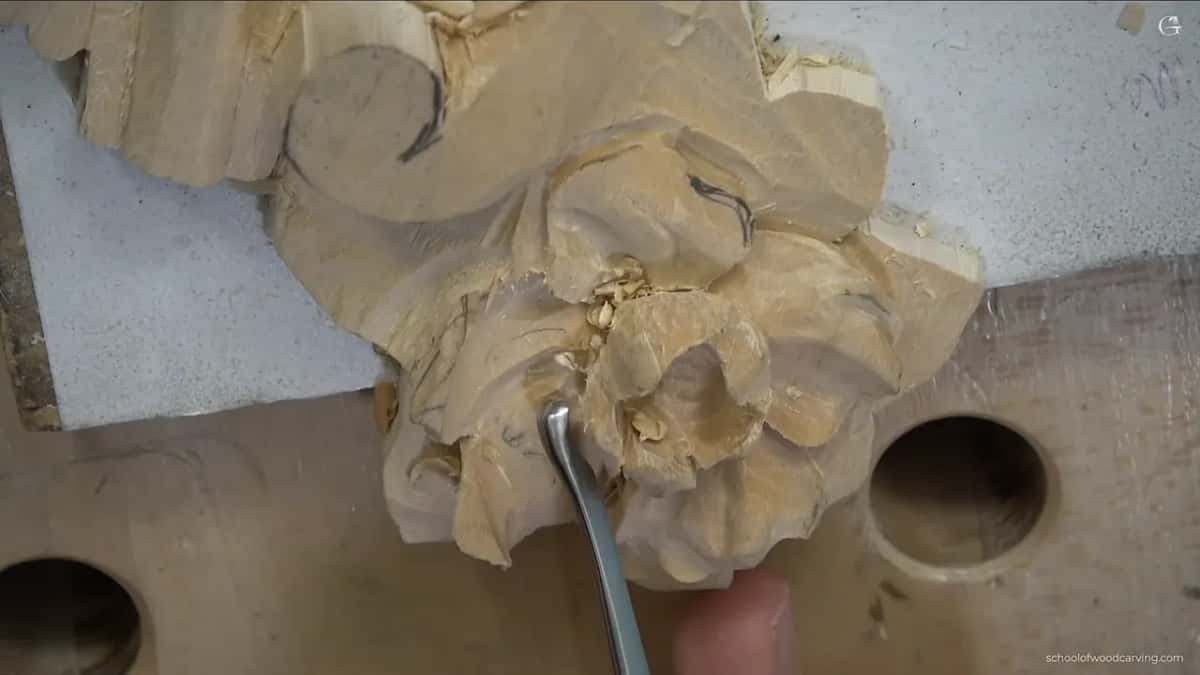
Up close it hides. Look really close and you don't see the overall movement. From above, it reads. Your brain reads that movement.
Where does the undercut go on a petal?
Right underneath it. That gets rid of the wall. My first, rough pass was with a number 3, just a preliminary cut. Closer to the center of the flower, the petals sit almost on the same level. A half millimeter 11 cleaned it after that.
I also kept checking that I didn't lose the shape of the petal next to it. A small 3, the eighth of an inch one, took out whatever junk was left. You should see a deep, deep shadow in there, even if the lights make it hard on camera. Some junk was still in it. That's okay. The overall shape was ready, and I could bring it to perfection a little later.
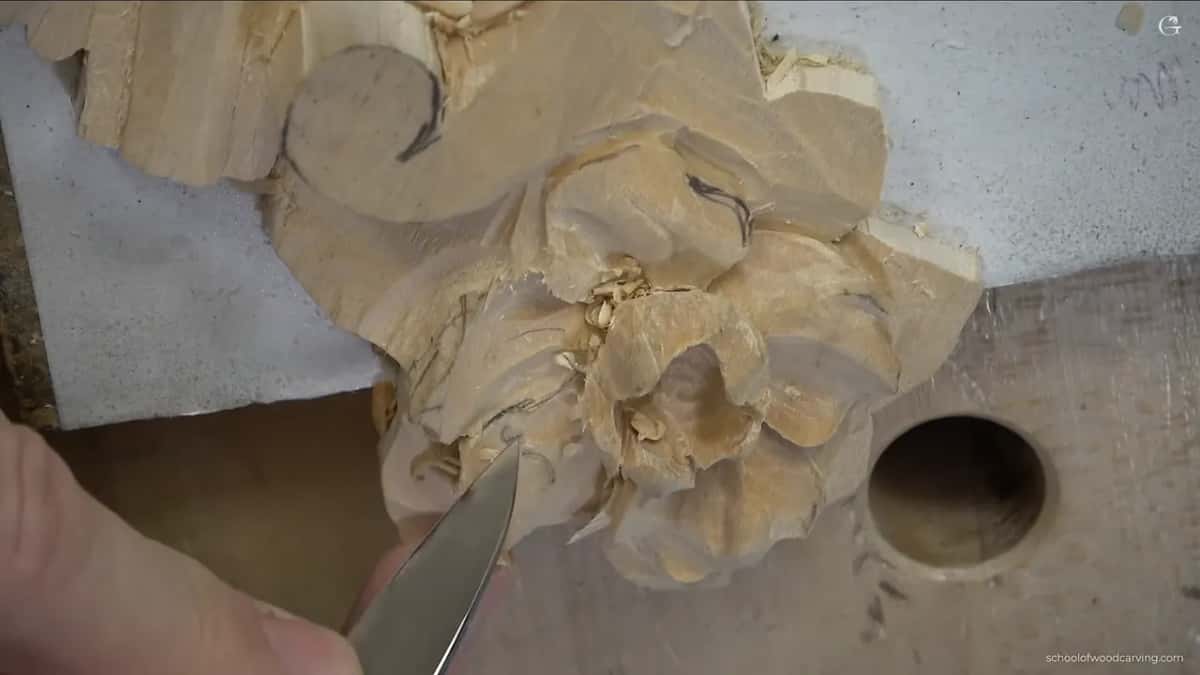
What happens when you push too hard?
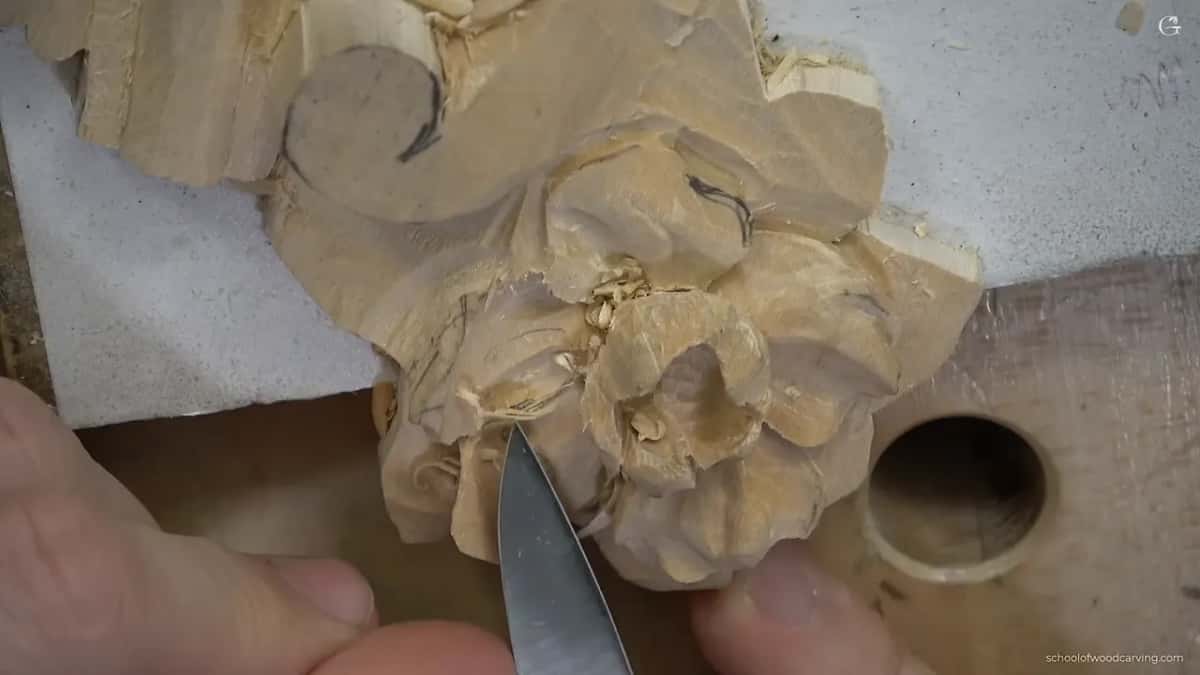
You can spoil a petal you already finished. Going right underneath on the last one with a number 11 veiner, half a millimeter, I pushed too hard. It slightly spoiled the look of the petal I had already done. It's okay. It wasn't completely destroyed.
The fix was a little deeper excavation right inside that spot. For it I chose a number 3 at 1/8 inch, which I also called three millimeters, and it gave a clean cut. Lesson 5 is where the background depth for this whole panel was set.
Why are the last two petals different from the first three?
They are meant to oppose them. The first three petals take about 62% of the flower's space, and these two take about 38%. That idea comes from my design course, and I call it peace and war in design. Everything in nature has its opposite, and if there is no minus, plus doesn't really matter, the way it is in electricity, or with a man and a woman.
If I carved these two exactly like the first three, I would see no conflict going on. The three are like plus, the two like minus. It even works inside one petal. Its center line is not in the middle. It falls about 62% one way and 38% the other, on the golden ratio.
Not that you have to do it. I just think it's a good idea. The design lessons go through it, and the whole design course is there if you haven't watched it.
Why use a small spoon gouge near the center?
Even with the middle of the flower in the way, a small one still goes the right way with the grain. That was my comment while working the last petal.
The middle of every petal bulges slightly. It's convex, so I have to make concaves on both sides. Some of that was already done when I went all the way under the petal before it. My first grab for the other side was a really tiny number 6 spoon. A moment later I said I didn't have to use a 6 at all. A different one would do, even a 9 like before, so I switched to the 4 mm spoon (about 5/32 in).
Can you undercut a petal with a knife?
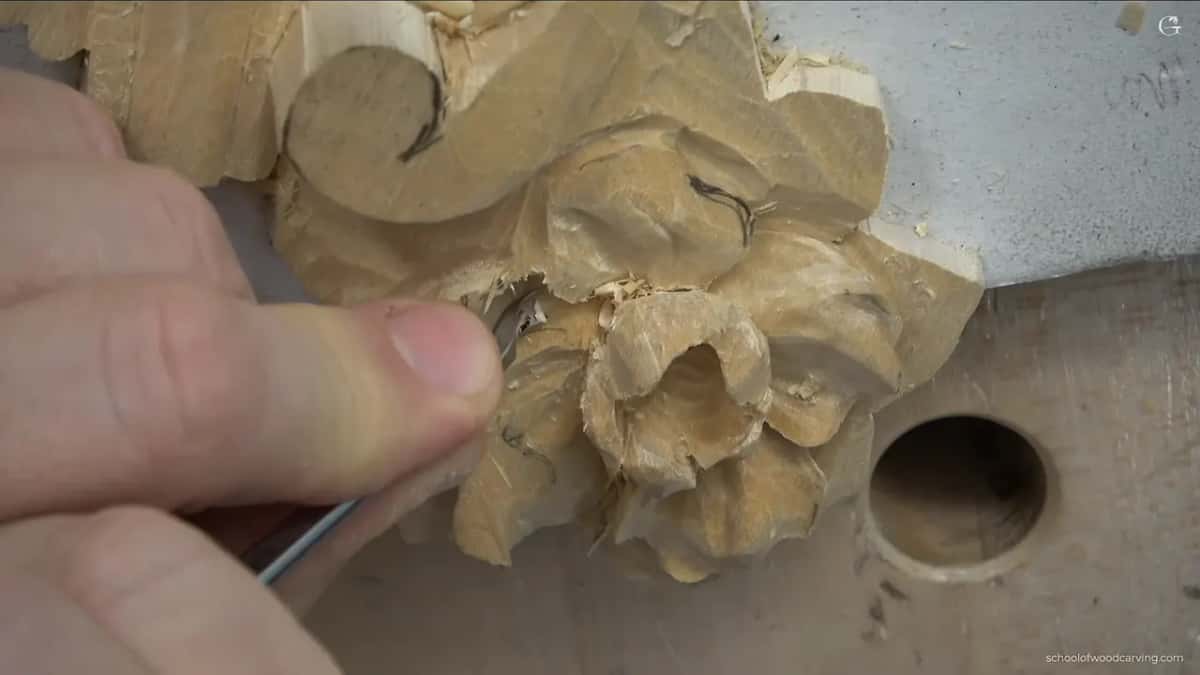
A knife works for it. I named it as one of the ways to do the line under this petal. Undercut with a knife and you get a sharp line pretty much right away. I lifted the chip out to show how sharp that line was, then went a little deeper.
What lifts a petal above the leaf?
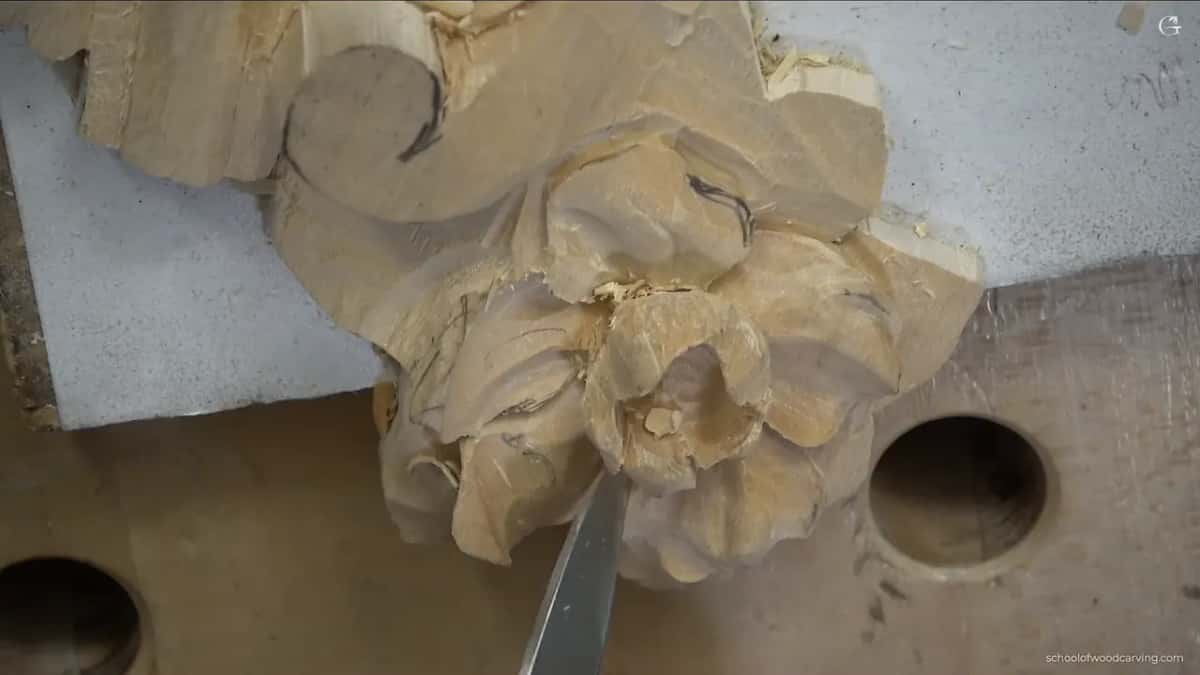
By taking away the wood around it. Before that, I worked closer to the edge with a 9. I don't want to see a straight line there. I want some curly movement. A spoon number 3 took off the sharp ridges after that.
By then I had too many tools out, and I said I don't want that. The same 2.5 mm eleven went around the petals to release them. My cuts were really short. I didn't want to force it. A nice shadow still mattered, with the petal raised above the leaf, but I also said I didn't want to overdo it. Lesson 3 says more about short strokes. A one millimeter #9 then cleaned a little inside.
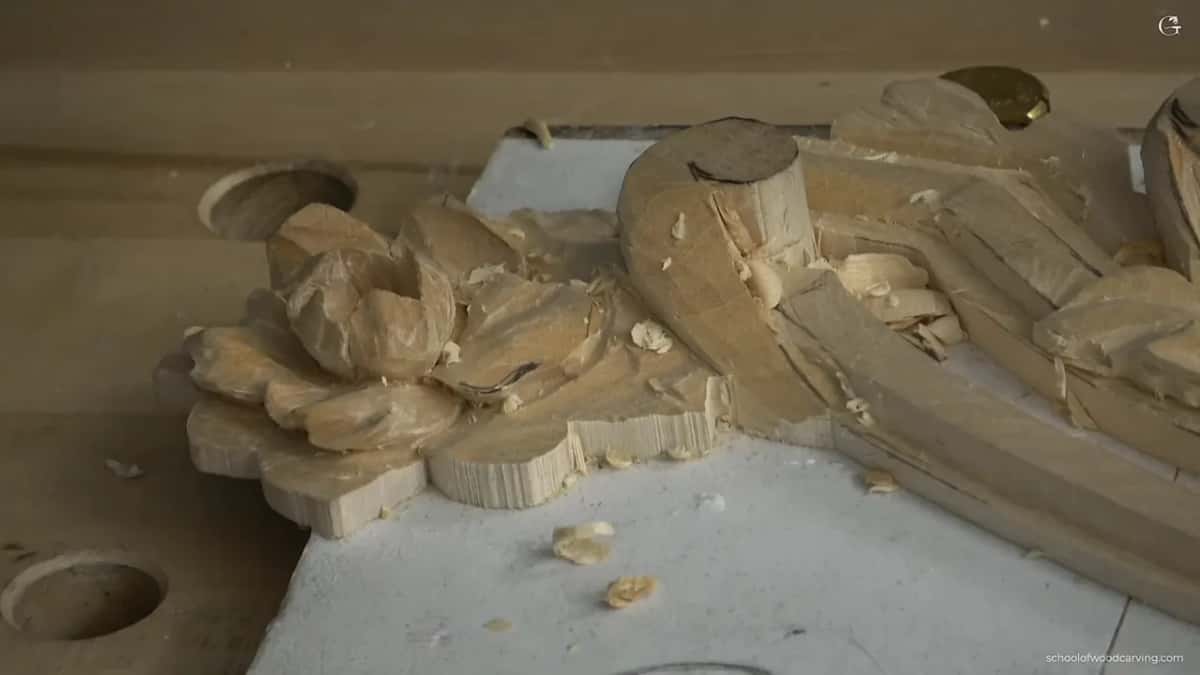
Should you blow the chips away?
Blowing is normal practice for me. When you work on details like this, with very small chips, you blow constantly and they fly away. On camera I tried not to blow. I wanted to, but I had to control myself, so the video shows a lot of junk chips.
When do you stop working on a petal?
Before you overdo it. After the curl I touched the edge slightly once more. My thumb was the leverage point, that one finger, and that way I can control my tool much better. Right after, I said this was probably my stopping point. Otherwise I could just overdo it.
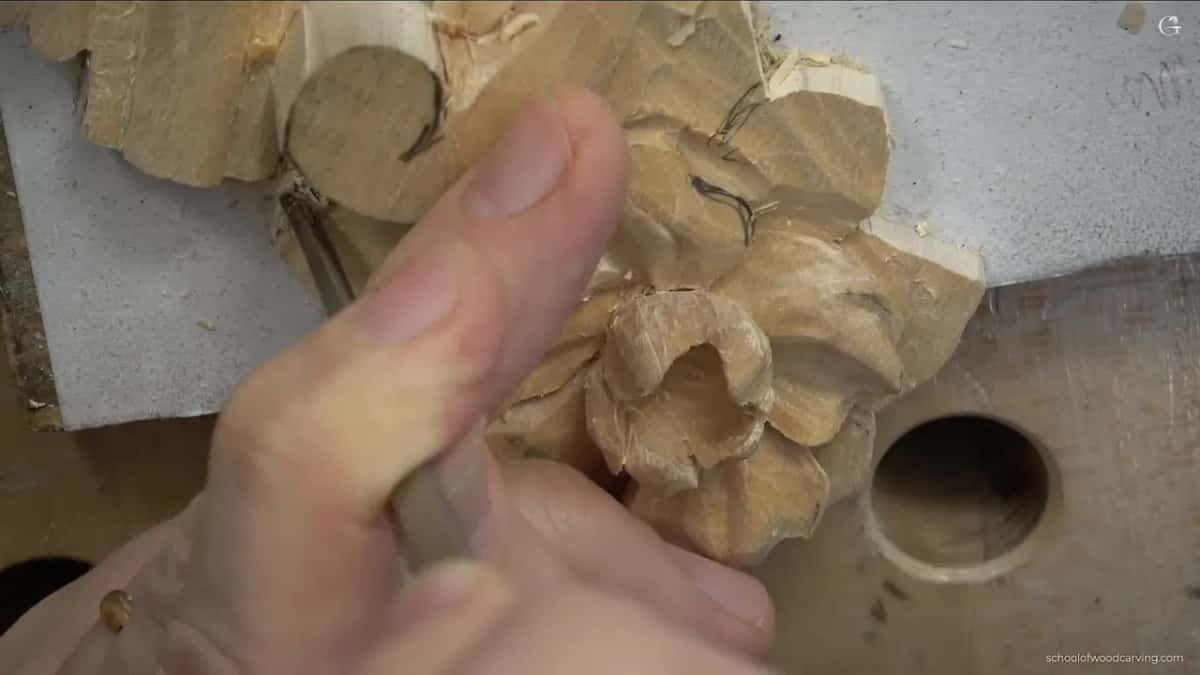
I always, always try to take it to perfection, and then boom, there's a problem. Overdone. It looked good in the overall movement, and I moved on to the leaves.
How much detail do the leaves around a flower get?
Less than the flower. The leaves are not the main idea of the overall movement, so they get some shaping and some detail, but not as much. Mostly a bunch of separations and some movement.

One thing does go on every one of them, and that is small notches. The petals have no further separations, so I surround them with smaller details to make the flower pop out of the canvas. I always like to put smaller details around a flower, even a small one. Those relieving cuts went in with that same eleven.
Inside each leaf I keep the petal idea, concave, convex, concave, with the middle raised. I think it looks more unified. You have to understand it's not always the case. It belongs to this style, and even in this style a flower can have some variations, and I'm okay with that. The center line again sits on the golden ratio, about 62 and 38.
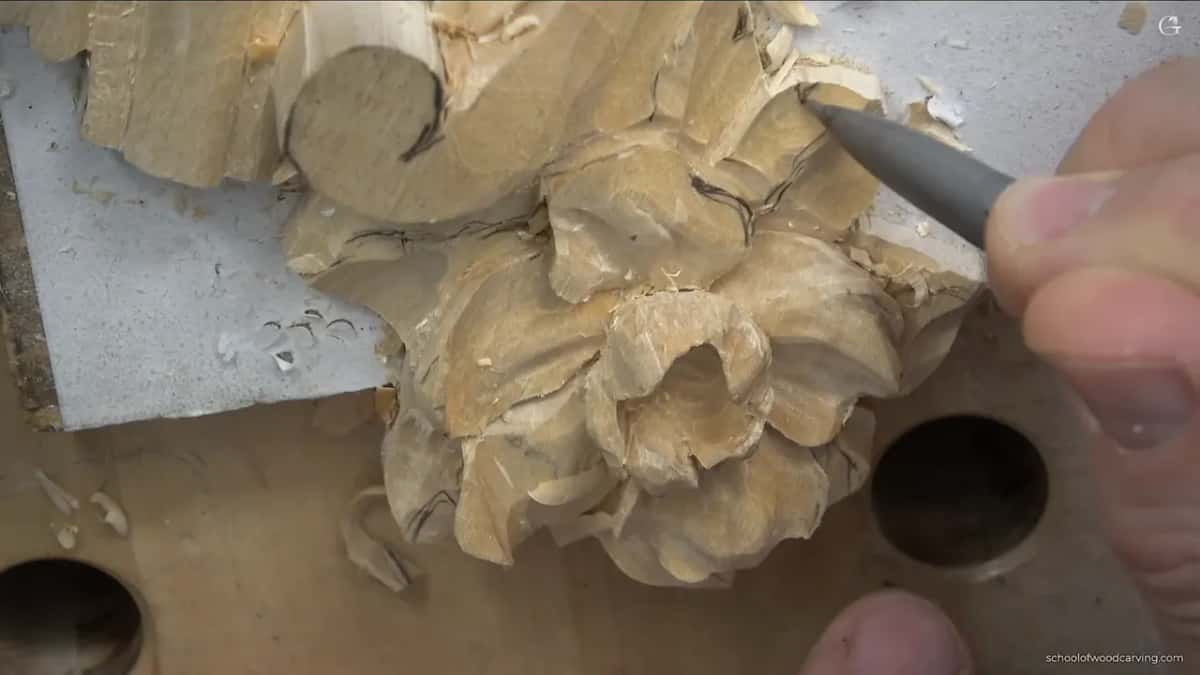
For the separations you can use a V tool if you feel more comfortable with it. Mine were done with an 11, flute straight up like 12 o'clock, and not deep. The concaves got a 7 mm number 11, a bit over 1/4 in, with the flute at about one o'clock. One spot ran with the grain, so I had to be careful and left it for later.
A backbent 3 blended the center parts. Those sharp ridges are not good. I gave the leaves a little movement like the letter S, and a bulging part in the middle that goes deeper under the flower.
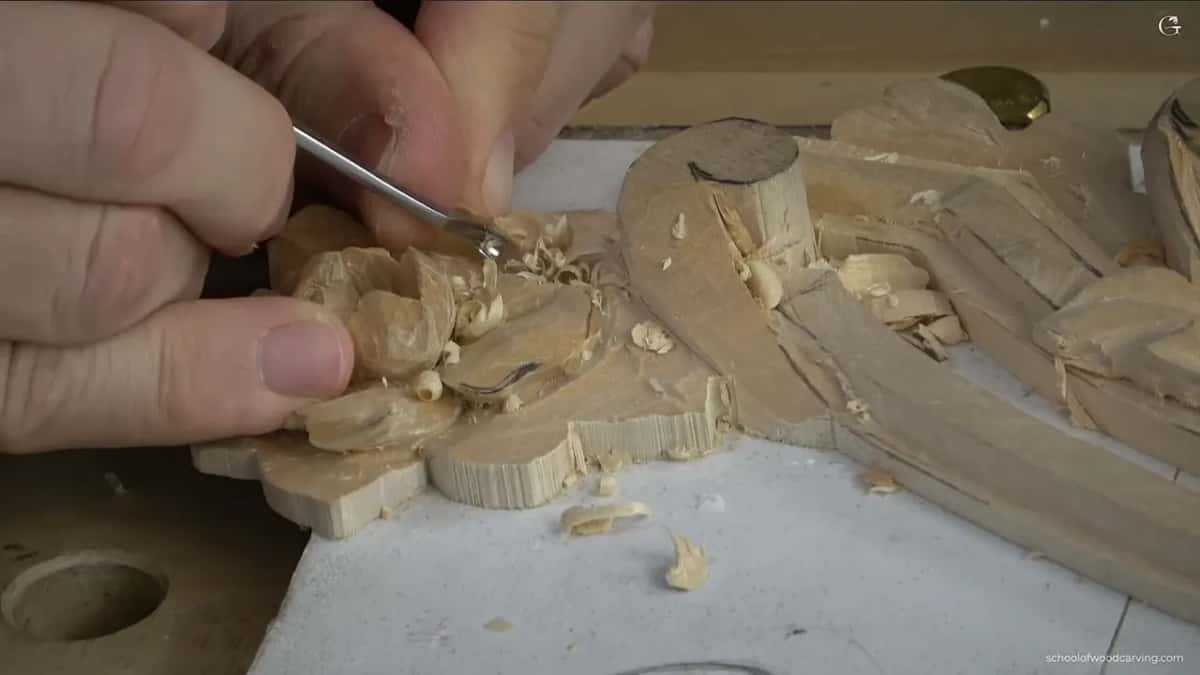
What is a plug cut for?
On the big leaf I used one to make a rotation. The idea was to take out some material so my molding is released from that leaf. That way, if I need to connect the carving to the molding, nothing else is in the way.
With an eighth inch #9 I did the plug cut, just a straight down cut. You could use a drill if you wanted to. Coming at it sideways afterward gave me a new shape, and I was happy with it.
What do you do with a line that's too straight?
Fix it. One leaf was somewhat good except for its overall shape. A line on it was too straight, so I fixed that line, and you could see it looked much better.
Don't put too many stripes on it either. One more ridge going toward the center line was the goal, so I dug that part out with one simple cut.
Which tools went into these petals and leaves?
Here they are in the order they showed up on this relief.
| Tool | What I did with it | Where |
|---|---|---|
| Half inch number 9 | Dug beside the outline so a wall stood for the petal | First of the two petals |
| Number 1 double bevel, about 3 mm | Cleaned a separation too tight for the half inch gouge | Same petal, side on |
| Backbent number 3, quarter inch | Blended the whole petal, then the centers of the leaves | Petals and leaves |
| Small knife | Undercut a sharp line right away, then cleaned with it | Last petal |
| The 5, upside down | Shaped the last petal and rounded its end a little | Start of the curl |
| Small number 9 | Went inside the curl and cleared the wood beneath it | Under the curling edge |
| An eighth inch #9 | Plug cut straight down to make the rotation | Big leaf by the molding |
On another flower, in Venetian Flowers Rosette 3, I carved a petal curling up instead, which is a different shape. The first lesson of this course lays out the panel, lesson 6 comes just before this one, and lesson 9 comes next. The course page shows the whole piece.
If carving a flower one small gouge move at a time is how you want to work, come and carve with us.
How it's done
- Outline the petal. I run an 11 around the drawn line to give the overall shape. It doesn't have to be any one brand.
- Dig beside it to leave a wall. With a wide 9 I go a little deeper beside the line, so a wall stands for the petal and a good concave can follow.
- Drop the side that looks too big. Seen side on, if one part is too big, I take it lower and raise the middle. Losing some outline doesn't worry me at all, I just draw it again with a pencil later.
- Hollow each side two ways. My little spoon gouge makes the concave. I attack it in both directions so each wall comes out clean.
- Blend without hard ridges. First the backbent, then a tiny spoon. Small movement can show. I don't want any hard edge on a ridge.
- Ease the tip over. Flipped over, my number 5 shapes the petal and rounds the end. Not much.
- Dig out the wood under the curl. The little 9 goes under the curled edge, carefully, digging away what sits right underneath it. That missing section is the roll you see.
Frequently asked questions
How thin can the curled edge of a petal be?
On a decoration piece that only hangs on a wall, I'd say you can go to the extreme and make it paper thin. Furniture or a panel can't take that. My flower here is part of a panel, so I didn't go that far.
What tools make a carved petal curl backward?
On this flower a #5, flipped over, shaped the petal and eased its tip, not much, just a little. My little 9 then dug the wood out from beneath it. Taking that section out gives the feel, even though you almost don't see the roll itself.
Why can't I see the movement of a petal up close?
Up close, the overall movement hides. When I look really close at a petal, I don't see it either. From above it reads, because your brain reads that movement from there, and even my unfinished petal showed its movement going one way.
What to carve next