
Alexander Grabovetskiy, woodcarver, School of Woodcarving · Published 2023
When should you start using tiny detailing tools in wood carving?
Quick answer: The time to pick up tiny carving tools is the detail stage, not the beginning. In class 13 of my Grinling Gibbons course I used a 3 mm detailing gouge and a 2 mm number 11 to free a thin stem and widen a dark spot. I wouldn't start from tiny tools, but I would buy them and keep them.
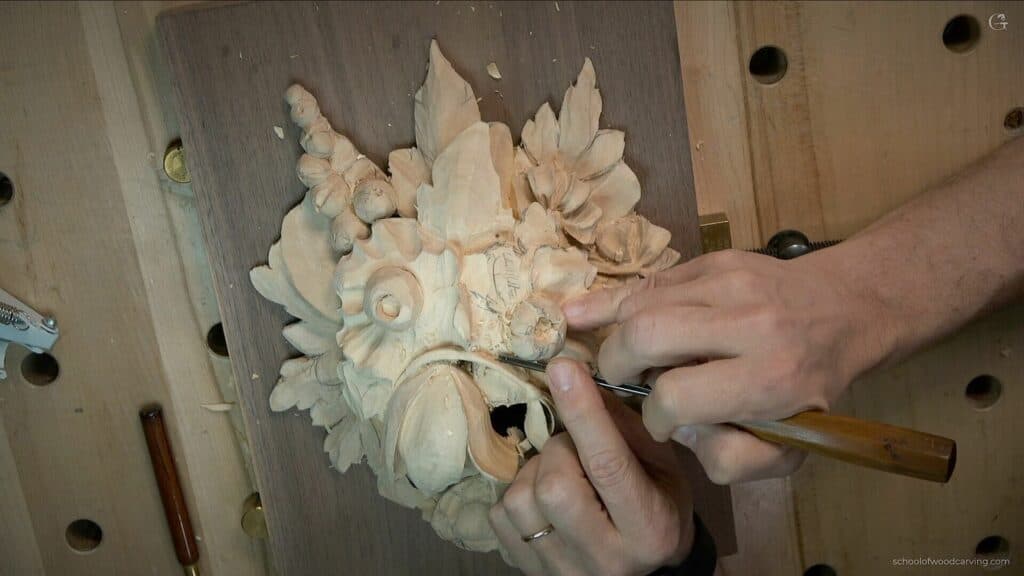
The right time for tiny detailing tools is the detail stage, not the beginning. In the beginning of this Grinling Gibbons course I encouraged you not to use tiny tools. Class 13 is where I told you the rest. From this stage on, you're going to use a lot of teeny tiny tools, and in this class they free a thin stem so it floats in the air, make a dark spot bigger, and take petals deeper.
Do you want your flowers to look deep, with dark shadow between the petals? Do you want a thin stem to come through the last pass in one piece? Then this is the stage to pick up the small tools. You'll see the ones I used in class 13, what each one did on the panel, and the moment I lost one on my own bench.
Six things class 13 shows about small tools
- Own them, just don't begin a carving with them.
- A plug cut with a quarter inch (6 mm) number 9 opened the first dark spot, and I saw no advantage in a drill.
- My number 3 at 1/8 inch (3 mm) and a tiny mallet set the outline where the stem runs over the petal.
- Once the stem is airborne, the grain makes it super weak, so keep your hands off it.
- Just the dark spots made the panel look much better.
- The tool matters less than the hands holding it.
Why not start with tiny tools?
I wouldn't start from tiny tools, that's what I said in class 13, but definitely, definitely, I would buy them and keep them in my arsenal. I said it with that little number 3 still in my hand.
If you want to work on details, you really have to get some detailing tools or micro tools.
And this stage of the panel is small work: a stem to separate, an opening to make bigger, two petals with room to drop. Please notice, at this stage I'm using really tiny tools.
What is a detailing tool, and which ones do I use?
Mini chisels and mini gouges, that's how I put it in the tools selection lesson. Mine are the Peter Benson collection made by Ashley Iles, and I said there that it's not really micro, but a really, really handy tool for getting into really tiny spots.
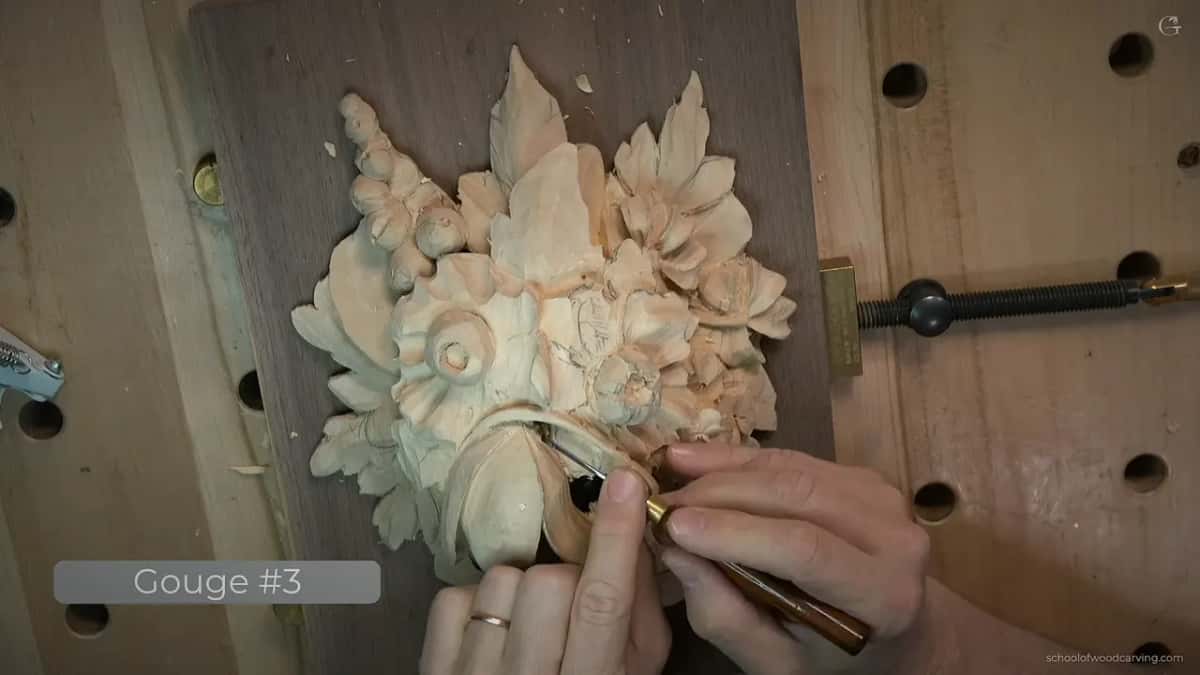
I reminded you again in class 13 that those tools are called detailing tools. The one I kept picking up in the first part is a number 3, 3 millimeters, 1/8 of an inch. What I like about that small Peter Benson tool is the metal. It's so good. It holds the edge and doesn't break.
You're not supposed to use it with a mallet, by the way. My mallet is a really tiny one, so it shouldn't be a problem.
One more note on numbers. Later in the class I picked up a number 4 and said it would be equal to a number 3, because it's an Iles number 4.
What mallet goes with a tool that small?
A small, tiny mallet. Tim Yoder made mine for me, and those of you in woodturning are familiar with the name. He's all over the internet and in magazines.
A big mallet I don't need, because I don't really need a lot of force here.
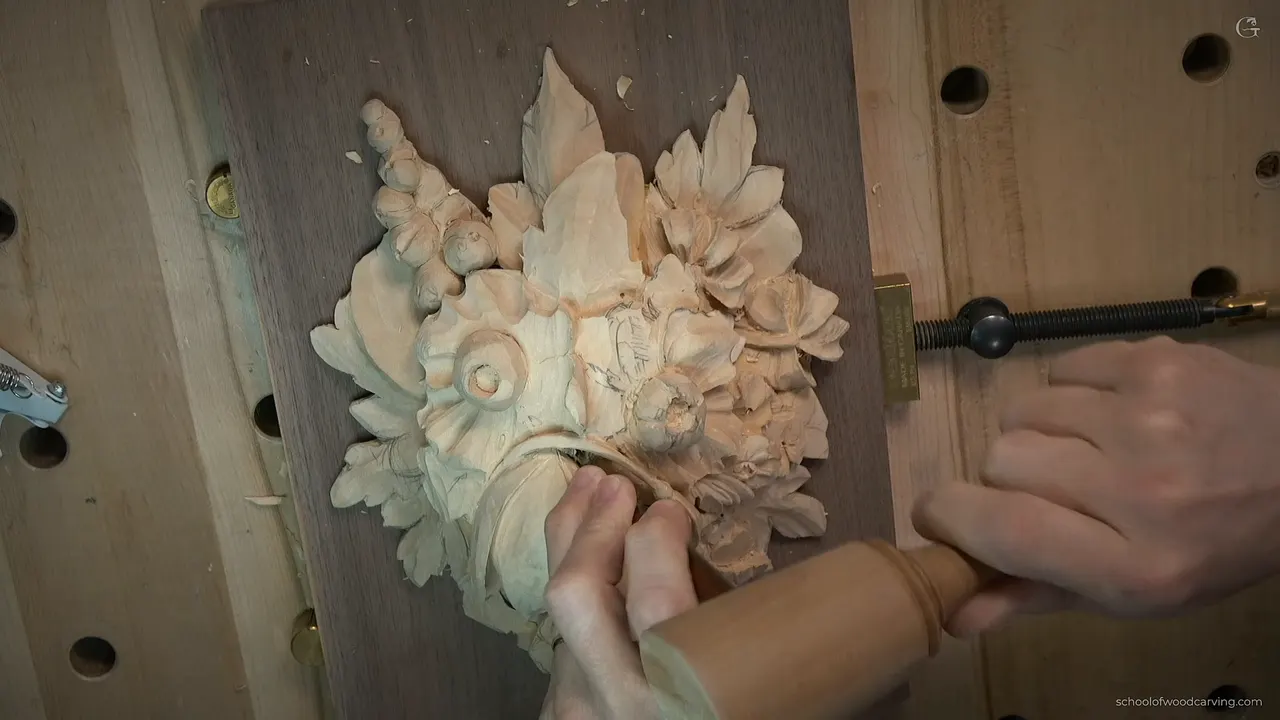
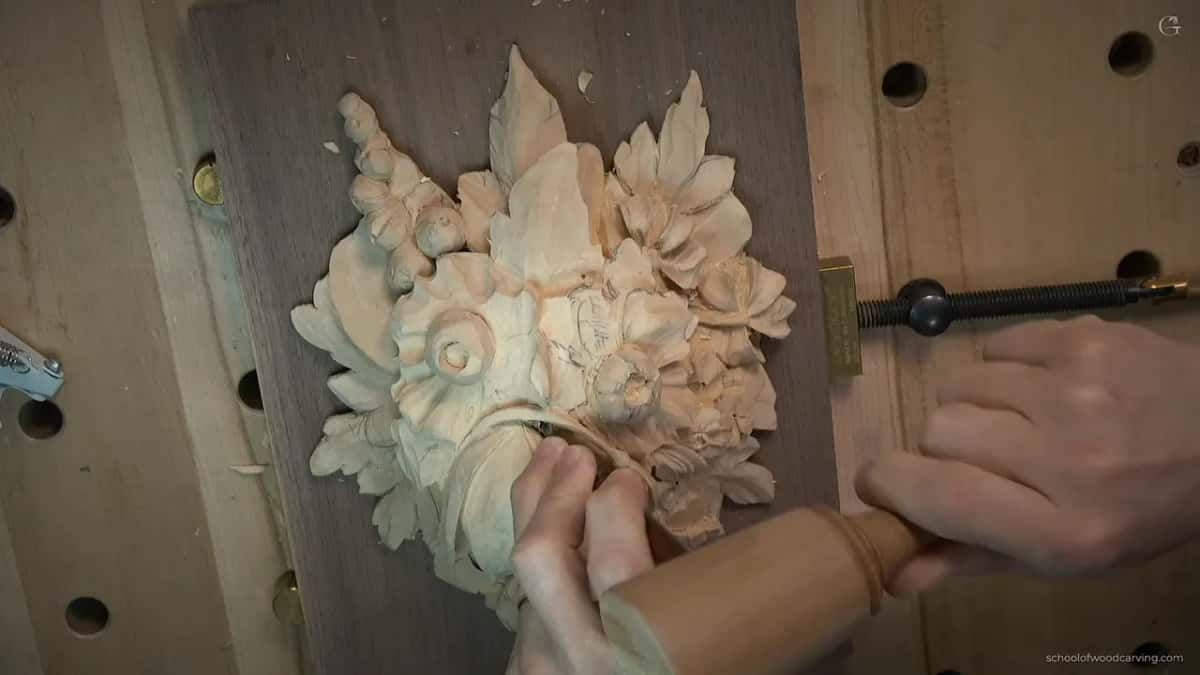
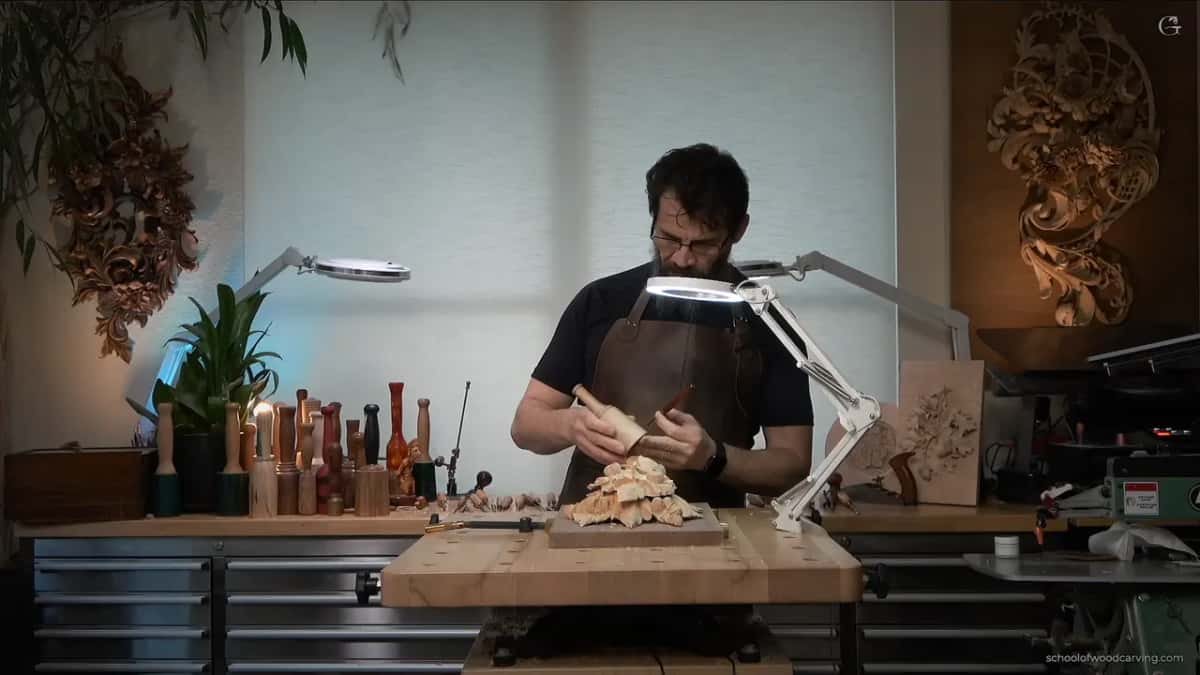
With it I outlined the petal around that round hole. My outline goes right underneath the stem that's going to my tulip, so I have to be careful. If you're going to do exactly what I do, pay attention in this section.
I went all the way through, and that opening became much bigger. From above I could see the dark spot. That's what I'm after. It just gives me an extra shadow.
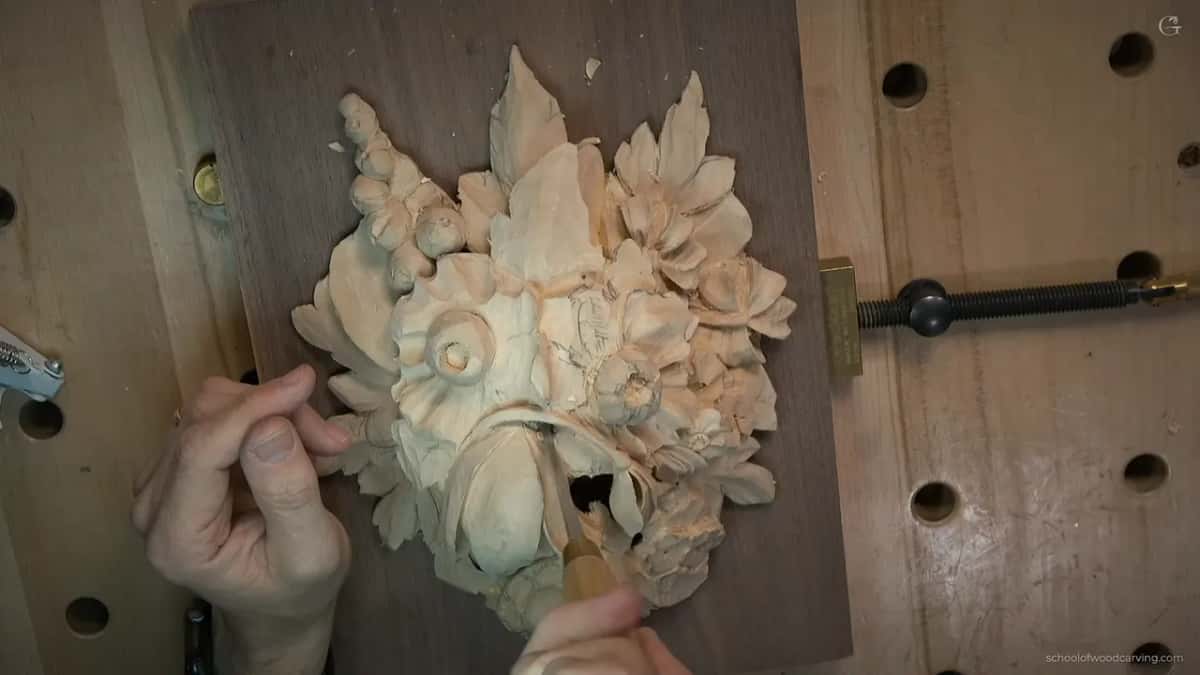
Where does the first dark spot come from?
From a plug cut. I call it that just because a small plug pops out.
My go-to tool for a plug cut is a number 9, a quarter inch. The one in this class is by Auriou, the French brand, 6 millimeters. You place the tool and turn it, almost like drilling, and I don't have to force it.
You could use a normal drill, I guess. In this case I don't see any advantage.
Once I was through, that dark hole already made some separation and gave the petal a little more depth.
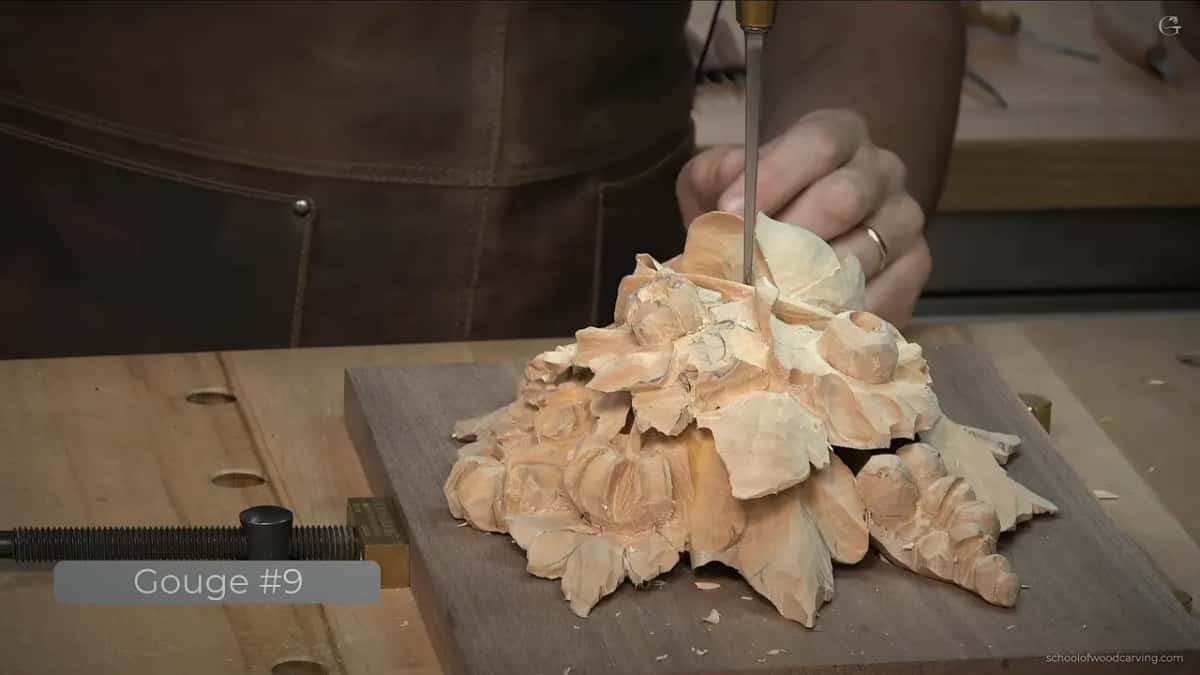
Before I started, I said I didn't need that chunk of wood right there, and that a dark spot like that is what makes it look beautiful. Later I planned another darker spot on the other side of the stem. It sounds weird, I know, making an extra dark spot. But it is what it is.
I don't like yet what I see overall. I do like the tulip, but I want to make sure it looks, I don't know, awesome. Maybe take it to the extreme. Why there's a tulip at all is the story of class 7.
Why strop before the small work?
When you're working on details and you're not planning to use any sandpaper or any other abrasive, it's always a good idea to give a couple of strokes. It doesn't have to be done every time. I strop inside and outside.
I don't use anything special to strop on, though I do have it. For me just a piece of leather is always better.
The paste is Mirror Paste by Trend. It's a really good product, and I really like it lately, I mean for the last couple of years. Green paste and blue paste are really nice too. They all do the job, but some paste is better than others. I'm not selling it.
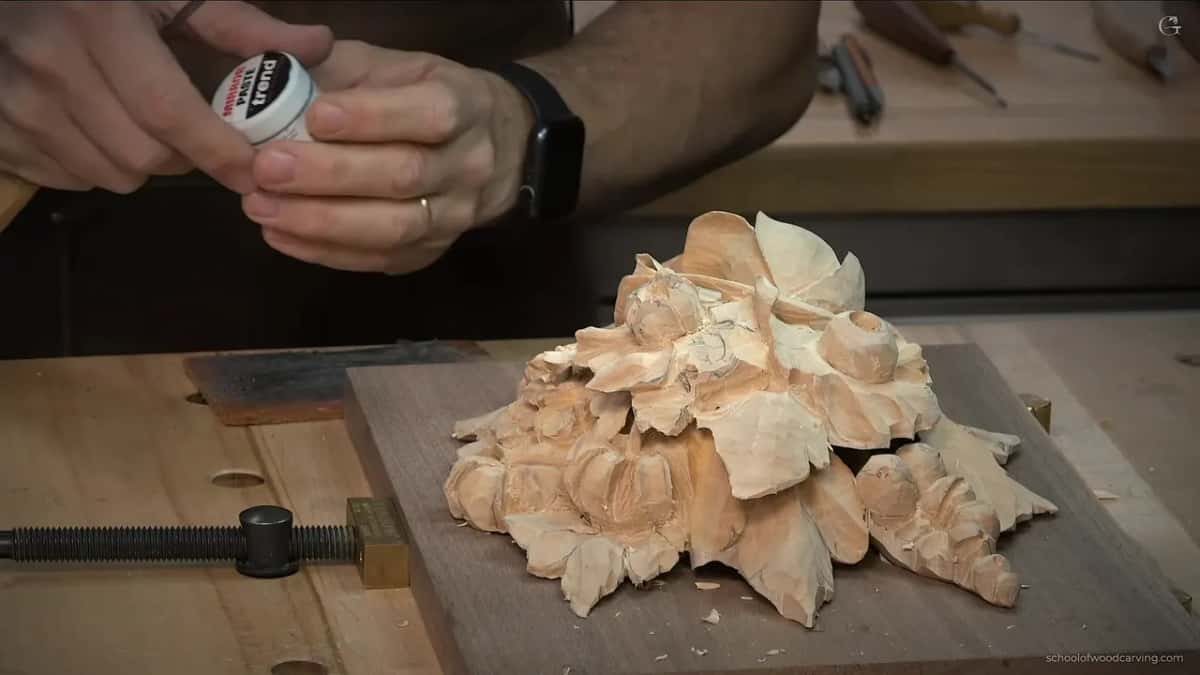
I stropped again in the second part, this time a smaller gouge, before a concave on a new petal. Not too much paste, and I pull toward myself.
Sharpening has a course of its own, carving tool sharpening, with a lesson on how to sharpen micro tools.
How do you carve a stem that floats in the air?
Slowly, in small chunks, hands off.
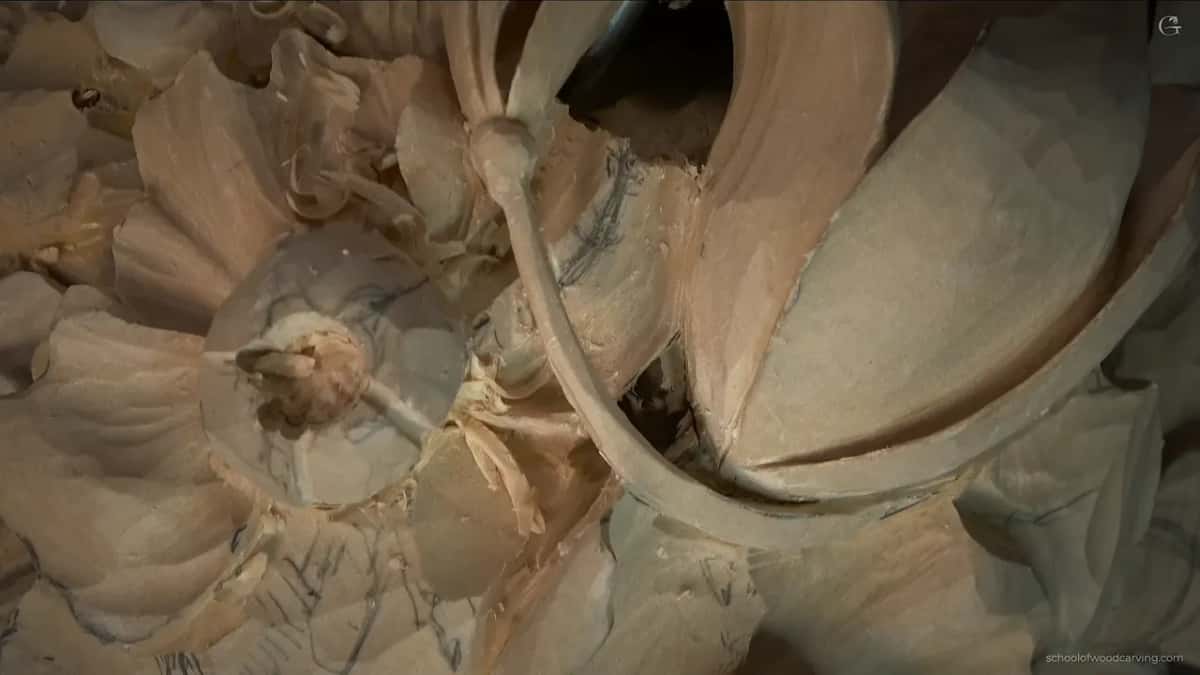
This little stem is going to float completely in the air. I know it's going to be fragile, but it gives me a beautiful shadow.
Logically, just because the grain direction runs that way, it becomes really weak. Super weak. So when you do what I do, be careful not to place your hands on it.
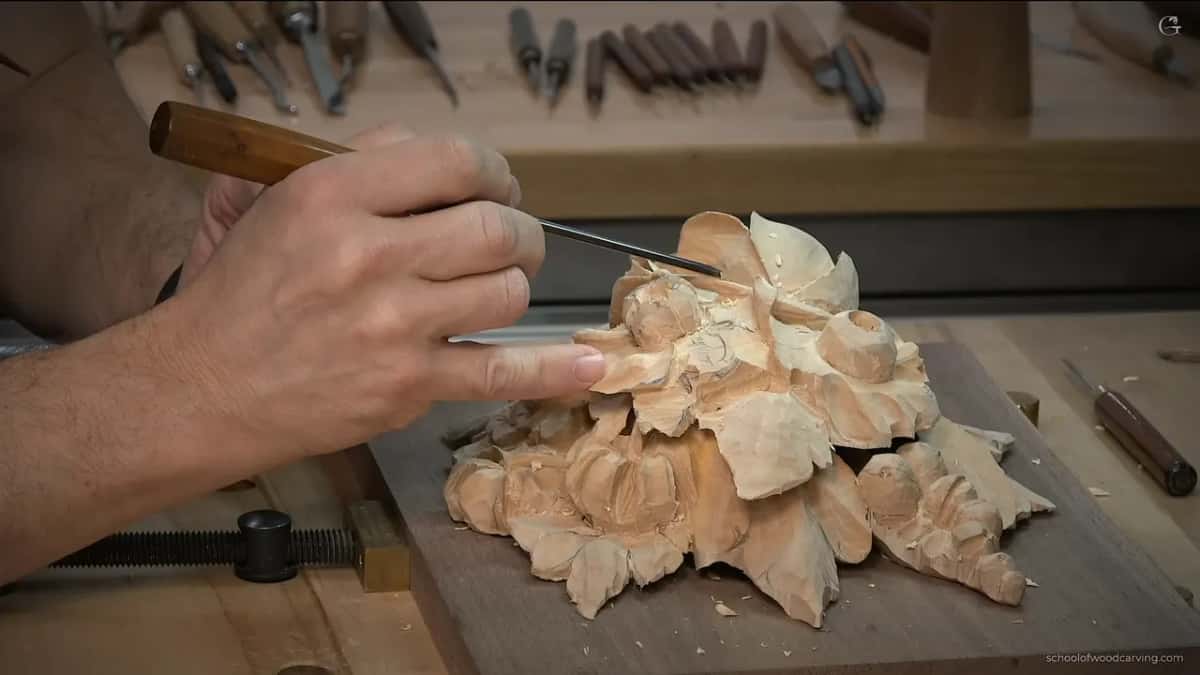
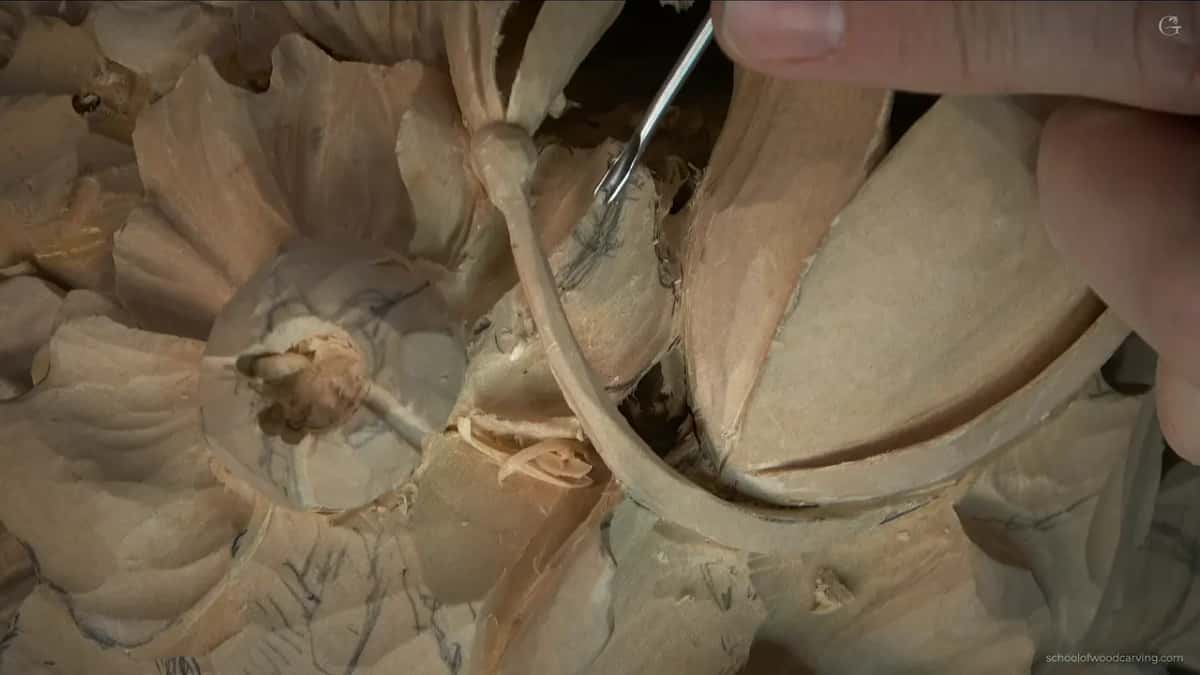
I started under it with the same number 3. The front got a number 11, 2 millimeters (5/64 in), with the flute at about one o'clock. After that the number 3 came back, upside down, to open the space below it.
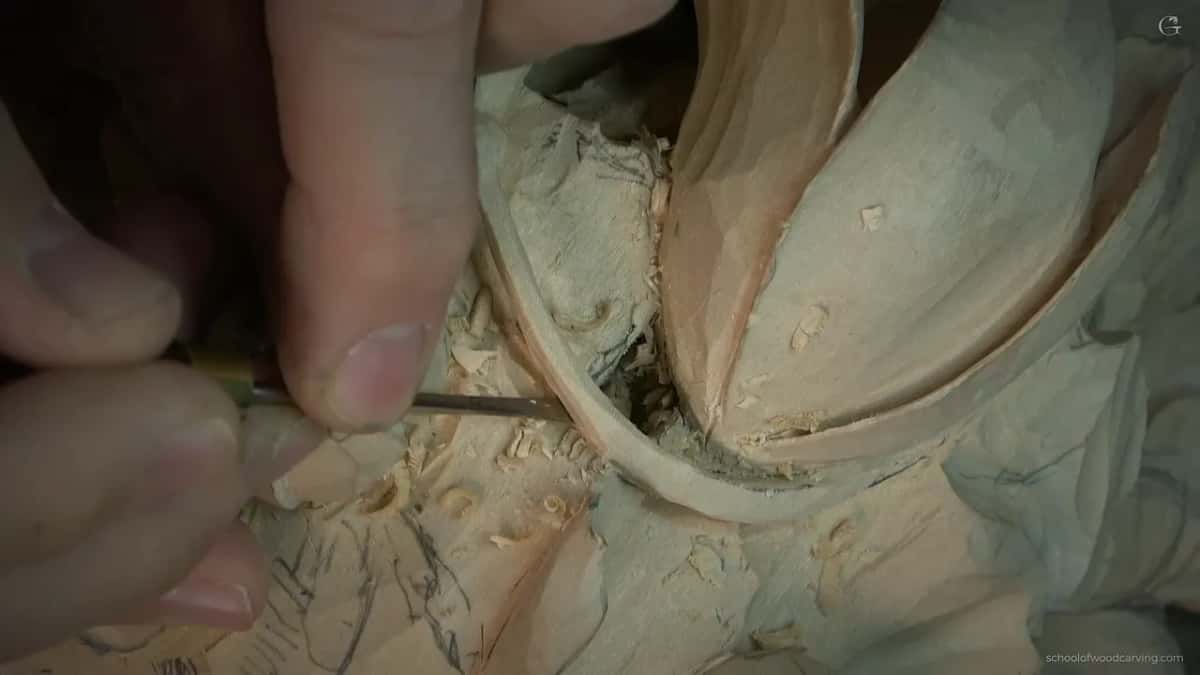
Part two went deeper with the 2 millimeter tool. I know it looks huge on the screen, but really it's only 2 millimeters. The tool is pretty much laying on my middle finger, and a finger from my other hand guides it while I take out little by little. If I push too hard, that would be a big mistake.
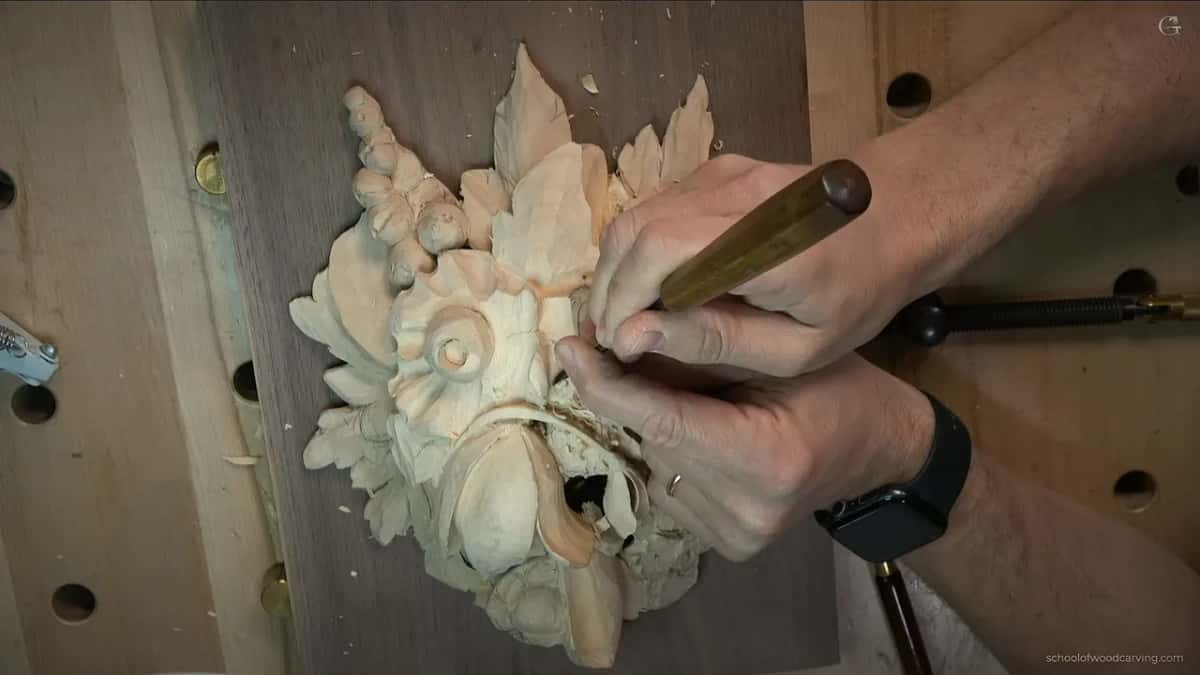
That took me all the way through, and it gives me a beautiful, beautiful shadow.
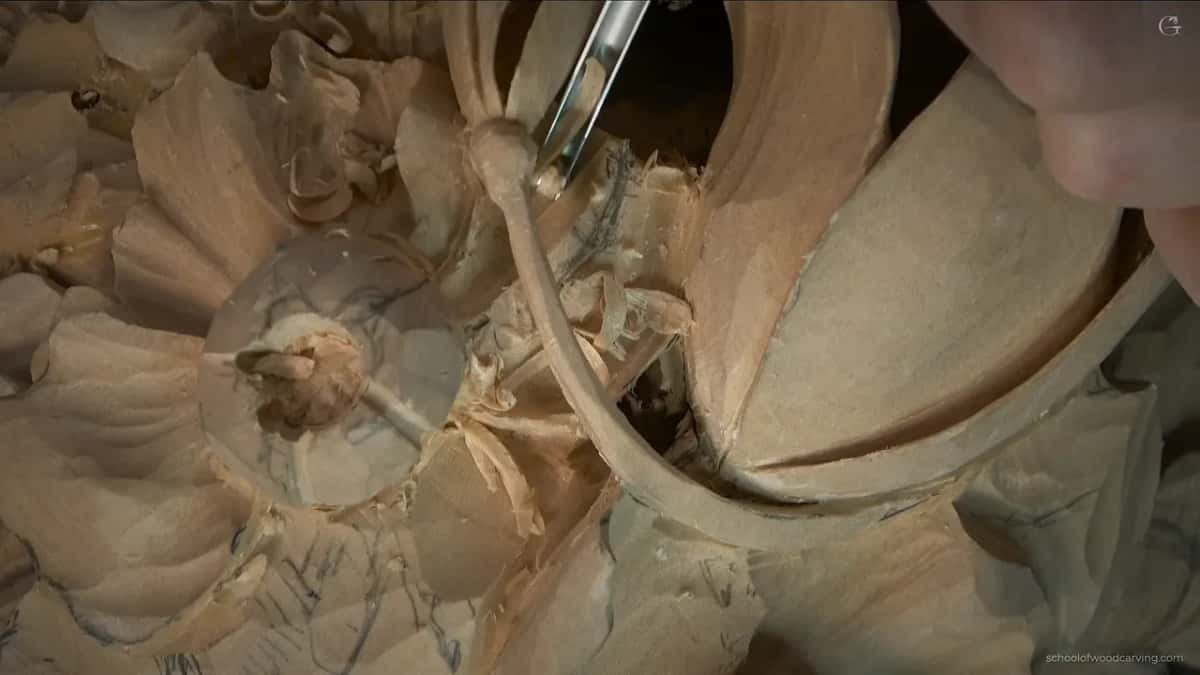
How deep can a petal drop?
On this panel, about 10 mm (3/8 in), since the wall of that petal had about that much material.
I showed it from a different point of view so you'd understand how much material I had. And that's a lot. The spot beside it had plenty too. I can drop that petal about 10 millimeters and this one 10 millimeters, and with all that material I can develop a lot more 3D look between this flower and that flower in the relief.
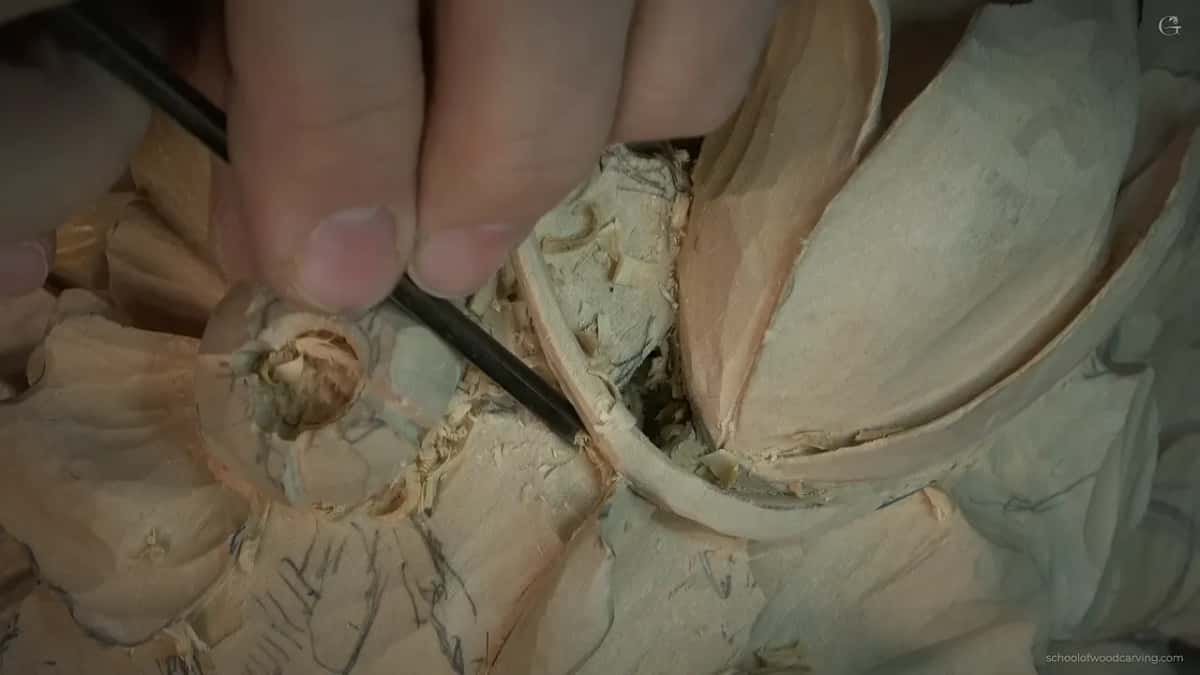
I should say how deep you should go. It matters, the depth of every petal. I have some material I can play with, so why not?
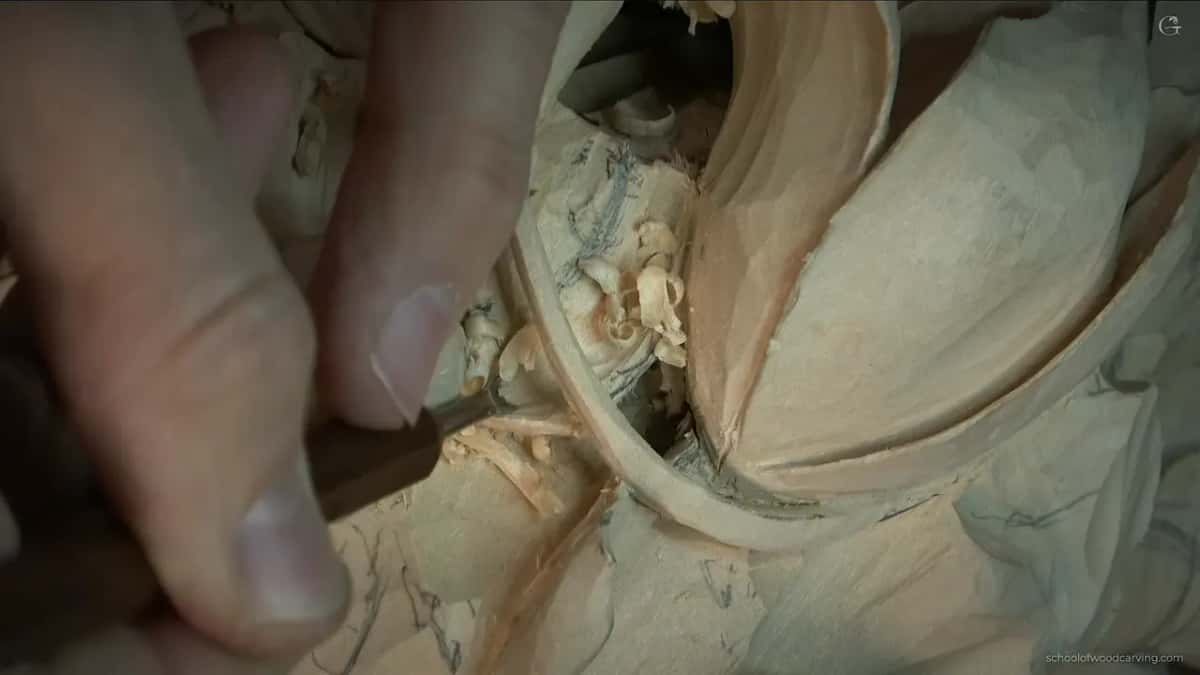
Under one petal I'll have to undercut much deeper. Right now I've got maybe about 5 millimeters (3/16 in) in there, but I could do more than that.
What does a tiny gouge head let you do?
It lets me go with the grain and then, with the same tool, against it right underneath. That was my own small number 9. For the concave of a new petal I had a 5 millimeter (3/16 in) number 11 in my hand first, then changed my mind and took that 4 millimeter (5/32 in) gouge instead. The advantage of that tool is just a really tiny head.
I wanted the edge of that petal raised up, so I took it from two sides. I'm not going to worry about how clean it looks yet. I worry about the overall shape, and this is bulging, and I'm kind of happy about it.
That stem moves when I touch it, and that's why I don't want to touch it. A normal spoon would work here too, of course. And if you don't have a tool like this, you could use a small, tiny micro tool. They're really good tools.
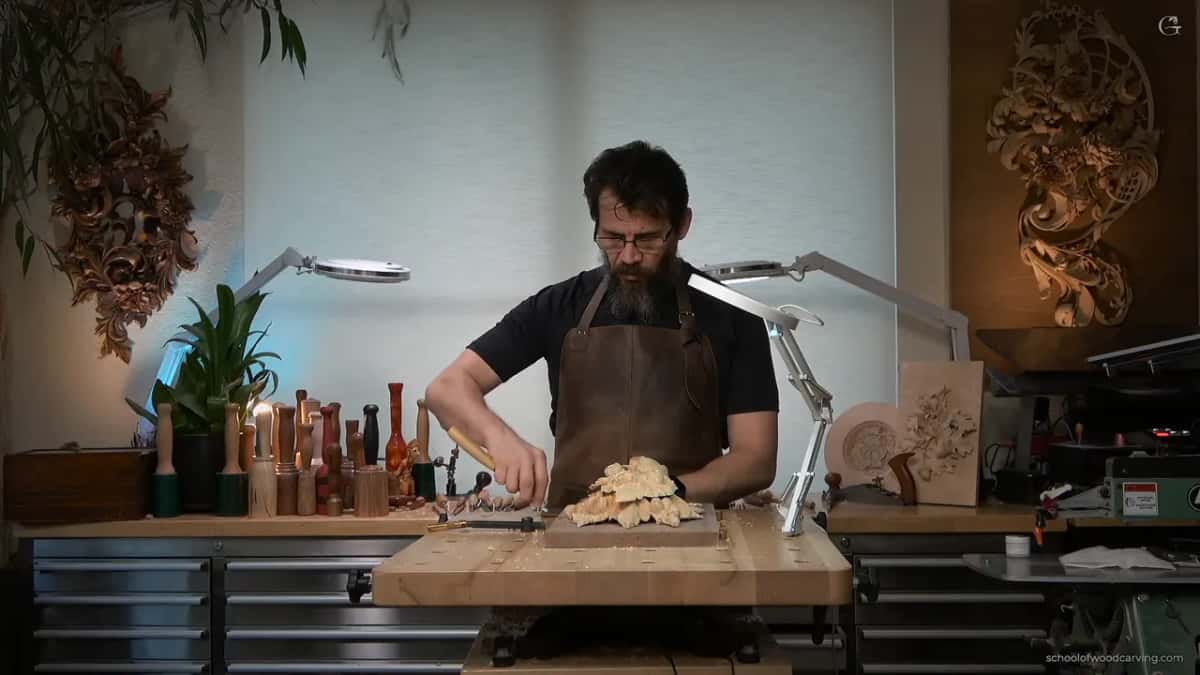
The second concave was on the other side. Somewhere in there I lost track of my tool. That's the point when you're losing your tools: take a break, walk away, and then reorganize, and get your tools in the right place. I found it, the number 9, 6 millimeters.
Which tool did which job in class 13?
Eight of the tools I named on camera, in the order they came out.
| Tool I picked up, with size | What that tool did on this one panel | My words then |
|---|---|---|
| Auriou nine, 6 mm (1/4 in) | A plug cut, turned almost like a drill | Just pops out |
| Detailing three, 3 mm (1/8 in) | Outline around the hole, with a tiny mallet | Be really careful |
| Number eleven, 2 mm (5/64 in) | Front of the stem, flute about one o'clock | Don't force it |
| Iles four, same as a three | Removed mass from the outline of the petal | Some bigger tool |
| Small nine, 4 mm (5/32 in) | Concave of a new petal, both grain directions | Really tiny head |
| Number nine again, same 6 mm | Going upward, a big chunk, not my favor | That's just preliminary |
| Ashley Iles long bent, number ten | About 10 mm (3/8 in) beneath that stem | Don't judge me |
| Marples and Sons chisel, number one | Outline of the petal edge, cleanup off camera | Really good ones |
Why a long bent gouge behind the flower?
A long bent let me reach in without touching the flowers around it.
Before it came the big chunk, with the 6 millimeter number 9, and I was working against the grain and going upward, which is not in my favor. It doesn't give a really nice result, but that is just preliminary. I want to remove a lot of material, hopefully without breaking anything.
Then the long bent, a number 10 by Ashley Iles, which is equal to a number 9 in other European brands like Lamp or Two Cherries. That is a Grinling Gibbons class, and I don't need to explain it here, probably. Some of you know better than me.
I'm working against the grain, please don't judge me. With flowers sometimes there's just no other way, there's everything in the way, a stem in the way. But see how big the excavation underneath it is, 10 millimeters or so, about 3/8 of an inch. Look at that shadow, and don't pay attention to the chips.
Is the tool more important than your hands?
Tools are important. Your hands are more important.
And you can't blame me and say, hey, it's good that you have those tools, but what about us? I carved for a long time without those tools. Even what you see behind me, I didn't have them then. Well, I had the Dockyard.
You can make a lot of tools work for you. They're like an army.
Once in this class I did it just to prove the point. When I took a number 11 for the stem, I said the number 3 I used before would get exactly the same result. It's not really about the tool selection, and sometimes you have to improvise with different tools.
Where do the micro tools go after this class?
Smaller still. In class 15 the plug in the middle of a flower is small, and I used a micro tool by Dockyard. They don't have any markings, but I know for a fact it's just about 1/16 of an inch (1.5 mm). If you do have a number 9, it's going to do the same thing.
Class 18 has a Dockyard tool again, a number 9 or number 8, about a sixteenth of an inch, a millimeter and a half. I like the micro tools by those guys, and the steel is really good, it holds the edge. Exactly as I showed before, I do a plug cut with it.
Later in that class I said that if you do have micro tools, which you probably should if you're working on those flowers, you excavate really slowly, as deep as you can. We are after that shadow.
There's a page from my Venice Room course on what micro carving tools are used for, and one from the furniture panel on the plug cut.
What does the panel look like after this class?
It has dark spots now, and just because of those dark spots it already looks much better. That makes me happier.
The parsley leaf from class 12 got a little more work too. I made a kind of pipe, excavated one part and opened it a little, so now I have plenty of shadows, right there, right underneath and right above.
The edge of the new petal was just a straight line. It's supposed to be like a clover, wavy, so you don't see just a chop when you look straight down. I also wanted a letter S curve right at the edge, but I couldn't show it, because it's almost impossible to find the angle. You don't have to do it. I like challenges sometimes, not always, but once in a while.
Later I connected my phone and flew it around the piece, because you can't come to my piece and just look. That's one of the disadvantages of the camera. I sure hope it helped.
For the outline of that edge I grabbed a chisel, a number 1 by Marples and Sons. Those are really good ones, and I really like those antiques. The cleanup happens off camera. There's no need for you to watch me removing those little things.
Next time I want to make more changes from the original, maybe a little more complex, just to show you different techniques. The next class is class 14.
Flowers are one place where you can be creative, and the page on class 1 sets that next to what I said on day one.
The whole Maine course is open with Tuition, this class and its floating stem included.
How it's done
- Strop the small tool. A couple of strokes on a piece of leather, inside and outside, when no sandpaper will follow.
- Open a dark spot with a plug cut. A number 9 a quarter inch wide (6 mm), placed and turned almost like drilling, until a small plug pops out.
- Outline with a detailing tool and a tiny mallet. Use the 3 mm (1/8 in) number 3 with little force, and take extra care where the outline passes below the stem.
- Free the stem in small chunks. The same number 3 starts underneath, the 2 millimeter 11 takes the front with its flute near one o'clock, then the number 3 comes back upside down. Hands stay off the stem.
- Drop the petals into the material you have. Use whatever material the wall of each petal has, because that depth is what gives the 3D look between two flowers.
- Raise the petal edge from two sides. A tiny 4 mm number 9 goes with the grain, then against it underneath, until the middle bulges.
- Excavate deep with a long bent. A long bent number 10 digs out the space beneath the stem without touching the flowers around it.
Frequently asked questions
Are detailing tools the same as micro tools?
Not quite, by my words. The Peter Benson collection from Ashley Iles is called detailing tools, and in the tools course I said it isn't really micro, more like mini chisels and mini gouges. The Dockyard ones from classes 15 and 18 are what I call micro tools, and they carry no markings.
Should a beginner buy a set of tiny carving gouges?
Buy them if you like and hold on to them, but I wouldn't begin with tiny tools. In the beginning of the Maine course I encouraged you not to use them. By class 13 I was using really tiny ones and said that from that stage on you'd use a lot of them.
Can you hit a detailing gouge with a mallet?
The Peter Benson ones aren't meant for mallet work. I still did, since the one Tim Yoder made for me is so small, and I said on camera it shouldn't be any problem. For an outline like that I don't need a lot of force.
What to carve next