

Alexander Grabovetskiy, woodcarver, School of Woodcarving · Published 2023
What is a plug cut in wood carving?
Quick answer: A plug cut is a number 9 gouge placed straight down where you want the wood lower, then rotated while you tap it with a mallet until a plug of wood comes loose. On my walnut furniture panel it was a much quicker way to the right depth, and when the plug flies, the bottom usually stays flat.
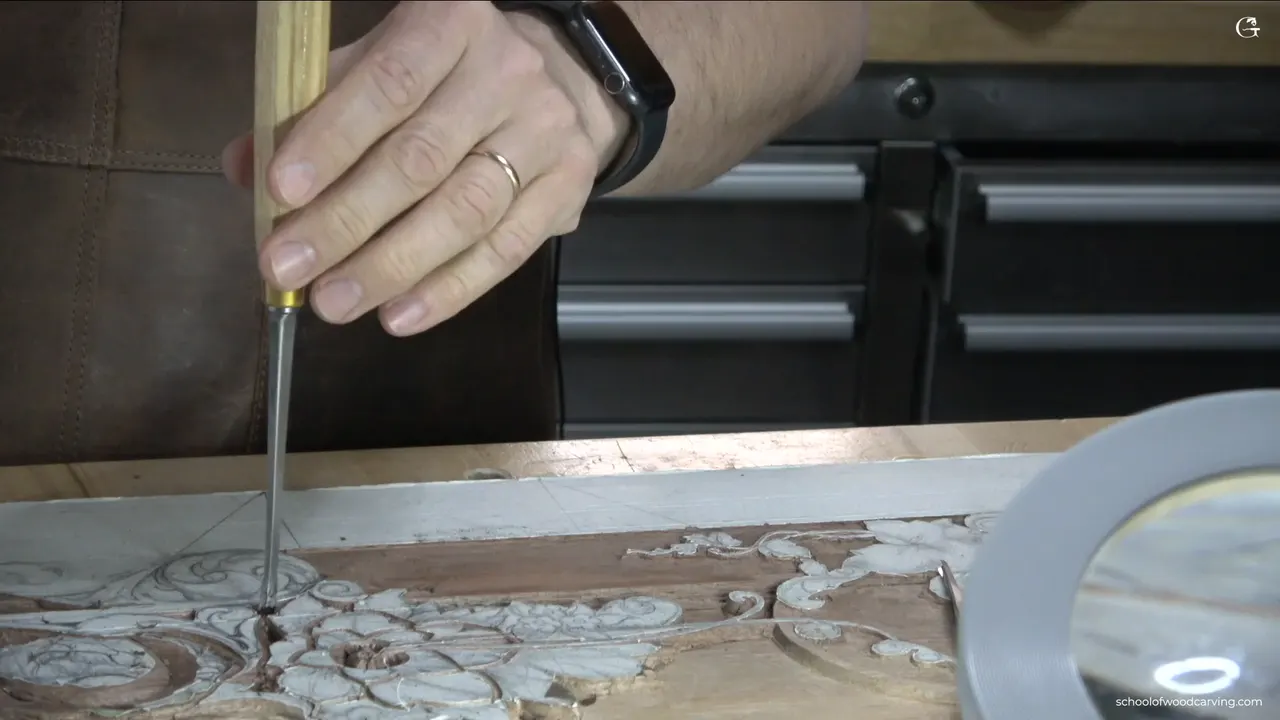
A plug cut is a number 9 gouge set straight down into the wood and turned while you hit it with a mallet, until a plug of wood comes loose. I used it in lesson 26 on my walnut furniture panel, in a spot that had to go lower than the wood around it. Some other people call that cut by different names. I call it a plug cut because I'm removing a plug. P, L, U, G.
Ever had a small spot in a carving that has to sit lower than everything near it? Did you want it as deep as it needs to be, and not deeper? This cut does that. Below you will see how I set the gouge, how far I let it go, which sizes fit, and where the same cut shows up in my other courses.
What lesson 26 shows about the plug cut
- A small number 9, 6 mm or a quarter inch, went in vertical, and I rotated it under the mallet until the plug came out.
- I stopped about level with the area beside it.
- Deeper is always possible later. Shallower is not.
- A flying plug usually leaves a flat bottom, so the depth comes out precise.
- Then my 2 mm veiner came at the hole from the sides with straight down cuts, a bit closer each time.
- Where a number 9 at 3 mm would not fit, a 2 mm one did.
- Some spots on this panel are only 0.5 mm deep.

How do you make a plug cut with a number 9?
You place the gouge straight down and rotate it while you tap the handle with the mallet. On this panel the number 11 had been taking the wood down, and I said I could just keep going that way or use a plug cut.
Any small number 9 will do. A big one isn't needed. I wanted to see if a quarter inch, 6 mm, would fit that area, and it did. So I placed my tool vertical and rotated it while I was banging on it, and it gave me a plug. Don't use too much force. That would be a big mistake.
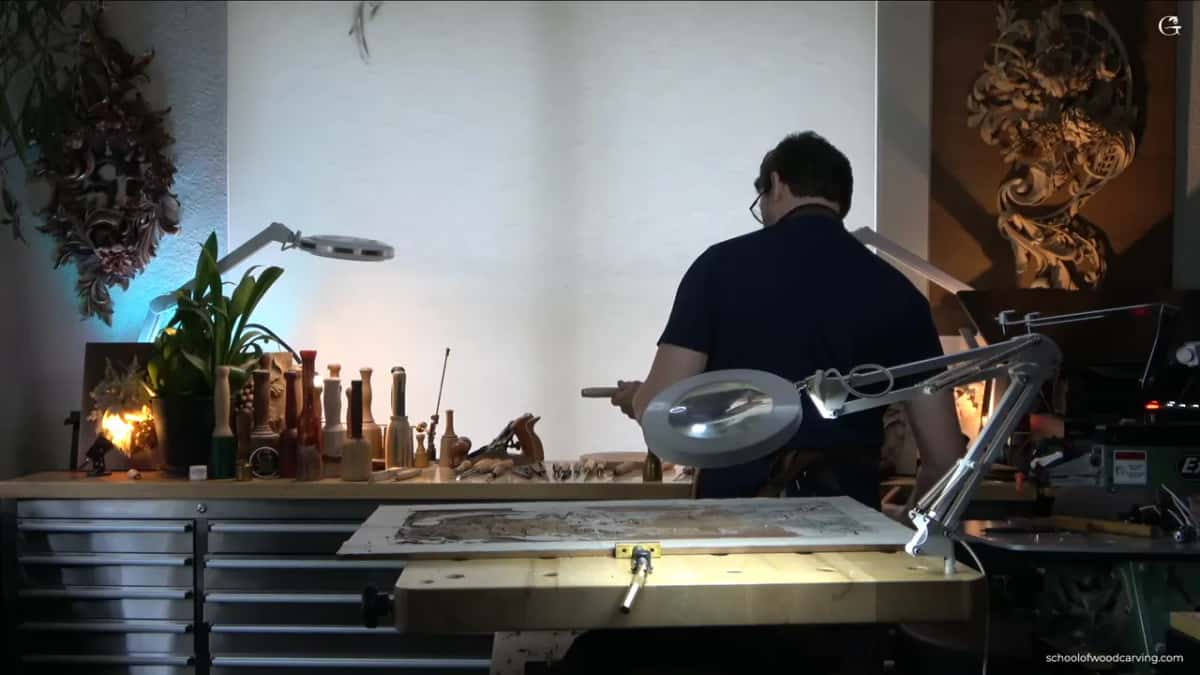
Before the next plug I checked if a full one was even possible there, and it looked like it was.
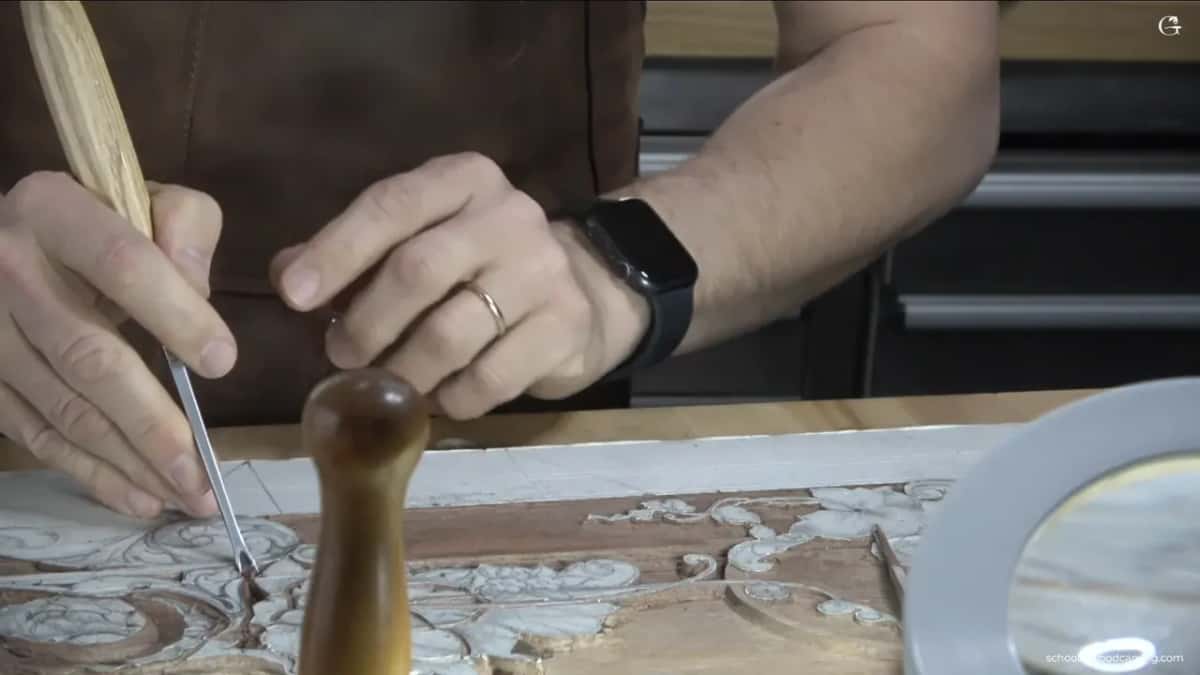
Later in the same video I made one more, in a pocket that could go as deep as the one beside it. I wanted the quarter inch number 9 again, if I could find it. Then there it was. Just go around until you feel that the plug is loose. You can usually feel it. That one flew right out.

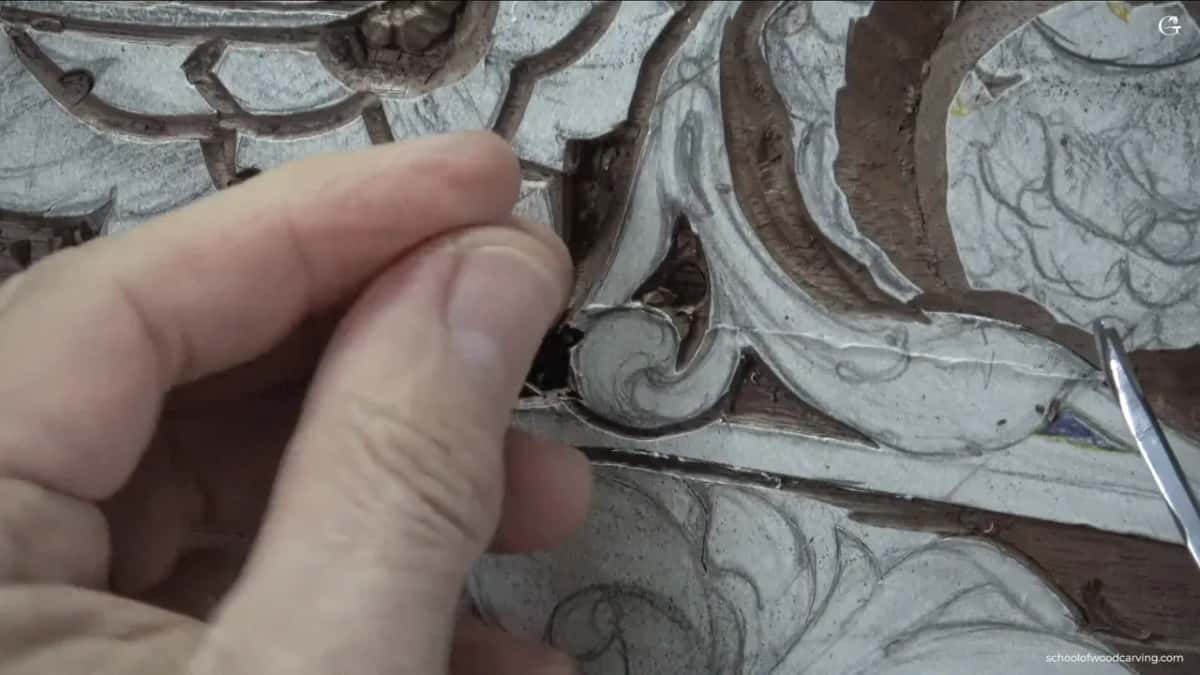
Why does a plug cut give you a precise depth?
When the plug flies, the bottom of it usually stays flat, so you can get a real precise depth. I called it an excellent technique for the right depth. It was a much quicker operation, too, than going on the way I was.
After the first plug I knew I was about at the same level as the section right beside it. If I'm not, I can always go deeper, but I cannot go shallow. At the start of the next part I said I could probably do another plug until I'm happy with the depth. But I didn't want to overdo it.

I came back to the same idea on this panel in lesson 35. I placed the tool straight down, right in the area I needed to remove, rotated it, and there was the plug. That's why I'm really safe, I said there, I'm not going to go too deep.
I put it plainer still in lesson 36. I could try to take the wood out another way, but there is a limitation when I use that technique. I found the plug cut gives me a lot more control, even over how sharp the edge is going to look.
Which gouge sizes fit a plug cut?
Whatever number 9 fits the spot. On this panel the 6 mm one fit the first area. In the second video I came to the deepest spot of a double line and took a number 9 at 3 mm, one eighth of an inch. I could use even smaller, I said, but let me try this one. Nope. Three millimeters was too big, so I went down to 2 mm for that plug.
I was careful there. I didn't want to damage the outline of those movements or go too deep, because that spot is supposed to be about the same depth as the area next to it.

The tool for this is the number 9, not the number 11. In workshop 48 of the Venice Room course I said the number 9 is a true half round, so I can make a really nice rotation motion with it. Rotation cuts and plug cuts don't work with a number 11, because a number 11 is a shape like U, the letter U.
I held that same U up to the camera in lesson 26. Used the normal way, its flute is up, at 12 o'clock. Lay it on its side and use just the side of it, and it becomes a flat tool. I cleaned up with those wings as if they were a number 3.

What do you do after the plug comes out?
You come at the hole from the sides. I grabbed my previous tool, number 11, then got to the plug cut from the side, straight down, but a little closer. Usually it gives me a really good result, and I can always clean it.
Next I went after the edges with a straighter tool, a number 3 at 12 mm, about half an inch. I put it straight on a really important line. I didn't force it, because I can always go back and clean it.

I kept the same order later on this panel. In lesson 31 I made multiple plug cuts using a number 9 and a mallet, 90 degrees down, staying about one millimeter, maybe one and a half, away from the detail itself. Everything goes to the same hole, to the same plug cut. If you watch other segments, you know that I really like that plug cut.
The Venice Room lesson put it this way. Once the plug is out, all of my other cuts can go over it, from all of the sides, right to that hole. Not everyone does it like that.
How is this plug cut different from the one in the floral course?
Here it stops at a depth. Lesson 1 of Carving Floral and Molding for the Panel has a number 9 go in, rotate, and lift the plug out, and you repeat until you are through the board. That same course has me in lesson 13 holding a tiny tool straight, 90 degrees to the surface, to open the center of a small flower. If the plug doesn't pop out right away, I said, don't worry.
Lesson 26 sends nothing through. The board is the same walnut from Designing Furniture Panel 1, more like a purple color, and only 10 mm (3/8 in) thick. The plug only has to bring one small pocket down to the level beside it. In lesson 31 I put it like this. I must be careful there not to go all the way to the background.
Between the floral course and this panel, what changes is where you stop. I showed the same cut to the class in Maine, in class 2 of the Grinling Gibbons course.
Where does the plug cut fit in the order of work?
After the outline. That step is really important for me, outlining first before I do anything.
My outline was a number 11 at 2 mm, which is a veiner, another name for it. It doesn't have to be a number 11, and the size could be 3 mm or 1 mm just as well. A mallet always gives you better control, I said.

Then the triangles. My pass goes from one point right to the next, and then I attack the triangle that's left. I don't want to go in and out. I guess you could, but I think it's safer for me to go to that point first and then relieve the triangle.
With the flute to the left, at about 10 o'clock, I could clean that area right away without changing the tool. It looked a little rough, so I took a spoon gouge, a number 3, and cleaned inside. Perfect isn't needed, I said. It was all right.
Next to one spot I had a pretty deep area, so I could go as deep there and exaggerate that section for a more three-dimensional look. A router plane isn't necessary in such a small area. Just eyeballing it gets me pretty close. We are after the shadows, because wood carving is pretty much all about the shadows, lights and the shadows.

One warning from that part. I was careful not to undercut it there, because if I turn the tool and just go underneath that element, that's bad. It is not a good idea.
Why use such a small mallet, so gently?
Small and not too heavy is best here, and I have more than one mallet of this kind. I usually don't like to use them. I used one just to prove the point that it is possible.
The way you place it matters. You don't hold it out and bang with it, because you're going to destroy the end of a gouge. You place it inside your palm and use it little by little.
It's a little noisy. If it bugs you, you can always turn the volume down. That is actually why I don't use mallets too much, because of the noise.
Can you round a stem in half a millimeter of wood?
You can, little by little, with one tool doing the bulk of it. On the second video I moved to a small stem. First the waste beside it had to go, with straight down cuts from the same veiner, until I got to about the line I was after.
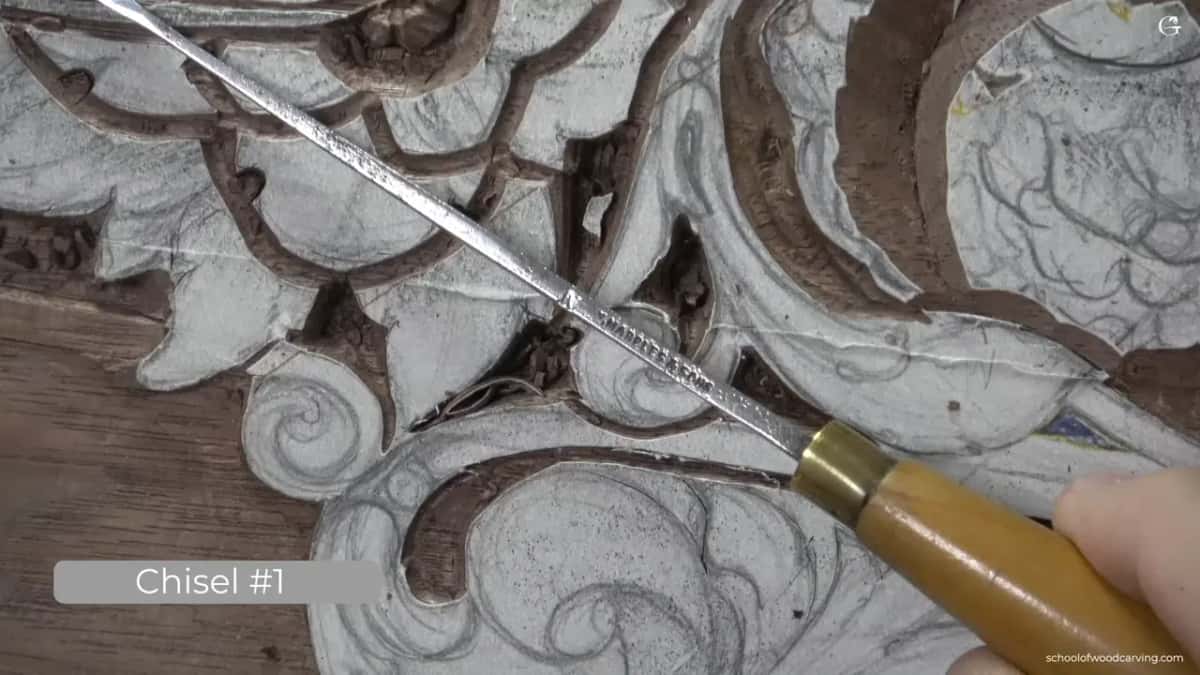
Then the shape. I took a number one with a double bevel, one eighth of an inch, and made multiple chamfer cuts. Slightly in from one side, then back from the other, then I blended them, because overall it's supposed to be round. One tool can do a lot of stuff.

That's what I like about furniture style carving. It's really shallow, but you're still able to do beautiful stuff. Right there it was only a half millimeter, so I couldn't go deep, and I did not go past that. Going deeper there is a big mistake. Back in the first video, on the molding overlap, I outlined with a German tool I love, a number 11 at 2 mm, and went no more than 0.5 mm.
I also broke a rule. I went a little the wrong way, against the direction of the grain. With walnut it's all right, walnut is a little more forgiving in this case. Some other woods make that a really big mistake. Otherwise it's always better to carve with the grain, which here meant going downhill.
What shape should the eye and the concave take?
Like a drop of water. From the eye, which is what we call this area, I rolled and blended the line a little underneath, carefully, so the side next to it feels like it's raised up.
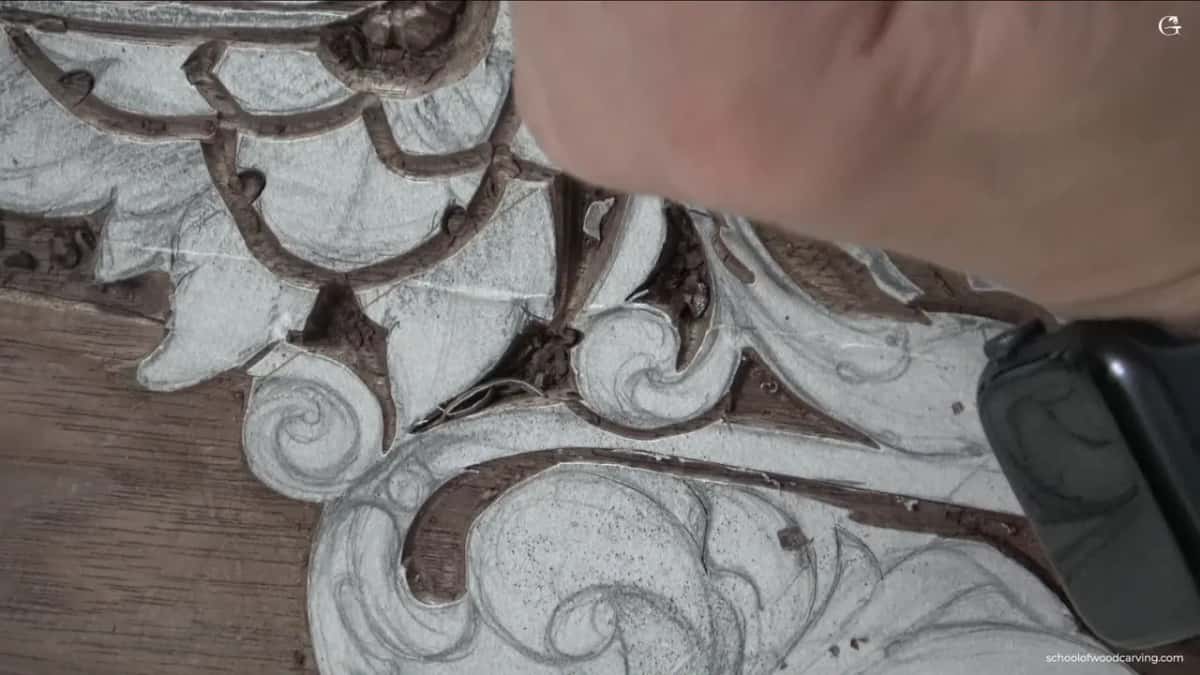
The concave came next. It doesn't start at the point. A big mistake, I said, because it's not going to be accurate to the historical way. I started it a little way along and ran it to the end, then blended it. Some kind of bump in one area and a concave going the other way, that's how it's done historically, I said.

My first pass had the flute at about 12 o'clock. After that I rotated it to the left to take off what was left sharp, and even used the same tool as a straight tool for blending cuts. I really wanted it to catch the light and make the right shadow.
For more blending I used a back bent gouge to round the whole thing and get rid of the facets I didn't want. The deepest spot is right underneath the overlap, and I undercut there slightly with the mallet.

A bigger number 3, 12 mm, about half an inch or a little less, blended it better. A number 4 or a number 5 would work too.

Did that double line need to be so complicated?
I asked myself that on camera. Before the plug cut I even said I had no idea what that movement was. Why did I design that? I have no idea, I said. I think I made it overcomplicated myself, but not really. I mean, it's going to look good. The drawing came from my own design course.
A V tool would work there too, why not, I said. I outlined it with a small number 16 at 35. I said millimeters first and then fixed it, not millimeters, degrees, 35 degrees.
The last video brought the number 16 back for a separation. They really didn't use V tools in some of the countries back then, I said, but that's okay. I set the flute a little to the left, so one side would be about 90 degrees to that movement, and went just half a millimeter deep. That's all I needed.
When does the router plane come out?
Late, after the gouges, in the last video. Early in that video I had said I don't have to use it, but sometimes it's helpful. In went a quarter inch blade, which is 6 mm. It takes only a couple of seconds to set up now, so why not.
First I find the deepest spot. Then I raised the blade a little, to not take too much.

Don't push it straight. I hold one handle, in my case the left one, and push carefully at almost 45 degrees. A straight push can catch the grain, and then it's going to split. I attack with the corner of the blade, and when I get close, I just let it go. I don't need to force anything.
Two areas met in a step that wasn't really straight, which is absolutely fine. A straight chisel, a number one at 14 mm, a little over 1/2 inch, cut it down on the line. For the rest of that element I changed to a smaller blade, 1/16 inch, about a millimeter and a half, and got the same depth as the other side.

It just gives me perfect depth, I said on camera. Wikipedia's article on the router plane says much the same, that it planes the bottoms of recesses to a uniform depth. I leaned on it in lesson 17 of Part 2 too, for the same depth everywhere on the background. One tool was still too big for a tight part here, and there, pretty much I have to use the micro tools.
What takes the paper pattern off the wood?
Mineral spirit will do it, or any alcohol. Your fingers get a lot of it off, and I also grabbed a utility knife blade and scraped a little. I do have some small scrapers, but a knife blade is good. Use just the side of it or the whole blade, and you can make a hook on it the same way you would on a normal scraper, then blend everything.
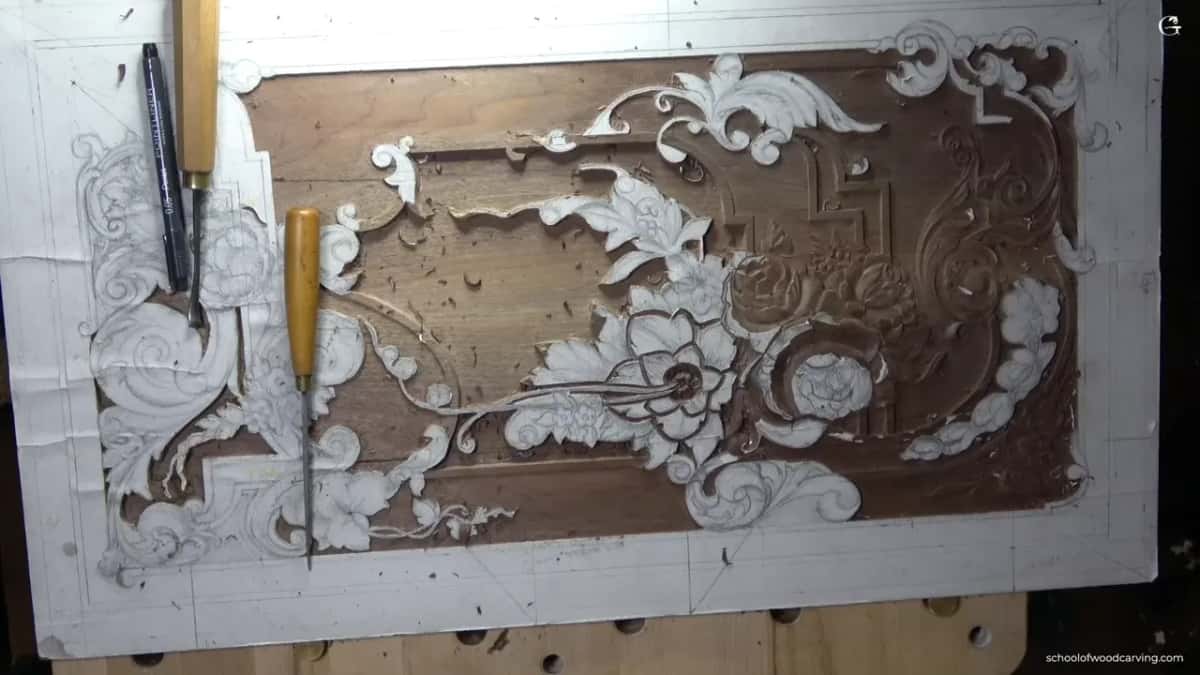
There was a step left, so I picked up a number 3 spoon gouge and blended it downhill until it disappeared. I scraped it with the blade again after that. If you are in furniture making, you know what I'm talking about, the hook and the scrapers. I kept on until I didn't really see any transition.

Some of it was still ragged. I'll take care of it with the magnifier glass, I said, which was away from me for now. That's enough for today. But it still bugged me. I tried a number 3, which was too big, and went to a number 2. Better, but still not there yet. And it was pouring rain outside at the end, so you can probably hear it.
Why did this lesson take so long to come out?
This panel isn't a project I'm doing for a customer. It's just for the school, and that is why it kind of takes long. I asked you to forgive me at the start of the lesson. I had just shipped a big project away, and then I could jump back and keep going on this panel.
This first lesson of Carving Furniture Panel, Part 3 picks up the same panel where Part 2 stopped, after lesson 25. Lesson 27 comes next. Every lesson of it is open to you through Tuition.
| Spot | My move there | Tool |
|---|---|---|
| The first pocket | Set it straight down and turned it as I tapped | Quarter inch number 9 |
| Walls around it | Came in sideways to it, straight down, closer and closer | Two millimeter number 11 |
| That important line | Put it right on the line and did not force it | Number 3, 12 mm |
| One more pocket | Went around until the plug went loose and flew out | Same 6 mm gouge |
| Deepest double line | A 3 mm one would not go in there, so smaller | Smaller 2 mm number 9 |
| The molding overlap | No deeper than a half millimeter, just a little bit | German number 11, 2 mm |
Have a spot that has to sit lower than the rest? Want it no deeper than it should be? Set a number 9 straight down, turn it as you tap, and let the plug come out.
How it's done
- Outline the spot first. Go around the lines with a narrow veiner, a 2 mm number 11 on my panel, before anything else comes out. The mallet gives you better control.
- Choose a number 9 that fits. Small is fine. Mine was 6 mm (1/4 in), and in a tighter spot a 2 mm one, after a 3 mm turned out too big.
- Set it vertical and rotate it. Turn the gouge as you tap the handle. Don't use too much force.
- Lift the plug and check the level. Compare the floor of the hole with the wood beside it. Another plug can take it deeper, but nothing brings it back up.
- Work toward the hole. Use the number 11 again, then a flatter number 3 on the important line, without forcing it.
- Carry the depth with a router plane. Set the blade on the deepest spot, hold one handle and push at about 45 degrees with the corner of the blade.
Frequently asked questions
Can a number 11 make a plug cut?
A number 11 won't do it. Its shape is like the letter U, as I explained in workshop 48 of the Venice Room course, and that shape will not turn a plug loose. The number 9 is a half round, so it rotates nicely in the wood.
What if the plug won't come out?
Keep going around under the mallet until you feel the plug get loose, and most of the time you can feel it. Pushing too hard there is the mistake to avoid. I said the same in the floral course about a flower center. If it does not pop out right away, don't worry.
How deep should the first plug go?
About level with the area right beside it, and not past that. Another plug can always take you lower, but once the wood is gone you can't go back up. On my walnut panel a few spots were less than a millimeter deep, so I checked the level before I went on.
What to carve next