

Alexander Grabovetskiy, woodcarver, School of Woodcarving · Published 2024
Does a bigger gouge do the same job faster?
Quick answer: A bigger gouge is faster at the same job, as long as it fits the spot. On my walnut panel a micro tool by Dockyard made one careful pass. Then an Ashley Iles number 8, about an inch (25 mm) wide, shaped the next hollow in a couple of strokes. One slightly too big can damage a detail.
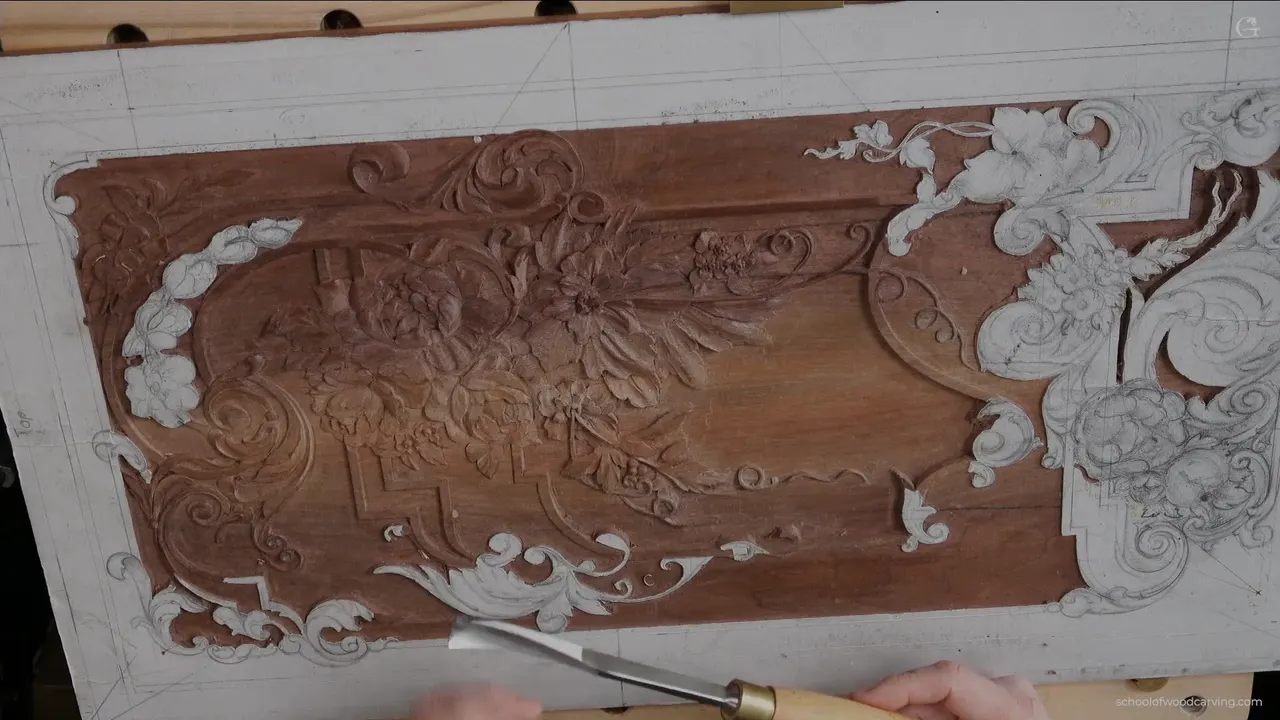
A bigger gouge is the quicker tool for the same kind of hollow, if it fits the spot. On my walnut furniture panel, in lesson 35, I went down once with a micro gouge. Next I picked up a much wider one, and in a couple of passes the next hollow was already shaped.
Do you want your carving to go faster? And clean, too, when you get there? Then the size of the gouge in your hand matters, and so does the way you hold it.
This is lesson 35 of Carving Furniture Panel, Part 3, three videos on one section of acanthus movements with volutes and flip overs. Below you will find the big tool next to the small one, the spots where I still needed small tools, and what I said about the same choice on other projects.
What happened on this section, in six lines
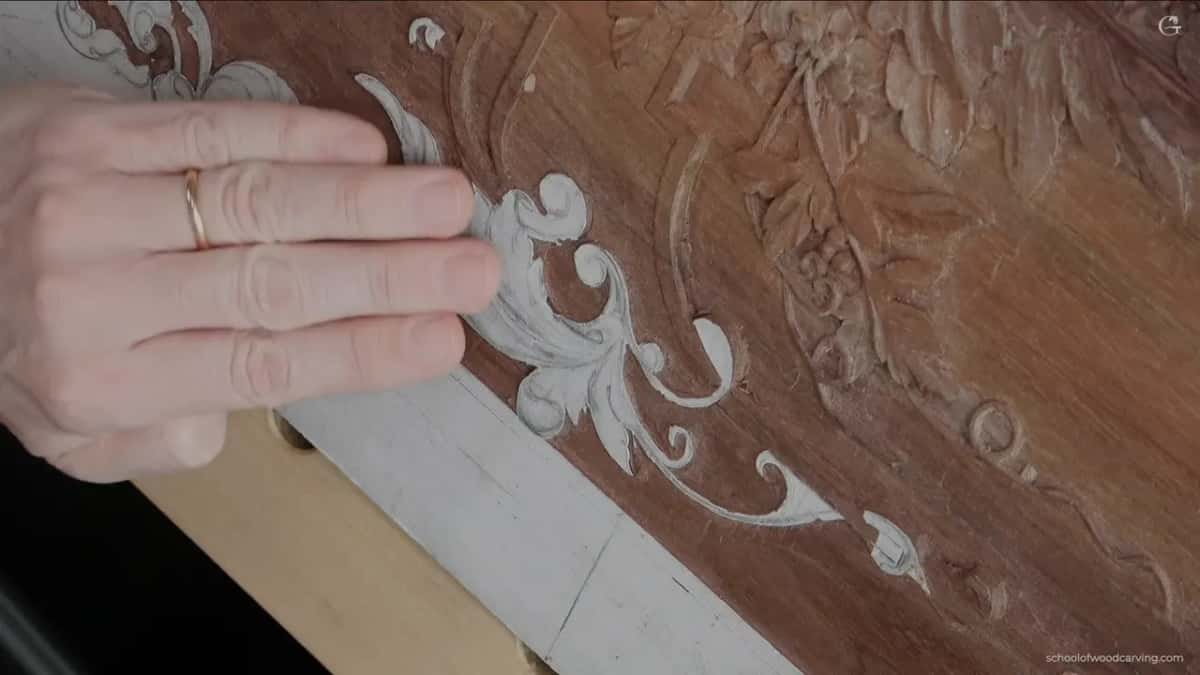
- The micro tool took a single slow pass, and a huge number 8 shaped the next hollow much quicker.
- The cut under the flipping motion still needed an older German veiner.
- My number 3 was a little too wide and nicked the bottom of a detail, and I could still clean it.
- Presenting the gouge at 45 degrees, not 90, slices cleaner.
- Each gouge pass left one side clean and one rough, so I turned the other way.
- A wider flat gouge, 16 mm, left a really good, clean result at the end.
Does a big gouge really get there faster?
On this section it did. The area for the day had acanthus movements with volutes and a couple of flip overs, where one part goes below another part. I started from those two sections, so I would not mess up the overall.
Tool number one was a micro gouge by Dockyard. A number 8 or a number 9, it doesn't matter, because there is absolutely zero marking on it.
I said I could show you a different approach. First I made one cut with the micro tool, careful, just going down.

The different approach was a bigger tool. I thought of a number 7 or so, then took a number 8 by Ashley Iles, a huge one, about an inch or so, roughly 25 mm. Because it's so big, it gives me a chance to do it much quicker.
The company says on its own site that it started in Sheffield, England, in 1948, and that it is still family run.
And it was quick. You can see it's already shaped. The only difference between the small tool and the big one is that with the big one it takes just a couple of cuts and it's already done, except for one thing. I still had to cut underneath that flipping motion.
What did the big gouge leave for other tools?
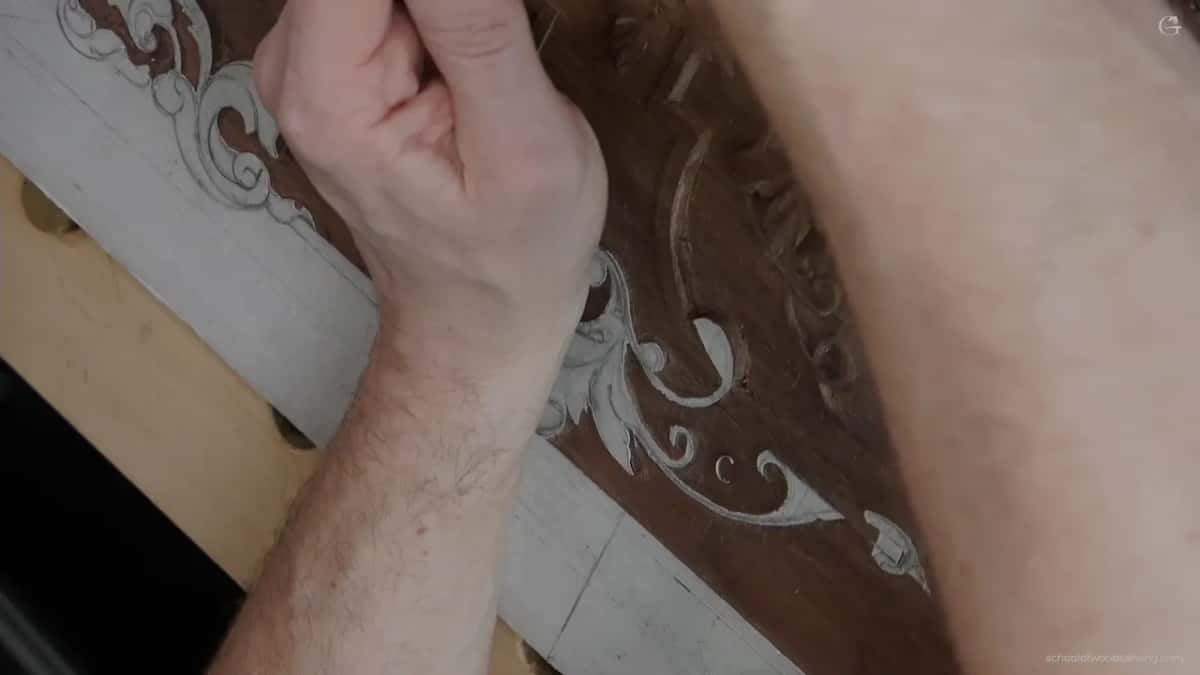
The cut underneath the flipping motion. For that I went back to a number 11, an older tool, a German one.
Pay attention to how I hold it. The flute is up at the beginning, and by the end of the cut it has turned to about 10 o'clock or so. I don't want to make too many stripes in there, I want it to just glance nicely, and then I undercut it slightly.
It's all about the shadows. All about the shadows.

The same veiner, 2.5 mm (about 3/32 in), outlined the next part. A flatter tool made the downhill movement and blended it in. I used a number 3, but a number 2 will work, a number 4 will work, pretty much any flatter gouge.
On one part I undercut right away with that number 11, as I did on the previous one, and then took it downhill, just rolling it. I even said sorry on camera for mumbling that day.
You could, by the way, just use a knife and blend everything. Knife is just such a wonderful tool.
Is a bigger gouge always the better choice?
Not always, and I have said so on other projects too. On the Venice Room, in workshop 33, a tool was probably a little too big to go on with my cut, so I cleaned a little from the opposite direction. Still, you could see how clean the cut was, because I was using a bigger one.
I don't have to use a bigger tool, I said there. It's not the only way, and I could get exactly the same result with much smaller tools. But if you have a bigger tool, it's always an advantage. You get there much quicker and much cleaner.
On the lily box, in workshop 7, there were small, tiny details, and a bigger gouge did not feel safe. If I can use bigger tools, if it's safe, it's always quicker, I said. But only if it's safe. I went smaller instead, to a number 5 at a quarter inch.
For Acanthus over Moldings 7 I reached for a bigger one to lower a leaf, a number 11 at 7 mm (about 9/32 in). And that cut was obviously clean. It's a good idea, I told you there, to have bigger tools first.
In the techniques course there is a Q and A from a class in Maine, Big tools vs small, where I told the students to take the bigger tool first, a medium one if they need it, and the smallest only for the details. This panel says it more than once. In lesson 23 a one inch number 6 cleared the wood around a big flower, and I told you buying one is only a plus, not a must.
When is a gouge too big for the spot?
When it hit the detail beside it, in my case. During part two I was blending with a quarter inch number 3, 6 mm, used upside down. The tool was slightly, a little too big, and I damaged a little bit at the bottom of that detail.
Which is okay. I'm still going to be able to clean that. Some kind of flatter spoon gouge, a number 3 or so, can work its way in and make that movement downhill. After that the same number 3 attacked the opposite side.

Later one part was sitting too high, so I lowered it with a bigger veiner, 5 mm (3/16 in). Just one side of it did the work, the flute at 10 or so, and I wanted it pretty low.
At what angle should the gouge meet the line?
About 45 degrees to the surface, pointed toward the line. One of the mistakes I think most carvers make is to present the tool at about 90 degrees when there is a line, and that's not the right way.

If you want a really accurate cut, present your tool at 45. That way you are going to slice it a lot cleaner and nicer.
A gouge, as Wikipedia puts it in its article on the chisel, is a type of chisel that serves to carve small pieces from the material. The one in my hand there was that same quarter inch tool, upside down for the blending.
Why is one side of a gouge cut rough?
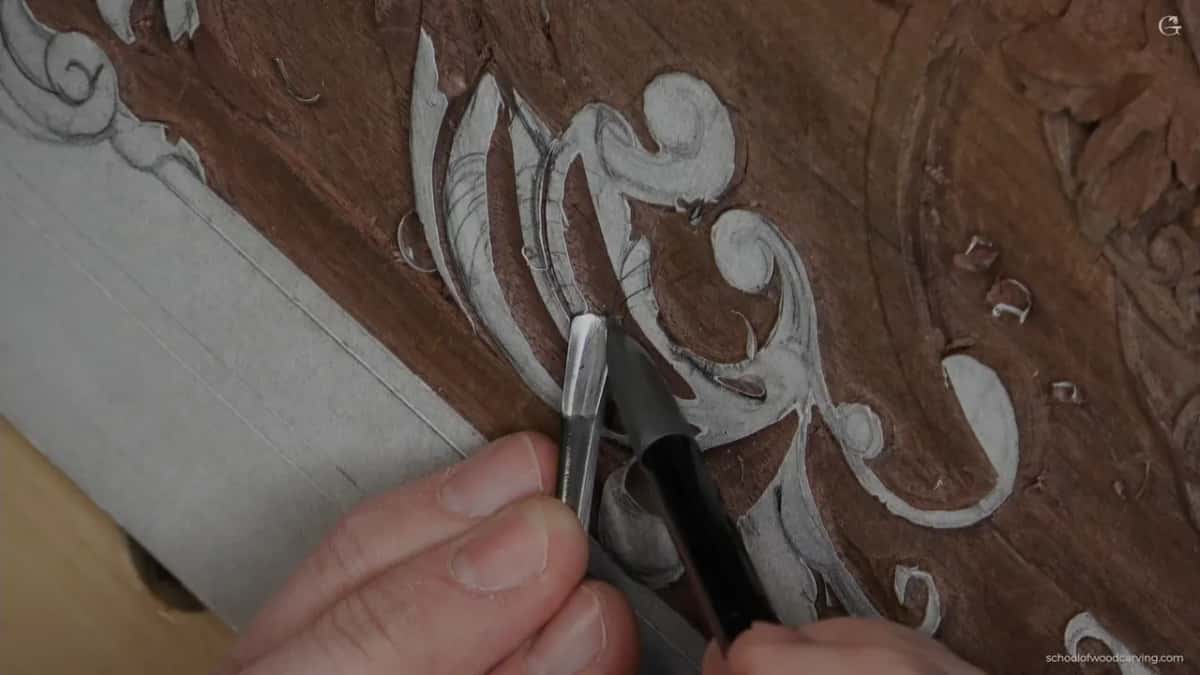
Every time I make a cut with a gouge, one side comes out clean and the other side rough. In my case the clean one was with the grain, on the right hand side.
Before that I picked a big number 11, about 10 mm (3/8 in), and started each pass from almost nothing with the flute up. I really had to control it. Too deep in that area, and I would destroy a detail I had not carved yet.

Since one side comes out rough, I turned this way. That pass started at nothing and ended at the full depth, and then I made a second one.

Those two spots were the deepest ones. Next, I outlined another part with the flute at about 2 o'clock on the clock face, or, if you're in Europe, 14 o'clock. On a 24-hour clock, 14:00 is the same as 2 p.m. I didn't go deeper than the background there.
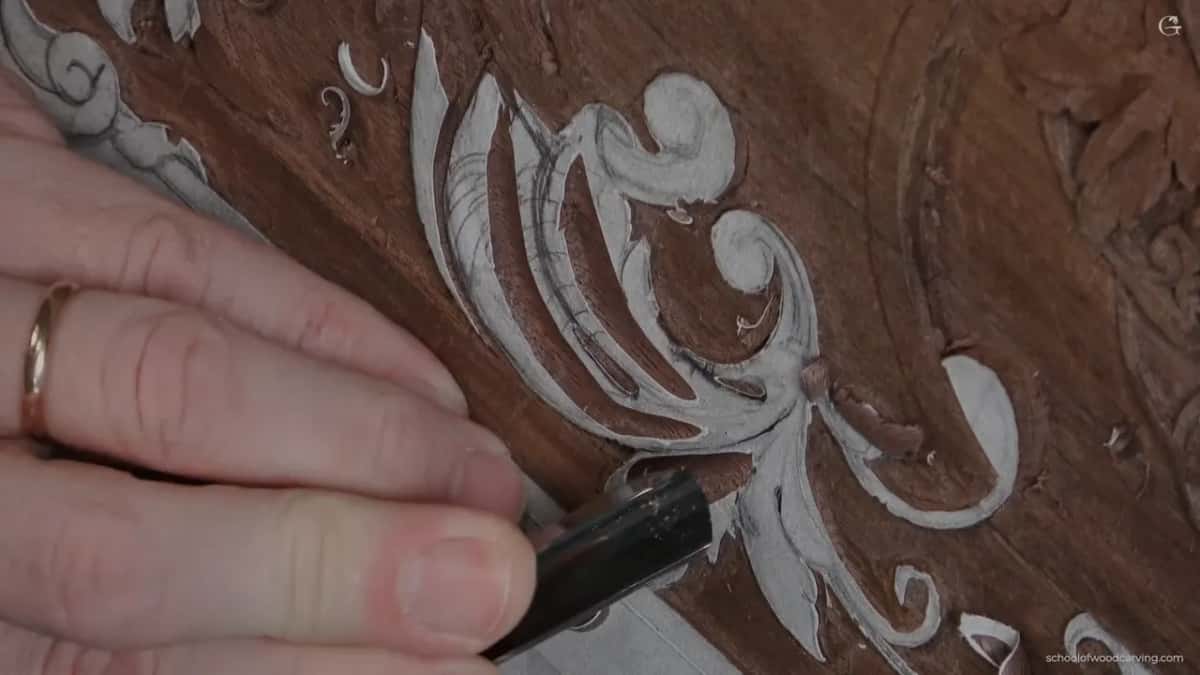
How did I find the eyes in my own old drawing?
With a marker. Partway through the first video I had to find out what I did during the design. There were multiple eyes of the acanthus to recreate, and I didn't want to get lost in the space.
I needed something darker, so I took a marker. There's one eye, there's another eye, and it looked like I tried to do a micro eye in one spot. In another place I didn't know what was going on, because it didn't make too much sense.
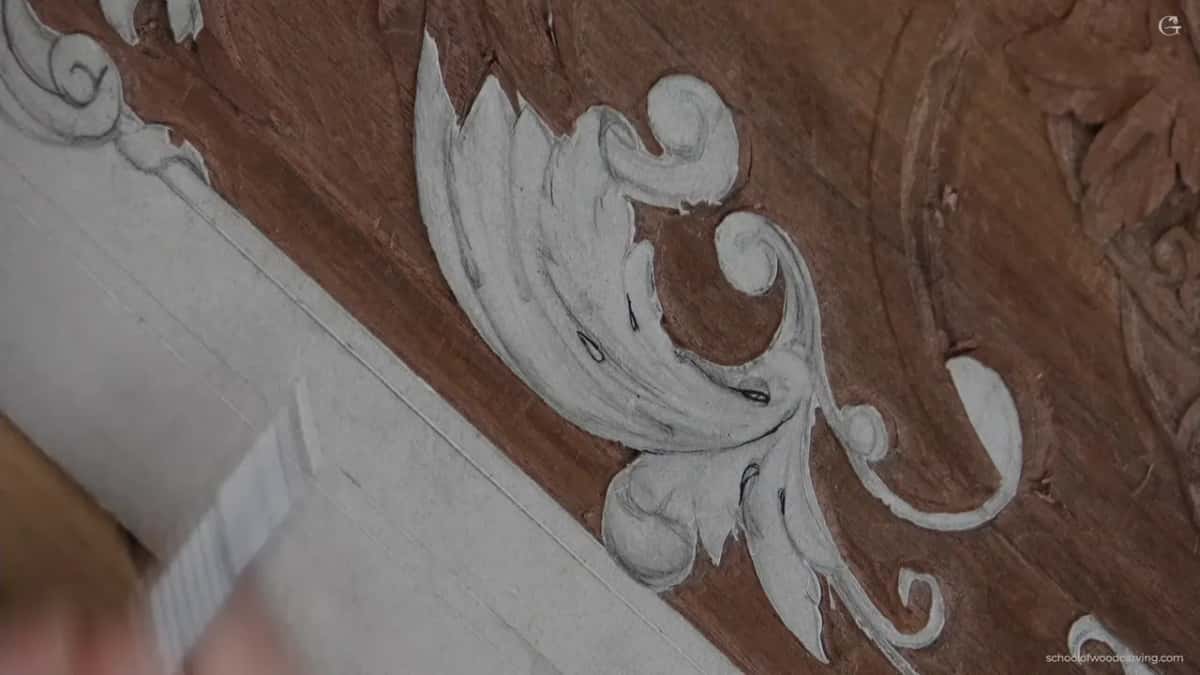
I stopped there and rethought it. One part would be the main part, and the other one would come from underneath.
At the start of video two I moved one eye, since it was going to look better there, and outlined only the eyes I needed with the same 2.5 mm veiner. The drawing itself was made in Designing Furniture Panel, Part 1.
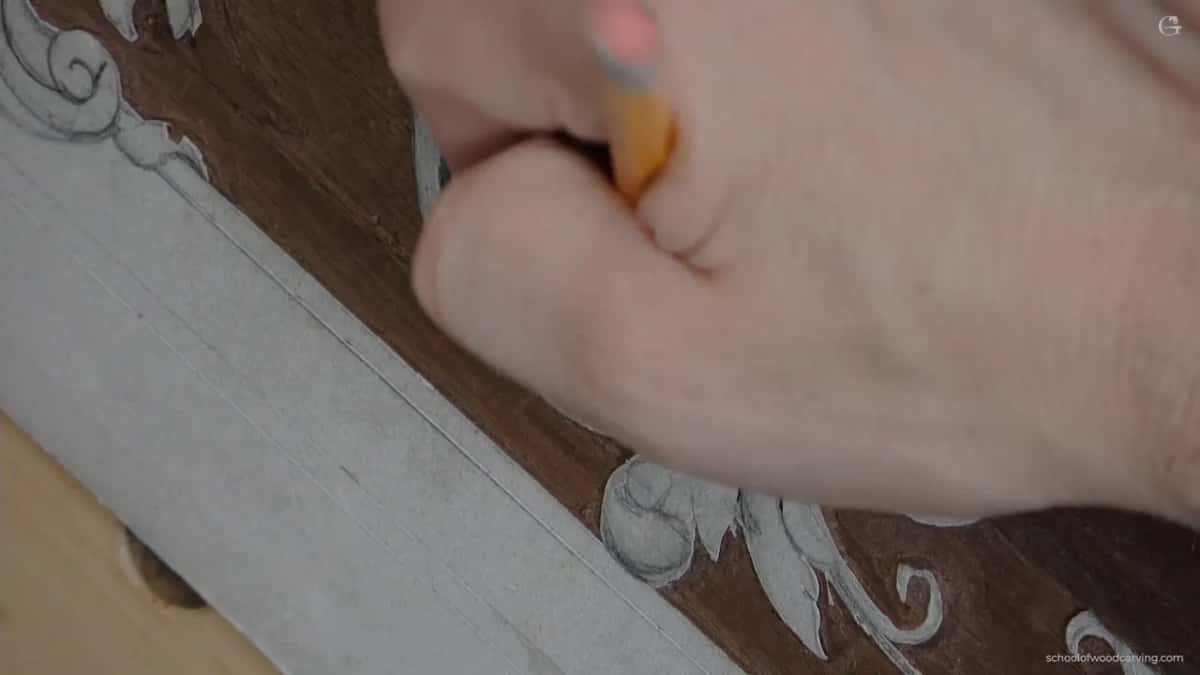
There was one part I could not explain. After the first undercut I saw one acanthus part going on top of another, and I said I don't know where this part is coming from. Have no idea. But I kept it like that, and I didn't redo it.
What does an eye on an acanthus leaf ask for?
A convex. If I have an eye, the rule is that I have to have a convex, and that is the main convex. Inside the movement of the acanthus there's another convex, so between them I have concaves. And the convex can go the whole way, because it wraps around like this. Hope it makes sense.
The acanthus motif, Wikipedia notes, is found in decoration in nearly every medium.

Later in the second video I showed you a convex. On a bigger scale you probably won't see it, I said, so I tried to show it from another side. In the third video I wanted my previous convex more exaggerated than the middle part of it. The section of a lobe, concave, convex and concave again, has its own page in lesson 27.
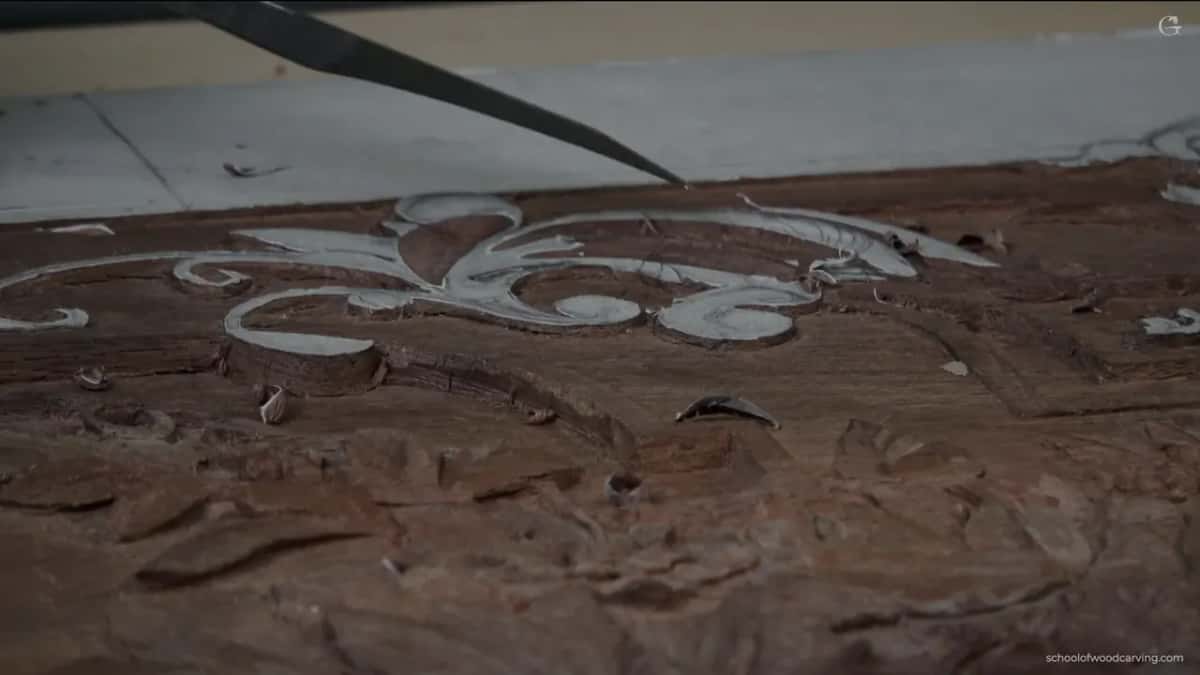
Where should the shadow fall before the separation cut?
The part underneath gets it, with the light from above. Before I make a separation cut, I have to think about where the shadow is supposed to fall. This end is the top, that one is the bottom, and the light source most likely is going to come from above.
So my shadow has to fall on that part, which means this part overlaps that part. For the cut I used a number 11 at half a millimeter. It doesn't have to be that size, but I think it's a wonderful tool if you are in furniture making.

A shadow, in the plain words of Wikipedia, is a dark area on a surface where light from a light source is blocked by an object. In lesson 33 the light decides which petal lies on top, and that page goes deeper into it.
Which tools finished the section in the third video?
With wider tools and a plug cut. The overall design is kind of shallow, and I still kept my high spot, the piece of paper on top, so I did not lose anything.
A carving like this is a relief, which Wikipedia describes as a method where the carved pieces stay attached to a solid background of the same material.
This next part I did not roll at all. I wanted it to look like it rolls the whole way, to the same depth. For that I got a bigger tool, a number 3 of 16 mm, about five-eighths of an inch, and it gives me a really, really good result, a clean result I should say.
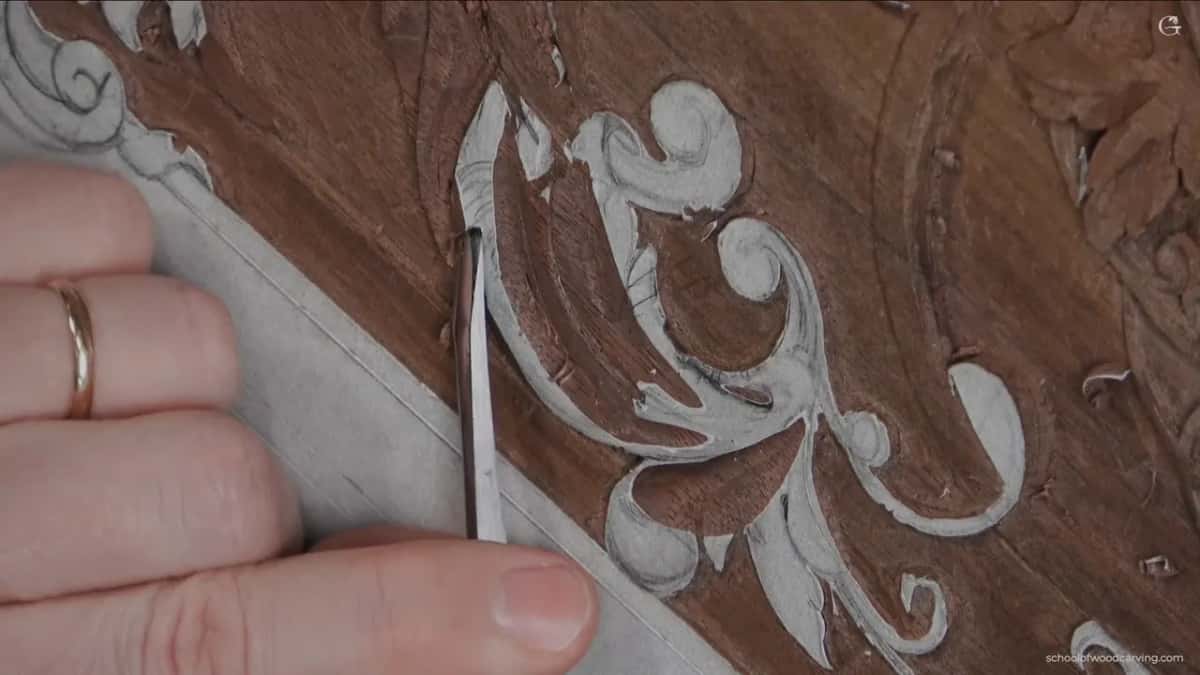
Next a number 11 lowered the whole thing. With that same veiner, flute at about 10, actually 11 o'clock, I made a good visible separation between this part of the acanthus and that part. After that I could see my 3D movement.

One spot could be excavated out, a good place for my plug cut. The tool goes straight down in the waste, I rotate it, and out comes the plug. A Dockyard, about a number 5, finished the shape. It doesn't have to be a number 5, it just happened to be on the workbench behind me.

Make sure you're not going deeper than the background. That is really important.
Off camera I was going to clean up the edges a little. To blend, I move a flatter tool in a rotating motion, riding on top of the facets. It's dark wood, I said, the walnut itself is just dark, and I asked you to take my word on the real depth.

We are getting pretty close, actually. The part that's left is the same technique, pretty much, and you don't have to wait on me. Start on it if you wish, and lesson 36 picks up from there.
Which tool did which job in lesson 35?
| Tool in my hand | What it did on this section of the panel | Video |
|---|---|---|
| Dockyard micro gouge, no marking | One careful pass going down, before I showed the other way | 35-1 |
| Ashley Iles number 8, 25 mm across | A couple of passes, and the hollow was shaped | 35-1 |
| Older German veiner | Under the flipping motion, flute up, ending near ten | 35-1 |
| Big 10 mm number 11 | Long passes from almost nothing, flute up, kept under control | 35-2 |
| My number 3 at 6 mm, upside down | Blending, and a bit too wide for the detail next to it | 35-2 |
| The tiny number 11, 0.5 mm | The separation cut once I knew where the shadow falls | 35-2 |
| A wider number 3 at 16 mm | A really good result, a clean one I should say | 35-3 |
| Dockyard, about a number 5 | Finished the shape after the plug cut, though any size would do | 35-3 |

Would you like to watch the micro gouge and the big one on the same section? And the German veiner going in under the flip over? The tuition page opens every video of this course, and the micro tool with zero marking is in there too.
How it's done
- Start with the small tool. A micro tool from Dockyard, a number 8 or 9 with no marking, took one pass to show the slow way.
- Pick up the big gouge for the next hollow. The huge number 8 shaped it much quicker.
- Undercut the flipping part. That German 11 went in flute up and ended near ten, glancing, with a slight undercut for shadow.
- Angle the gouge, don't stand it up. Aimed at the line at 45 rather than stood at 90, my gouge slices cleaner.
- Come back from the other side. One wall comes out rough, so I turn the other way and go again.
- Plan the shadow first. With light most likely from above, the shadow falls on the part underneath, and a half millimeter number 11 makes the separation.
- Plug out the waste and blend. Straight down, rotate, lift the plug, then a flatter tool rides over the facets in a rotating motion.
Frequently asked questions
What size was the big gouge in lesson 35?
The one I used is made by Ashley Iles, a number 8 close to 25 mm. Before it I used a micro tool from Dockyard for a single pass. With the big one the hollow was shaped after a couple of strokes, much quicker, because the tool is so big.
Can a small gouge get the same result as a big one?
Working on a Venice Room panel, I said I could get exactly the same result with much smaller tools. But a bigger tool is always an advantage, I told you there, much quicker and much cleaner. For the lily box I added one condition, that it has to be safe.
How should a gouge meet the line you are carving to?
Lay it to roughly 45 degrees from the surface, aimed at the line. One of the mistakes I think most carvers make is presenting the tool at about 90 degrees. At 45 the slice comes out a lot cleaner, and the result is more accurate.
What to carve next