

Alexander Grabovetskiy, woodcarver, School of Woodcarving · Published 2018
How do you decide the width of each border on a carved panel?
Quick answer: Border width on a carved panel is something I count with the Fibonacci sequence. On this walnut panel the first number is 10 mm (3/8 in), the strip a frame will cover, since the board is that thick. Ten plus ten gives 20 mm of room, then comes a 5 mm molding and a line about 50 mm in.
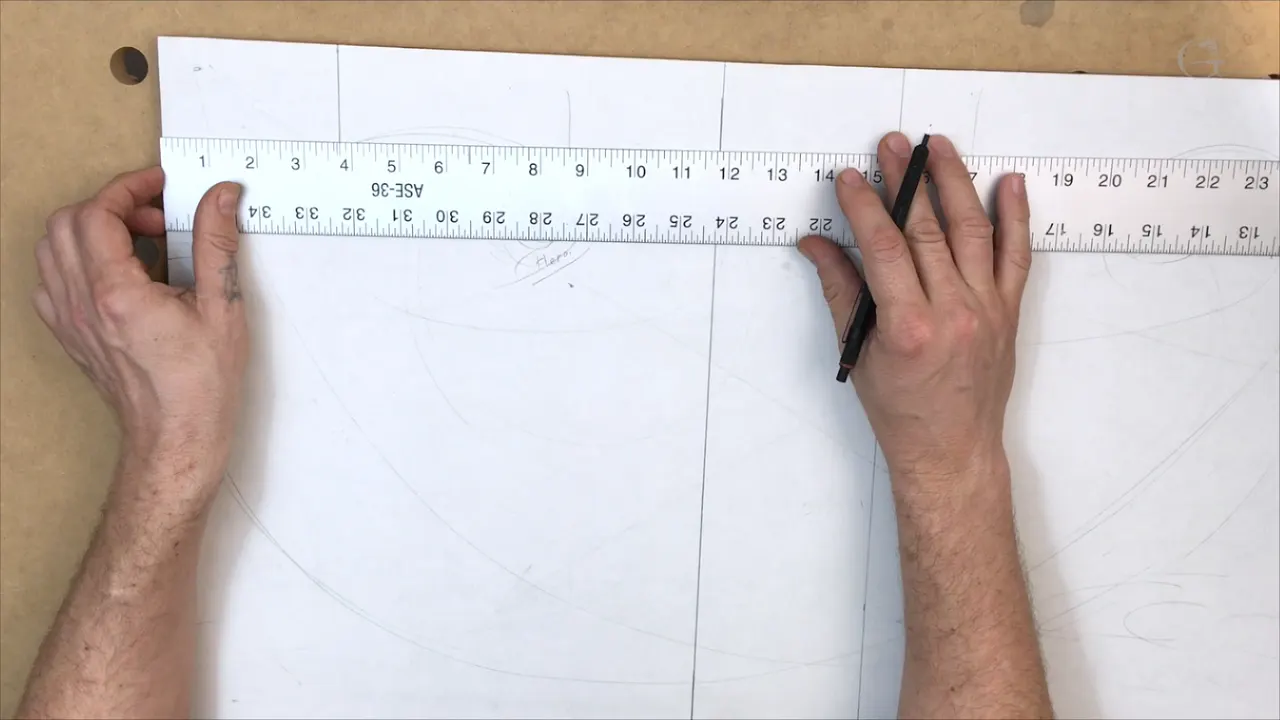
Border width on this carved panel is a count, and I count with the Fibonacci sequence. The first number is 10 mm (3/8 in). That is the strip a frame or a door will cover, and since my walnut board is 10 millimeters thick, I think ten is a good number for it. After that come 20 mm (3/4 in) of room, a thin molding, and a line about 50 mm (2 in) in.
Do you have a board on the bench and a pencil in your hand? And would you like the border around your carving to look like real paneling, planned on purpose? Then the lines come first. This lesson is all about lines, and the wood stays under its paper the whole time.
You'll get every width I drew, with the reason I gave for it on camera, and the one band I drew twice on purpose. It is lesson two of the furniture panel design course.
The numbers on this panel, one line each
- Ten millimeters all around for the frame, a line I never cross.
- Then 20 millimeters of room before the main border.
- A 5 mm (3/16 in) border, half of ten, left standing so it reads as a molding laid on top.
- A 5/8 inch step in from that molding.
- A second thin band of the same width, which is my rule of repetition, or rhythm, at work.
- Last, eleven and a quarter inches between the lines, carried down to make a square at each end.

Why does the first line sit 10 mm in from the edge?
A frame will cover it. That strip is the space that goes inside a frame, or inside the door if you are planning to use the panel as a door, and it is the first line I draw in this lesson, 10 millimeters all around.

My boundary. I should not cross it at all. Everything I draw after it stays inside that line, and every number that follows is counted off it.
Ten came from the board itself. I think it's a good number, 10 millimeters, since this panel is a 10-millimeter board, and so it became the one in my count.
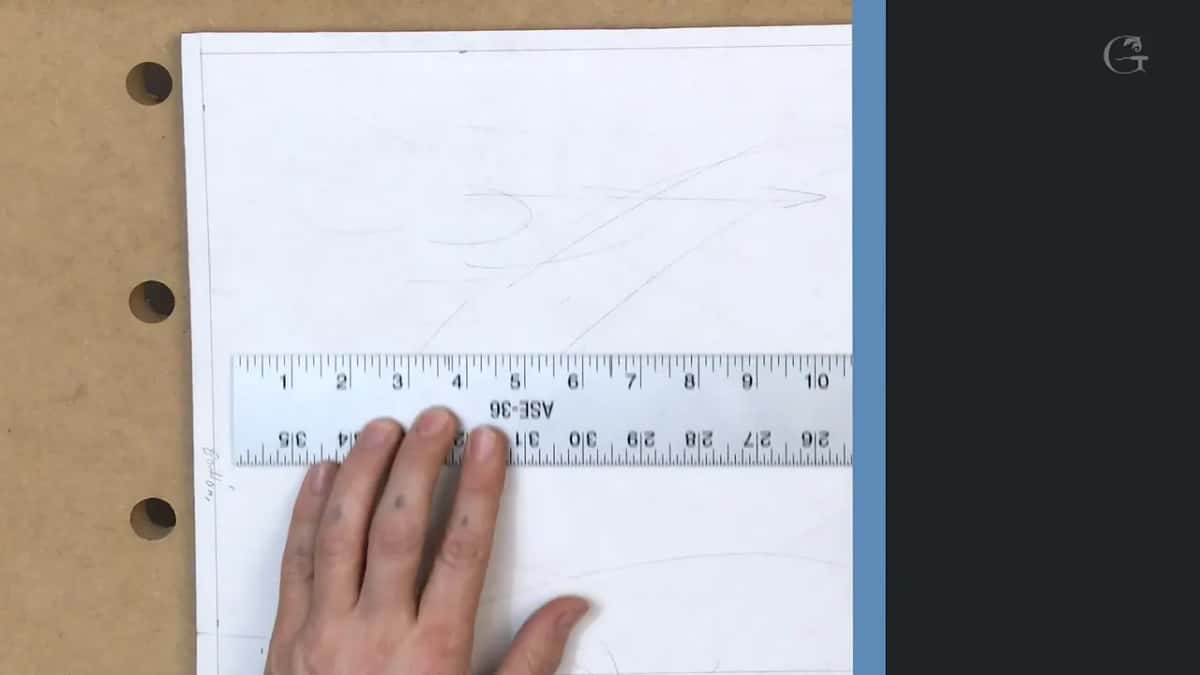
That strip comes back in the carving stage. Lesson 15, where the carving starts, is where I call that line extra space I left just in case I decide to put the panel inside rails and stiles, and I keep it pretty much one level.
How was the 20 mm of room chosen?
Straight out of the Fibonacci sequence. It starts with one plus one, which equals two. Then you take two and add the last number, two plus one is three, then three plus the two before it gives five, and on and on.
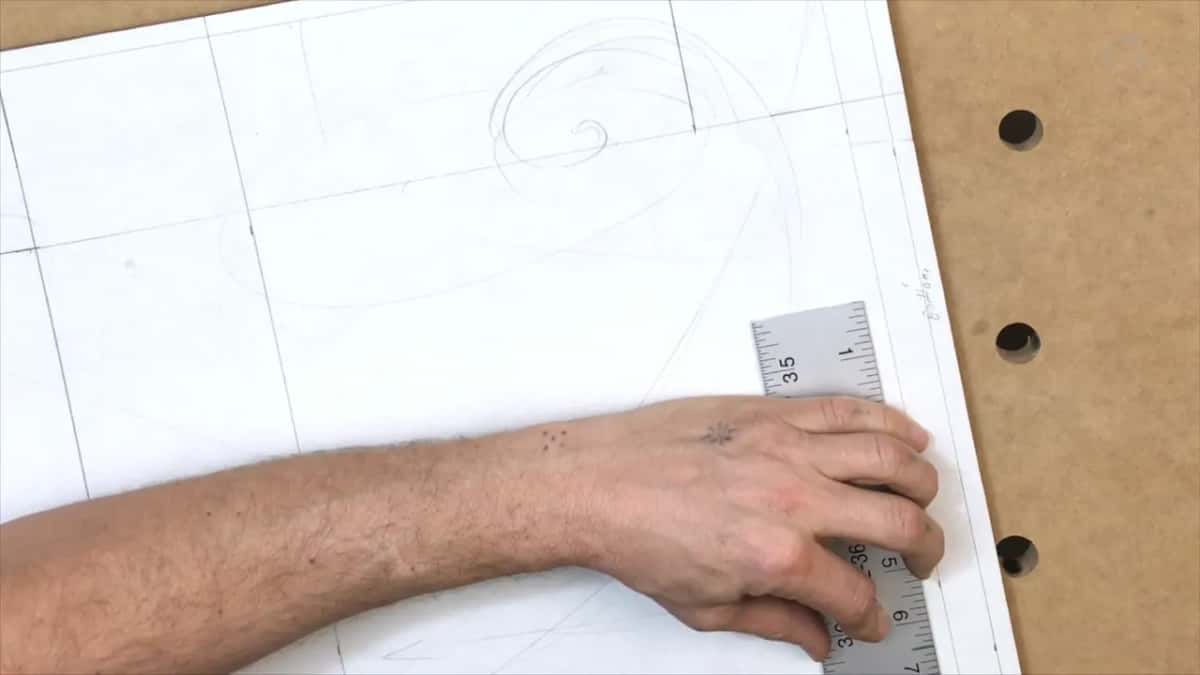
For me the one is 10 millimeters. Ten plus ten makes 20, which is 3/4 of an inch, and that is why I left about 3/4 of an inch of space before the main border and carried that line all the way.
I wanted the room. Authentic paneling has an inner design, so I like to leave more space around before I start carving, and 20 millimeters gives me plenty to work with.
To me a space counted this way is more appealing to the eye. I think the whole universe is made like this, and you'd be surprised how you can find those rules, those principles, those laws almost everywhere in all the creation.

What makes a carved border look like applied molding?
The border stays high. Right inside the 20 mm space I draw a band 3/16 in wide, half of the 10 millimeters, so 5 millimeters.
I don't want to make it too thick. But I still want to distinguish this border, and inside it I'm going to develop even another border.
That band will stick up while I take the wood down on both sides, so it will look like applied molding right on the top. With it drawn, I have a much better idea how the movement will develop.

Lesson 17 shows how high it ends up. While I lower the background there, the goal is to leave that molding 1/16 of an inch (about 1.6 mm) higher than the background, and I actually go about 1/32 of an inch deeper, so that area is a couple of millimeters deep.
I leave the moldings alone for a long time, too. We're not going to shape them to the last moment, and I keep them a little higher, because the router plane needs that high spot for its support on the background.
I stay at 90 degrees down, right on the line. This part is a little different from other types of wood carving, and on those molding lines you really don't need any relief cuts, because it would be a lot harder to make that straight later. You can stay a little away from the final picture if you wish, but you don't really need to. And be careful with the corner underneath the molding. If you're not planning to undercut it, you'll create extra shadow, an extra tool mark.
And yes, I went too deep on one. I took about 1/32 in too much beside a molding in lesson 15, so its overall height came out at 3/32 of an inch, lower than the part next to it. I should have paid attention, though I was planning to lower it anyway.

Why take 5/8 in off the molding line?
The frame again. From that piece of molding I take about 5/8 of an inch (16 mm) and mark it all around the board.
Maybe the panel never goes in a frame, or maybe it will. Inside a frame the lip usually covers about 10 millimeters, and there will be some design under it. Your eye still catches the edge of the original design. You won't see it, but inside your brain you still picture that edge, or close to it.

The count holds, too. I had 10 millimeters, then 20 millimeters, then 30, and 20 plus 30 comes to about 50 millimeters. Lay a ruler on the paper and that line sits about 50 millimeters in from the outside, so it is still inside the golden ratio.
I call it a preliminary line. We're still going to apply some design to it.

How the bands stack up on the drawing
This is every line in the order I drew it, starting at the outside.
| Line on paper | How wide I made that line on this board | What I said |
|---|---|---|
| Frame strip | All around the board, 3/8 of an inch | My boundary, which I should not cross at all |
| Room before the border | Twice the first one, 20 millimeters, carried all the way | Plenty of space to work with |
| First molding | Half of ten, 5 millimeters, left standing up | I don't want to make it too thick |
| Step in off the molding | Five eighths of an inch | The lip still covers about 10 millimeters, and your eye catches that edge |
| Second molding | Another 5 mm band | A rule of repetition I applied in this case |
Why repeat one band?
Rhythm is the reason, the same rule you hear in music. Something repeats itself, pam-pam-pam, pam-pam-pam, and we call that repetition, or rhythm. I talk more about it later in the course.
That's exactly what I'm doing here. My first molding is 5 millimeters, and further in I repeat myself, about 5 millimeters again, for a second band of the same kind.

In the next lesson I add a warning. You can't just do straight repetition, pum, pum, pum, pum, because it should have some music in it, so one volute is the bigger one and the next can be much smaller. It still repeats, and it's still a volute.
The band keeps coming back. By lesson 7 I mark my 5 millimeters, 3/16 of an inch, once more and call it my law of repetition.
Rhythm can change the size of the spaces, too. On one Venice Room carving the gaps between my points didn't look right, so by the law of rhythm, if this is the widest, this one is less wide, and that one has to be even less wide.
On the Venice Room carvings I put it plainly. If you've got one part, some idea, you have to repeat it somewhere else, or it won't be related to the overall design. Most people won't catch it, I said, but architects and designers on that project were going to look at it.

Do music and carving follow the same laws?
The way I see it, they follow the same rules. The same principles apply to the creation of the form and the creation of the sound, and in this lesson I say Leonardo da Vinci used the golden ratio, and even Bach used that principle in music.
In Principles of Design in Wood Carving I went further. Even in music it's the Fibonacci sequence, I said there, everything is based on math, and the main point in a piece of music falls on the 60/40 rule. If you don't believe me, just Google it.
Somehow, when you follow those laws, your artwork looks really good. How it works, I don't know. Inside your brain you're probably wired that way, and it ends up pleasing to your eye and appealing to your brain.
My teacher in Russia, the fine-art master I served as an apprentice at sixteen, taught me that design is the laws of space, rhythm and repetition, and understanding the tools.
Must every border follow Fibonacci?
On the Hashemi flowers I told students to feel free. If you don't like the idea of Fibonacci numbers, create whatever you feel will look better. In my opinion, closer to nature looks better.
There I split the first ring of a flower in five parts. As many parts as you wish will work, but I like to be really close to nature, and in nature the flowers carry really complicated math. Petals, as far as I know, always come close to a Fibonacci number, five or eight, if you count them. I'm not saying that's the absolute truth.
In that same lesson I point back to this one, saying I talk a little more about Fibonacci numbers on the furniture panel, while I'm doing the design process.
I used it for a border on the plate with butterflies as well. The plate is about 10 inches (254 mm) across, so the radius is about 5 inches (127 mm). Three inches (76 mm) became my lesser number, and an inch and a half (38 mm) gave me a really good border.

It doesn't have to be an inch and a half. But I think it makes sense, and please don't overcomplicate stuff.
It is one rule among many. In the Venice Room I said a lot of people make a big deal about the golden ratio and the Fibonacci sequence, but that's not the only rule in design, and there are different rules and different laws, the golden ratio among them.
Where does the main artistic focal point sit?
Inside the borders. I do like what I see by this point, but it's not the end yet. The whole board already has its main focal points, found with the golden ratio in the first lesson, but now I have to find another focal point inside, and that one is the main artistic focal point.
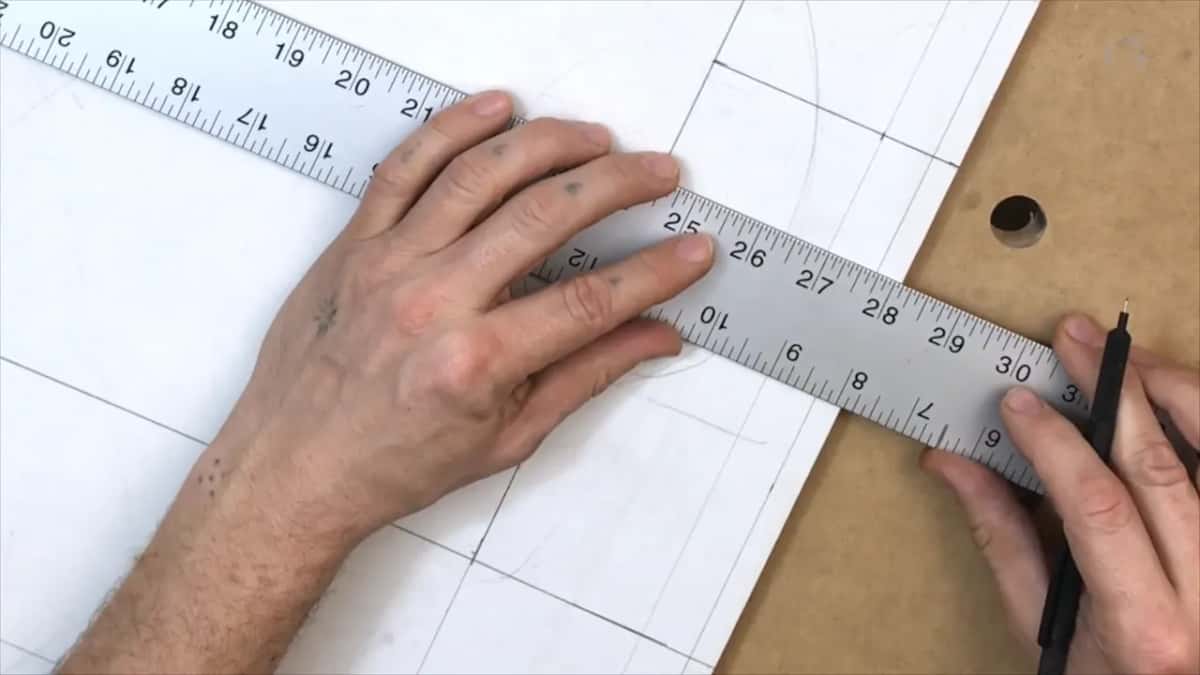
I do exactly the same steps I did at the beginning. I measure my distance between the two lines, and it is 11 1/4 inches exactly, which the card on screen gives as 28.58 cm.
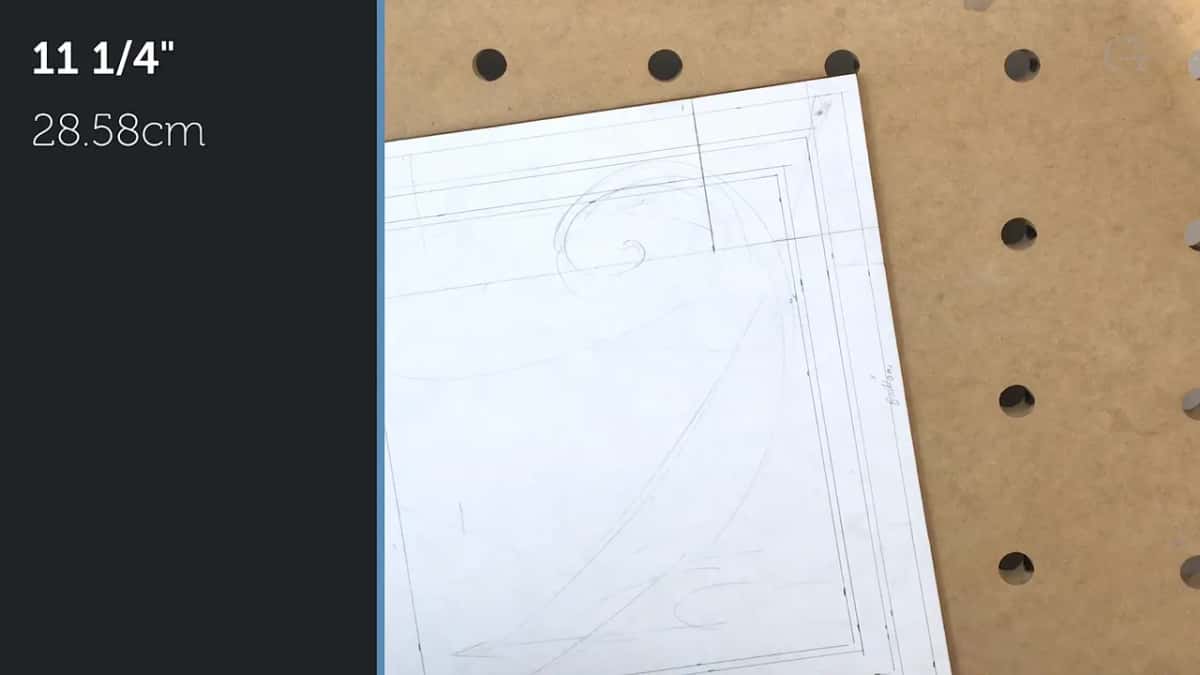
I take that measurement and bring it along the board, and now I've got the main square inside. Then I do exactly the same on the other side with the same number, and I've got another square there.

Why spend a whole lesson on straight lines?
Lines come first here, and the movements wait for the next lesson. For me, finding exactly where the golden centers sit is really important, and you can call them focal points or the main idea, whatever you like best.
The count stays with this panel. By lesson 14 I make a small volute even smaller so it can be number eight, and I try to stay pretty close to those Fibonacci numbers, three flowers and eight leaves.
Once the carving stage starts, tool number one is a marking gauge, to mark everything before the chisels and gouges. Mine is not the best brand, and since I use it only now and then, I don't need to spend a lot of money on it. On my panel a little bump along the side turned out to be glue, and since the gauge follows that side, I check and rub it all around.
Would you like to lay out your own panel this way, one line after another? Come and carve with us. My first line on this paper went 10 millimeters in, and a frame may hide every bit of it.
How it's done
- Mark the frame strip. Rule a line 10 millimeters in from every side. The frame or door hides it later, and that line is a boundary you never cross.
- Leave room for the border. Count the next space from the first one. Doubling it gave me 20 mm for this space.
- Draw the first molding. Make it 5 mm wide, half the first space. Later this band stays up while the ground on both sides goes down.
- Step in from the molding. Measure 5/8 in, near 16 mm, off that molding and mark it all around. My ruler read close to 50 mm from the outside.
- Repeat the thin band. Mark another 5 mm inside the line. Drawing the same width twice gives the panel its rhythm.
- Square off the inside. Measure between the lines, 11 1/4 in here, and carry that down from each end to get two inner squares.
Frequently asked questions
Why would a carver use Fibonacci numbers for a border?
On this walnut panel the board's thickness, 10 mm, became the one, so the next space came to 20 mm, twice as wide. A border counted like that looks more appealing to my eye. Probably the brain is wired that way.
What is the narrow strip at the edge of a panel for?
Hiding it is the job of the frame or the door, since a frame's lip usually covers about ten millimeters. When the carving begins I keep that strip pretty much one level, as extra space in case the panel goes into rails and stiles.
How much higher than the background does a carved molding stand?
About 1/16 in on this panel, roughly 1.6 mm. I go around 0.8 mm (1/32 in) deeper than that while I lower the area beside it. The board is only 10 mm thick, so I keep an eye on how deep I go.
What to carve next