
Alexander Grabovetskiy, woodcarver, School of Woodcarving · Published 2019
When is a wood carving design finished?
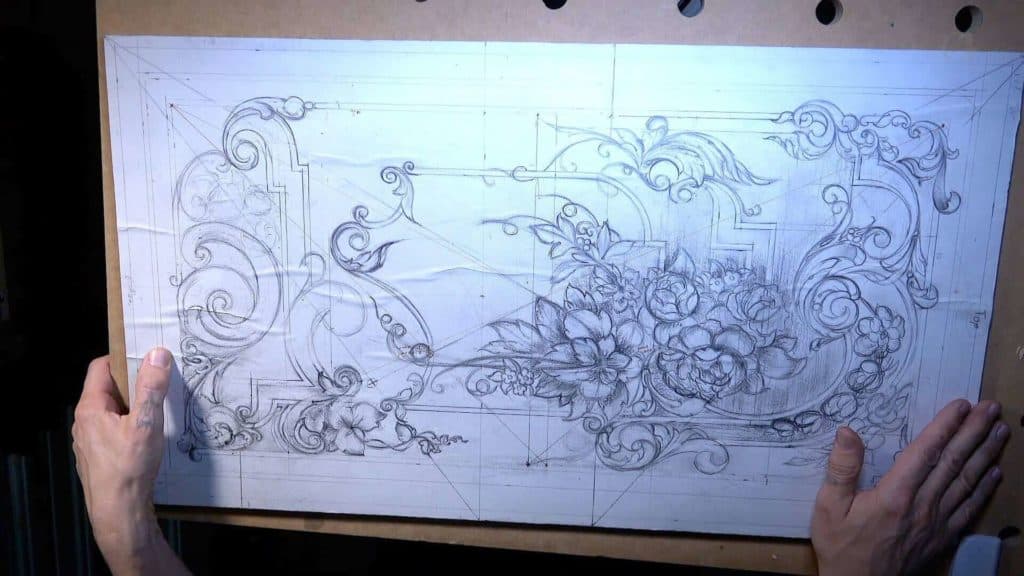
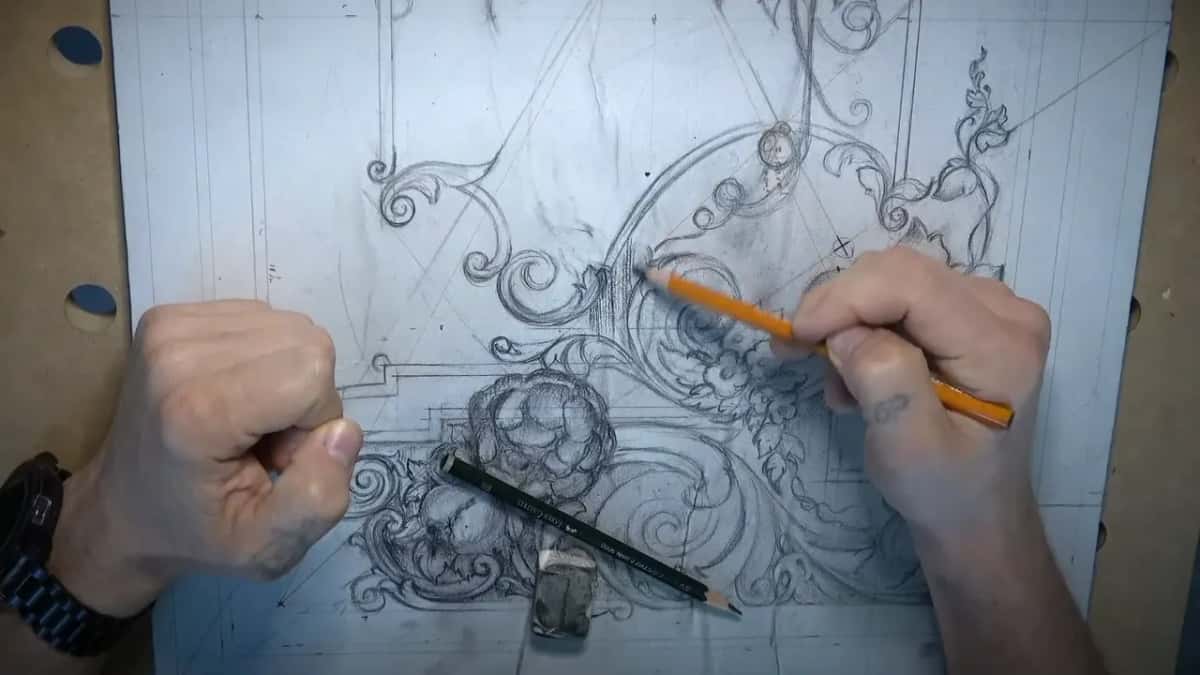
Quick answer: A finished carving design is, on my walnut panel, the drawing I can look at whole and call ready, the way it's supposed to look. I checked the whole board, took out what bothered me, kept the counts near Fibonacci numbers, and stopped. The carving came next, with room to change things on the way.
A wood carving design is finished when I can look at the whole board and say that's how it's supposed to look, that's how I want to see it. I said those words at the very end of lesson 14, the last design lesson on my walnut furniture panel. Just before them I said that if I want to change something, I'll change it on the way. So finished means ready for the carving knife, not frozen.
Ever drawn something and kept on fixing it? Did one small change ask for another one, and that one for a third? You'll see the last checks I made on this panel across six videos, and what each one changed.
What finished looked like on my panel
- I looked at the whole board together and hunted for spots I didn't like.
- One element in the upper panel got taken out, and I left that spot empty.
- A filler that fought a movement went too.
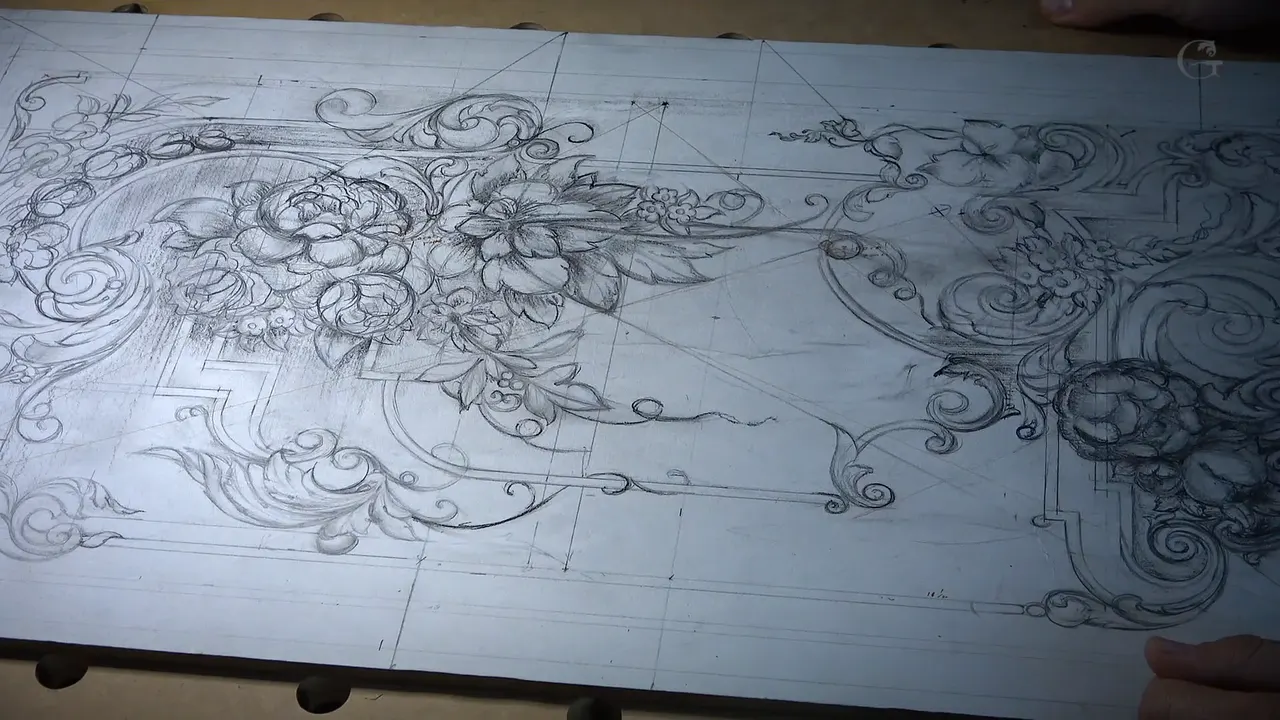
- Three main flowers got eight leaves, and five filler flowers got 13.
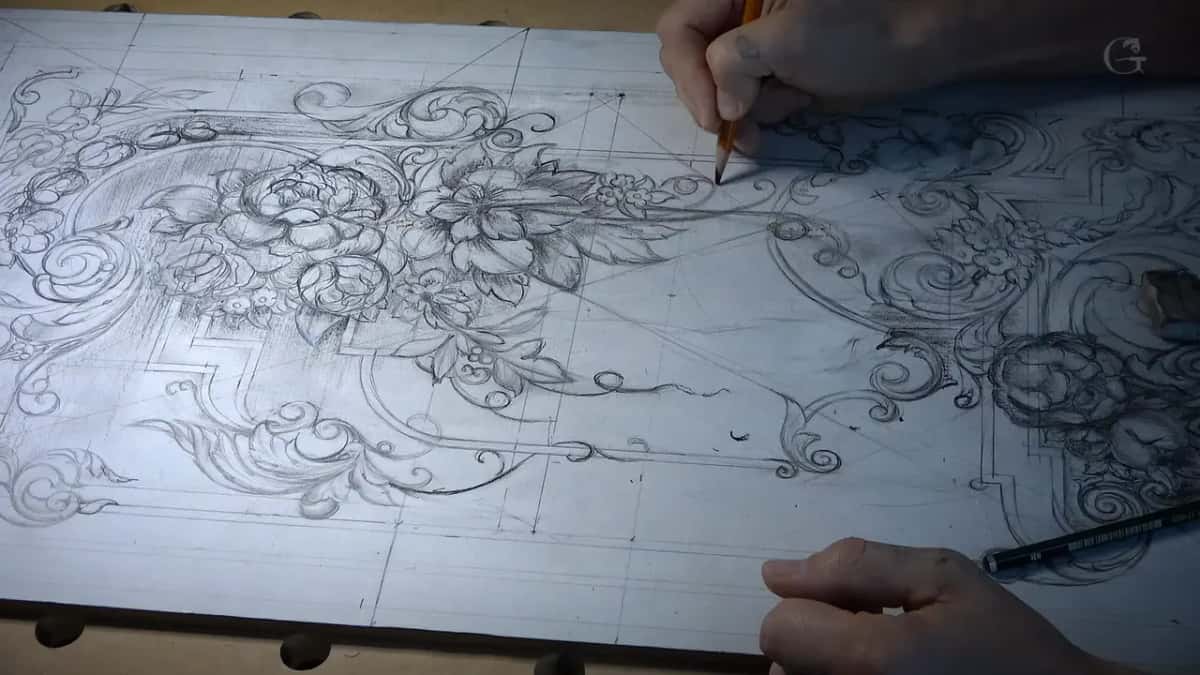
- Charcoal came after the pencil, only where I was sure.
- And I kept the right to change any of it on the way, once the carving starts.
Is there a natural end to this kind of design?
Not with this kind of design. In the last video I said there's really no end to what you can do with it. You can go on and on and on, make a lot more movements, and it's going to look good. So the stopping point is mine to pick.
Part of picking it is timing. I was on small details in that last video, and I said it's probably a good idea to figure out everything right now versus too late. I don't want to be too late. Three lessons into the carving, in lesson 17, I said that if you dig too deep inside a detail you'll break it, and then you either have to redesign everything or remove your background deeper.
I also don't draw for the wall. Back in part two I said I'm not trying to create a beautiful piece of drawing. I could if I wished to. I'm drawing just for carving, to get an idea of how it will look once I carve it. Parts of it look messy, and in the same video I told you: I know it's kind of messy, but you'll see it later.
How do you check a carving design at the end?
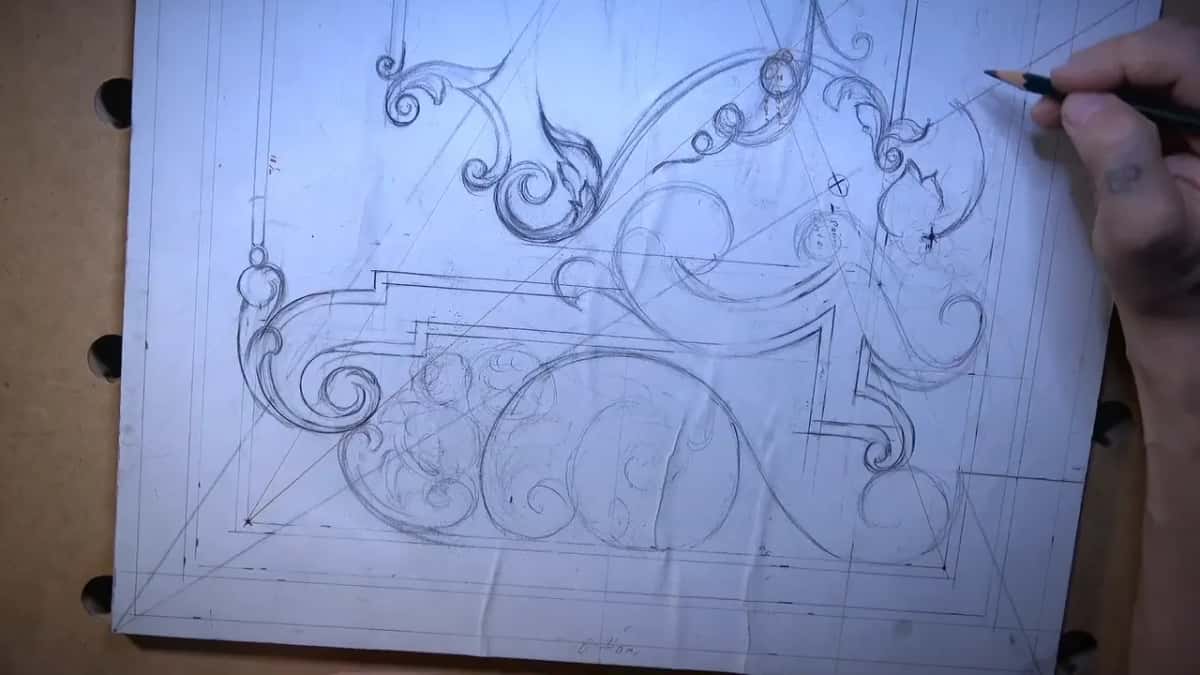
I look at it all together, then hunt for the one spot that bothers me. In the final video I looked at everything and checked if I like it all or not, and what I need to change, before we get ready to carve. I believe I found one spot I don't like, I said.
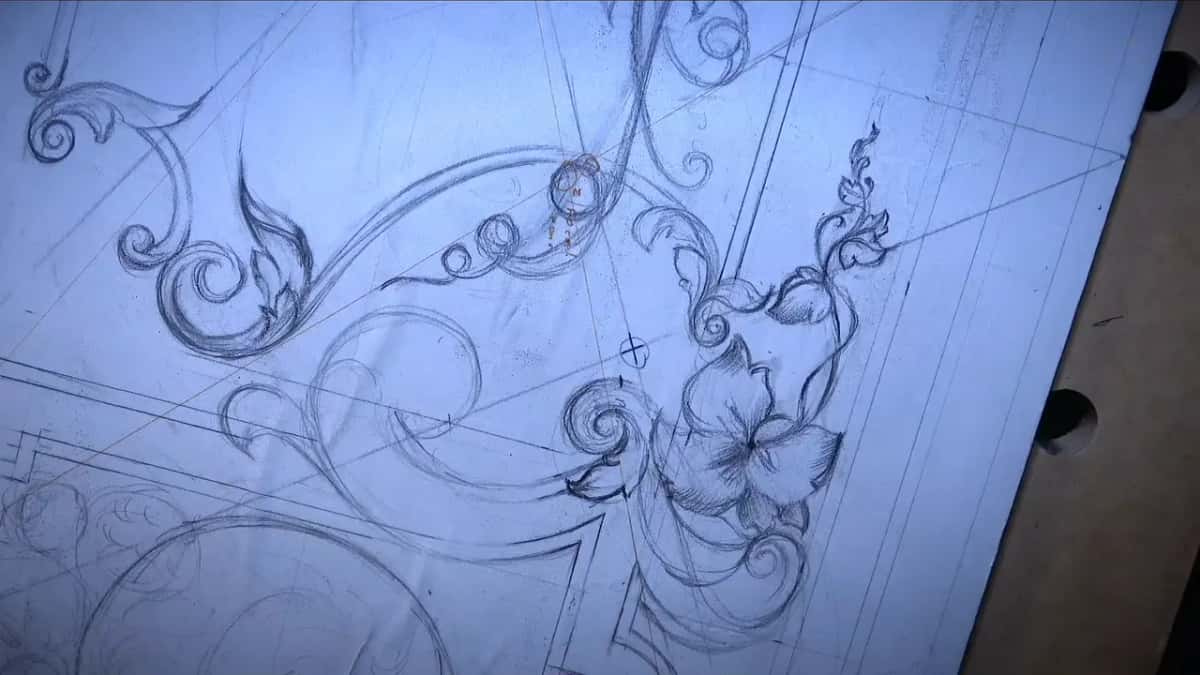
I'd just finished the lower section, but the spot was back up in the upper panel. One element there just didn't look right to me, so it came out. I made the movement around it stronger and left that space empty.
The opposite side got a fix too. I took out a movement there and drew something else in its place, so it's not too symmetrical. I don't really want any symmetry in it.
Then the very last swirl. I wasn't sure I was happy with how it ends, so it became a little uneven swirl.
Stepping back works the same way here as in lesson 9, where I stared at a crowded corner before I changed it. My teacher said something hard about the day you look at your work and think you couldn't make it better, and you'll find his words on my lesson 5 page.
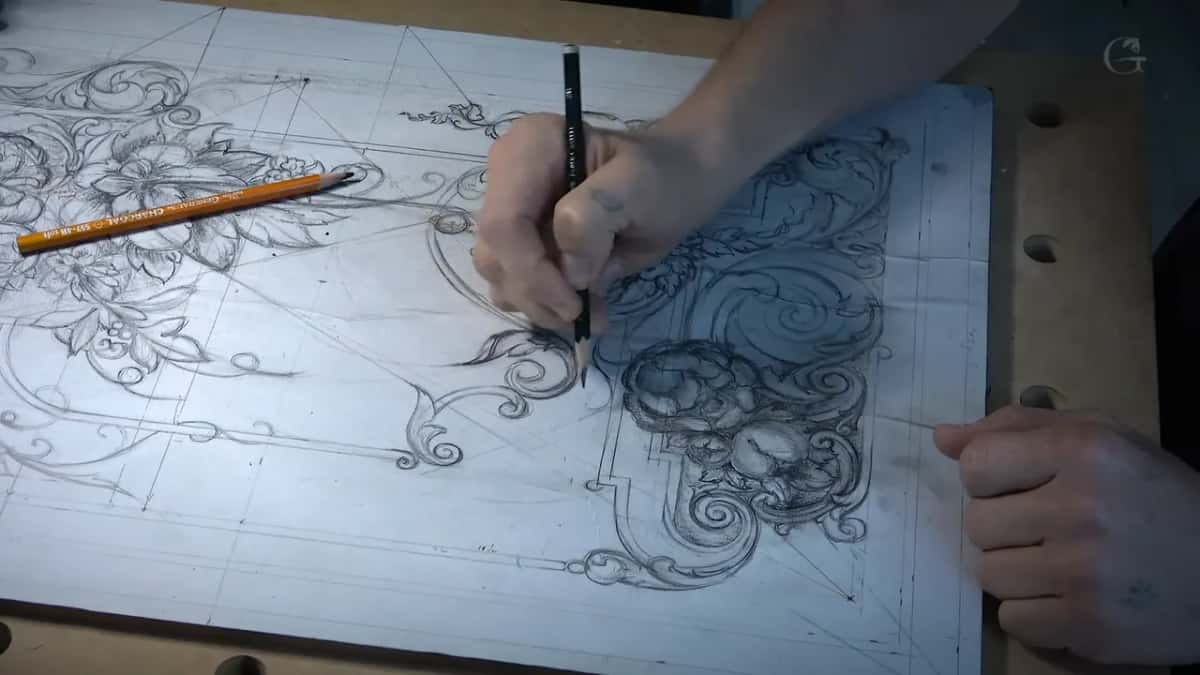
Why does every point sit off the middle?
The middle isn't as appealing to the eyes, and that's how I put it in part three of this lesson. Drawing another acanthus there, I found a spot that fell about in the middle between two points, so I moved it downhill to find my six parts out of 10. Those are the secrets of the design, pretty much, I said.
Part one did the same at the bottom of the panel. Some movements grow right out of the middle of a flower, I said, in antique panels and furniture, so I had to fix where that middle goes. I divided the span between two lines in ten parts. Six of them is my golden ratio.
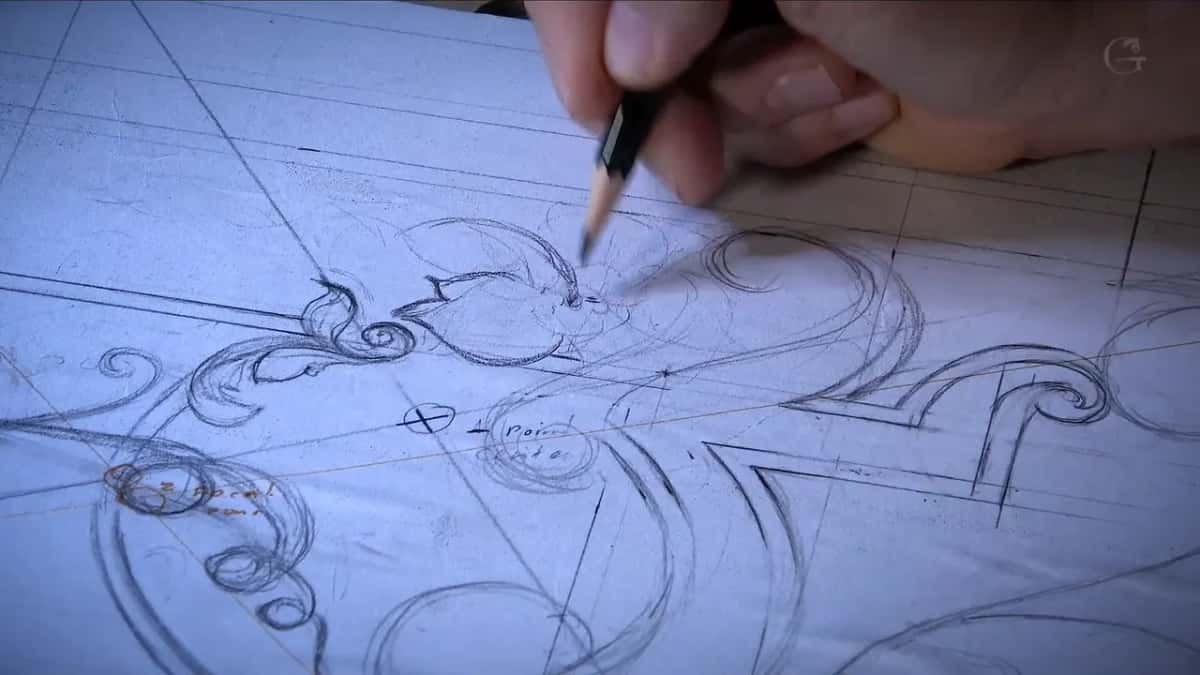
It's approximate. I could take a caliper and measure, and I'd be more accurate, but I'm sure I'm pretty close. Then I added, to be exact, it's 0.618, so 0.62 if you wish. But every detail matters.
Part two put a new line about six parts out of 10 between two points. Later in that video I drew the main baroque line, the diagonal I named in lesson 7, and an eye fell at the same proportion. It's a golden ratio, I said, and it's going to be my eye. Part four placed a big flower by its lines. I hit my point on that diagonal, so really good, and a second point hit another line.
Why do the flower and leaf counts matter?
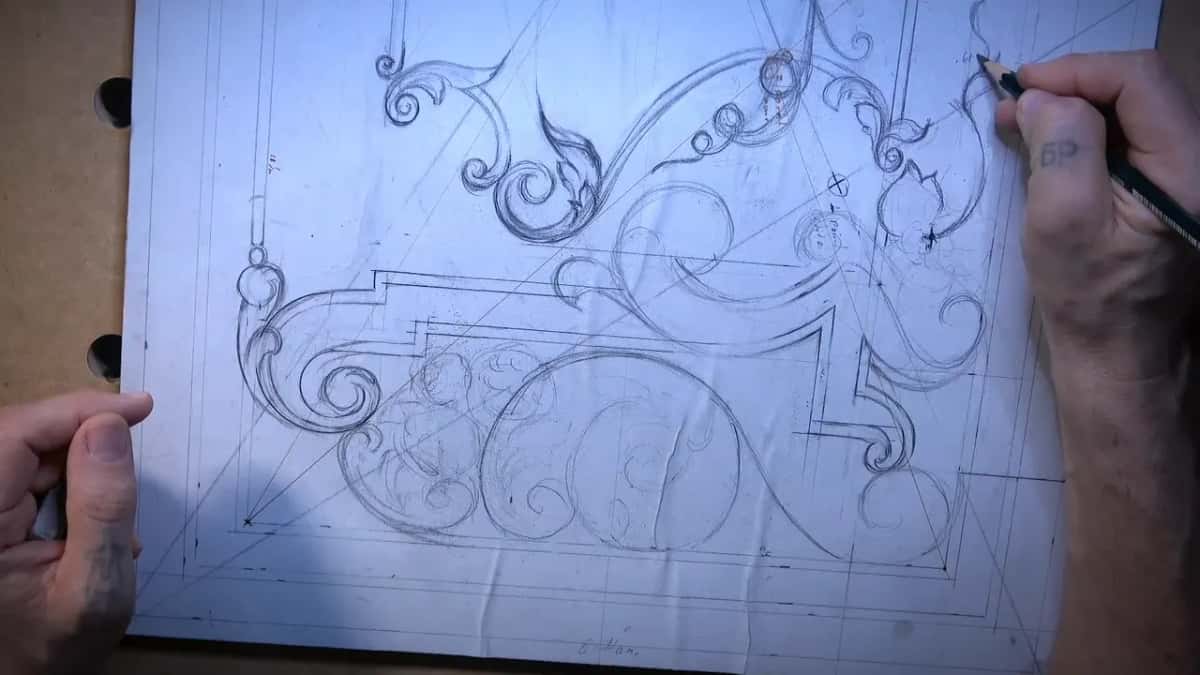
I wanted this design close to the Fibonacci numbers, and I said so in part four. The sequence, as I said it, goes one, two, three, five, eight.
The lower group had three flowers, and I didn't want to leave those flowers without leaves. I counted out loud, one, two, three, four, and said it's not good. A fifth leaf went in, and I said that's still not enough, so it's got to be either five or eight. I went for eight.
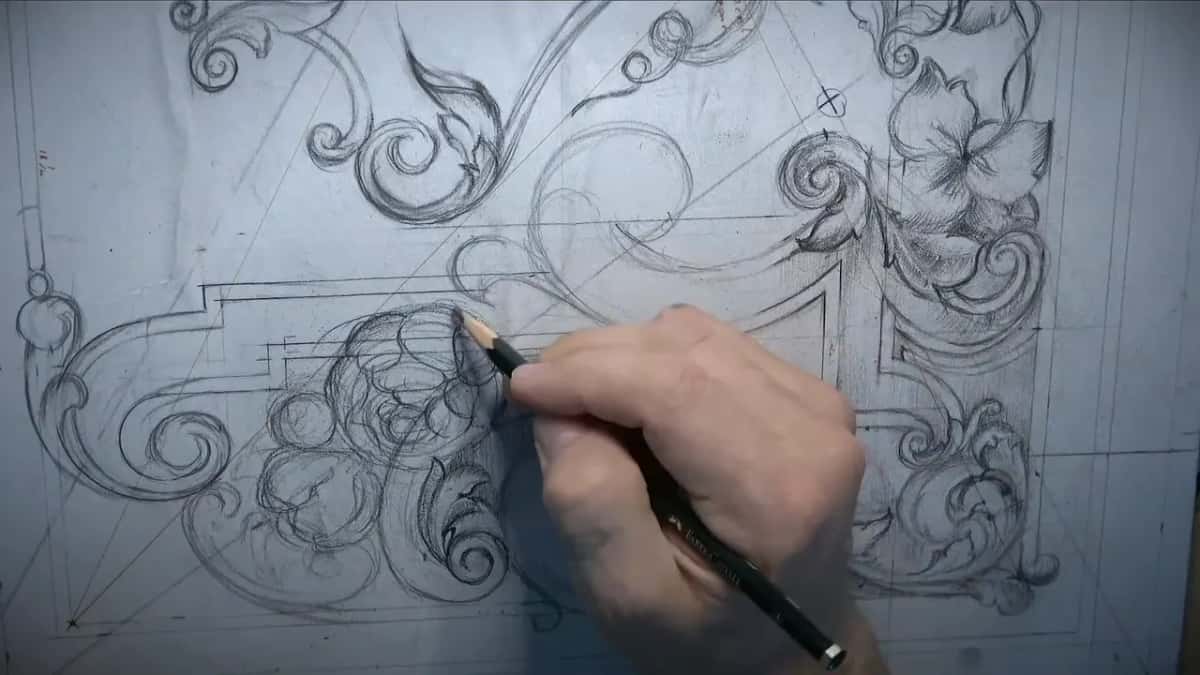
Six and seven went in one after the other. For the eighth I tried one spot and said no, it's not good, twice. A small volute shrank to make room. The same counting set the border widths back in lesson 2. And once we carve it, I said, I'll count how many petals I have.
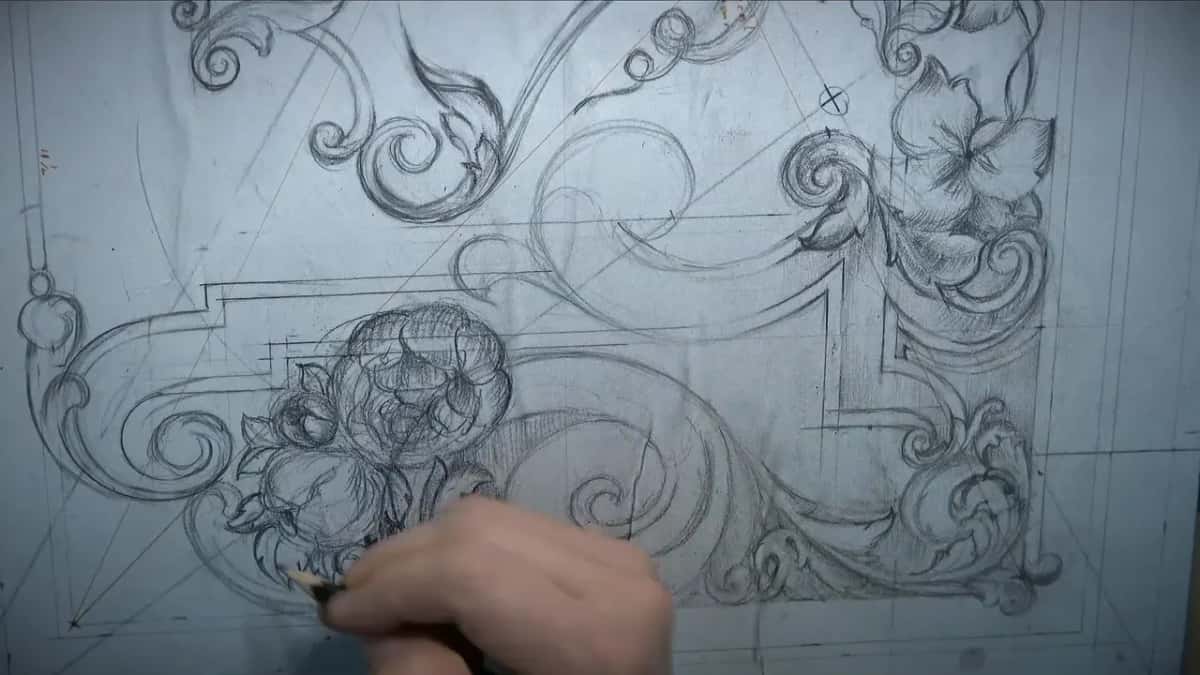
Part five ran it again on the filler flowers. We've got three flowers, I said, let me do five of them, because as you remember, Fibonacci number. Number four went in, then number five, even smaller, sticking out from underneath.
Then the leaves around them. Six, not enough. Seven and eight, and I didn't think eight was enough either, so we went to the next number, 13. The last one is a small one.
That spot is the antagonistic area of the panel, the kind of anti-hero area I set up in lesson 1. Evil, right? If you're afraid of number 13, that's the place, I said. Don't believe in that. It's just a number. The fear even has a name, triskaidekaphobia.
Should every space on a panel be filled?
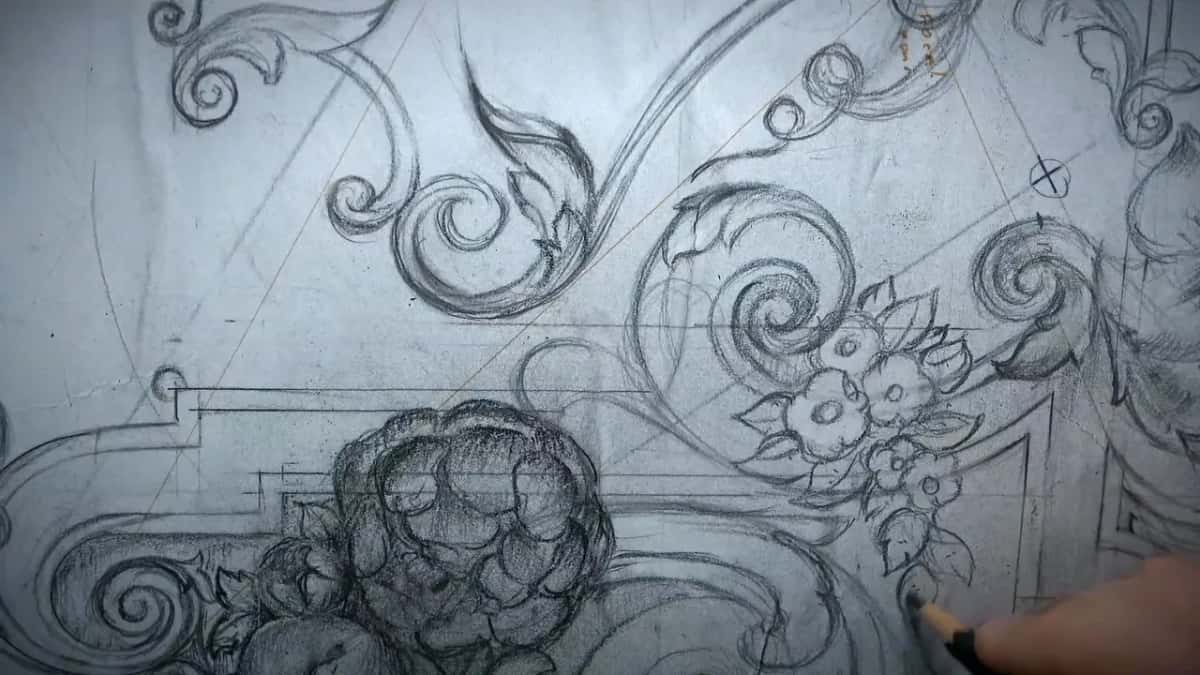
Not every one, and this one lesson shows both answers, at two different moments. Part three is where I said I really don't want to see empty space, twice in a row. I filled one spot with an acanthus flipping backward and an acanthus flower. Yep, there is such a thing, I said.
Another space, in part five, still needed filling. Other sections have an invisible line going all the way down, so movements made sense there, and I drew filler flowers, like we did in another area.
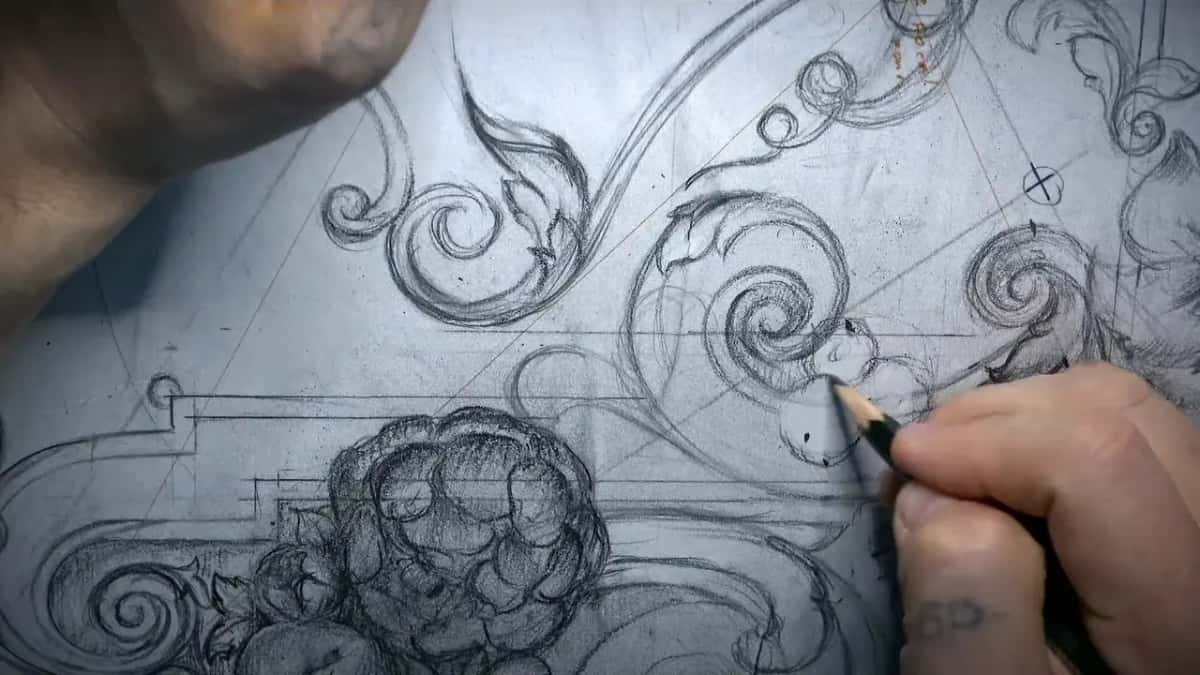
A filler flower is exactly what the name says. It fills the space. They used those flowers, I said, when they sometimes didn't know what to do with an area. In my opinion it looks really good, and here it just solved a problem for me.
My final video went the other way. Up in the upper panel I took an element out and left the spot empty. Both calls are mine, made at different moments for different spots.
Some ideas never made it. One more try in that final video was some kind of triple leaves, then some fillers. It looked a little messy, and it went against a movement, so it is no good. No bueno. I got rid of it.
Here are the calls I made across the six videos, with my words for each.
| Spot on the panel | What I said or did on camera | How it ended |
|---|---|---|
| Three main flowers | Leaves counted past five up to eight | Eight leaves |
| Five filler flowers | Six leaves, then eight, still not enough | Thirteen in all |
| One volute too many | It's too much, sorry, I am sorry | The other one stayed |
| Triple leaves and fillers | A little messy, and it goes against the movement | Got rid of it |
| An element up top | It just doesn't look right to me | Left empty |
| The last swirl | Not sure I'm happy how it ends | Made a bit uneven |
| The sinister diagonal | Repeated to mark where the flipping acanthus ends | End of that movement |
When does charcoal go on a carving drawing?
Only after a shape is settled. Charcoal is really hard to erase, almost impossible, I said in part four, so it's better to start with some kind of pencil.
Any pencil will do. I'm using an 8B, and an 8B is really soft. A 2B, 6B or 4B, even the hard ones, are also going to work out. No problem.
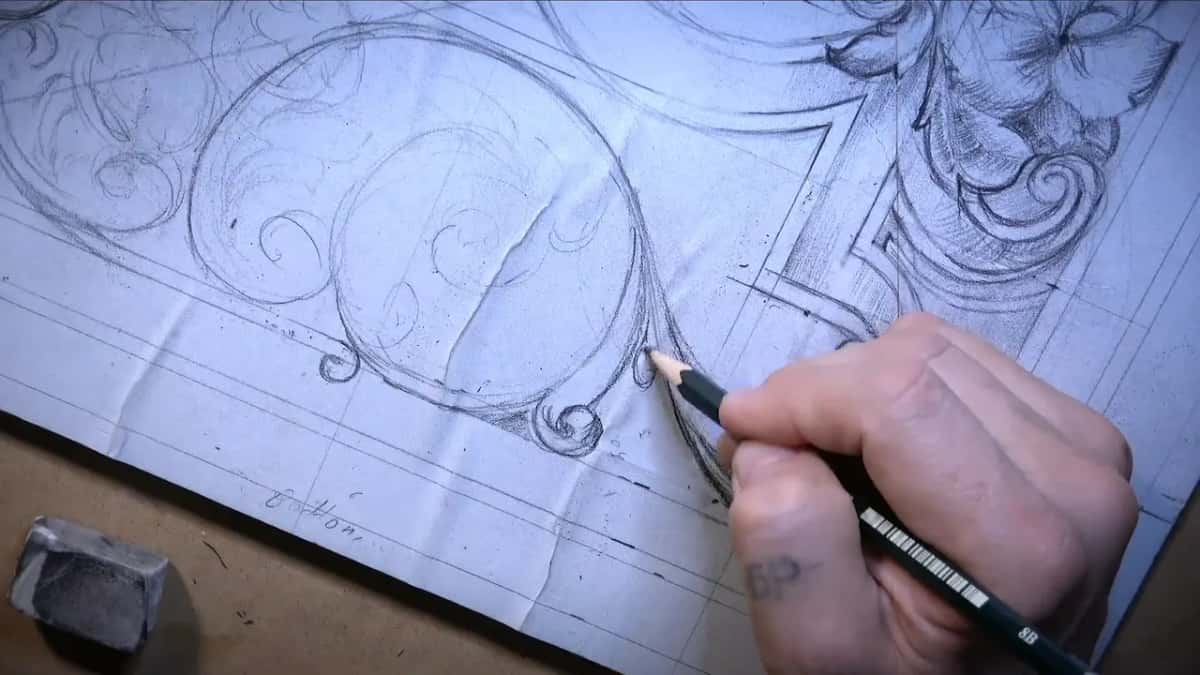
The charcoal darkens the background, so I can see much better. I held back on one area in part four, since I shouldn't touch it with charcoal yet. I liked the movements of the flowers, though, so I outlined those. I also took some pencil dirt off before that background went dark.
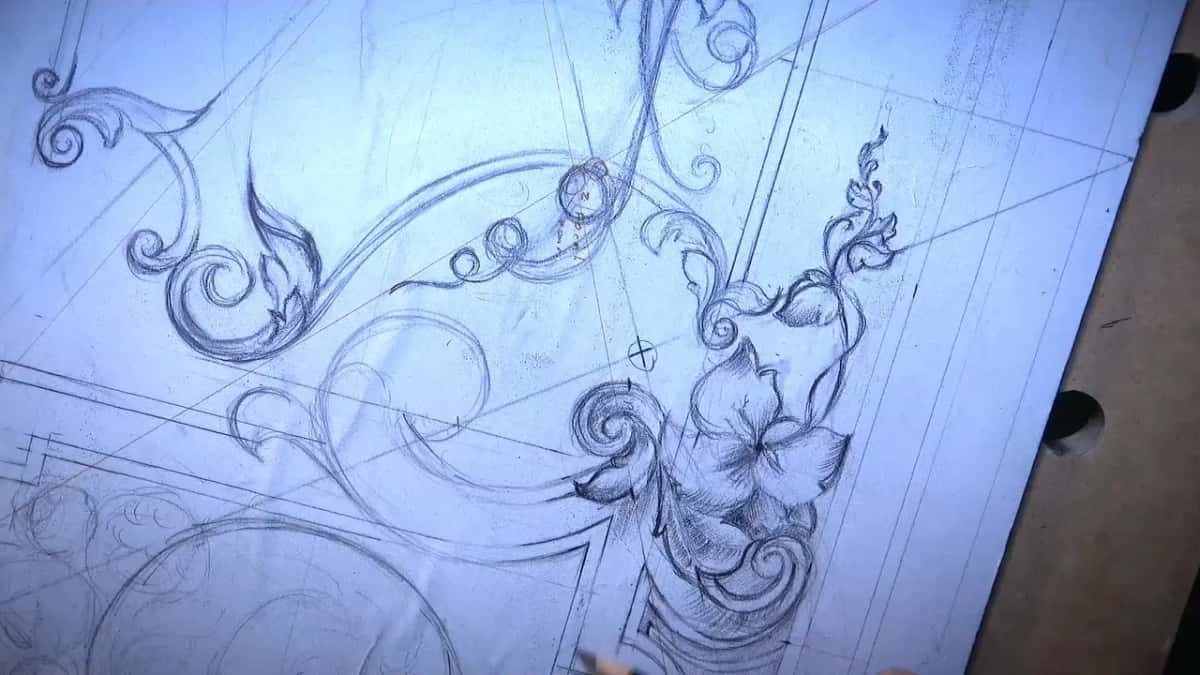
Prefer not to use pencil or charcoal? You could trace over the pencil with a darker color, a marker. I kind of like the charcoal. It leaves my hands dirty, but that's okay. By part five my hand was really, really becoming black from all that charcoal dirt.
One warning from part five: don't create too much mass with those charcoal and pencil marks. You still have to see and detect the lines when you carve, and if you overdo it, they're hard to detect.
If you want the drawing as it stood before these six videos, it's in lesson 13.
What does a finished drawing tell the carver?
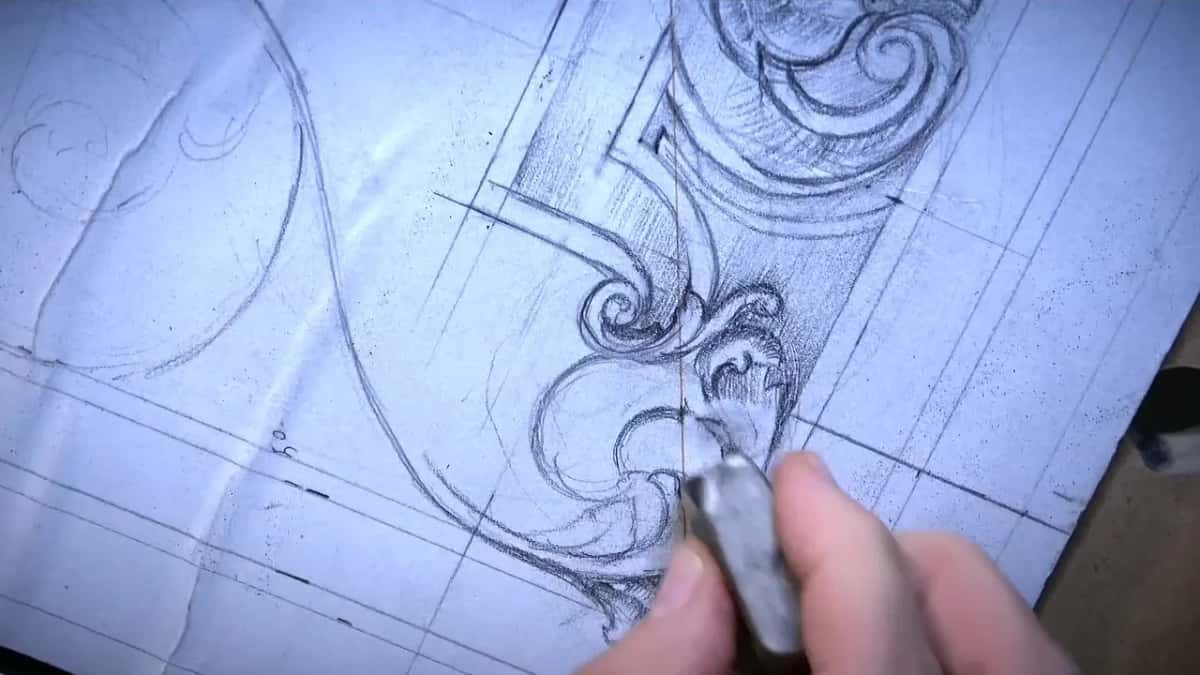
Which parts sit high, which sit low, and which way each one curves. My words in part two were that this part is going to be higher, this part a little lower, and this one concave, with another concave nearby that will be much darker.
Part four went the same way. A separation goes in that will be higher, and everything around it is my background, so it sits lower. Then concave, concave again, and convex. I hope it makes sense, I said.
One acanthus flower in part three goes underneath a line, so I need a shadow line there. Later a concave stays lower than the acanthus movement, with much more shadow.
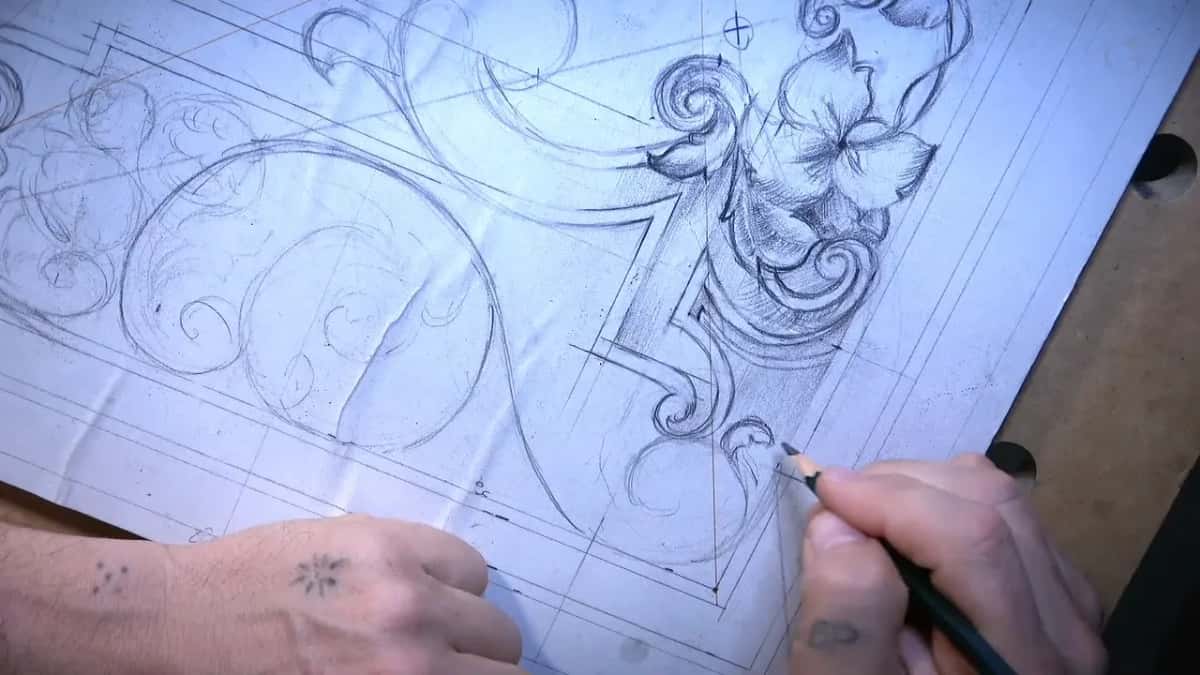
This panel is a really, really low relief. The true furniture style, I said, not fake. The carving won't be deep, but I want it to look fully three-dimensional. That's the goal.
Some of it is a note to my future self, like the twisting effect I wanted in the background in part five. I'll make it later, if I don't forget, I said, because once we remove the background I won't be able to see it.
I apologized to the camera more than once. Sometimes I am covering the drawing with my hand, and sometimes I forget to check my cameras.
Can the design change once the carving starts?
It can, and most of the six videos say so somewhere. It's not set in stone, I said, not yet at least, and once I carve it I'll see exactly what needs to be adjusted. Maybe we're going to add some stuff, maybe remove some.
There is a limit, and I gave it while carving the background of this panel in lesson 16. On one panel like this you can change the design. On two panels that are supposed to be symmetrical to each other, you can't really change too much. You could, to a certain degree, but then both panels need it.
In lesson 21 I said go ahead and change the design if you need to. I was talking about what tools you have. And in lesson 19, about the wavy edge of a flower, I said my waviness is not necessarily set in stone, so you can just try your own.
I'd upload the finished drawing, I said, for students to download, print full size, glue on and carve. Then I said I'll see you in the next one with the carving knife. That's lesson 15, where the carving stage starts.
I know this project takes time. It's not the production project for me, not a priority project, and I asked you to forgive me for that. Every lesson of it, the doubts and the erasing included, is open with Tuition.
How it's done
- See the whole board at once. Check if you like everything or not, and what needs to change, before you get ready to carve.
- Take out what fights a movement. If an element goes against a movement, or just doesn't look right, take it off the paper, even when that leaves a spot empty.
- Fix the other side differently. Change the opposite side too, but not as a copy.
- Count flowers and leaves. Keep the counts close to the Fibonacci numbers. Three flowers took eight leaves on my panel, and the five smaller ones took 13.
- Shade the background last. Pencil first. Charcoal goes on only where a shape is settled, and never so thick that you can no longer see your lines.
- Leave room for the carving. Expect to add something or remove something once the tools go in.
Frequently asked questions
Do you ever leave part of a panel empty?
One spot, on purpose, at the very end of lesson 14. An element in the upper panel bothered me, so I took it out and left the space open. Earlier in that lesson I filled other gaps with acanthus and filler flowers.
Which pencil works for a carving drawing?
Any pencil works. Mine was a very soft 8B, though a 2B, 4B or 6B will do, and even the hard grades will work out. Save the charcoal for later, because getting it off the paper is close to impossible.
Does the carving have to match the drawing line for line?
Not on a single panel. I said in lesson 16 that one panel like mine leaves you free to make changes as you carve. A pair meant to mirror each other is different, since a change on one has to go on both.
What to carve next