

Alexander Grabovetskiy, woodcarver, School of Woodcarving · Published 2020
Why does furniture carving avoid sharp edges?
Quick answer: Furniture carving is work people touch by hand and use daily. A ridge left too sharp on it can break, and a hand can catch on it. On my walnut panel I could make an edge really sharp and chose not to, and I put a little chamfer on one finished detail, for safety and for looks.
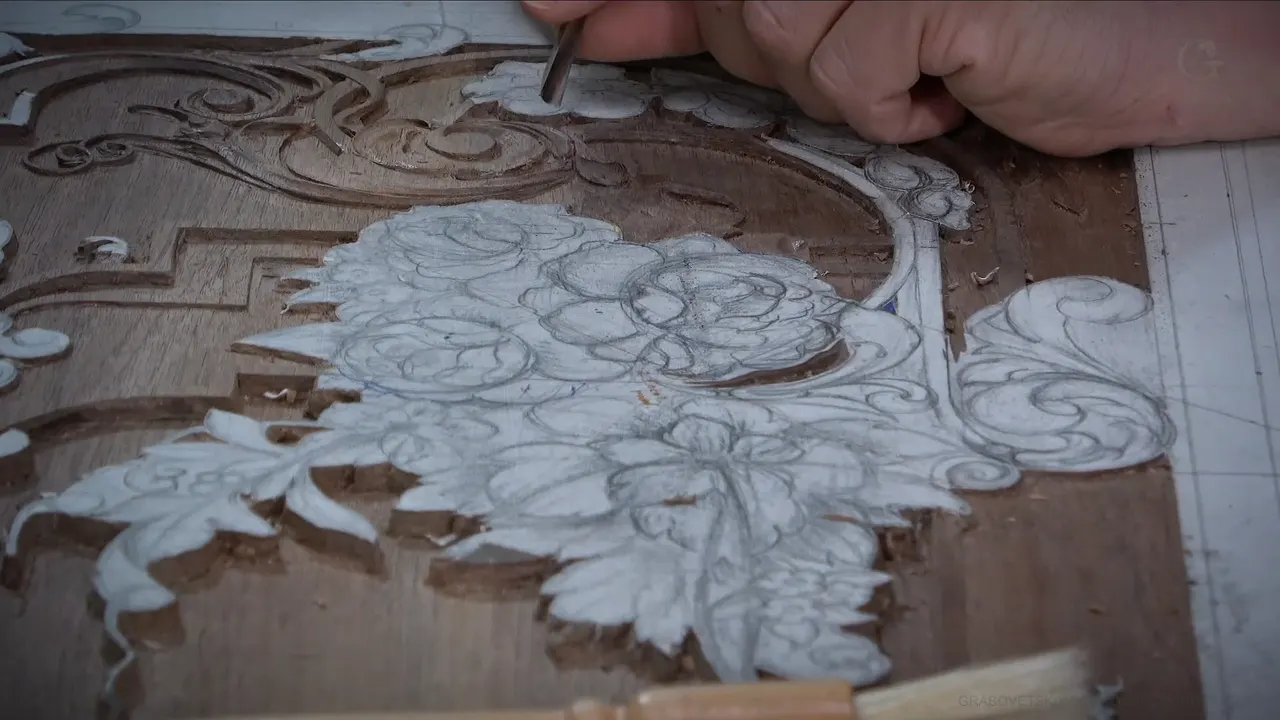
Furniture carving is used daily, so a ridge left too sharp on it can easily break. That was my reason on camera in lesson 22, while I carved the upper acanthus on my walnut panel. I can get a really sharp edge if I need to, but I don't need to, because it's a furniture carving.
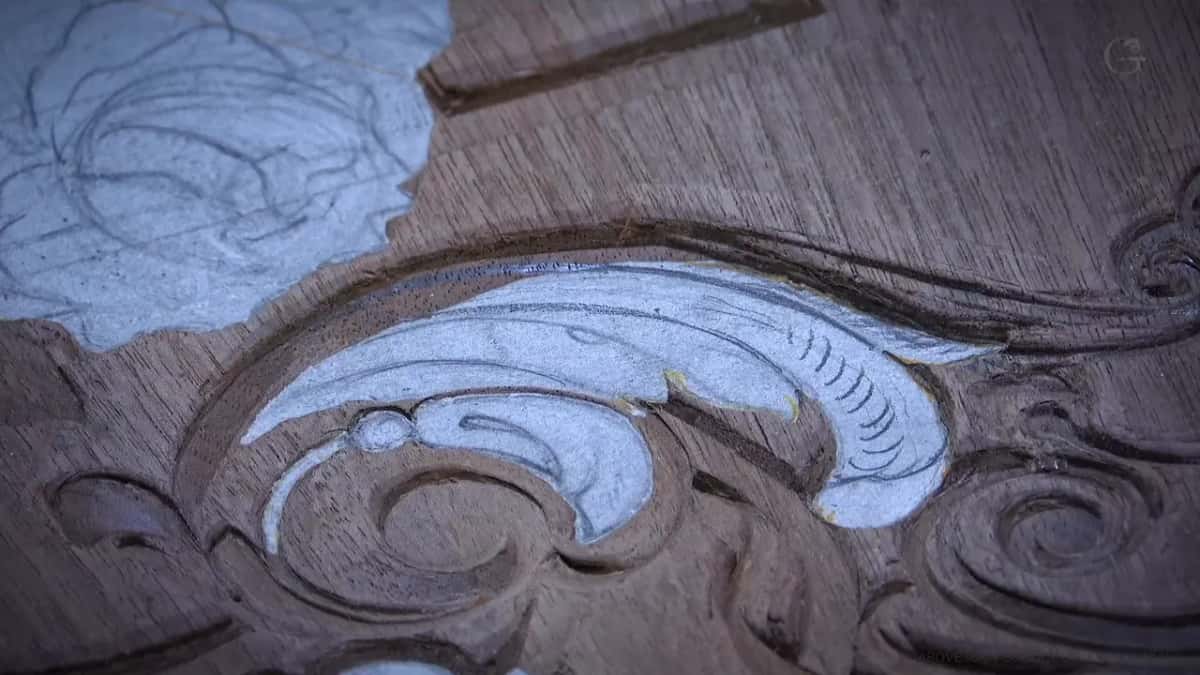
Will people touch your panel with their hands? Will it be used every day? Then the top of every ridge is a choice you make before you call the work done.
This page follows lesson 22 of Carving Furniture Panel, Part 2, the way it went on camera. I nearly lost one ridge, put a little chamfer on a finished detail, and made two spots sharp because I wanted them sharp.
What lesson 22 says about sharp edges
- Furniture gets used every day, and a ridge that's too sharp may break.
- Hands touch furniture, and a too sharp edge can catch. A little chamfer goes on for safety, and it looks good too.
- Sharp can be okay on the outside of a flower, and there it looked really nice.
- A thin bit of paper left on a ridge told me I hadn't messed up.
- My board is only 10 mm (3/8 in) thick, so next to a molding there's little room to go deep.
Why did I keep these ridges from going too sharp?
A thin ridge on a piece that gets used can break. Here is what I said in part three. In a furniture carving, you really don't want to see too sharp ridges, because it's used daily and you can easily break it. So try not to leave your edges too sharp.
The pass along that edge had to be really accurate, so the tool had to be really sharp, because I put almost no pressure on it and let the tool do the job. Then I turned the board and came at the ridge from the other direction.
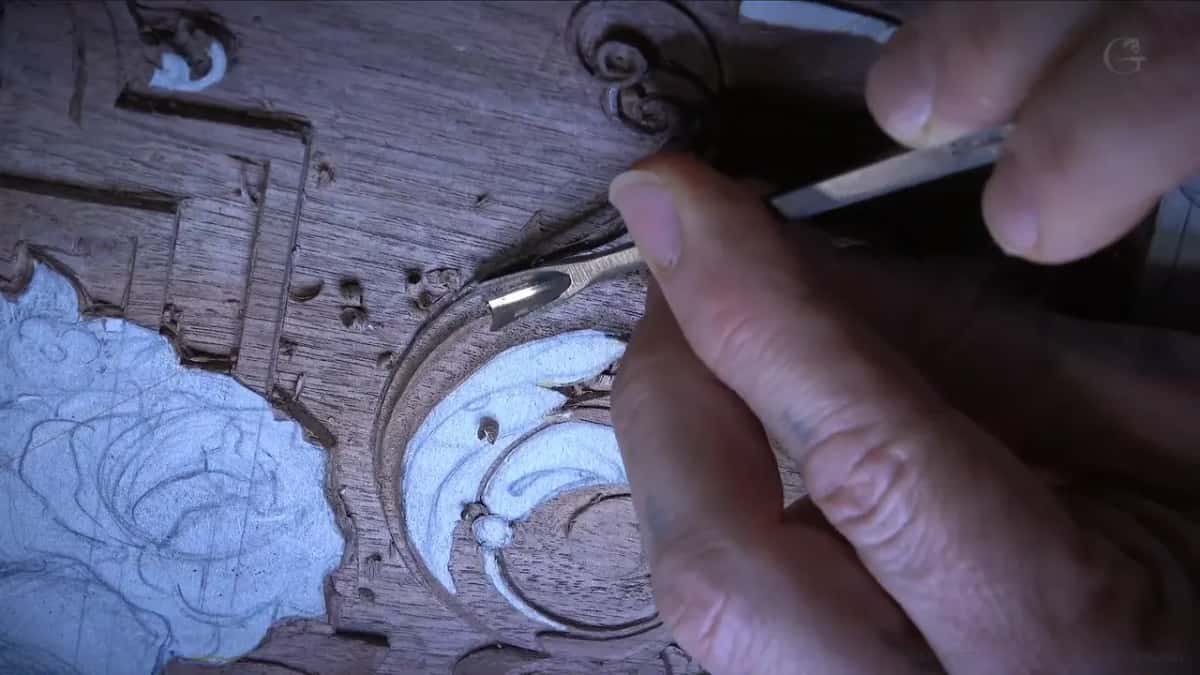
Where does a little chamfer come in?
At the end of a detail. Part nine is where, near the end of one acanthus detail, I took care of its paper and touched the edges with a slight fillet or chamfer, if you wish. That's a really common thing on furniture, because people touch it by hand. When you touch it, sometimes it's a little too sharp, and you can catch some parts. So it's a good idea to give the edges a little chamfer for safety reasons, and it also looks good.
Wikipedia calls a chamfer a transitional edge between two faces of an object, and a fillet a rounding of a corner. I used both in this lesson. Back in part two I took the edge of a flipping leaf down little by little with a quarter inch number 3, chamfer by chamfer. The plan, I said, was to round it into a fillet, so that part looks like it flips over.
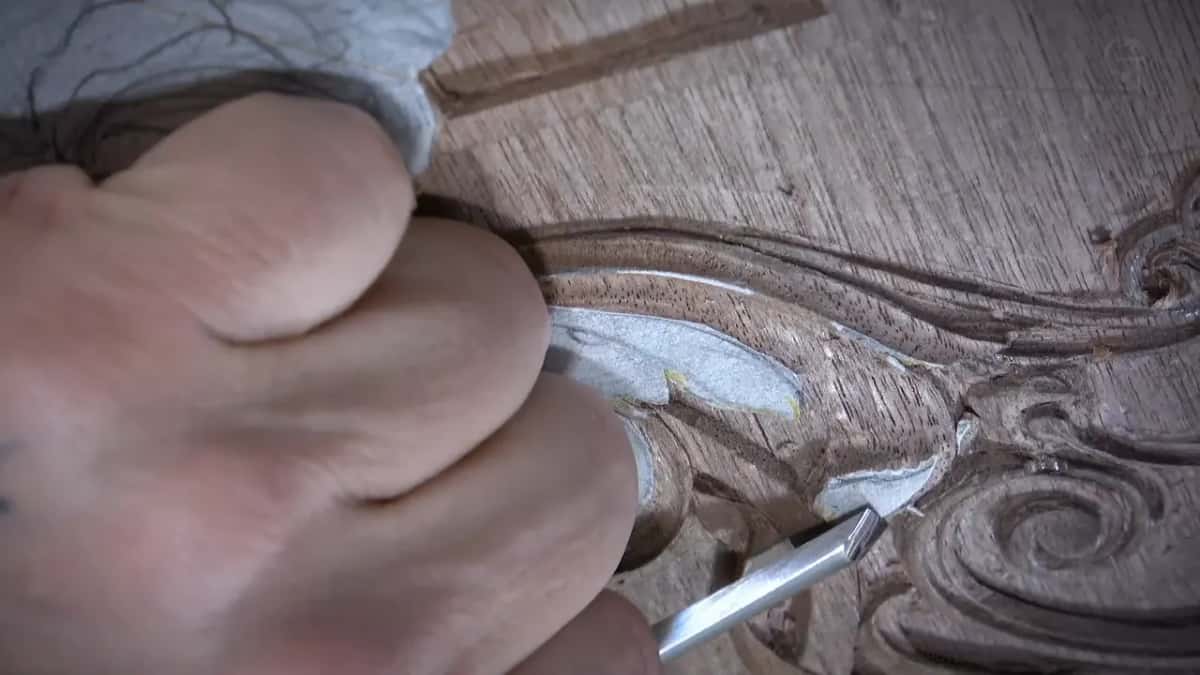
A few minutes before that chamfer in part nine, I rounded the edges of the same detail a little, because it just doesn't look too good if it's not round. I didn't want to dig into the background, so I used a number 3, a quarter inch (6 mm), and yes, against the grain, breaking my own rule. I don't even know if roundy is a word, I joked, but I use it, which makes it a word.
Is a sharp edge ever right on furniture?
In the right spot, it is. When I went around one flower with a knife, I said that for the outside, maybe, it's absolutely okay to leave a really sharp edge. It looks really nice there.

Part nine had a moment where I wanted a point sharper, not softer. I made a slight pass to give one detail a little pop, and I didn't like the point of it. The gouge in my hand was too big, so I switched to a number 5 and was able to give that point a sharper look.
So the same lesson has sharp in one spot and soft in another. In lesson 23, the next one, I knocked down some ridges on the flowers because they were a little too sharp. They didn't look too good. Facets are okay, I said there, but not really sharp on the flowers.
How does a reed brush soften an edge?
A reed brush rubs an edge a little softer, and I kept reaching for one in lesson 22. My pencil mark was getting in the way in part one, so I cleaned that edge with a reed brush, and I said you could also scrape it off.
I gave the reason back in lesson 19. Some edges there were almost too sharp, and there are a couple of ways to soften them. One is a knife and a micro bevel, which takes really big accuracy. The other is to take the reed brush and hit the edge. That's how they did it, I said, and it doesn't leave any abrasive on the side.
Why leave a sliver of paper on the ridge?
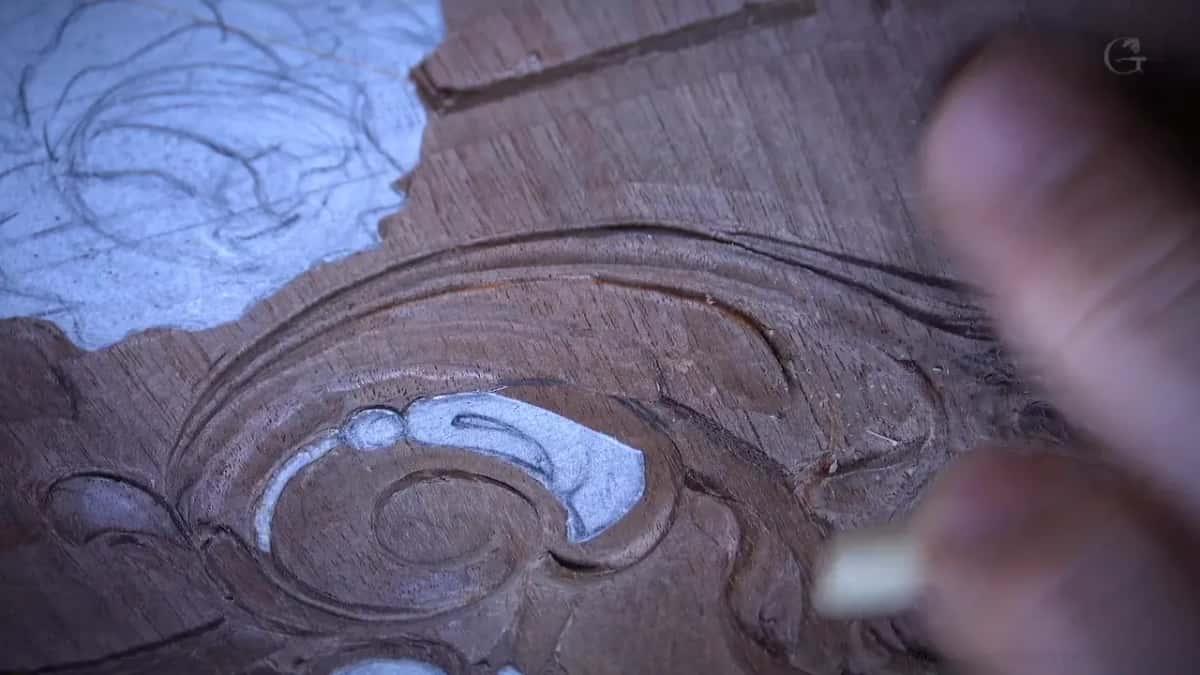
A sliver left on top is a check on your own work. Part three is where I left barely half a millimeter of paper (about 1/50 in) right on one ridge, and that way I knew I did not mess up.
I said it again in part nine. It's a good thing we do have a paper, because I can always see where I hit with my tool, and I can make a beautiful edge. Later in that part the paper came off so I could blend the hollow into the overall movement. This walnut is dark, too. In part eight I couldn't see without my magnifier lamp, because dark wood is hard to see sometimes.

What happens if you carve too close to a ridge?
You can lose it, and in part three I almost did. See what I just did? I made a mistake. I went too close to the edge and almost destroyed my ridge, which I shouldn't. That's not the end of the world. I blended the spot with a little sanding, went at it again from this side, and made my lost ridge again. Sometimes that stuff happens.
Part two had its own fix. A section I glued last time didn't hold, so I fixed that part anyway, a little lower and blended in.

The grain can set you up for it. My tool was lining up with the grain in part five, and every time you line up like that, you can slip, butt against the detail and break it. Even for shadow, I stopped short in part three, because I didn't want a weak point just to cast a shadow.
On the Lily Box I warned about the same risk. If you undercut and connect the opening on both sides, that area will be really fragile. And remember, I said, this piece is going to be used daily, at least I hope so, since it's a box for the Bible. That area can be broken really quickly if you're not too careful.
How thick is the walnut under these edges?
Ten millimeters, 3/8 of an inch, for the whole board. Near one flower in part eleven I had the depth, so I used it to my advantage and went about a quarter inch in, six millimeters. But I can't forget that my panel is only 10 millimeters thick.
Where the molding sat close to the flower, I could not go really deep. That would be a big mistake. Between two lines nearby I could go a little deeper with no problem, about an eighth of an inch, 3 mm.
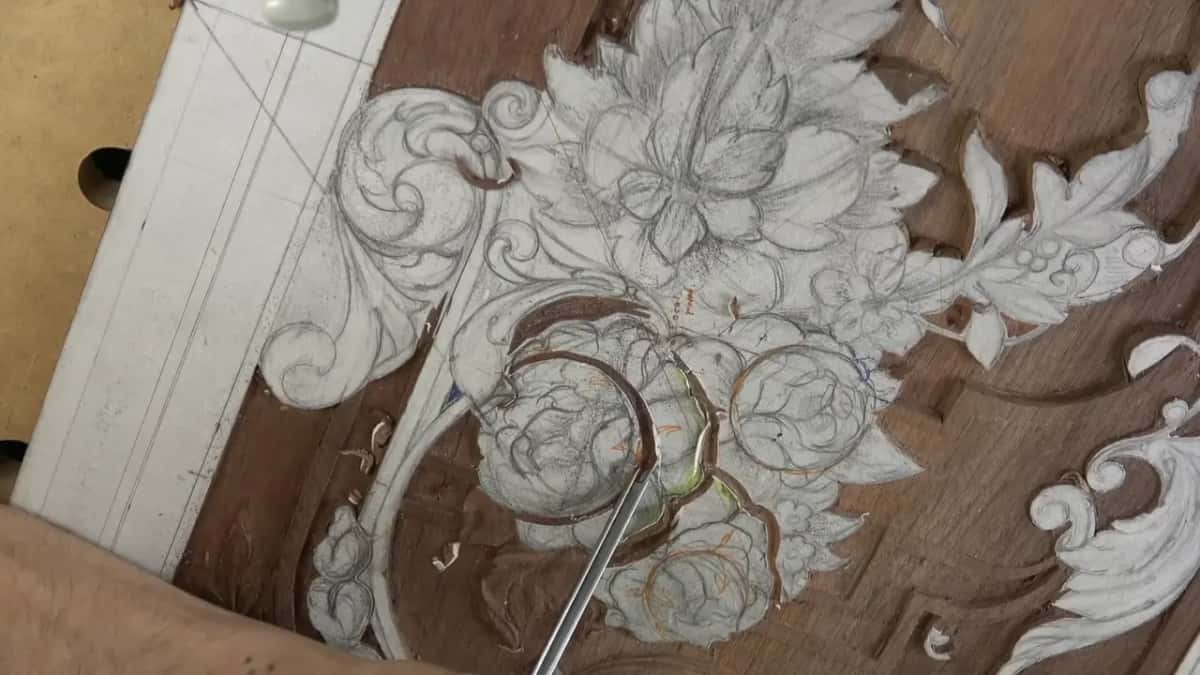
Some ridges are barely there. One in part six stood only about 0.5 mm above the background. I checked if a half millimeter number 11 could still undercut it, and that's probably as much as I can go there, I said.
The board is the walnut from Designing Furniture Panel 1, more like a purple, I said there, not just black walnut. It's a relief, in Wikipedia's terms a carving whose shapes stay attached to a solid background.
Knife or number 11 for outlining a flower?
Both work, and in furniture style I think the number 11 is the better one. In part ten I showed the knife first. Mine is a number 12, Swiss Made, one of my favorite knives, though it's not the only knife you could use.

I don't go straight down at 90 degrees with it. I lean it a little inward to get some undercut right away, push with one finger and go around. For the second pass I lower the knife even more. The knife went in about 1/32 of an inch (under 1 mm), and I could have kept going deeper, shaving in. Just don't go too far in, or you can break the edge.
A knife is one of the quickest ways, and I love it for a really quick job. But its point can leave a tool mark on the background, and it doesn't give me that true three-dimensional feel. My favorite is any number 11. I took a number 11, 3 mm (1/8 in), and with a mallet I went straight down beside the flower first, with no lean.
| Tool and size | What it did in lesson 22 | Where |
|---|---|---|
| Knife, number 12 | Went around one flower fast, the blade leaning a little inward | Flower outline |
| Veiner, 3 mm (1/8 in) | Outlined the main flowers with a mallet, straight down at first | Main flowers |
| One millimeter veiner | Made the first pass on most elements, then undercut them | Most details |
| Half millimeter veiner | Followed the 1 mm one to make the shadow deeper | Under edges |
| Quarter inch number 3 | Took an edge down chamfer by chamfer, then rounded it | Flipping leaf |
| One inch number 5 | Moved out from a single spot in all directions for quick roundness | Flower shapes |
What does the grain do to each side of a gouge?
One side comes out clean and the other doesn't. Anyone who knows a little about the anatomy of a gouge knows that one side follows the grain and leaves a clean wall, and the other goes against the grain. Just keep an eye on which side is doing what, and if you need to come from the opposite side, do that.

Sharp tools help a lot. In the second part, one section of the leaf lay along the grain, and carving along it like that can split, and you can damage your carving. That section I took across the grain, carefully, just to take off the chunks I didn't need, and cleaned it later.
Part eight had a spot where I couldn't just push, because the grain could break. So I slowed down and sliced a little, so slightly it's almost invisible to the eye, and I call it micro-slicing. The same idea works on a bead molding with many parts, and people don't even know you did it by hand. They wonder how it can be so accurate. It looks like it's done on a machine, but it's not.
Why relieve a small triangle first?
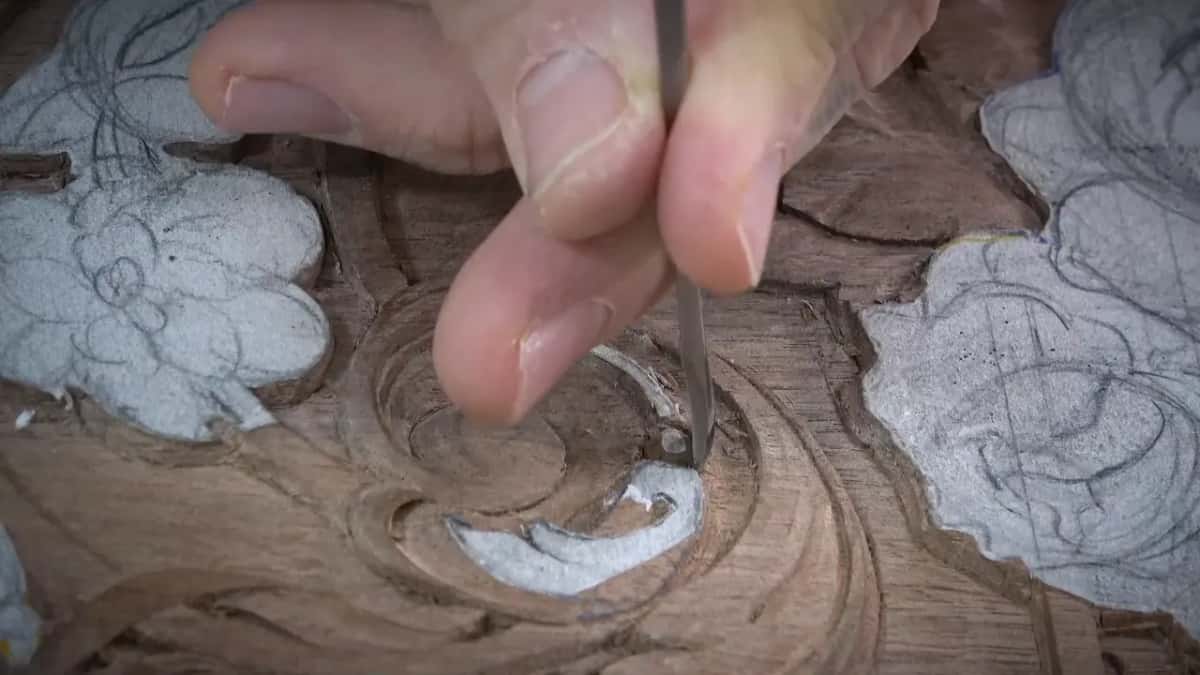
A matching gouge pushed straight into a small triangle can damage the wood around it. Part seven needed a little notch. Take a matching gouge, go in one way, then flip it and go in the other way, and sometimes you damage the surrounding area. It's always better to relieve it first.

I relieved it with a 1 mm number 11, just one pass, boom, and that's it. Maybe one more. Then a number 7, a quarter inch, went straight down, and I flipped it for a second pass, so the shape starts like a letter S. A really nice effect.
Before that notch I had gone about one and a half millimeters deep (about 1/16 in) around the element, and I cleaned inside with a grounding tool, 1/8 of an inch, 3 mm, which is equal to a number 3 from Ashley Iles.
Why spend time on details nobody notices?
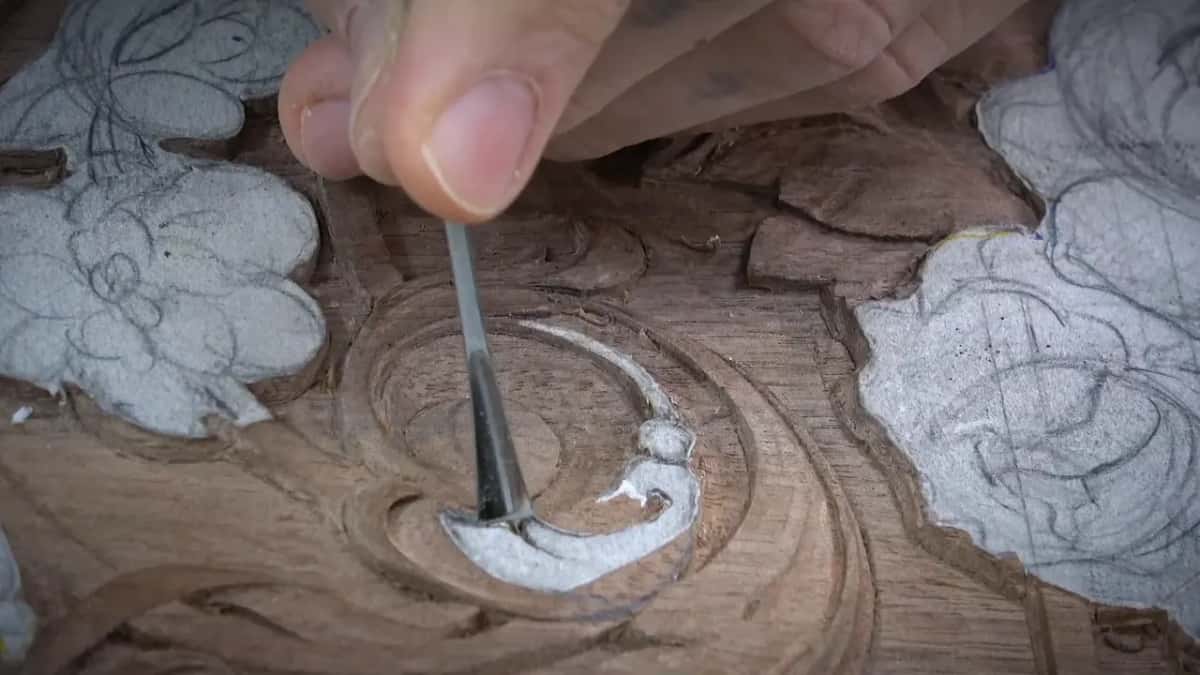
A detail I skip today would bug me for years. If you ask me why I spend so much time on details that look small to some people, it's better for me to fix them right now than have them bug me for many years. We are trying to create a real piece of art.

Look at who will see it, furniture makers, and some of them are perfectionists. Not production furniture makers, I mean, but the ones who can spend a lot of months on one piece of furniture and pay attention to every detail. People are not stupid. They will see all imperfections, especially if we're trying to be authentic to the techniques.
I said it another way in the Dining Table Apron course. Furniture is really close to your eyes. On a boat it's not that close, and those carvers could make a rougher carving. House carvers had a lot of work up high, like crown molding, where people don't see it close. With furniture carving, it's not the case. You really have to check all the details and clean everything.
Can a router clear the background instead?
Of course it can. One of you asked in part six why we can't use a router to take out the background and speed up the process. You could, and nothing is wrong with that. I've done it too, on some projects.

My goal was to show you the more authentic way, what they did back then. Some people in the school are really picky about how authentic a piece is when they make reproduction furniture. That's also why I sanded with a reed brush in that part, because we want to be really authentic to the original.
Wikipedia describes the router as a power tool with a flat base and a spinning bit. The original wood carvers, I said in part one, had mostly veiners and gouges, and they could use the same tool many times.
What came after the acanthus, the main flowers?
The main flowers came next, in the tenth part. I had no reason, actually, except that I wanted to see a lot more going on, I was a little tired of that section, and some of you had been waiting a long time for those flowers.

The petals grow toward the center from one point, and from the same point the outside petals grow the other way, so I carved really deep all around the middle.
Then came the shape. It has to grow from inside, go upward, then downhill again, with a convex you will still be able to see. A one inch number 5, about 25 mm, moved from one point in all directions, gives that roundness pretty much right away. And none of this is the final form yet. It's the first step.
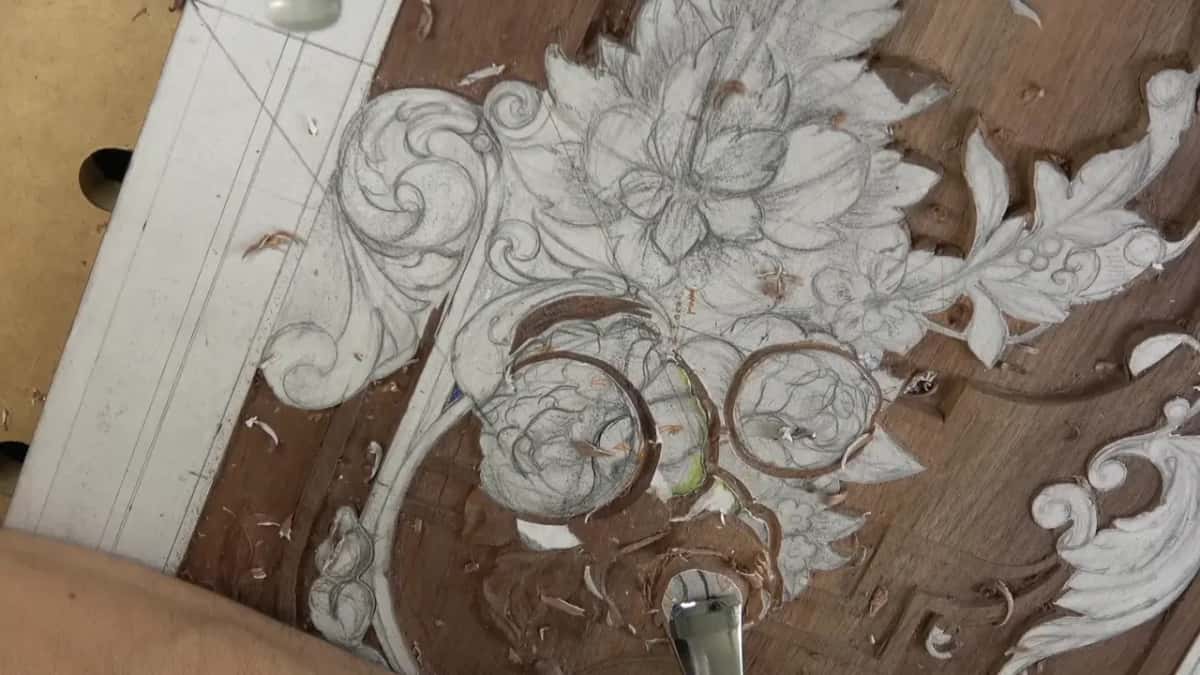
Some of you sent me pictures of your work on this panel, and it made me feel really good. It means I'm not doing it in vain. Those of you carving along now understand it's not as simple as it looks. It takes a lot of time and a lot of control, and it trains you to control every tiny pass of the tool.
The background under all of this was lowered in lesson 16, lesson 17 and lesson 18, and the upper acanthus started in lesson 21. The drawing for the whole board is in Designing Furniture Panel, Part 1, and the eye and the pipe of an acanthus leaf are taken apart in lesson 4 of the Greek acanthus course.
Want to carve this panel along with me? Here is how access works.
How it's done
- Come close in small passes. Don't try to do it all in one pass. I carefully came up to the final result a little at a time, and I called doing it all at once a big mistake.
- Stop with a sliver of paper on top. Leave barely half a millimeter of paper right on the ridge. Then you know you did not mess up.
- Watch which side carves clean. One side of a gouge goes with the grain and comes out clean, and the other goes against it. Keep an eye on which side is doing what, and turn the board to come from the opposite direction when you need to.
- Take the edge down in small flats. Take a number 3 and go little by little, then round those flats into a fillet.
- Feel the surface with a finger. Sometimes you can't see an uneven spot with your eye, but your finger can feel it.
- Give finished edges a little chamfer. People touch furniture by hand, and a too sharp edge can catch. Round them slightly or chamfer them, for safety, and because it also looks good.
Frequently asked questions
Should carved furniture have sharp ridges?
Not too sharp. A panel like mine gets used daily, and a ridge that's too sharp can break, so I try not to leave ridges that way. On one finished acanthus detail I softened its edges, for safety, and because it looks good too.
What is the difference between a chamfer and a fillet?
Wikipedia defines a chamfer as a transitional edge between two faces, and a fillet as a rounding of a corner. In lesson 22 I worked one edge down in small flats with a number 3, a quarter inch wide, to round it so that part of the leaf looks like it flips.
Should you outline a carved flower with a knife?
You can. A number 12 knife leaning a little inward is one of the quickest ways and leaves a really nice outside edge. Its point can leave a tool mark on the background, though, and to me a knife doesn't give a true three-dimensional feel, so in furniture style I prefer a number 11.
What to carve next